

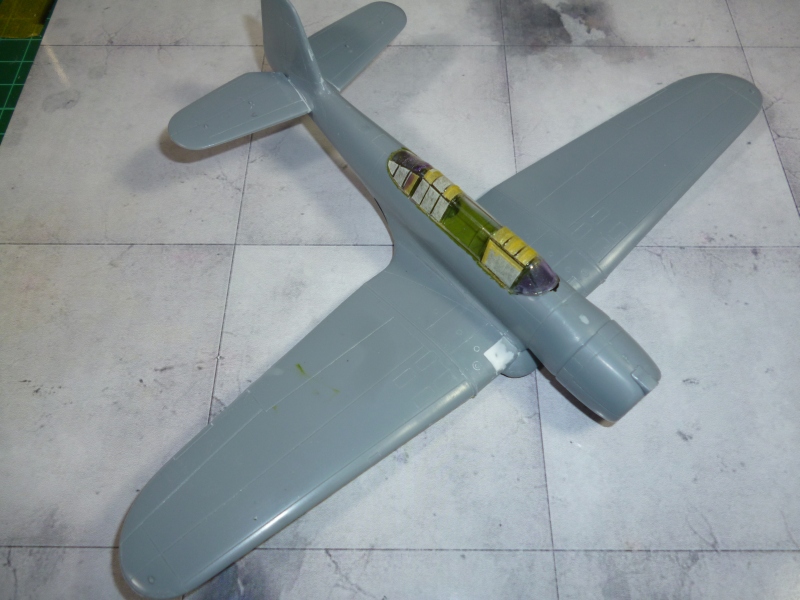
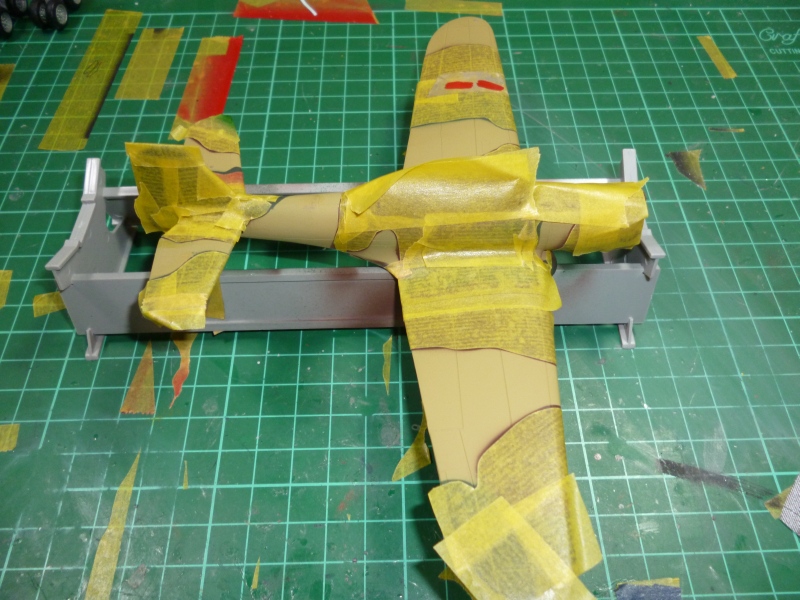
I started my 1/72 MPM DB-8A 3N this morning along with the Nimrod for another campaign.
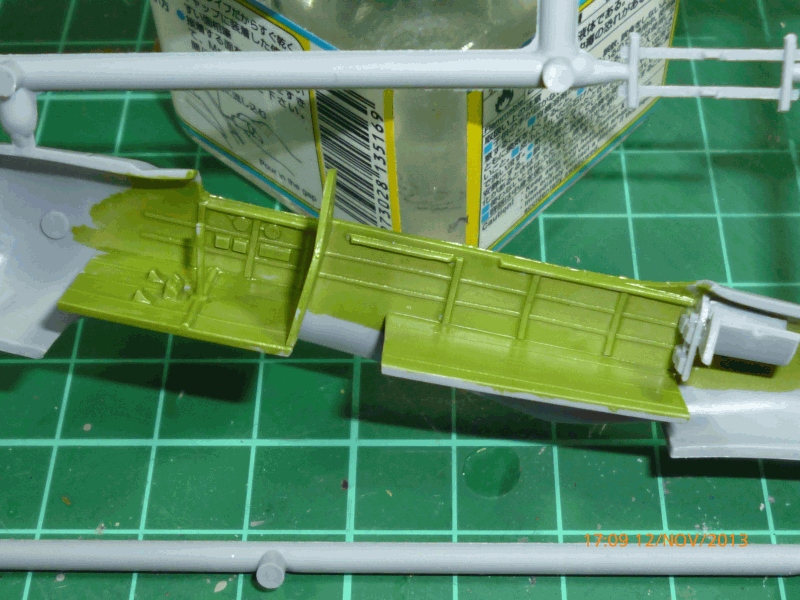
That's all so far. As usual for an MPM kit, lovely fine detail and fit has been great so far...
Cheers all
Warren


Ben & Richard, thanks. And yes Ben, the guns are off. I need to gently realign them. Only noticed it after I posted the pictures.
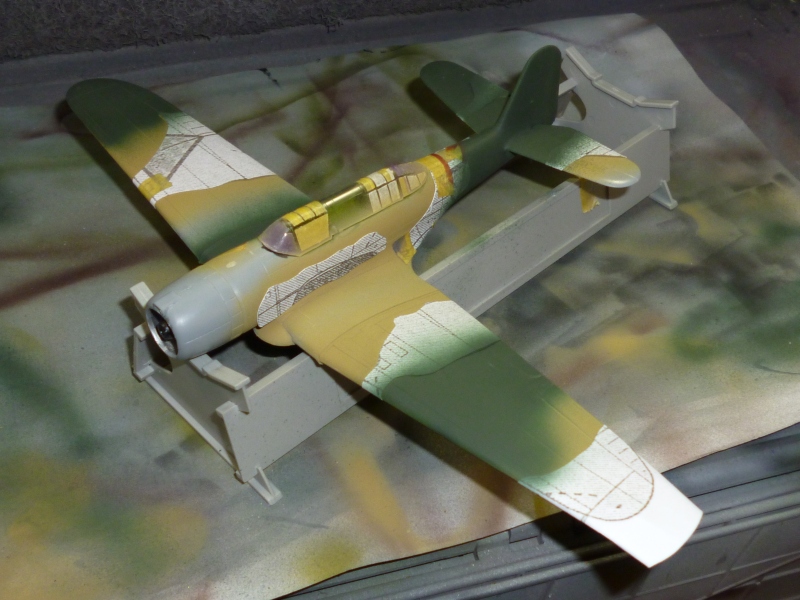
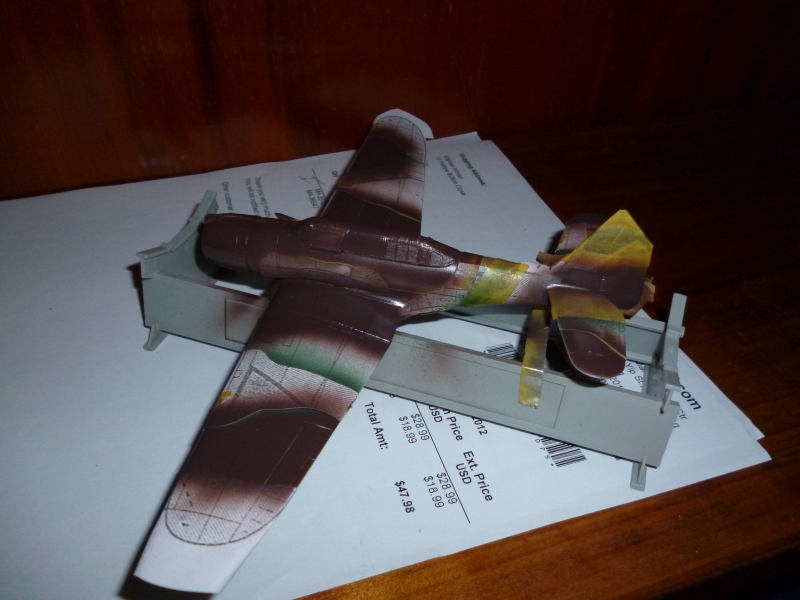
The main goal for me with this build was to develop a weathering method that would show the effects of the salt air, and humidity in the South Pacific on aircraft. The aircraft didn't fade/weather uniformly. I tried a few different methods, but settled on using my airbrush applying a few various light colors in a random pattern. While not perfect by any means, it's the best I've yet to achieve.
Joel

I wish I had a dollar for every time I post a photo and then notice something out of line!

Richard, if that was the case for me too. Instead of buying another new Hyundai, I'd be buying a BMW for cash.
I would have a Rolls-Royce Wraith in the garage! 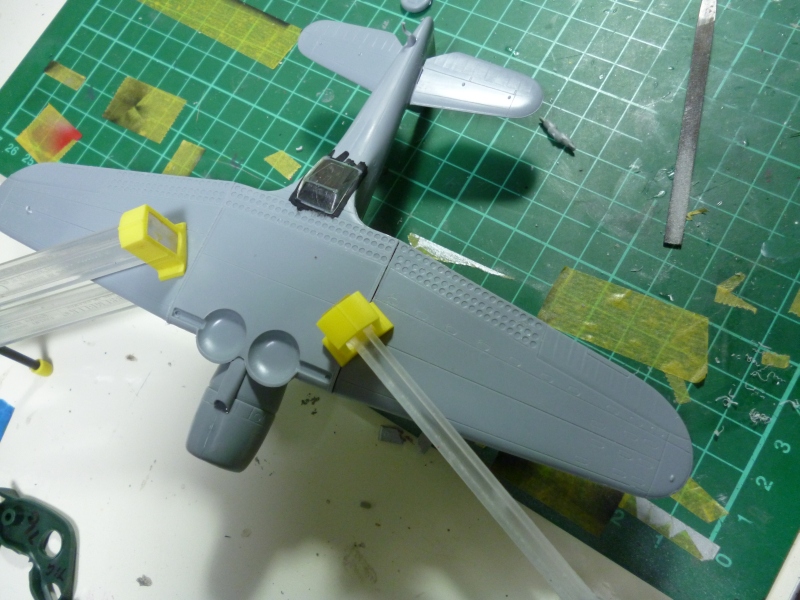
Warren, Acrylics once dry are rock hard. You can easily use enamels over them. If you're concerned about bleeding/staining, just seal with Pledge/Future between paint applications.
All my weathering washes and filters are enamels, and artist tube oils thinned with Mineral Spirits. They're applied over airbrushed acrylics that have been sealed with Future.
Joel


That'll be because Tamiya sprays are lacquers. You really need a barrier coat, and dust them on a bit at a time when you're applying them over either acrylics or enamels if you don't want them to eat your previously applied paints.
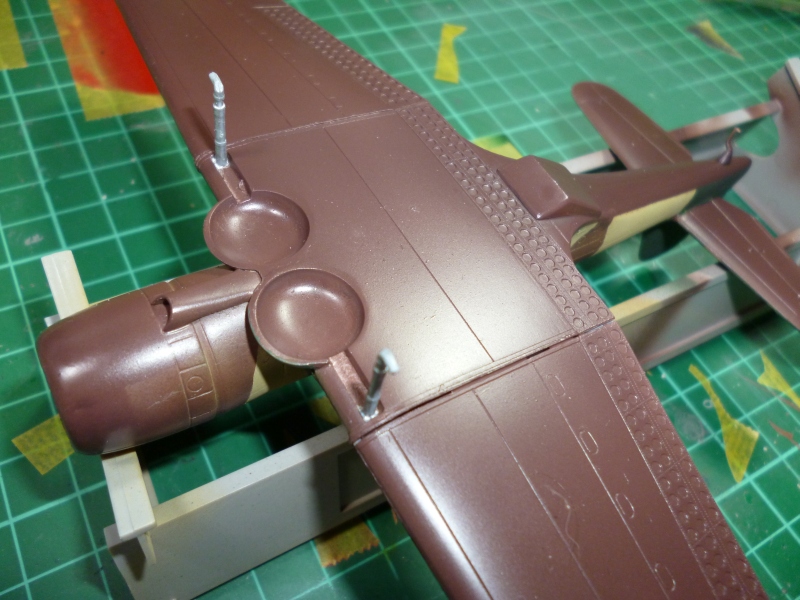
 Hopefully I will find it a bit later.
 " and installed the main undercarriage. Alas I have misplaced the tail wheel"
Warren welcome to my world!I put parts in a safe place and the when the time comes I can not find that safe place!
 |


