

1⁄35Nieuport 17
The Kit
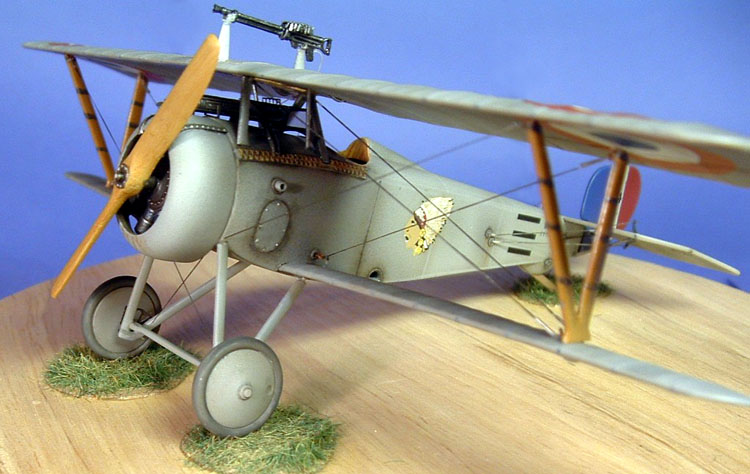
The kit is Eduards Nieuport 17 profipack number 8033. The choice of kit was one that I´ve build before so I knew were the problems would be: in this one there were none! The etched fret is these kits are often a real hard metal, so I choosed to use less of the etched pieces.As this competition was all over photos from the start, the paintjob on the finished model was the real thing to put the effort to. After seen the trailer of the Flyboys I just had to go for the silverdoped rugged finish they used in the mowie shots. The decal option in the kit for Raoul Lufberys machine was the target.
The build
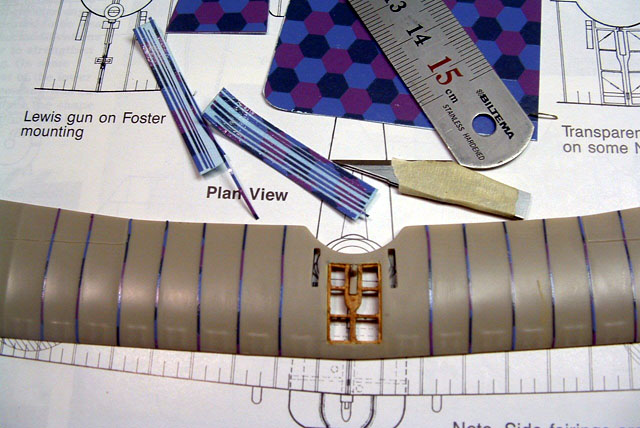
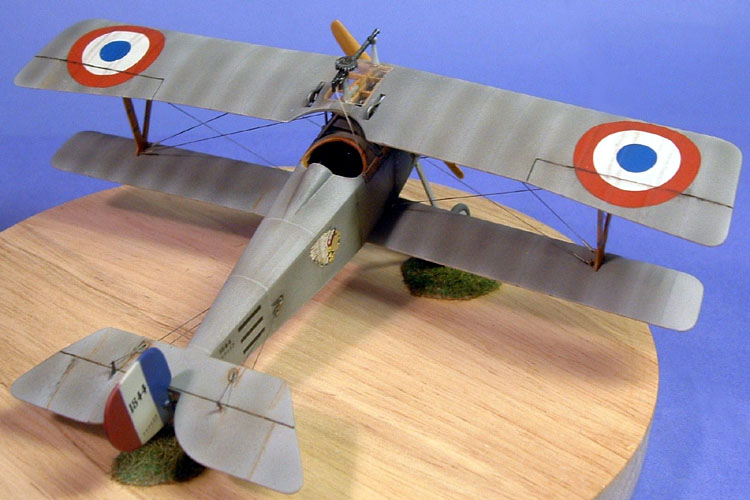
The inside was mostly out of box, I did replace the kit seats for a new one in plasticard the inside was detailed up with wires from stretched sprues and instrumentdecals from Eduards DH-2 kit.The top wing got some new spares and ribs in the middle open section, painted in oilcolours and masked of for protection. Eduards havent given this kit some ribtapes, so I made these from strips from Eduards Albatros W4 lozenge kit. This was the first time for me to try this method of making the rib effect. I usually mask the ribs and preshaded the wings. Evolution my friends, I liked this method so it will appear on my builds in the future.
The paintjob
All paint was from the Humbrol range, so I will give you just the numbers.For a starter H64 was used for baseprimer. Two thin layers were sprayed all over. The fuselage was masked up with thin strips of masking tapes and preshaded with a mix of Humbrol flat black 33 and wood 110.
The home cooking of the silverdop is 10% silver 11, 50% grey 64 and 40% white 22. This mix was used as a basecolour and from this I´ve mixed up some to be a little darker tone by adding little black 33 and wood 110. I´ve also mixed a lighter tone from first basecolour by adding more white to the mix.
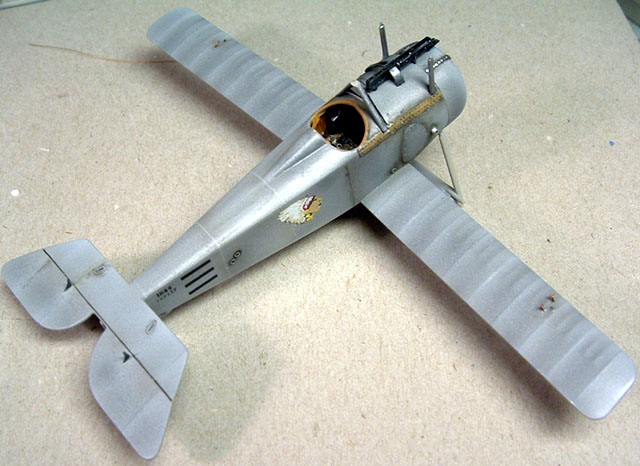
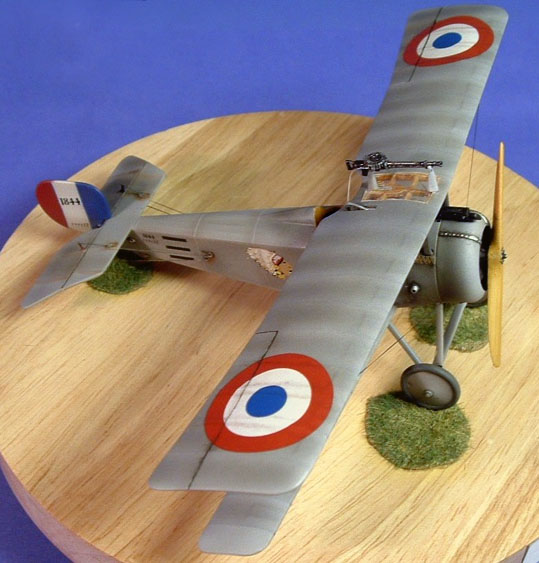
Now I had three tones of silverdope to play around with. The first mix was sprayed all over the model in two thin coats. The darker tone was used to shade the wings and corners on the fuselage. The lighter mix was then used to highlight the wing ribs and the front edge of the wings. The rounded engine cowl was treated with both the tones of paint to get a nice effect. Highspot on the fuselage was given a fin mist of the lighter mix.
All this paint jobs was set to dry completely for three days and then given a coat of gloss to prepare for the decals. When the decals went just find so after drying the Bebe was heading for the paintboth again. This time a semi gloss varnish was mixed with a small amount of black 33 and wood 110. This mix was used over the decals to give them a worn look. The rest of the machine was given a fine mist to just to knock out the glossiness.
Final assembly
No big problems on this machine, even the engine fits under the cowl so the engine was treated with Alclad 2 aluminium and thin washes of oilpaint. The wooden prop was painted in oilcolours. Before the top wing was set in place all the holes fore the wires was drilled out.The riggings were done with Gold-Zack thread. Its an elastic rubber thread, for turnbuckles tiny loops of copperwire were fashioned. As reference for the rigging the windsock datafile is a must have.
Conclusion
This kit has some years in its moulds, but it still goes together without a fight. Very easy to build and its not fully rigged. I´ve just love these Nieuports. They are highly recommended.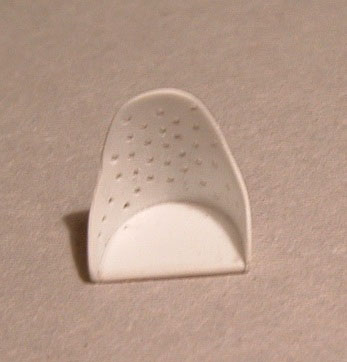


About the Author


Copyright ©2021 by Lars Qvarfordt. Images also by copyright holder unless otherwise noted. The views and opinions expressed herein are solely the views and opinions of the authors and/or contributors to this Web site and do not necessarily represent the views and/or opinions of AeroScale, KitMaker Network, or Silver Star Enterrpises. Images also by copyright holder unless otherwise noted. Opinions expressed are those of the author(s) and not necessarily those of AeroScale. All rights reserved. Originally published on: 2006-12-16 00:00:00. Unique Reads: 8050

WEB HOSTING BY


Copyright ©2021 AeroScale and Kitmaker Network, a subsidiary of Silver Star Enterprises
All Rights Reserved. Please read our Conditions of Use and Privacy Policy.
All Rights Reserved. Please read our Conditions of Use and Privacy Policy.