1⁄35Zeppelin Staaken R.VI
33
Comments
Step 4
I discarded all the kit struts and used modified Contrail Strut stock (sold as a separate item) still sold through Rosemont and Sopwith Hobbies. These were then drilled out at their leading edges and I inserted brass-rod and faired the brass with the remaining airfoil of the Contrail struts. These will of course be ultimately seated in the socket holes drilled into the upper and lower wings. I also used bent and shaped brass-rod in lieu of the kit landing gear struts. Instead of the kit wheels (42 vacuform halves), I used sixteen rubber 5/8 inch ‘O’ rings purchased from a hardware store on four sections of 3/8 wooden dowel (with four ‘O’ ring/wheels each). These four dowel sections should have a hole drilled through them to accommodate the axles also made of brass-rod. Wrap the axles in the ‘V’ legs of the undercarriage with upholstery thread (Canvas/awning shops) to represent the bungee type shock absorbers used on the original. To be very accurate you can add an inverted length of ‘U’ shaped brass-rod above the axles connected to the landing gear legs. The resulting collar restricts the travel of the axles on landing. Add a brace from one under carriage ‘vee’ to the other behind the axle.
Step 5
I also followed Mr. Rimell’s advice and used only the lower halves of the dual whale tail arrangement but balsa wood cores are unnecessary. The tail-camber was inverted, so just sand and fill all the grooves, add rib stations and score/ scribe the control surface separation lines. Use the flat side as the top surfaces. Drill here all of your strut locator and rigging holes. Now mount your tail surfaces using brass-rod for spars/pins to the fuselage and struts for the dual surfaces. I did not use the central fin provided in my kit.
Step 6
I used six sheets of Americal/Gryphon sheet No.3 - Nachtbombengeschwader Camouflage 1917-1918 (II) to entirely cover the Staaken and mixed my own touch up paints to match. For the aircraft I was working on and the splinter camouflage profile I chose, this is the best way to go. Its alright if a polygon colour is a little out of tune with the rest. Remember that these patterns were painted on, not dye printed in the fabric on rollers at textile mills.
Step 7
The rigging can be accomplished with either one of several mediums. I used the smallest gauge piano wire available to me. Roughly 0.013 - 0.018 thou. Originally I drilled halfway through the wooden wing spars and measured with drafting dividers, cut to length and snapped the wires in place one at a time. The wooden spars are functional and well able to kept everything lined up. Today, I would use 0.008 - 0.015 thou. brass dipped in Hobby Black or heavy duty fishing line. I would also drill my pilot holes completely through the wing.
Step 8
For the propellers I used extra items from the Glencoe 1/48 scale Albatros D.III kits (there were two in each kit). Another option would be the propellers in the Eduard 1/48 scale Albatros D.V or D.Va kits. The originals were skinned in plywood sheeting so no laminations were seen. I used fine mesh screen for the scratch built radiator and oil cooling units.
References:
Army uniforms of World War One by Mollo & Turner, Blandford Press. 1977.
Color Profiles of World War One Combat Planes by Apostal & Bignozzi, Cresent Pub. 1974.
Cross & Cockade USA Vol. 13, #3, p. 260, 1972.
Cross & Cockade USA Vol. 19, #3, Pp.203, 207-228 , 1978.
Cross & Cockade USA Vol. 20, #3, p. 284, 1979.
Cross & Cockade USA Vol. 24, #3, p. 216, 1983.
German Giants by Haddow & Grosz, Putnam Pub. 1962 & 1988.
German Aircraft of the First World War by Grey & Thetford, 1962.
Project Riesenflugzeug by Rimell, Scale Models, Feb. 1982, Pp.80-84, (Part 1).
Project Riesenflugzeug by Rimell, Scale Models, April 1982, Pp.184-188, (Part 2).
Scale Model Aircraft in Plastic Card by Harry Woodman, M&A Pub. Argus Ltd, 1975.
The German Army 1914-1918 by Fosten, Marrion & Embleton, Osprey Pub. 1981.
The Nachrichtenblatt der Luftstreitkrafte, Office of the General of the Kogenluft, bi-weekly news reports for the months of April-May 1918.
World War One in Plastic by Brad Hansen, Great Auk Pub. 1979.
I discarded all the kit struts and used modified Contrail Strut stock (sold as a separate item) still sold through Rosemont and Sopwith Hobbies. These were then drilled out at their leading edges and I inserted brass-rod and faired the brass with the remaining airfoil of the Contrail struts. These will of course be ultimately seated in the socket holes drilled into the upper and lower wings. I also used bent and shaped brass-rod in lieu of the kit landing gear struts. Instead of the kit wheels (42 vacuform halves), I used sixteen rubber 5/8 inch ‘O’ rings purchased from a hardware store on four sections of 3/8 wooden dowel (with four ‘O’ ring/wheels each). These four dowel sections should have a hole drilled through them to accommodate the axles also made of brass-rod. Wrap the axles in the ‘V’ legs of the undercarriage with upholstery thread (Canvas/awning shops) to represent the bungee type shock absorbers used on the original. To be very accurate you can add an inverted length of ‘U’ shaped brass-rod above the axles connected to the landing gear legs. The resulting collar restricts the travel of the axles on landing. Add a brace from one under carriage ‘vee’ to the other behind the axle.
Step 5
I also followed Mr. Rimell’s advice and used only the lower halves of the dual whale tail arrangement but balsa wood cores are unnecessary. The tail-camber was inverted, so just sand and fill all the grooves, add rib stations and score/ scribe the control surface separation lines. Use the flat side as the top surfaces. Drill here all of your strut locator and rigging holes. Now mount your tail surfaces using brass-rod for spars/pins to the fuselage and struts for the dual surfaces. I did not use the central fin provided in my kit.
Step 6
I used six sheets of Americal/Gryphon sheet No.3 - Nachtbombengeschwader Camouflage 1917-1918 (II) to entirely cover the Staaken and mixed my own touch up paints to match. For the aircraft I was working on and the splinter camouflage profile I chose, this is the best way to go. Its alright if a polygon colour is a little out of tune with the rest. Remember that these patterns were painted on, not dye printed in the fabric on rollers at textile mills.
Step 7
The rigging can be accomplished with either one of several mediums. I used the smallest gauge piano wire available to me. Roughly 0.013 - 0.018 thou. Originally I drilled halfway through the wooden wing spars and measured with drafting dividers, cut to length and snapped the wires in place one at a time. The wooden spars are functional and well able to kept everything lined up. Today, I would use 0.008 - 0.015 thou. brass dipped in Hobby Black or heavy duty fishing line. I would also drill my pilot holes completely through the wing.
Step 8
For the propellers I used extra items from the Glencoe 1/48 scale Albatros D.III kits (there were two in each kit). Another option would be the propellers in the Eduard 1/48 scale Albatros D.V or D.Va kits. The originals were skinned in plywood sheeting so no laminations were seen. I used fine mesh screen for the scratch built radiator and oil cooling units.
The Diorama
This is a hypothetical account of a proposed air show/display that would have been put on in the first weeks of April 1918 outside Berlin at the Staaken Works. Vendors of dried food stores, beer, baked goods and spirits, were to be invited out. Several Circus companies were to be recruited and with a railroad spur nearby the Staaken factory for everything to be made ready. Old captured aircraft were going to be on display and whole families would have been permitted to have their photos taken on them. Center stage attraction was slated to be the Zeppelin Staaken R.VI. For unknown reasons the idea of the air show was cancelled. My display represents only a segment of the total proposed festivities. The project includes 1x Airfix, 722 x Preiser figures, 27 x different types of Preiser’s products (some in multiples), 1x IHC Carousel #5111 (modified to a 1900 configuration) and 3 x Jordan Highway Miniatures vehicles.The Diorama today
The diorama was placed on long term loan to the Lafayette Foundation Museum in Denver Colorado USA in 1999. During a second photo shoot in 1993 I replaced the Albatros D.Va with a Factory modified 1/72 S.S.W. D.III from the second issue ‘Pegasus’ kit. The Dr.I in ‘Jasta colours’ was replaced with several factory test aircraft of the same type: V.4 w/n 1661, V.6 w/n 1698, V.7 w/n 1788, and 108/17 with a U.I 100hp. The Pegasus 1/72 S.S.W D.III was built alongside the same type Eduard 1/48 scale kit. I scratchbuilt the cockpit of the 1/72nd to match the 1/48th.The Contrail Kit Today
The story of the Staaken won’t seem to die just yet. As recent as December 1998 reports were surfacing amongst the World War Modelers on the webpage forum that a company in the United Kingdom had acquired some or all of the Contrail molds. For a time it looked as though there might be a limited run release of the dreaded vacuform sheets for the R.VI. Dreamers wanted a re-release with white metal parts, strut stock and new decals. It was not to be.References:
Army uniforms of World War One by Mollo & Turner, Blandford Press. 1977.
Color Profiles of World War One Combat Planes by Apostal & Bignozzi, Cresent Pub. 1974.
Cross & Cockade USA Vol. 13, #3, p. 260, 1972.
Cross & Cockade USA Vol. 19, #3, Pp.203, 207-228 , 1978.
Cross & Cockade USA Vol. 20, #3, p. 284, 1979.
Cross & Cockade USA Vol. 24, #3, p. 216, 1983.
German Giants by Haddow & Grosz, Putnam Pub. 1962 & 1988.
German Aircraft of the First World War by Grey & Thetford, 1962.
Project Riesenflugzeug by Rimell, Scale Models, Feb. 1982, Pp.80-84, (Part 1).
Project Riesenflugzeug by Rimell, Scale Models, April 1982, Pp.184-188, (Part 2).
Scale Model Aircraft in Plastic Card by Harry Woodman, M&A Pub. Argus Ltd, 1975.
The German Army 1914-1918 by Fosten, Marrion & Embleton, Osprey Pub. 1981.
The Nachrichtenblatt der Luftstreitkrafte, Office of the General of the Kogenluft, bi-weekly news reports for the months of April-May 1918.
World War One in Plastic by Brad Hansen, Great Auk Pub. 1979.
Comments
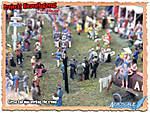
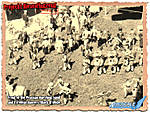
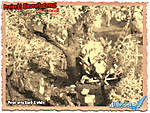
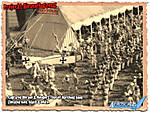
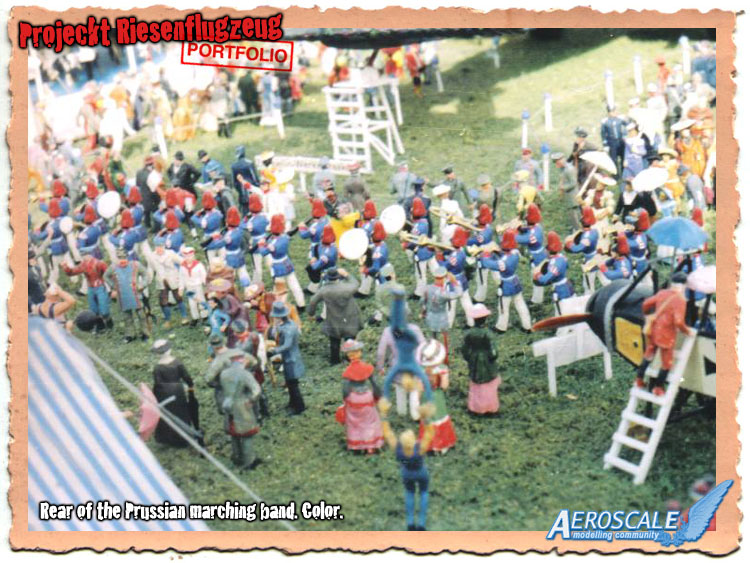 This is another view of the crowd at the back end of the Prussian band. The circus tumblers seem to be warming up for their performance, later in the tent. At the upper left you can just see the circus strongman wiping his head and the barbells that the little girl has lifted over her head. The crowd is displaying mixed emotions. Another great advantage to the Preiser figures is their use of the stance and gestures of the posed figure to convey emotions and activities. Even in this small scale you know whats going on.
APR 08, 2007 - 03:24 PM
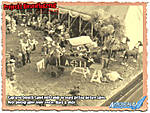
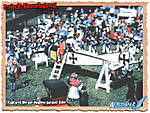
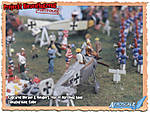
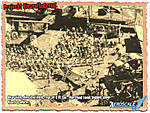
 Here is the other circus tall man between the captured Nieuport 17 A'313 and the SE 5a. More of the figures that appear to be just arriving are seen walking into the diorama. This conveys to a small extent the unseen porton of the diorama. This can be seen here and at the rear of the beer tent area. The one thing I really wanted to portray was the train and passenger cars that were used to ferry the citizens into the area. One was available at a $300.00 USD price tag and with a govt. employee pay check and four (later 5 ) children, I just had to exclude it.
APR 08, 2007 - 03:35 PM
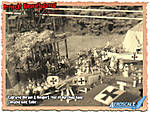
 This represents the experimental Fokker V.4 works number 1661. It is a conversion of the old Revell Fokker Dr.i kit. Wings shortened surface details altered. Ailerons were trimmed to represent the unbalanced versions. Horizontal tail surfaces modified, struts replaced with cut and shaped steel rod. The kit engine was replaced with an Aeroclub 110hp LeRhone. Cockpit is scratchbuilt. Originally designed as a biplane and changed in July 1917 to the triplane configuration. It served at a test bed for this configuration. Later after modifications it was sent to Austria to the MAG factory for testing there.
 APR 09, 2007 - 08:59 PM
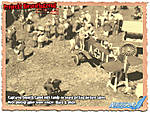
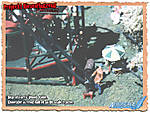
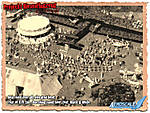
 Here I have depicted a large puppet show of the type popular in Europe around the turn of the century. In the front a magiciqan performes the spinning ring gag. The puppets seen at the top of the "stage" are Preiser "N" gauge figures also 1900 era. At the lower left you can see the 'Tramp" clown and a beat up Hydrogen bottle for the children's balloons. Helium was the export of the USA and preWWII though safe was not cheap. So in Europe Helium was almost never used. As with the rest of the diorama one can see everything from swimsuits to uniforms. Children and wives often dressing in sympathy to their father/husband's uniform.

APR 12, 2007 - 03:47 AM
 Now we have come full circle. The Revell Fokker Dr.I triplane initially installed was replaced. I had it in Jasta 36 markings with the name "Thor" on the top wing. I had actually decided early on to replace the model but as it suffered the same damage as the Albatros D.Va the choice was made for me.
 APR 14, 2007 - 07:26 AM
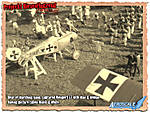
 These were the items I grouped together to replace the original Dr.I. I was faced wit adding more figures or more aircraft top fill the space. As mentioned before I had been building the testbed aircraft for the Triplane configuration and decided to include. Here we have a model representing the rebuilt 101/17 , w/n 1697 (it was tested to destruction in the eval phase of the prototypes.) out front, Dr.I 108/17, w/n 1776. Not much is known about this machine but it might have been the first production trainer of the type. No guns and a Goebel Goe.II 100hp rotary. The last airframe is w/n 1788 with the big four bladed prop and 11 cylinder Seimans Halske SH.III. This is the first airframe of four called V.7. The engines were white metal items from Aeroclub. The four bladed prop was made from two spare Airfix Hannover CL.IIIa types. They were Lincoln log cut and matched together.
 APR 14, 2007 - 07:43 AM
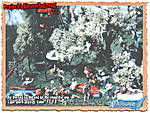
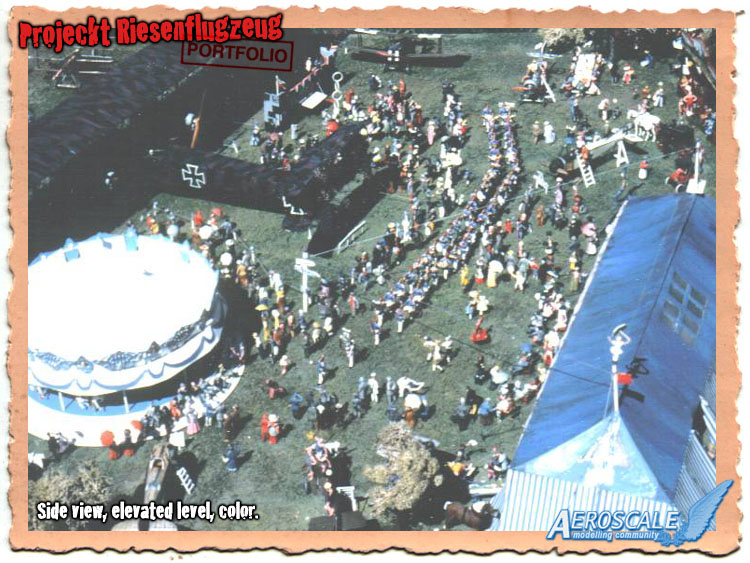 It finally happed just as I was about to sign off on this thread. . . Someone has asked me. ". . . Hey Stephen whats in the tent?. . "
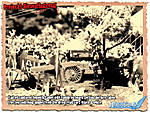
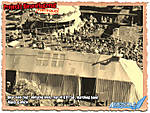
Just about everything. At one end the simulated bread and food stores from the various Preiser kits involved carts, crates and pallets. Like the blue and white canopy wagon under the tree. At the other end a wall of art works and a sculptor hard at work. ( Another sculptor was used at the puppeteer in the outside stage. ) In between the two settings in the tent are tables and chairs and at the back of the tent centrally a stage with a small room for a doctor and nurse to perform physicals and an Army recruiter. (who would have thought at a carnival hosted by the military. . . Men hauling in sacks and crates, vendors selling and even by the recruiting station. . . more beer kegs.
It finally happed just as I was about to sign off on this thread. . . Someone has asked me. ". . . Hey Stephen whats in the tent?. . "
Just about everything. At one end the simulated bread and food stores from the various Preiser kits involved carts, crates and pallets. Like the blue and white canopy wagon under the tree. At the other end a wall of art works and a sculptor hard at work. ( Another sculptor was used at the puppeteer in the outside stage. ) In between the two settings in the tent are tables and chairs and at the back of the tent centrally a stage with a small room for a doctor and nurse to perform physicals and an Army recruiter. (who would have thought at a carnival hosted by the military. . . Men hauling in sacks and crates, vendors selling and even by the recruiting station. . . more beer kegs.APR 19, 2007 - 03:34 AM
Staaken factory film images.
Production Company: Messter Film GmbH (Berlin)
Copyright:
Federal Archives
Category: EFG1914 - Movies from 1 World War II , film
Giant aircraft "R.VI" (license built Gotha Coach Factory) is pushed into Staaken from the airship hangar, the crew gets into the aircraft; engines in the nacelles are started; launch preparations; civilian passengers go with hand luggage on board, a box is from the open cars on the plane loaded, start the "R.VI"; aerial photographs of Potsdam, New Palace, Havelbucht, Observatory and Holy Spirit Church;; landing on an airfield (taken from the right engine nacelle) pilot in the open cockpit during flight.
Source: German Federal Archive
AUG 28, 2013 - 12:46 PM
Copyright ©2021 by Sephen T. Lawson. Images also by copyright holder unless otherwise noted. The views and opinions expressed herein are solely the views and opinions of the authors and/or contributors to this Web site and do not necessarily represent the views and/or opinions of AeroScale, KitMaker Network, or Silver Star Enterrpises. Images also by copyright holder unless otherwise noted. Opinions expressed are those of the author(s) and not necessarily those of AeroScale. All rights reserved. Originally published on: 2007-03-24 00:00:00. Unique Reads: 23083







 The engine Gondola to a Staaken.


