

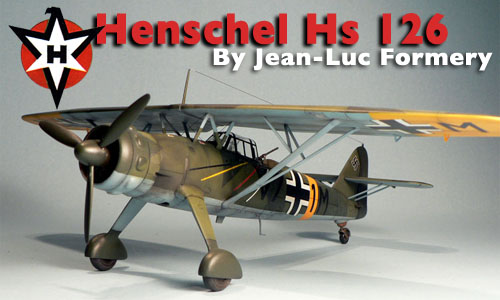
1⁄35Henschel Hs 126
6
Comments
Introduction
I don't know why, but I always liked the Henschel Hs 126 and I always wanted to build a replica of this German WW2 reconnaissance aircraft. It is certainly not because of it's appearance as it is a rather unpleasant looking bird, so it must be something else. Maybe the fact that the Henschel Hs 126 crews must have been very courageous, maybe even bold, to fly their mission in such a fat target for enemy fighters!When Fonderie Miniature announced their intention to do an injected kit of the Hs 126, I was impatient to obtain one and as soon as it was released and I got my sample it landed on my workbench. Sometimes one is simply not reasonable.
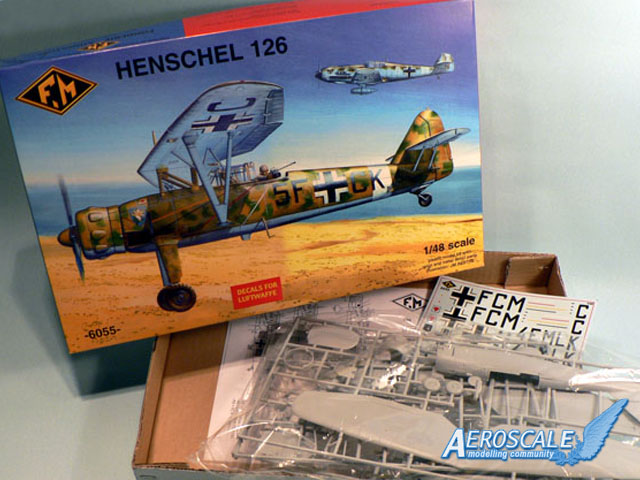
If you want to see what's in the box, you can take a look at the review I wrote some times ago. But to sum up, the Fonderie Miniature is not something for the faint of heart and it belongs to the "if you want to win against me, you will have to fight" category of kits!
Starting the build: the cockpit
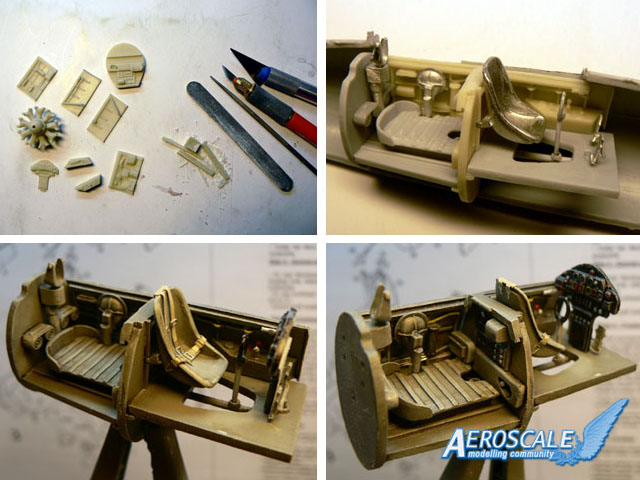
The first task was to get the cockpit interior together. As always with Fonderie Miniature, it is composed of parts of various origins: plastic, resin and white metal. But whatever the medium is they are made of, all the parts must be carefully cleaned. The level of detail is very good and this is important because this area will be very visible at the end, especially the observer's station. Unfortunately, the four ammunition boxes are too big and it is better not to use them all. I decided to use two smaller ones I found in my spare box. Seatbelts are not provided in the kit so I used some from Eduard (early type). The cockpit was painted RLM 02 (the Hs 126 was mainly used in the first years of the war), then drybrushed and weathered a little with a wash of tinted future and some pastel powder.I noticed while building the kit that the instrument panel was looking very similar to the one provided in the Hasegawa Bf 109 kits. In fact it seems FM used the original part to do the master, only changing the layout of the instrument gauges. Anyway, if you want the instrument panel to fit inside the fuselage later, you will have to cut about 2 mm at the bottom of it (see red arrow).
The fit of the cockpit bath-tub, especially the side consoles, is not perfect... far from it! In fact I noticed (once everything was already glued together) that the locator bars of the middle resin bulkhead are offset. This is not a moulding problem but it's due to the fact that the master was badly done. If you don't correct this at the very beginning of the build, the floor of the pilot's cockpit and the floor of the observer's station won't be on level resulting in huge gaps at the bottom. Anyway, after having scrapped as much plastic as I could, and with brute force, I managed to get the fuselage halves together. As you can see, almost all my collection of clamps was needed too achieve this! Fortunately, from above, the difference in slope of the floors isn't that obvious.
Once the fuselage was completed, I noticed the rudder was noticably offset. Damn, another bug in the Fonderie Miniature kit? Well, not really, because on the real aircraft the entire tail (horizontale tailplanes included) was offset by 2°, probably to counter the torque effect of the Radial Bramo engine. So this time the French manufacturer got it right.
Getting an acceptable surface finish
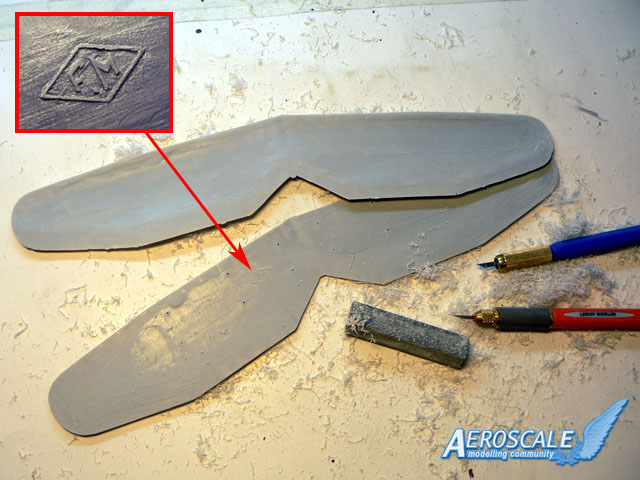
Ok, now that the cockpit was completed and the fuselage was in one piece, I could move ahead to the more "serious" part of the build: the surface finish. Believe me, to get something acceptable with such a short run kit, a lot of sanding, filling and rescribing is necessary. If you neglect this aspect of the construction, the model will look bad, even more so if you put it on display near a mainstream kit!First thing to do is to thin down the wing parts. Don't fear to remove as much plastic as possible, the more the better, especially on the trailing edges and the ailerons. The surface of the latter is really bad (see review) so sanding and filling is vital here. Finally, with the help of many clamps, both parts did go together and the result wasn't too bad. Oh, I almost forgot! There is a warning sign inside the wing parts: FM! Now you can't say that you weren't well-informed.
The wing was left aside for the glue to dry and I started to work on the fuselage. It was first sanded smooth and I must say I didn't bothered about loosing the panel lines as my intention was to rescribe the whole thing anyway. I also deleted most of the relief details because they were rather vague and out of scale. I replaced them with engraved panel lines which, in the end, look more convincing I think.
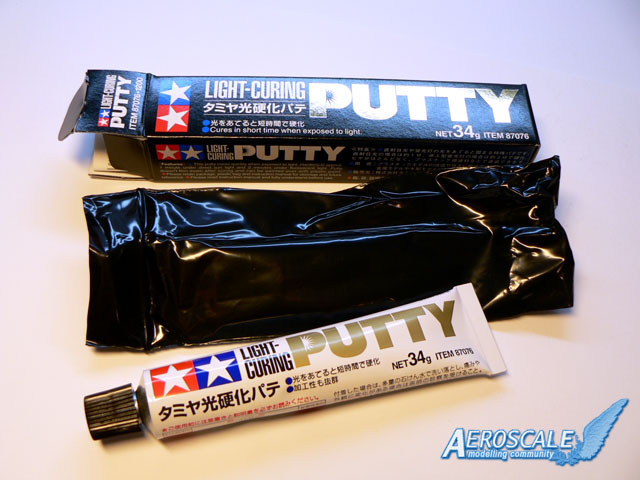
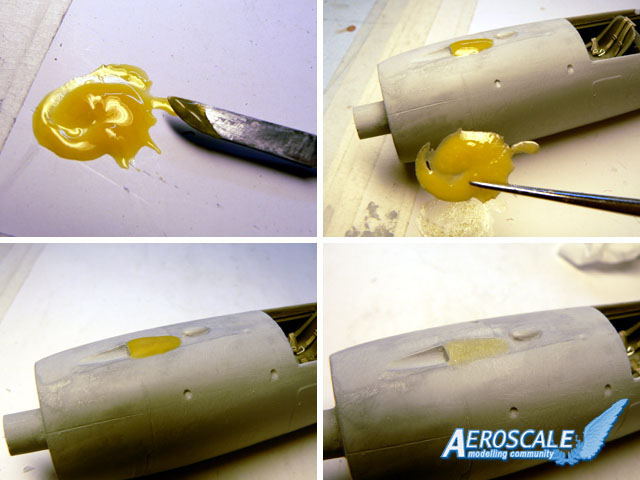
For this build, I used Tamiya's new Light Curing Putty for the first time. It's very expensive but also very effective. Once exposed to natural or fluorescent light it cures in approx. 2 minutes, allowing you to work almost instantaneously on specific areas. I used it to work on the forward gun opening for example (it is the yellow stuff on the pictures). The Putty is a bit more difficult to apply than the usual grey Filler, but I recommend it nevertheless.
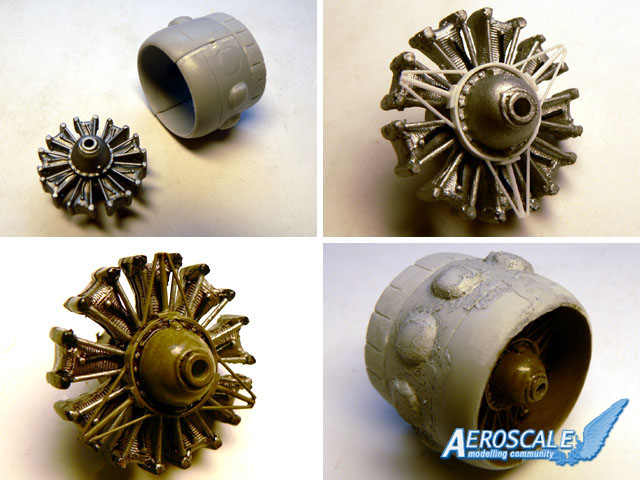
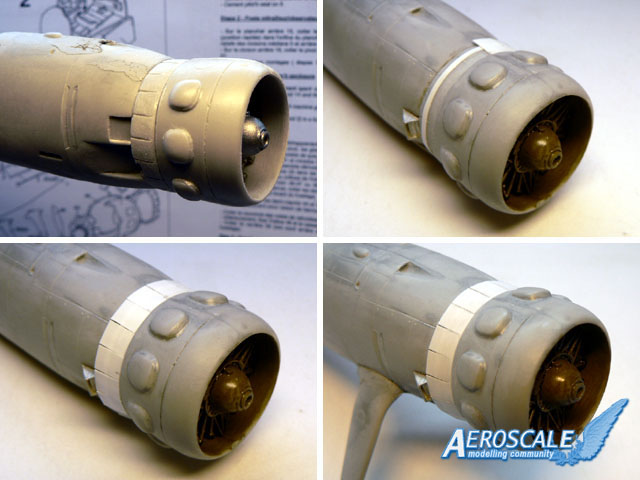
Now that both the wings and the fuselage needed some drying time, I decided to complete the powerplant sub-assembly. The engine is only composed of one resin part which is obviously the replica of an injected plastic part from a mainstream kit. I added the pushrods made from plastics rods and also scratchbuilt a triangular attachment frame for the circular cowling. The latter is composed of two main parts and three additional bumps. These bumps are in fact the fairings for the cylinder heads and I must say they look terrible in the FM kit! Here also I used a lot of filler and I had to "tone" them down because they are much flatter on the real aircraft. The original cowling flaps of the kit are not much better and I made new ones out of thin plasticard for a better result.
I then glued the horizontale tailplanes to the fuselage, making sure to keep them 2° offset. Unfortunately it is only at this time that I noticed that the rudder was leaning on one side, making the tail to look somewhat odd. I didn't managed to take a good picture of this so I made a drawing wich explains the problem of the FM kit. Of course, I had to do some surgery to get the rudder straight. Honestly I don't know if this is a result of bad engineering or if it the kit parts were only warped in my sample, but it's something I should have checked before getting the fuselage sides together as it would have saved me a lot of additional work.
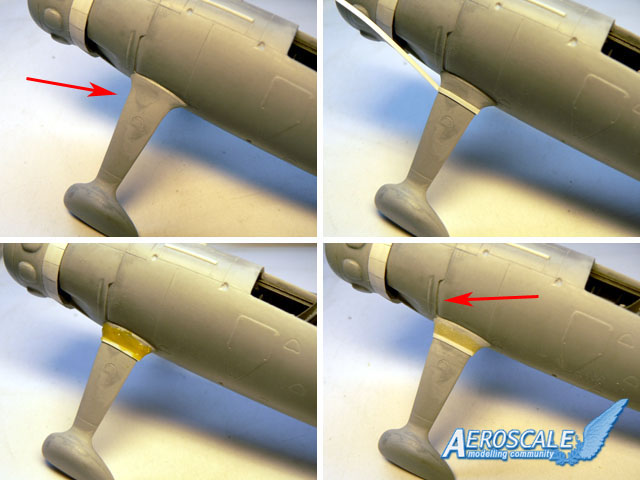
Anyway, the first stage of the build was complete once the landing gear legs were fitted to the fuselage sides. I'm not an "accuracy fanatic" but I added a fairing on the landing leg's root which FM have ignored. This is an important detail because the suspension system on the Hs 126 was inside the fuselage so the legs had to remain flexible and not fixed to the airframe, only the fairing was. While I was there, I moved and reshaped the louvres on the fuselage sides to their right locations: just above the landing gear along a panel line (see red arrow). Ok, call me an "accuracy fanatic" now if you want...
The fun part: painting and decaling
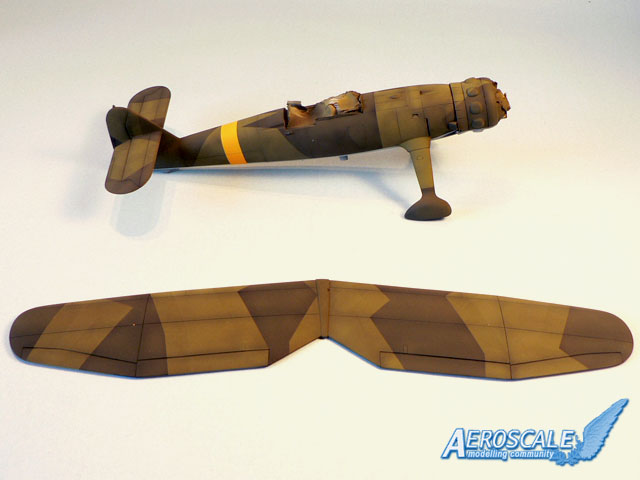
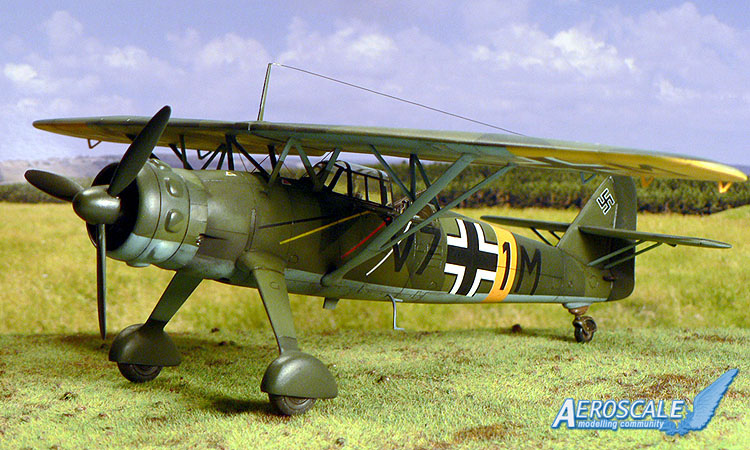
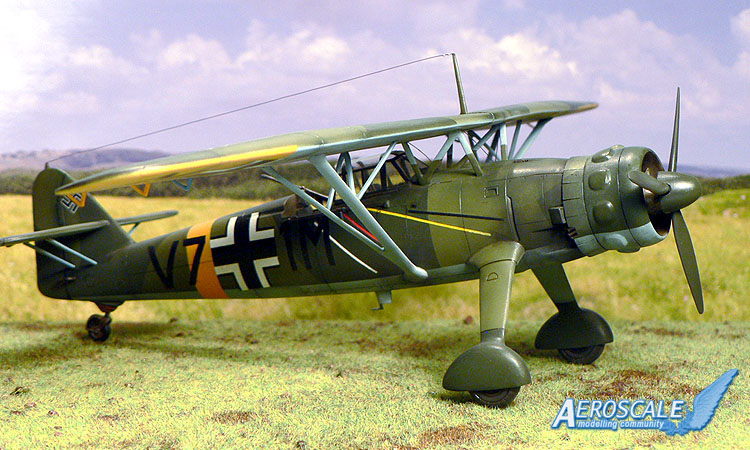
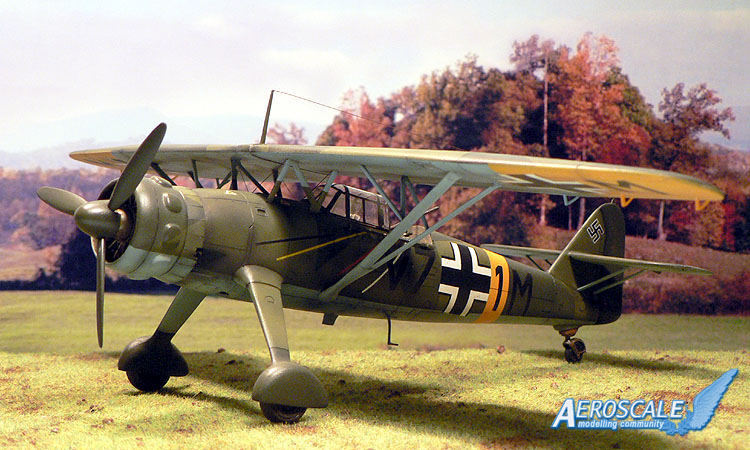
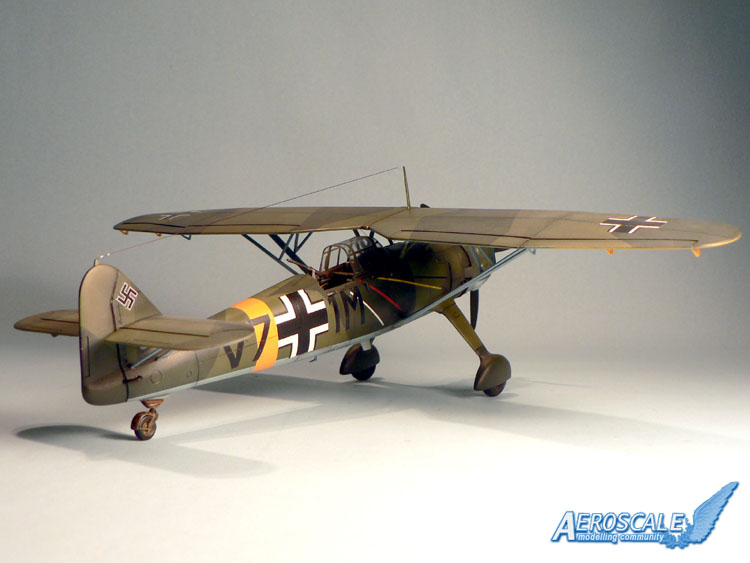
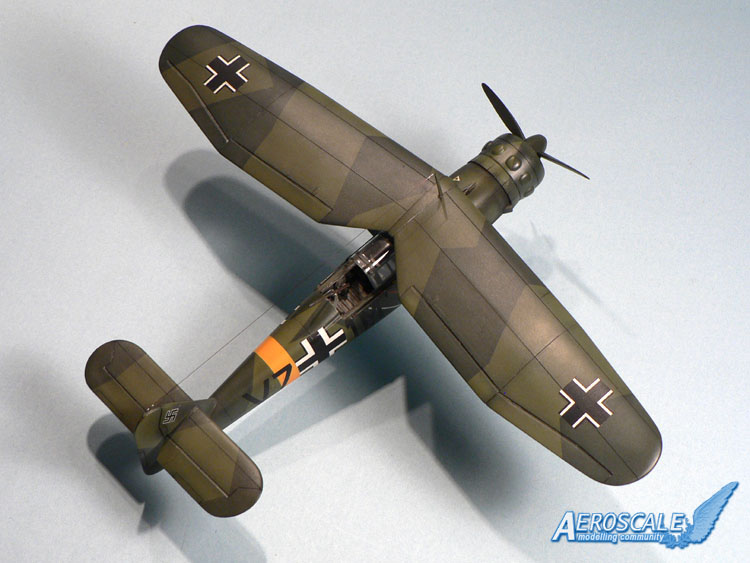
At last, after several hours of building, sanding, filling, rescribing, scratchbuilding etc... it was time to do something easier: painting! I first wanted to do the desert scheme of the boxart, but finally I decided to do a more common RLM 65/70/71 camouflage instead.I sprayed the model to check for surface imperfections. Some areas needed an extra coat of filler but overall I was satisfied with the result. Then I pre-shaded the model and applied the Light Blue undersurface color (a mix of Tamiya acrylic paints). After the undersurface color was masked I applied the RLM 70/71 uppersurface splinter camo. Since I opted for a decoration of a machine that served on the Russian front, yellow tactical markings were also applied (fuselage band and wings tips). This particular plane V7 + 1M is supposed to have been shot down by Boris Safonov in August or September 1941.
Once the paint was thoroughly dry, I sprayed several coats of future and applied the decals. The bigger ones (fuselage and wing crosses) went on quite well but the smaller ones silvered badly and I had to make a lot of adjustments with a small brush. Since the decoration I choosed wasn't provided in the kit I had to do some letters by myself with decals cut in pieces. I think the fuselage cross and letters are oversized in the FM kit but this is nitpicking...
At this stage I slightly weathered the aircraft and did the panel lines.
The painful part: getting the parasol wing in place
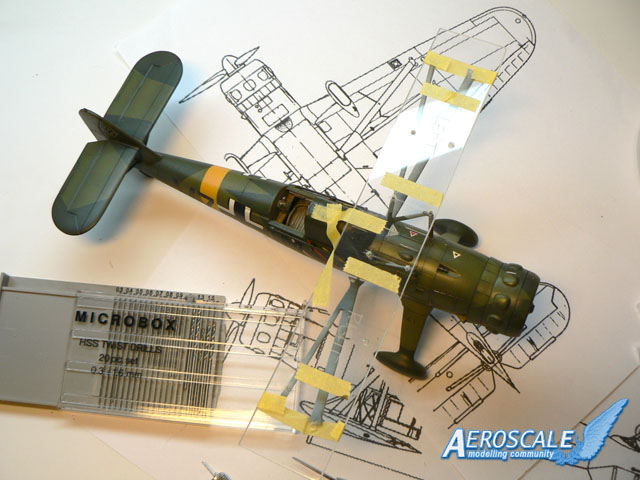
I don't know if it was a good decision or not, but I choosed at the very beginning of the build to paint the fuselage and the wing separately and glue the sub-assemblies after. Making the contrary would have allowed me to adjust the parts much easier but the painting would have been more difficult. Anyway, here is how I did:- I filled all the locators on the wing (I did this before painting)
- I made a jig out of plexiglas to replace the wing.
- I then glued the N struts to the fuselage the most precisely I could (I used plastic cement).
- I drilled the holes for the bracing wires.
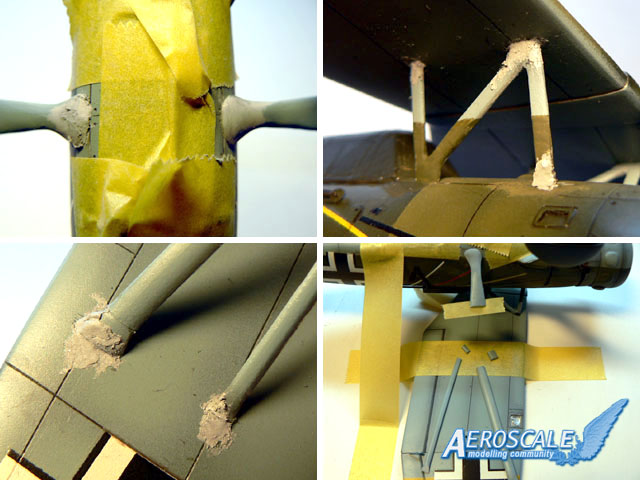
- I glued the main V struts to the fuselage (I had to shorten one to be able to center the wing)
- I filled, sanded and painted the struts to fuselage attachment points.
- I drilled new locators in the wing and glued it to the struts.
- I filled, sanded and painted the struts to wing attachment points.
- I attached the other N struts on the V struts.
- I placed the bracing wires.
Getting the wing attached to the fuselage on the Fonderie Miniature Hs 126 kit wasn't the easiest thing I did in my modeling life, but it worked. Of course don't do this if you had a hard day at work or the model will end in the dustbin! Especially the bracing wires gave me a lot of trouble as there is really not much working room between the fuselage and the wing. I can assure you that many french swearwords left my mouth during this stage of the construction!
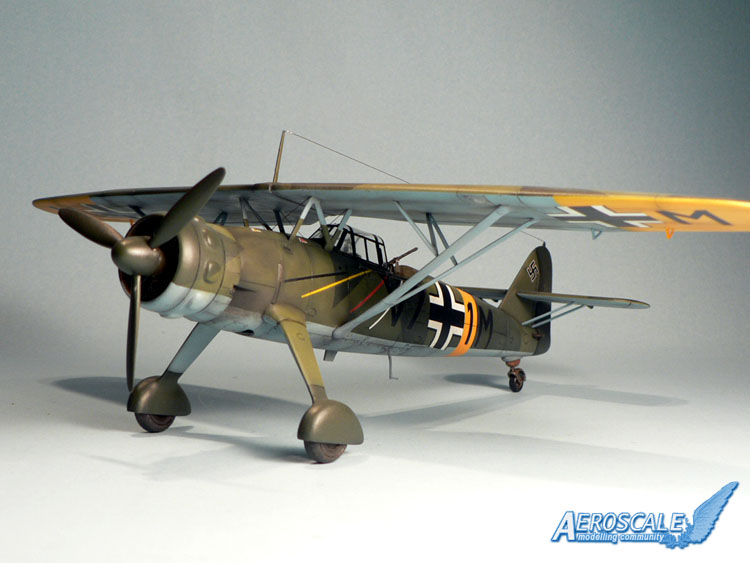
Anyway, the most difficult part of the build was behind me and all that was left to do was to glue the detail parts such as the access ladder, the antenna mast with the aerial wire, the scratchbuilt aileron actuators, the horizontal tailplane struts, the vacuform canopy, the defensive armament etc... Final touch was to do some weathering with pastel powder (not much) and the model was finished. If you don't know the Hs 126, you will be surprised by it's size when compared to a single engined fighter. It is twice as big as a Bf 109!
Final words
My conclusion about Fonderie Miniature's kit? I gave it 50% in the review and I think it was fair as the modeler has to do the other 50% himself!The pluses of the kit are the nicely detailled interior and engine, the overall dimensions and shape and the fact that it is the only injected kit of the Hs 126 in 1/48 scale.
The minuses are the bad molding quality of some parts (again see review), the thickness of some parts (wings, rudder, horizontale tailplane etc...), the rendering of the engine cowling and flaps, the vacuformed canopy (pretty rough), the smaller struts, the vague locators, the surface detail etc... so a lot of work is needed to make a good model out of FM's kit. But I guess this is the price to pay if you want to add this rare plane to your collection.
Along with the HiPM Vindicator and the Special Hobby Ju 87 A kits, this was one of the most challenging kit I've built so far.
You can find more infos in the build thread: Hs 126 Vs Bf 109 F-2
Many thanks to Steffen Arndt (alpha_tango), Neil Page (FalkeEins) and Jan Bojarp (Lucky13) for their support and help during this build.
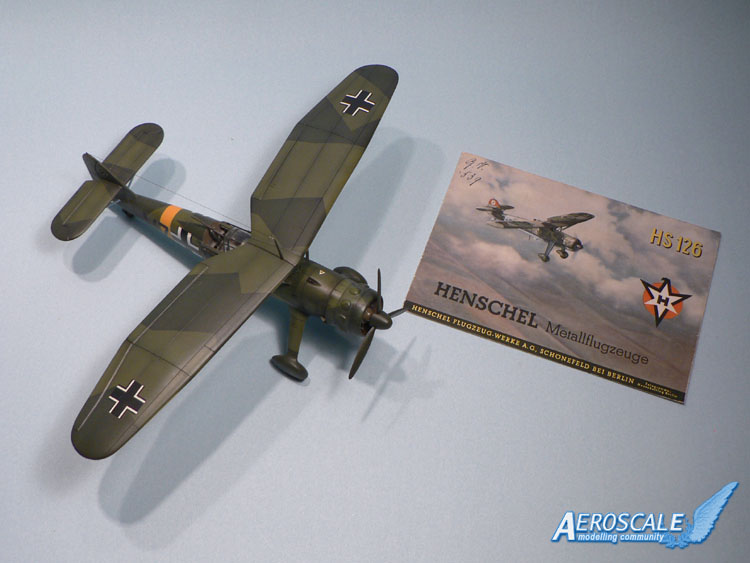
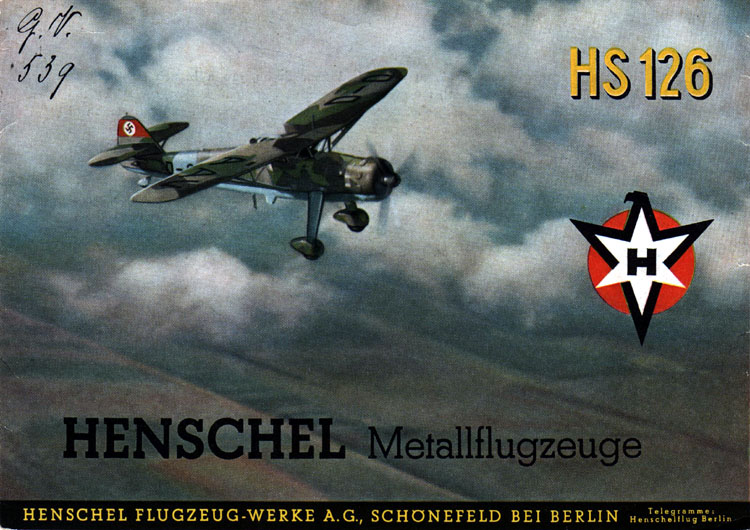
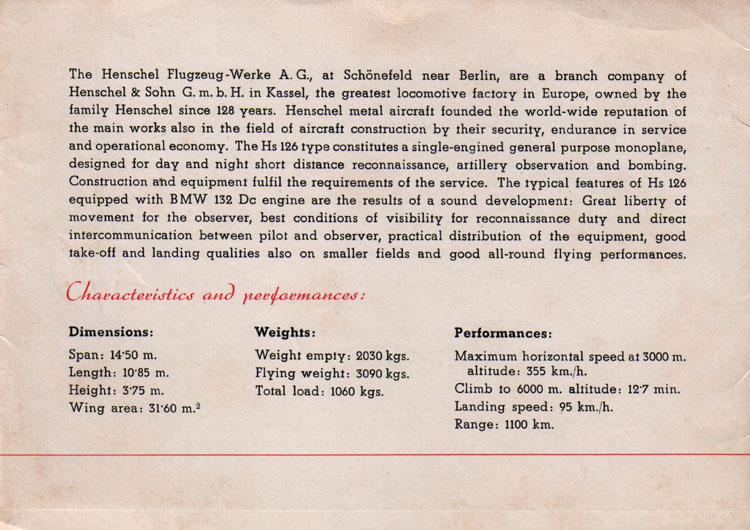
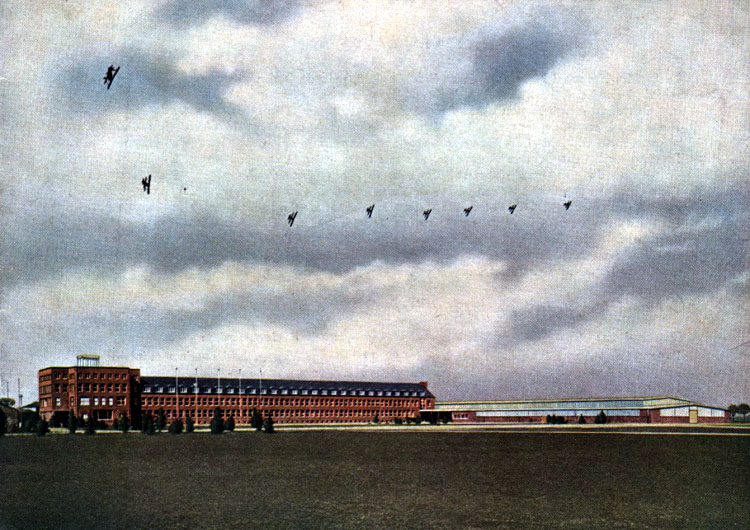
Some pictures of this feature are excerpts from an original Henschel brochure of the late 30'.


About the Author


FROM: MOSELLE, FRANCE
I'm mainly interested in WW2 aircraft and I build them in 1/48 scale.
Comments

Hi Jean-Luc
Awesome! That's a great article about a stunning bit of kit-building! I take my hat off to you! It's really inspiring - admitedly, not inspiring enough to make me run out and buy the FM kit(!), but really inspiring!
All the best
Rowan
MAR 26, 2007 - 02:14 AM

Great build - a great result from what is apparently a kit for the experienced modeller. I will build a few more Bf 109s before I tackle this one.
Thanks for sharing
MAR 26, 2007 - 11:31 AM

Hi all!
Thanks for your kind words!
Rowan, if I understood you well, it's inspiring... not to buy and build the kit! I hope the guys of Fonderie Miniature don't visit Aeroscale and read this!
Jean-Luc
MAR 26, 2007 - 09:37 PM
Well done Jean Luc.... truly!
Talk about turning a sow's ear into a silk purse......
I will never complain about all the work that I've put into my Czech Model T-34 ever again!
MAR 29, 2007 - 12:52 AM
Copyright ©2021 by Jean-Luc Formery. Images also by copyright holder unless otherwise noted. The views and opinions expressed herein are solely the views and opinions of the authors and/or contributors to this Web site and do not necessarily represent the views and/or opinions of AeroScale, KitMaker Network, or Silver Star Enterrpises. Images also by copyright holder unless otherwise noted. Opinions expressed are those of the author(s) and not necessarily those of AeroScale. All rights reserved. Originally published on: 2007-03-26 00:00:00. Unique Reads: 16949

WEB HOSTING BY


Copyright ©2021 AeroScale and Kitmaker Network, a subsidiary of Silver Star Enterprises
All Rights Reserved. Please read our Conditions of Use and Privacy Policy.
All Rights Reserved. Please read our Conditions of Use and Privacy Policy.