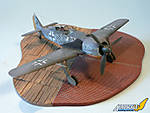
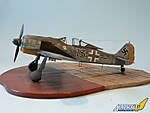
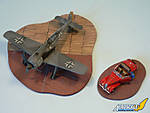
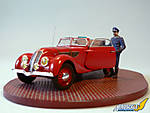
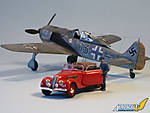
1⁄48Priller's BMWs
5
Comments
Introduction
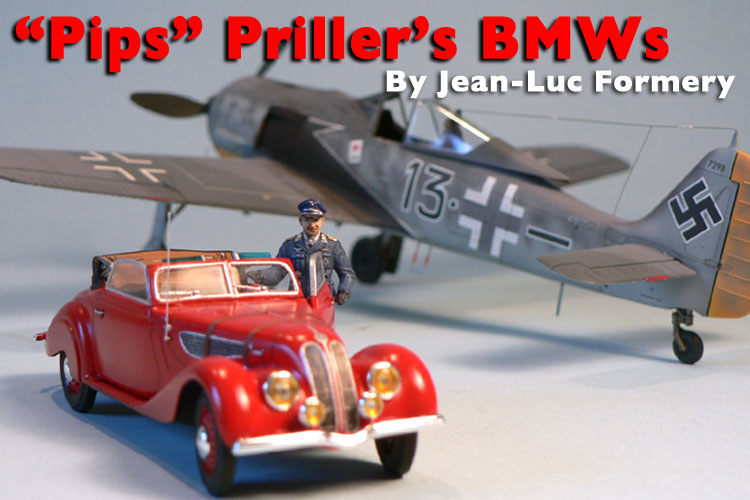
A few months ago (or was it already over a year?) Hasegawa announced the release of a Focke Wulf Fw190 A-5 in 1/48 scale. While this was good news in itself for WW2 Luftwaffe fans, the fact that a BMW 327 car was to be included in the kit made the aircraft diorama crowd even more impatient to see it hit the shelves. Here is a full build feature of what is a splendid kit. A first look review of the kit can be found here.Basic construction of the Fw 190
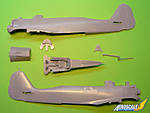
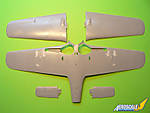
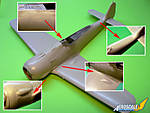
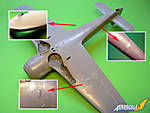
Fuselage halves and cockpit: I glued the exhausts on the fuselage halves and filled two access panels on the starboard side as per instructions (these are for the A-8 version). A smaller one will have to be relocated and rescribed later. The interior sub-assembly is composed of the cockpit tub, two side consoles, two rudder pedals, one control column, one seat, the instrument panel, the head armor plate and the canopy slide frame. There is also a canopy actuator wheel (glued inside the right fuselage half) and the Revi gunsight.Wings: I cleaned the parts and added the underwing bulges. Filler was needed because the inserts don't always follow the aircraft's panel lines. I noticed while reading the instructions that I've probably made a mistake in my review. I thought that the optional underwing bulges present in the kit were for the A-6 version. In fact it seems this is not the case. I also noticed that the fuselage was designed by Hasegawa to allow them to do the A-8 variant in the future.
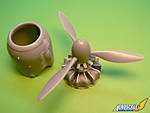
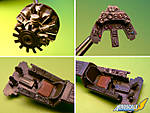
Engine and cowling: the engine in the Hasegawa kit is not as detailed as Eduard's version. But in this case the level of detail is appropriate since the engine bay is not supposed to be displayed open. In the pictures, what appears white on the engine are replacement rods. While separating the original part from the sprue, I broke 3 rods from the 14 and 3 more broke when I tried to fixe the first ones... Since the plastic of the kit is very brittle I decided to replace all of them with evergreen rods. The cowling is made of 5 parts and here too filler was needed because the parts don't always meet at "natural" panel lines.
Landig gear: the gear bay insert is composed of four parts and is very convincing. The landing gear is nicely detailed with realistic looking actuators.
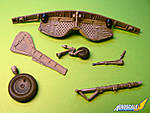
External parts an additional fuel tank is provided with the attachment rack. Two gun barrels, an access ladder, an antenna and a pitot tube will have to be added at the end of the build given the fragile nature of these parts.
Obvioulsy Hasegawa designed their Fw 190 kit so that it is easy to build. There are not many parts but the level of detail is good. After only a short time, the various parts were ready to be painted in their appropriate colors and the fuselage halves ready to be glued together and fitted with the wings.
Assembly of the the Fw 190
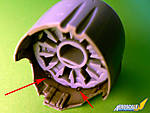
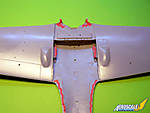
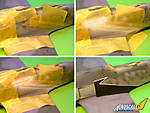
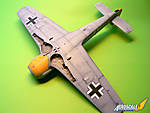
The engine and the cockpit have been painted as per the kit's instructions. The engine, as I said previously, is basic but will be mostly hidden by the propeller hub and the cooling fan. The instrument panel looks very nice and the cockpit detail is good. I will add Eduard seatbelts later. For the landing gear bay. Some drybrushing and a good wash was my receipt to get this result. The engine is very easy to fit into the cowling but you must take care not to push it too far forward otherwise the cooling fan will stand proud at the front of the plane. I adjusted the engine on my model so that the locators are barely visible (see red arrows on photo).To achieve an almost perfect "wing to fuselage" fit, you don't have to add too much glue. I only applied some on the areas marked in red (see photo). I didn't applied any cement on the wing roots to avoid glue smears. On the photo you can also notice the locators on the upper wings parts. They were very effective in improving the fit! Once the fuselage, the wings, the engine "power-egg" and the horizontal stabilizers have been assembled together, one can realize that the fit is very good and only a minimal amount of filler is needed, mostly in areas where inserts have been used. Some plasticard was needed on the rear fuselage bottom because there was a noticable gap.
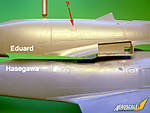
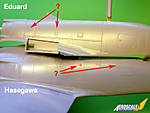
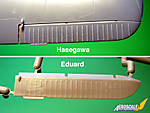
To add fuel to the debat about the overal surface detail, I've compared the Hasegawa and Eduard kits. The fabric representation is very similar in both cases if somewhat overdone in the Hasegawa kit. It can be toned down with some sanding though. Eduard do have the habit to provide fuselage halves that match a specific version in their kits while the Japanese manufacturer prefers to use a more modular concept. This means in the latter case that you will have to fill and rescribe some panel lines. However (for the A-5 kit at last) it seems that some filling and rescribing will also be necessary on the Eduard Fw 190 kit if you want a 100% accurate result.
Painting and decalling of the Fw 190
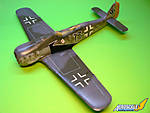
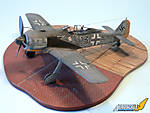
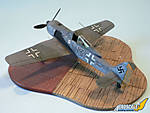
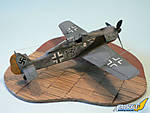
I applied the RLM 74/75/76 camouflage as per instructions. It seems that the fuselage cross was lighter than usual on Priller's aircraft so I painted it as Hasegawa suggested (RLM 75). The white will be applied as a decal later. The yellow theatre markings as well as the "eagle wings" on both side of the fuselage have been painted on the model by using masks. The whole model was then "Futured" and I was ready for the fun part of the build: applying the decals. The latter are typical Hasegawa: not bad but a little on the thick side. I cut away as much carrier film as I could to avoid silvering, especially on the white fuselage and wing crosses, but in some places (stencils) the result isn't perfect.Next step was to do the panel lines (dark brown tinted Future applied with a 00 brush) and the model received a coat of Future + Tamiya Flat Base. I added some exhaust and cordite stains (pastels) and very little paint chipping on the wing roots and on the cockpit opening because I suppose "Pips" Priller's Fw 190 did receive a special treatment by the ground crew and was kept very clean.
Construction of the BMW 327
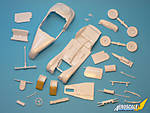
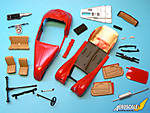
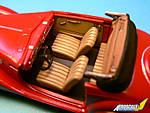
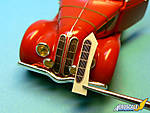
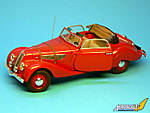
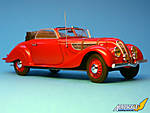
Preparing the BMW 327 model doesn't require a lot of work, mostly seperating the parts from the sprues and cleaning them. Everything receives it's respective color and main assembly will be done later. The yellow stuff on the back of the seats is Tamiya Epoxy Putty. I used it to simulate fabric, otherwise there would have been an empty space left here.Hasegawa's BMW 327 kit is lovely, I really enjoyed building it. The fit is very good and construction pretty straightforward. The only bad point are the decals again. Some are simply unusable on the kit because they don't conform to the relief surface. I had to paint the engine grills for example. I used a dark wash and the result is quite similar but more realistic in my opinion.
The car was built mainly out of the box. I left the chrome plated parts like they were so you can make yourself your own opinion about them. I replaced both the antenna and the leather stripes provided in the kit though. The wire for the antenna was to thick for my taste so I used a thinner one. The "leather" provided by Hasegawa in the kit was useless so I used Cammet masking tape (1mm) painted in brown. I sanded the tyres because otherwise the car would have looked like a "ballerina" (Thanks to Andy and Steffen for pointing that out).
The Priller figure
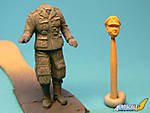
It is composed of four parts: body, arms and head. I left the head seperated because painting would be much easier this way. First, the body received a coat of blue grey and a lighter drybrushing. The head was painted in a basic flesh color. Then I applied the silver, gold, white and black colors of the details (insignias, medals, etc...) and finally the figure received a wash (blue for the uniform and light brown for the face).Display base
To display the models, I used bases from Mark58. The brick/wood planks combo was used on Dutch airfields during WW2 so it is rather suitable for a Luftwaffe or RAF aircraft such as a Fw 190, a Me 109, a Typhoon or a Tempest. The smaller base for the car was made by "cutting" to shape a square piece of brick structure also from the same manufacturer. This way I can display the models together or separately. Marc Toillié, the owner of Mark58 now accepts PayPal payments so if you are interested in one of his products, you can write him directly ([email protected])Conclusion
Overall it was a fun and enjoying build. Apart from the decals, I found both kits very good and I highly recommend them. I think that with the addition of figures and equipment from the Tamiya Luftwaffe Aircraft Power Supply Unit set, this kit can constitute the base of a very nice and perhaps more elaborate diorama.Comments
Very nice job, Jean Luc.
I really wish they would release that car as a separate kit though.
SEP 07, 2007 - 10:44 AM
Most impressive work, Jean-Luc! The BMW is the icing on the cake! Well done!
Regards-
Mark
SEP 07, 2007 - 04:12 PM
Hi Dave!
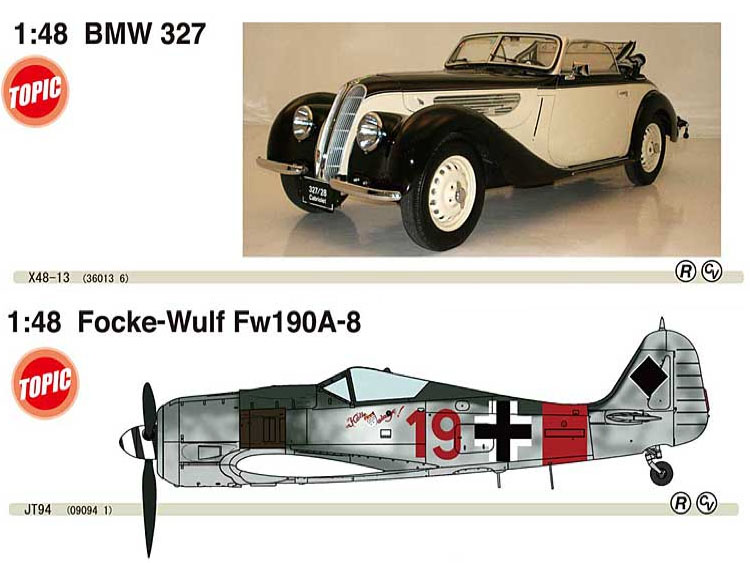
The kit WILL be released separately by Hasegawa and a Fw 190 A-8 is announced too...
 Jean-Luc
 Jean-Luc
 SEP 07, 2007 - 06:01 PM
Copyright ©2021 by Formery Jean-Luc. Images also by copyright holder unless otherwise noted. The views and opinions expressed herein are solely the views and opinions of the authors and/or contributors to this Web site and do not necessarily represent the views and/or opinions of AeroScale, KitMaker Network, or Silver Star Enterrpises. Images also by copyright holder unless otherwise noted. Opinions expressed are those of the author(s) and not necessarily those of AeroScale. All rights reserved. Originally published on: 2007-09-07 00:00:00. Unique Reads: 15887


