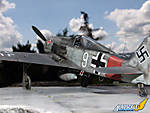
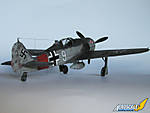
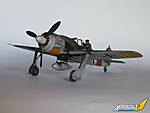
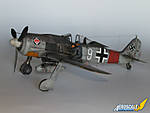
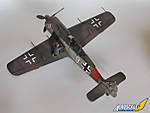
1⁄48Fw 190 A-7
...
Post a Comment
Introduction
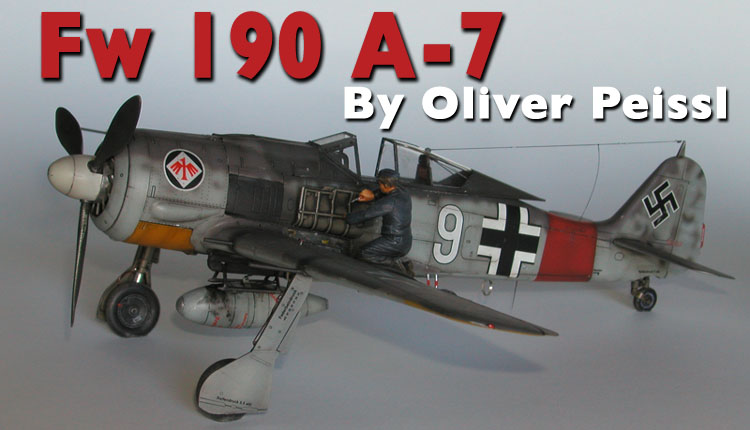
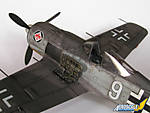
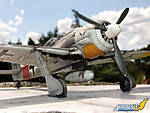
Here is my Eduard Fw 190 A-8, rebuilt to an A-7. finished the model in the markings of Alfred Grislawski, Staffelkapitaen 1.Grp / JG 1 "Oesau". He flew it in the “Reichsverteidigung” from Lippspringe Airfield, Germany, in April. 1944.Construction
The model was built with following updates:- Cockpit photoechted parts from Eduard (From the Box)
- Placards and exterior photoechted set from Eduard.
- Decals from Kagero (Air miniatures JG1).
Under the circumstances that I have a lot of pictures from Alfred Grislawski with signatures I decided to build his Aircraft of JG1.
The kit fitted very well and was a pleasure to build. With Eduard enclosed photoeched parts I built the cockpit with them and I was very happy with it. Very realistic look with these colored parts!
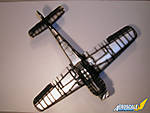
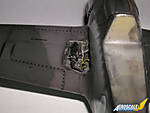
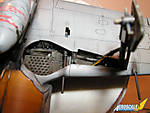
Additionally, I added the parts from the Eduard exterior set for the wheel well and the open weapon bay on portside. I also used this set for the antennas under the fuselage. For the carriage I used the placards, also from Eduard. With all these parts the Model looks really realistic!
The exhausts have also been changed with core cable ends which have been bent.
Painting and Weathering
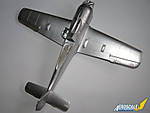
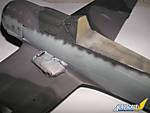
First, Revell 90 Silver was sprayed overall, followed by Gunze acrylics for the camouflage scheme in RLM 74 / 75 / 76. I did not tape the straight camouflage pattern on the wings and the top of the fuselage because with the combination of Gunze colours and Harder&Steenback Evolution airbrush you can reach very fine transitions. On pictures from the original you can’t see any mottles, so I only brushed them lightly on the rudder. I was very happy with the result!Then I scratched and rubbed off the top colour with a sharp blade and a sponge to show the aluminium base. After that I sprayed Tamiya gloss and attached the decals. All weathering (panel lines, oil stains etc) was achieved using grey oil colours. The soot from the exhausts and guns I sprayed with airbrush. Here I used much thinned red brown-black mixed colours for Post shadings. After that I also did that Post shading on every Panel lines and hatches.
Finally everything was sealed with Polyscale flat and all small parts like antennas and wire where fit
Copyright ©2021 by Oliver Peissl. Images also by copyright holder unless otherwise noted. The views and opinions expressed herein are solely the views and opinions of the authors and/or contributors to this Web site and do not necessarily represent the views and/or opinions of AeroScale, KitMaker Network, or Silver Star Enterrpises. Images also by copyright holder unless otherwise noted. Opinions expressed are those of the author(s) and not necessarily those of AeroScale. All rights reserved. Originally published on: 2007-11-06 00:00:00. Unique Reads: 9336


