

1⁄48Fiat G.55A
1
Comment
Introduction
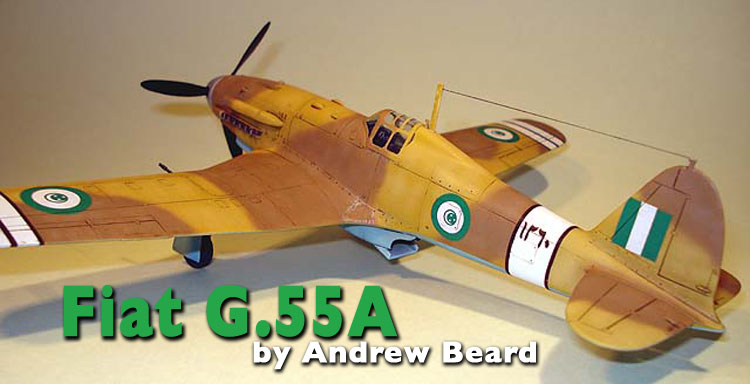
The Fiat G.55 was proof, if it was needed, that the Italian aircraft industry could produce outstanding aircraft. Their pre-war designs all being sound of design but hamstrung by having no powerful engines available. That changed when the Italian designers got the use of license built DB605 engines. In fact Fiats G.55 design was almost without a doubt superior to the Bf109, which was powered by the same engine and also the equal of pretty much any Allied fighter as well. Performance was good and the armament was powerful. Unfortunately Italian industry was in such a poor state that only 107 were delivered serviceable during WW2.What came as news to me was that production was restarted post war. Fiat G.55's were delivered to the new Italian Air Force as well as Egypt, Syria and Argentina. Most became unarmed advanced trainers, but the Egyptian and Syrian aircraft were used as fighters. The Egyptian aircraft definately were used in combat against Israel. Most of the post war armed Fiats had the wartime wing 20mm cannon replaced with 12.7mm machine guns, that definately being the case with the Egyptian aircraft.
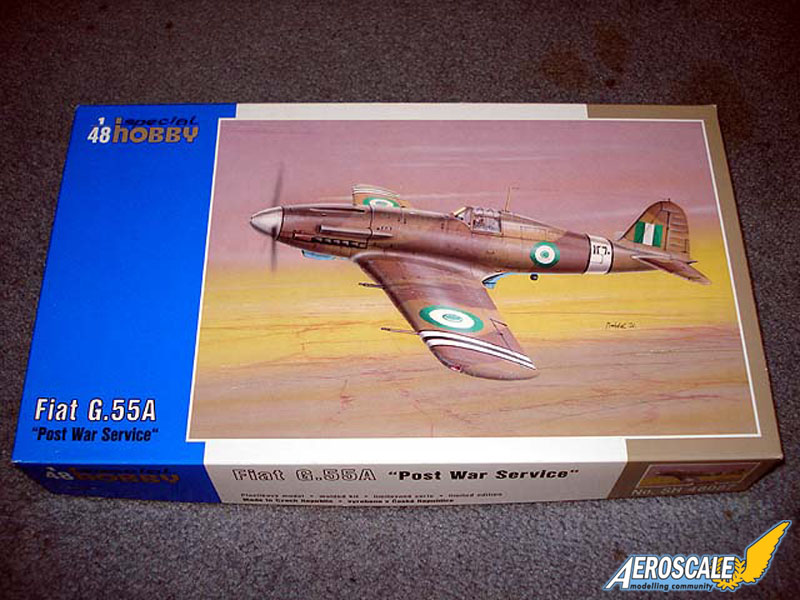
The Kit
This was a pure case of the box art selling a model kit for me! When I saw that Egyptian Fiat in RAF tropical colours i just had to build it.This is the second Special Hobby boxing of the Fiat G.55 that i'm aware of. The first being an intial series Italian version. This boxing is better in my opinion as it supplies all the original plastic parts, plus resin machine gun barrels for post war wings, as well as a resin optional cowling for the unarmed post war trainers. The parts began life, I believe, in Italian company "Flying Machine" boxinges a few years ago. The MPM group produced the plastic for several Italian aircraft for that company. Now MPM seem to be releasing them all under their own Special Hobby brand, which is a good thing as they are much cheaper than the original Flying Machine versions.
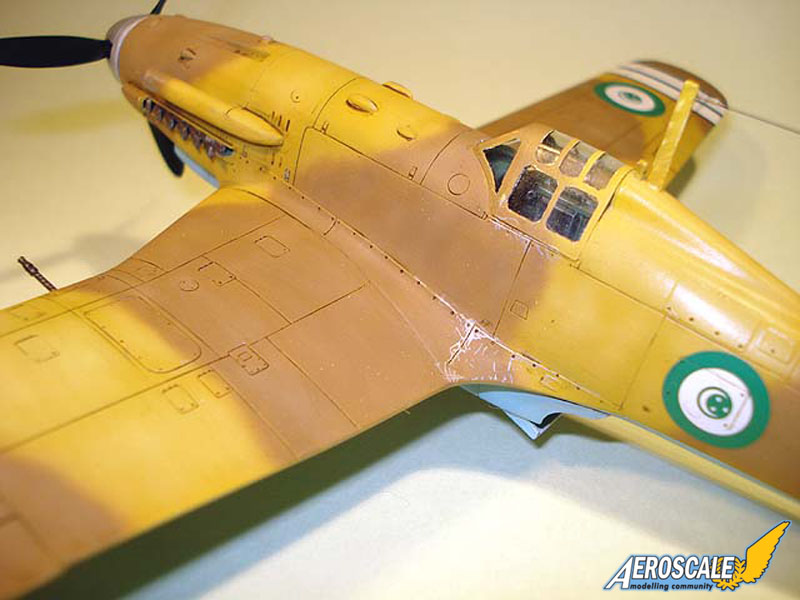
Anyone familar with MPM/Special Hobby kits knows what to expect here. Surface detail and texuring that I believe a lot of mainstream manufacturers would do well to emulate (like Trumpeter for example). The kit also has resin machine gun barrels and smooth unarmed nose cowl, plus a small etch fret mainly for the instrument panel and other small cockpit details.
Decals are ultra thin and well printed by Avi-Print. The Post War boxing comes with 3 markings options: 1. The box art Egyptian version from 1948 2. A post war unarmed Italian machine 3. An Argentinian unarmed trainer
Construction
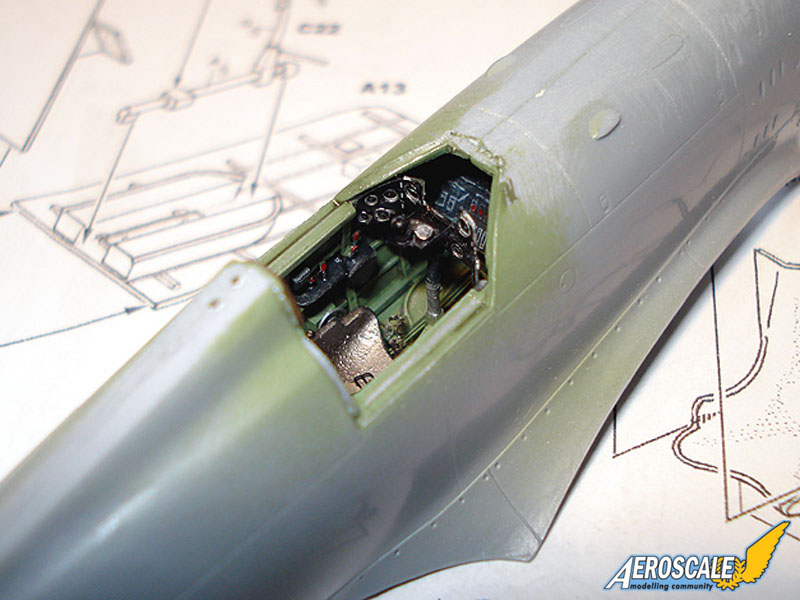
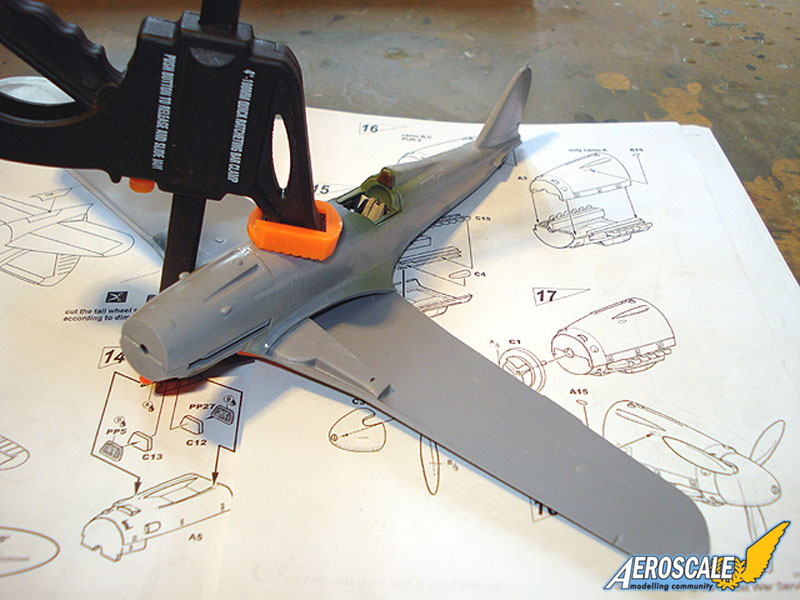
Not much trouble was encountered during construction at all.The kit cockpit is very nicely detailed OOB with brass harness, instrument panels and switches coming from the etched fret. I ignored the instructions and assembled the sidewalls directly to each fuselage side to prevent gaps possibly appearing if it was made as a complete tub. The front and rear bulkheads could then simply be inserted from below after the fuselage sides were already together. This method made sure of perfect alignment.
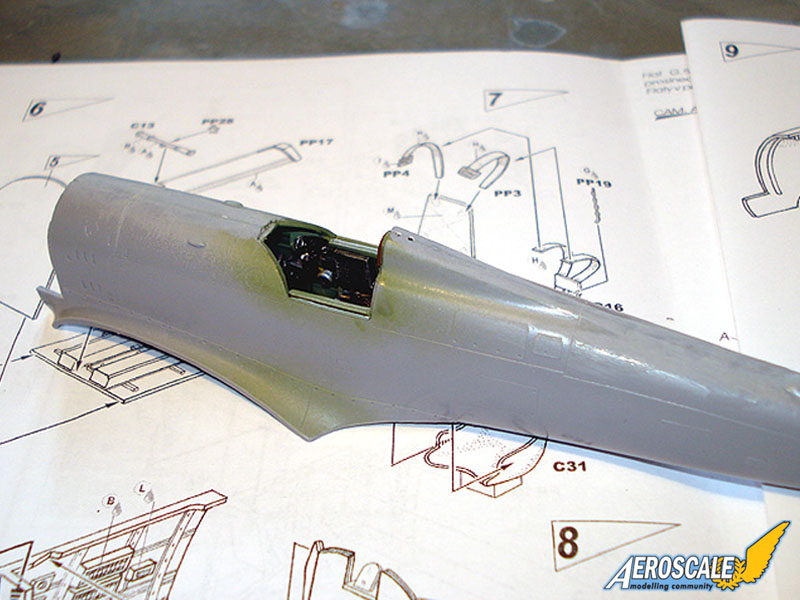
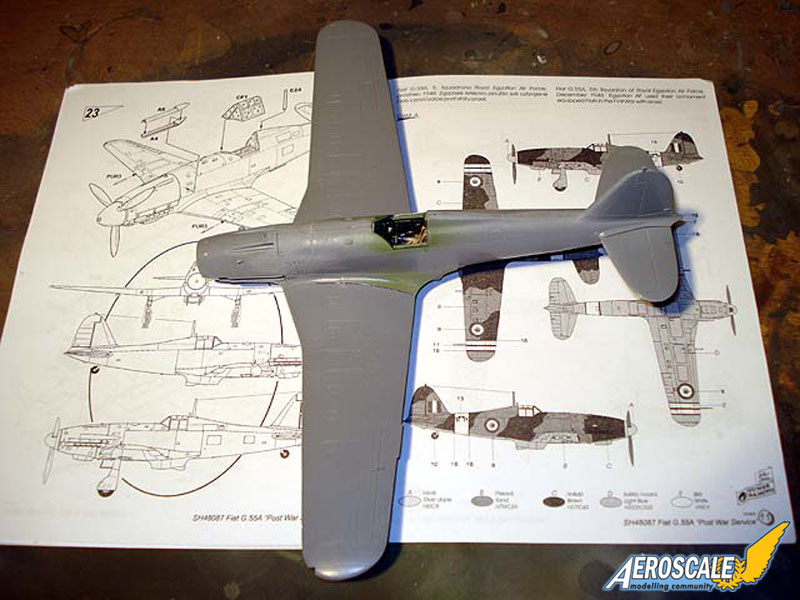
Fuselage halves lined up well, as did the upper nose and rear lower wing join. The lower nose/fuselage/lower wing join was a bit more tricky and did need some sanding, filing and filling. But nothing difficult or drastic. Likewise the upper wing halves, which I added after the lower wing was fitted to the fuselage, needed some modifying along the wing roots to prevent a gap appearing towards the trailing edge of the wing to body join.
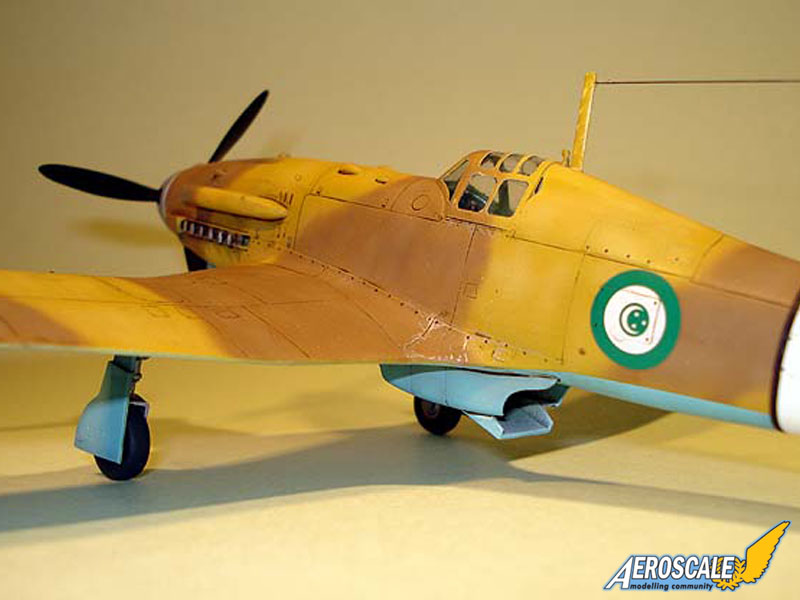
I used the standard plastic nose, as my Egyptian aircraft was an armed machine. Radiators fitted perfect. The horizontal tailplanes did not fit very flush and needed some filling and sanding.
Painting and Markings
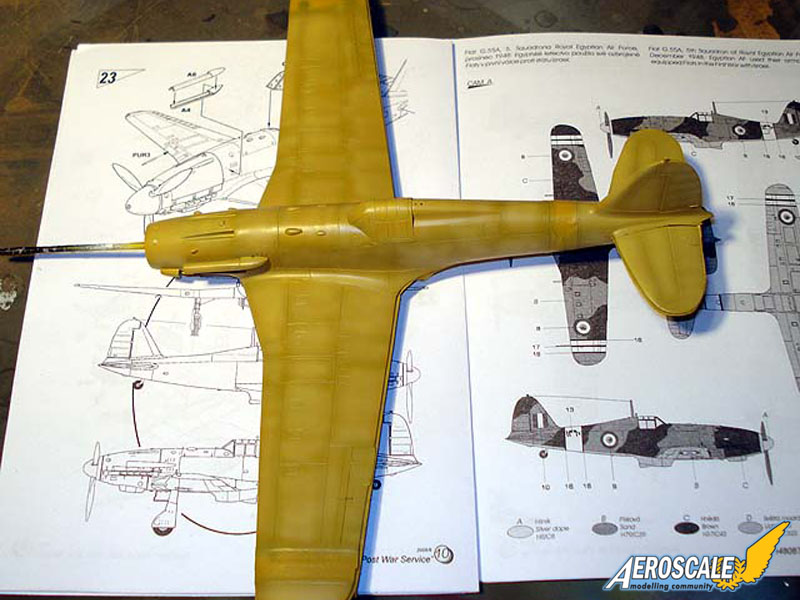
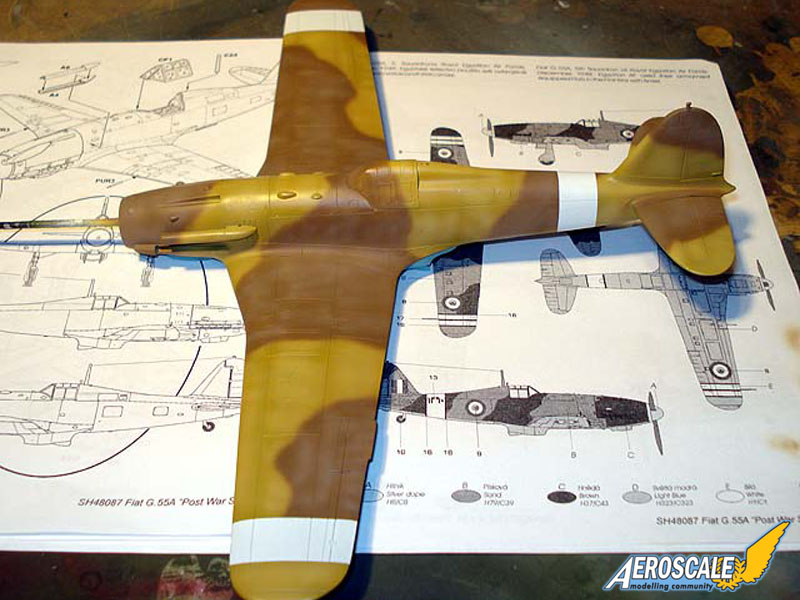
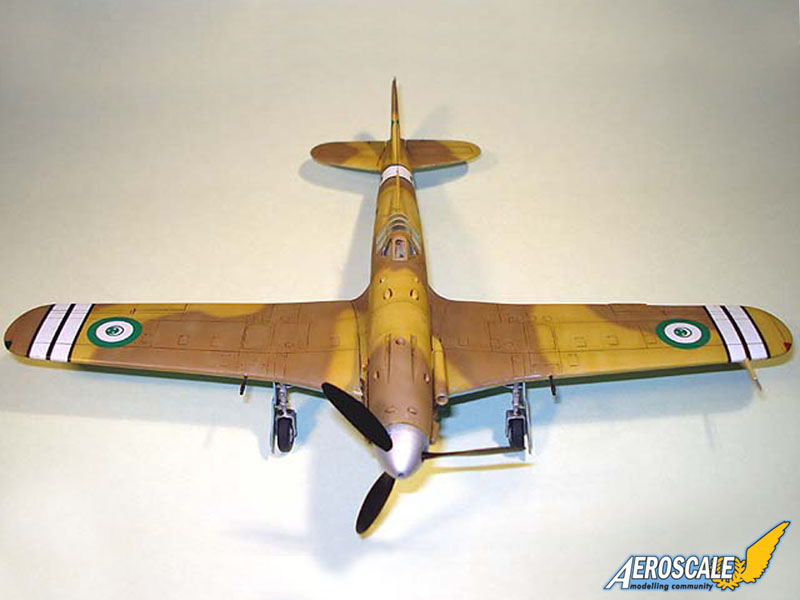
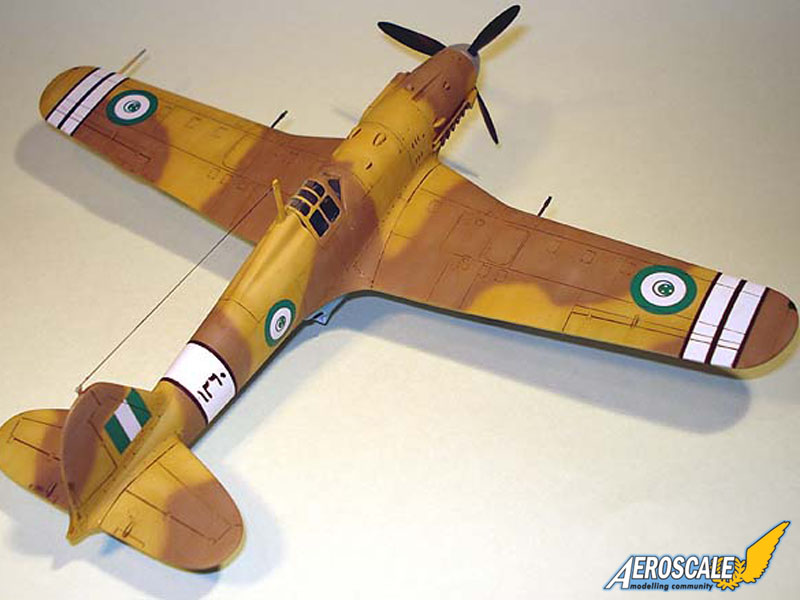
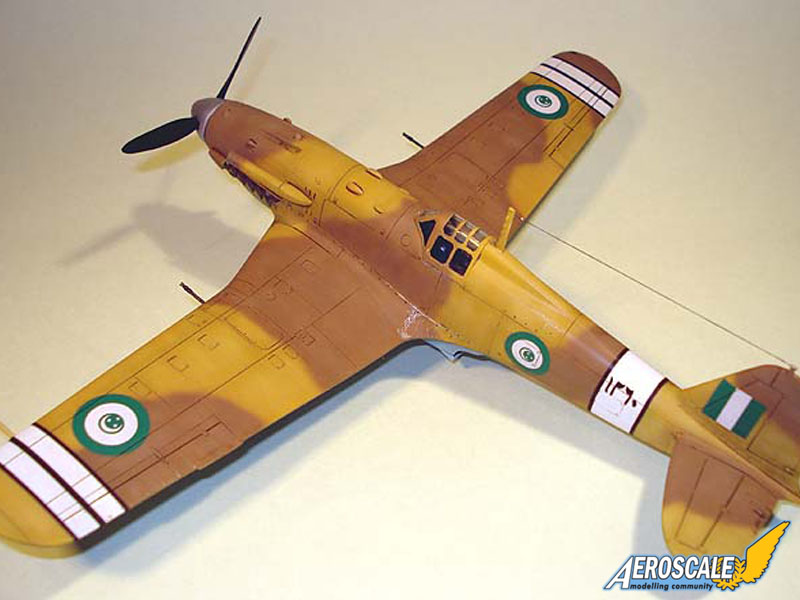
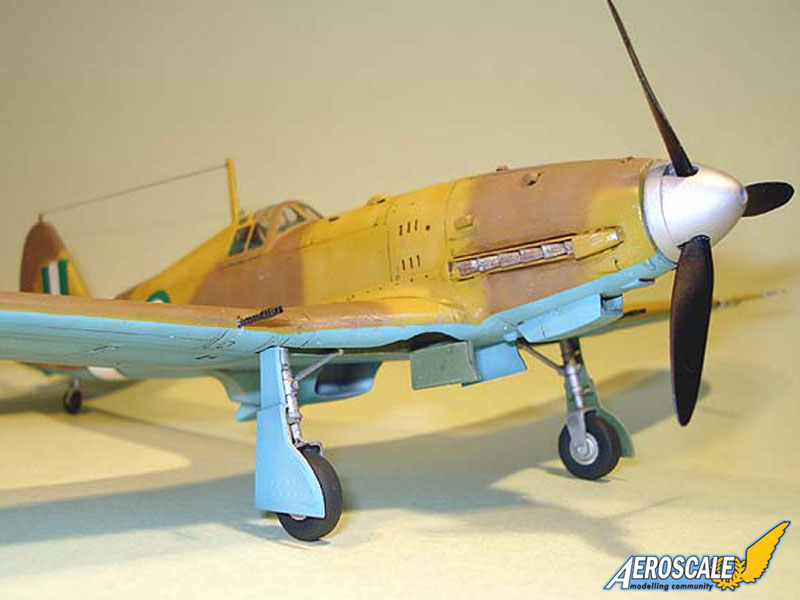
Well it was always going to be the Egyptian option, that's why I bought this model in the first place. Though I'm very tempted now to get another one to do that Argentinian aircraft as well.The Egyptian and Syrian aircraft were painted in those countries stocks of RAF paints. So it was Azure Blue (my own mix of Gunze RLM78 plus some sky blue) lowers with Mid Stone/Dark Earth upper (both Gunze paints). I was going to mask demarcations with silly putty, but decided to be brave and free hand it. My first real attempt at a totally non masked disruptive camo actually, but then it's about time I used the new Iwata for what I really bought it for. It turned out respectable, but some more practice will help no doubt!
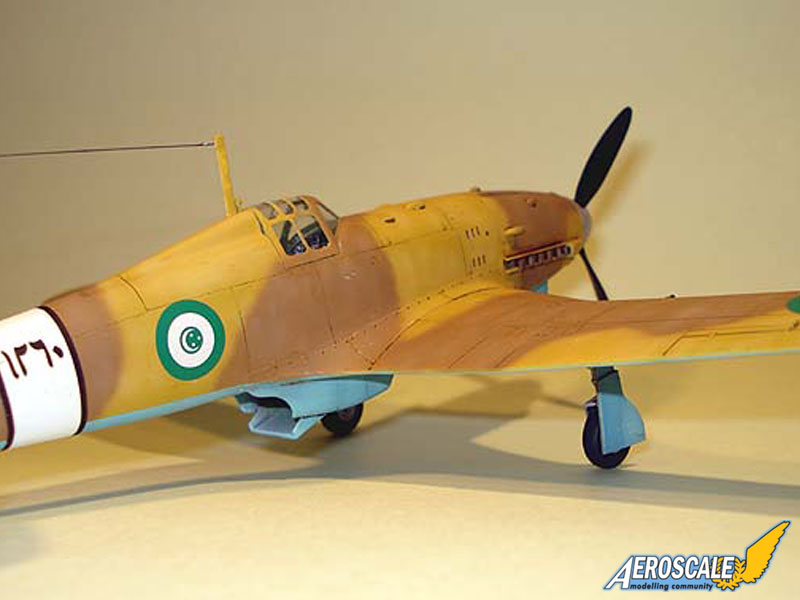
The white stripes were simply masked over the white Tamiya spray primer. The black stripe borders were supplied as kit decals and worked well. Though it's quite possible that the stripe borders were actually green and not black. If you want them green then you will have to mask and paint them instead of using the decals.
The decals were perfectly printed and worked fine. Thought the decal location guide shows the Egyptian upper wing roundels facing the wrong way. Use the box top for correct placement.
Conclusion
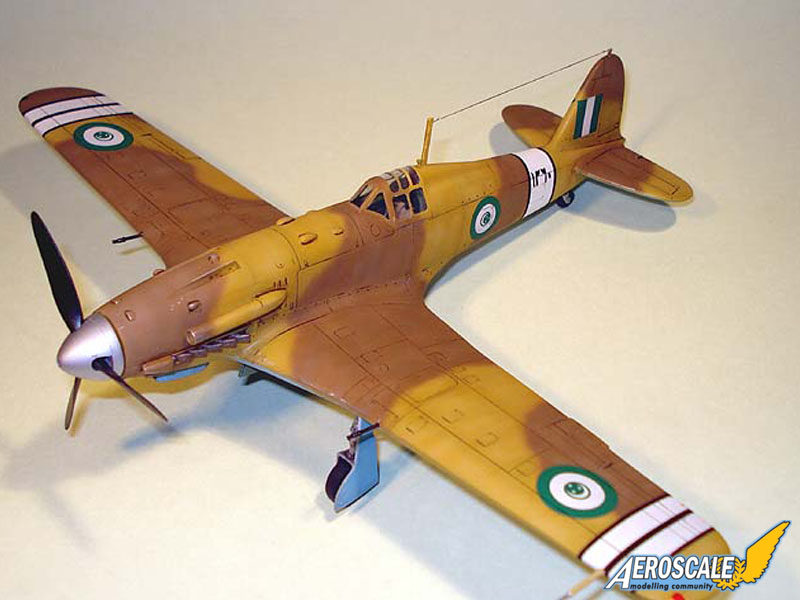
First a few small problems with the finished procuct. I've read where some people say that the fuselage hump aft of the cockpit is not very accurate. I think there could be something to these claims, but it's not too bad and I wouldn't even know about it if it wasn't pointed out to me.After finishing the model I also found out that the antenna mast on post war Fiats was a simple, more slender, wooden version that was left unpainted. Modifying the kit part would be simple enough, but I won't be bothering now that it's done.
And the only part of the kit that is a disapointment for me, the canopy. The framing is too thick and has pronounced rounded corners to the frames. Photos show quite narrow canopy frames with square corners. And I think the middle frames consist of a sliding panel like the Bf109 (so not a real physical frame at all), which makes sense as it has a side opening canopy like the Bf109. I think the canopy does adversly effect the look of that area of the model and fixing it would mean sanding down all the frames and making your own...and I don't enjoy playing with clear parts in that way. Once again i really only noticed this after building the model, I build way to fast to stop for things like looking at pictures.
But overall it's a very nice kit of one of the most amazing looking piston engined fighters ever made. And it's the best Special Hobby kit I've built so far as well. I do want to build that Argentinian Fiat as well...


About the Author

FROM: VICTORIA, AUSTRALIA
Matchbox model kits were the big thing for me when i was 10 years old. I made a mess of all of them i could get hold of, plus lots of Novo and Airfix kits too. When i was 13 i got a Tamiya F1 (Ferrari 312T3) car model for Christmas and i'd never seen anything like it! It was a turning point in t...
Comments

An ultra-slick build of one of the best looking fighters of WW2!
Congratulations!
Magnus
NOV 13, 2009 - 05:18 AM
Copyright ©2021 by Andrew Beard. Images also by copyright holder unless otherwise noted. The views and opinions expressed herein are solely the views and opinions of the authors and/or contributors to this Web site and do not necessarily represent the views and/or opinions of AeroScale, KitMaker Network, or Silver Star Enterrpises. Images also by copyright holder unless otherwise noted. Opinions expressed are those of the author(s) and not necessarily those of AeroScale. All rights reserved. Originally published on: 2009-11-07 00:00:00. Unique Reads: 9775

WEB HOSTING BY


Copyright ©2021 AeroScale and Kitmaker Network, a subsidiary of Silver Star Enterprises
All Rights Reserved. Please read our Conditions of Use and Privacy Policy.
All Rights Reserved. Please read our Conditions of Use and Privacy Policy.