

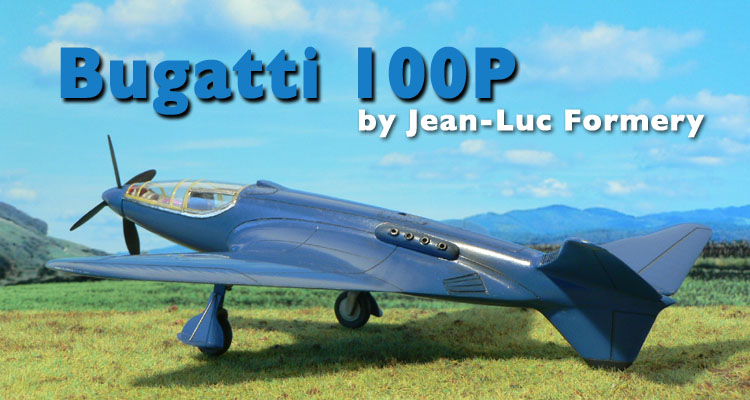
1⁄48Bugatti 100P
4
Comments
Introduction
For the "Marseillaise" Campaigne which took place here on Aeroscale in 2009, I have decided to build Planet Models' 1:48 scale Bugatti 100P resin kit. A review of it can be found here. It's a simple kit with a small number of parts, perfect for a quick build. There's no need to glue the wings and the tailplanes to the fuselage as the airframe comes in one piece. It is only necessary to clean the model to make it ready for the painting stage!History
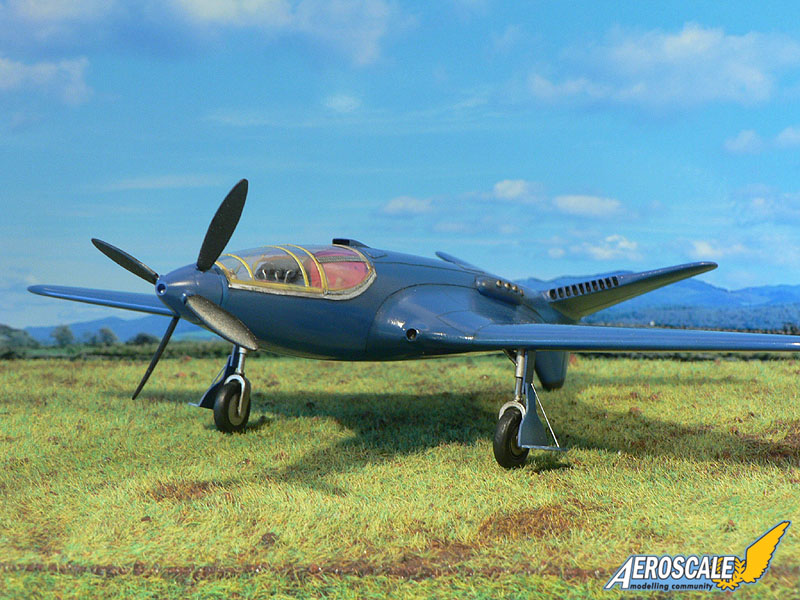
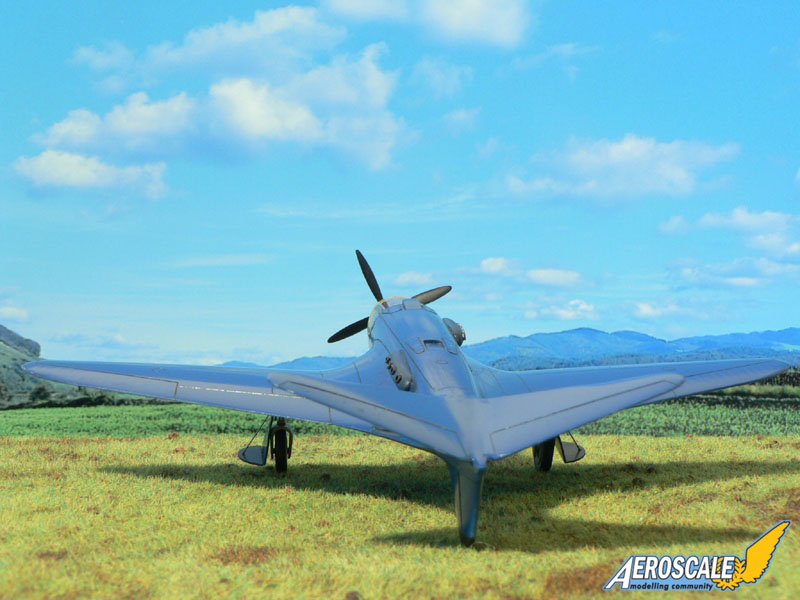
In 1937, the Bugatti 100P was an extremely advanced airplane project designed by the Belgian Louis de Monge for Ettore Bugatti, the famous sportscars builder. The aircraft was build under contract of the French Air Force ministry and two version were planned. The first one was a speedrecord airplane while the second one (110P) was a military version.The Model 100 was nearing completion when the Germans invaded France in 1940. The plane was loaded on a truck and hidden in a barn near the property of M. Bugatti, where it remained for nearly thirty years. Unfortunately it never flew but after going from hand to hand, the restored plane found it's way to the Air Venture museum in Oshkosh, Wisconsin, U.S.A., where it is still visible today.
Construction
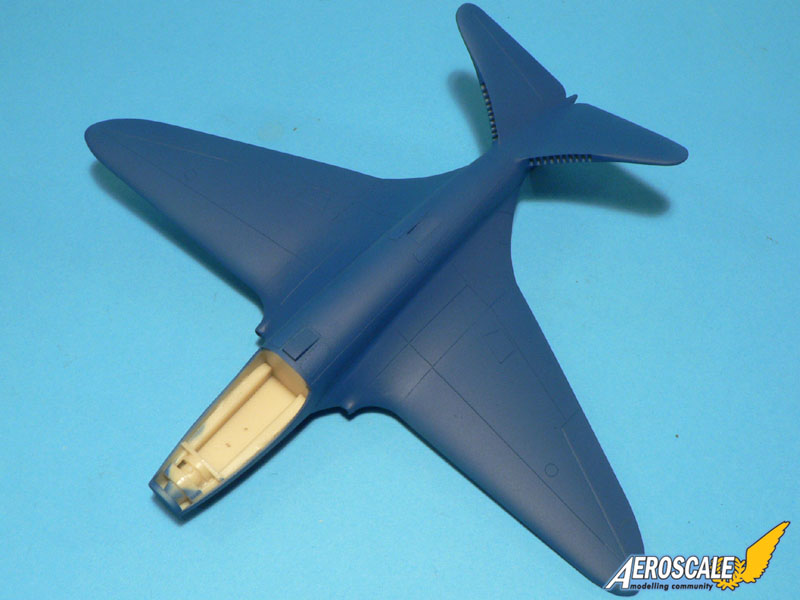
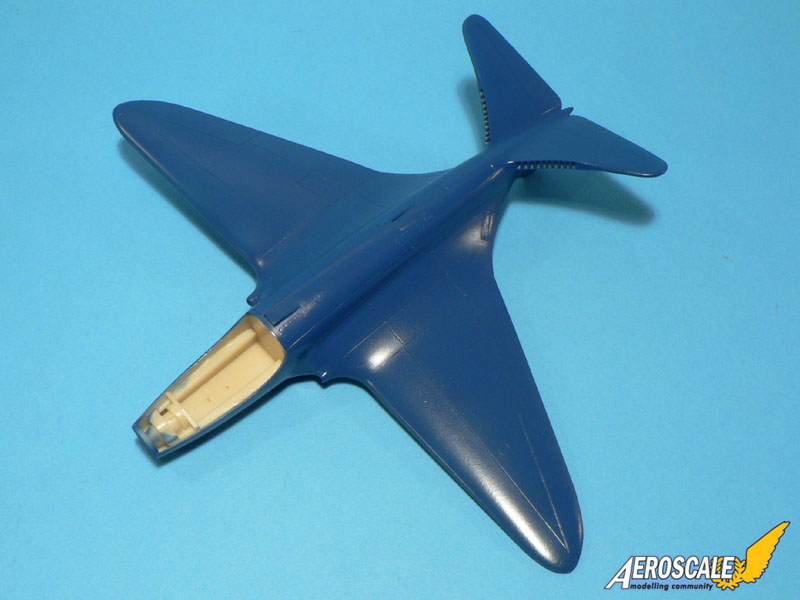
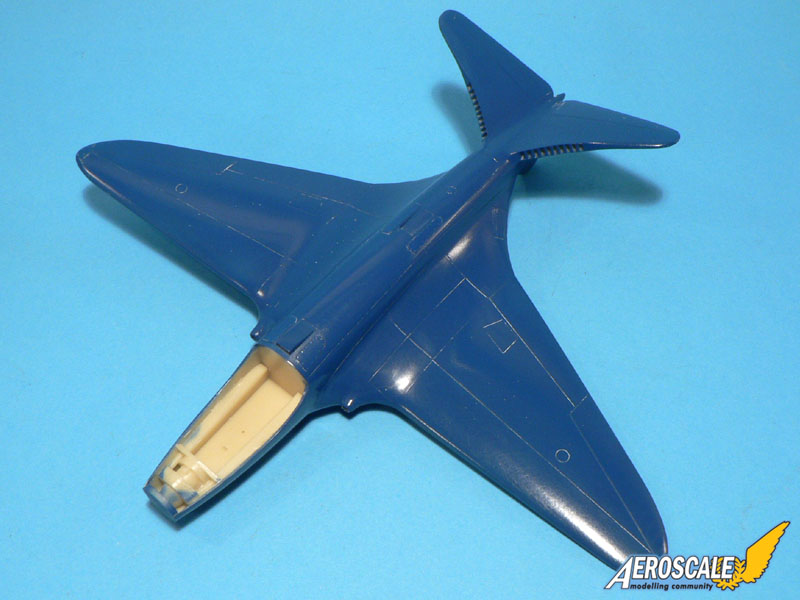
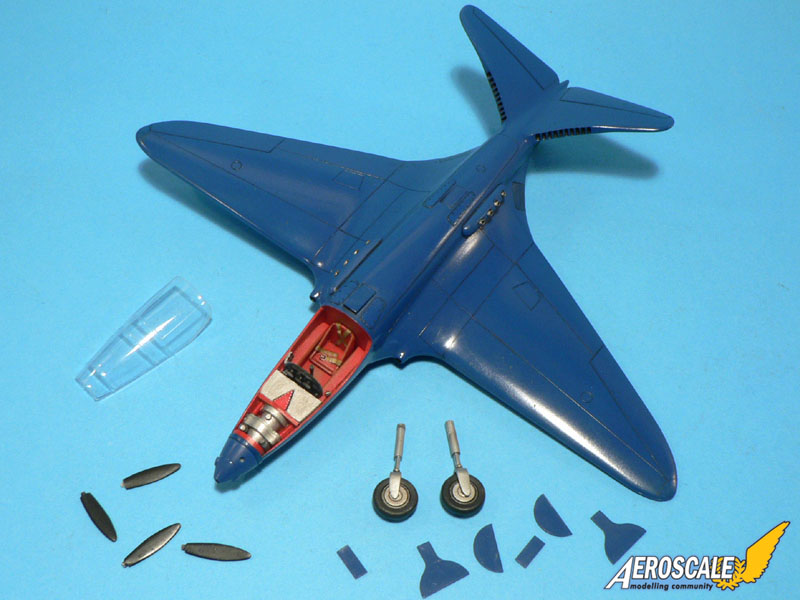
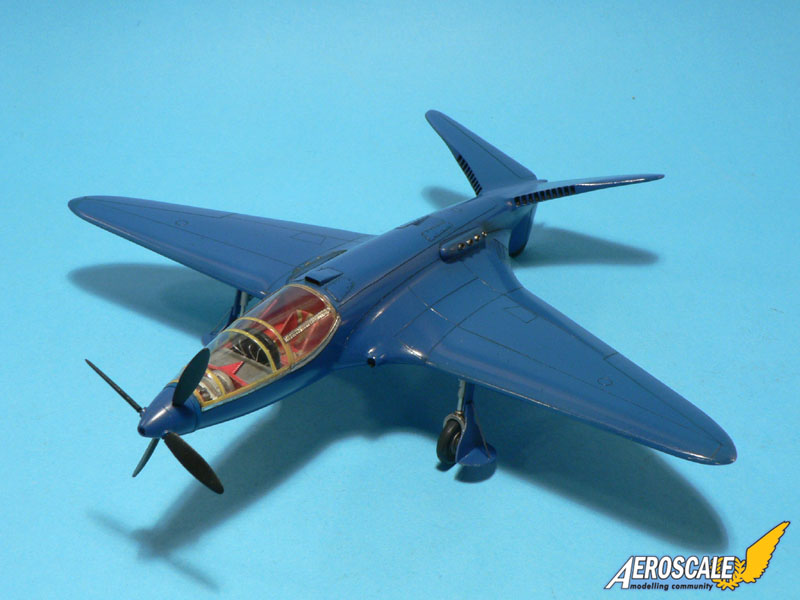
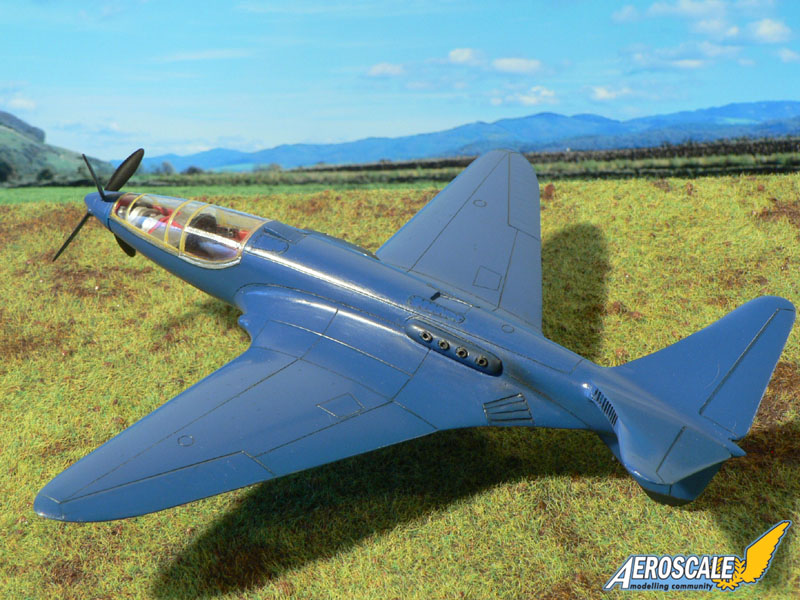
On the first picture accompanying this article, one can see all the parts of the kit. I only added one air scope just aft of the cockpit (modified plastic part from the spare box) and four access panels on the top of the fuselage (made out of self-adhesive aluminium foil). I have also rounded the edges of the cockpit's side consoles to make them look more like the real thing. Apart from that, the model was built mostly out of the box. The resin looks dirty on the photo because I've applied a wash to reveal the surface imperfections. There weren't many.Once the preparation work was done, I've sprayed the overall Blue color. For this, I've used my bottle of Tamiya X14 Gloss Sky Blue mixed with some Tamiya X-21 Flat Base to obtain a mat finish. I'm not sure if this is the original Tamiya X14 color though. It looks very dark so I may have use a darker mix from a previous project that remained in the bottle. The model was then coated with Klir (French variant of Future). That's why I've added Flat Base to the paint. Finally the surface was sanded smooth with fine grit sandpaper and polished using Tamiya's Polishing Compound. That's the white stuff which is visible in the panel lines on the photos. Of course I have removed them from the model.
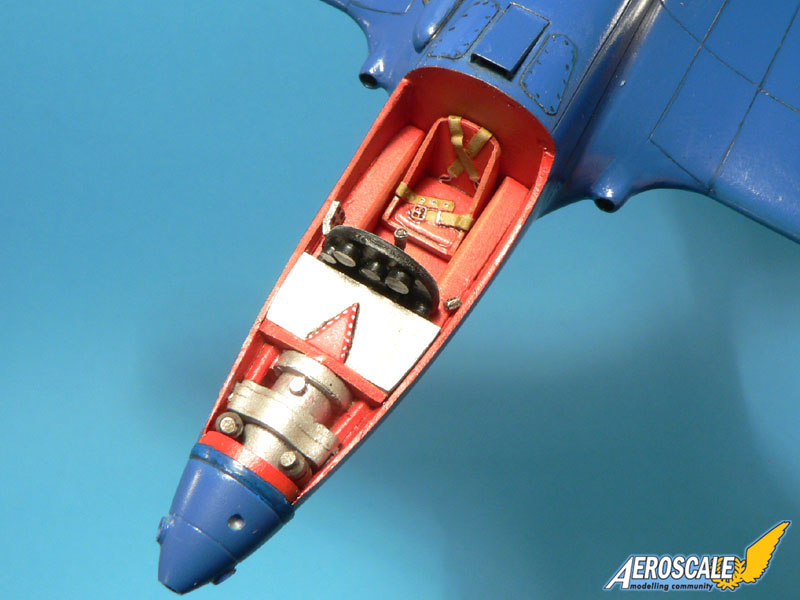
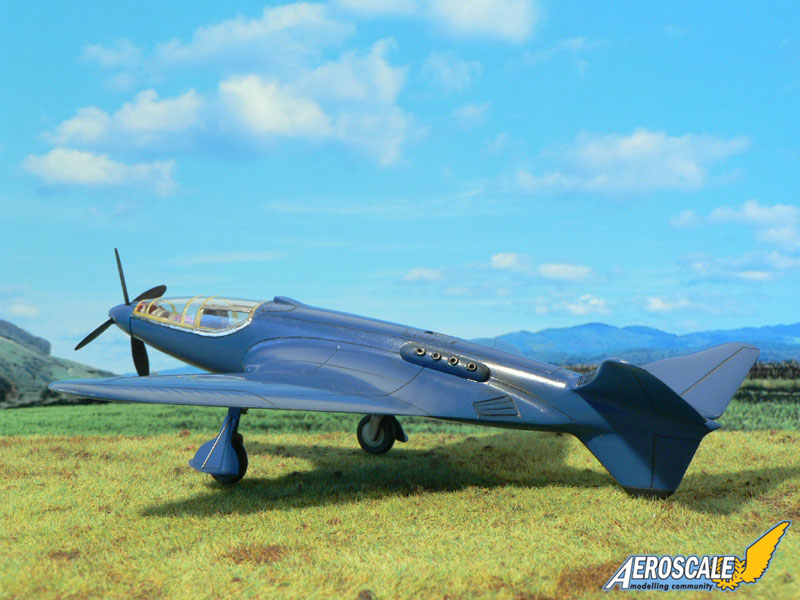
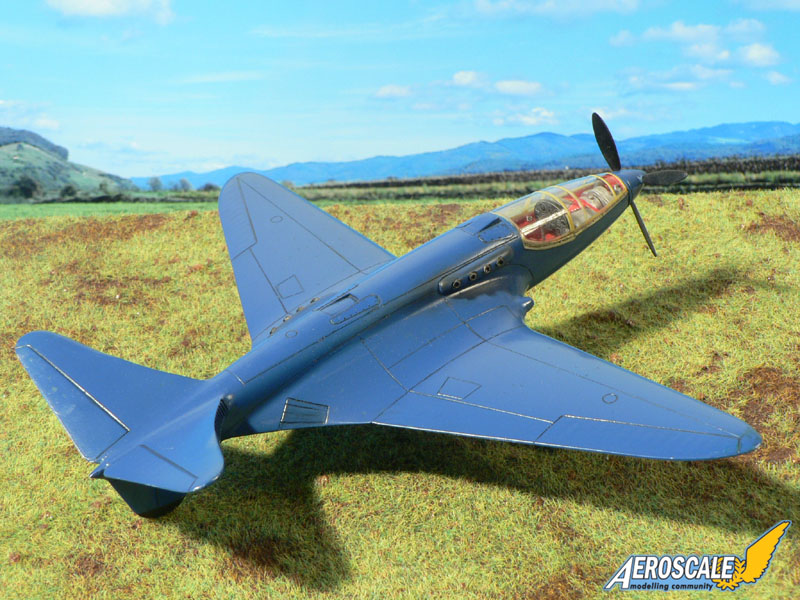
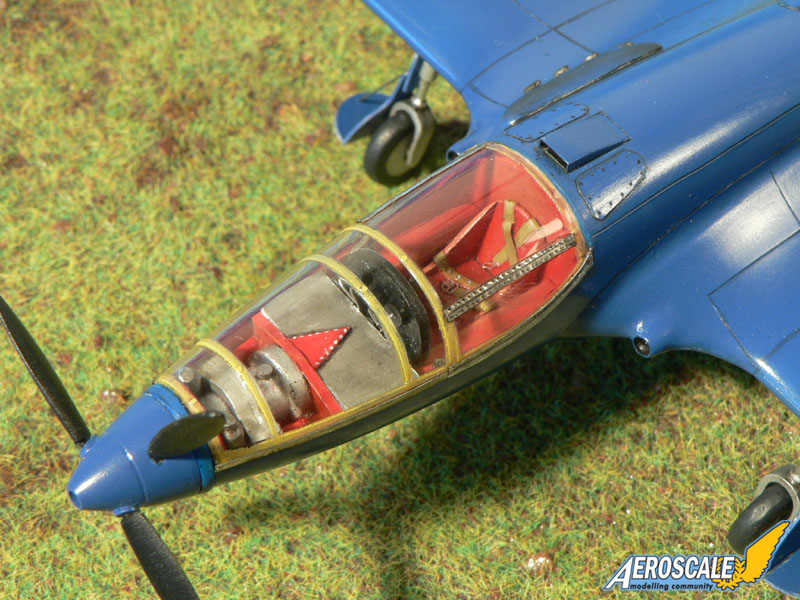
The panel lines have been cleaned and darkened with some tinted Klir. On the fuselage sides, I have glued the two exhausts parts which needed some blending with white glue for a better finish. I have also completed the cockpit interior. It doesn't look too bad at all with the parts provided in the kit. Only the silver upper panel with the red triangle had to be scratchbuilt because Planet Models forgot to include it. The seat looks nice but I'm not sure if it is accurate, it looks very small! I also had to add a 1mm plastic roundel between the spinner and the airframe because the former was too small.
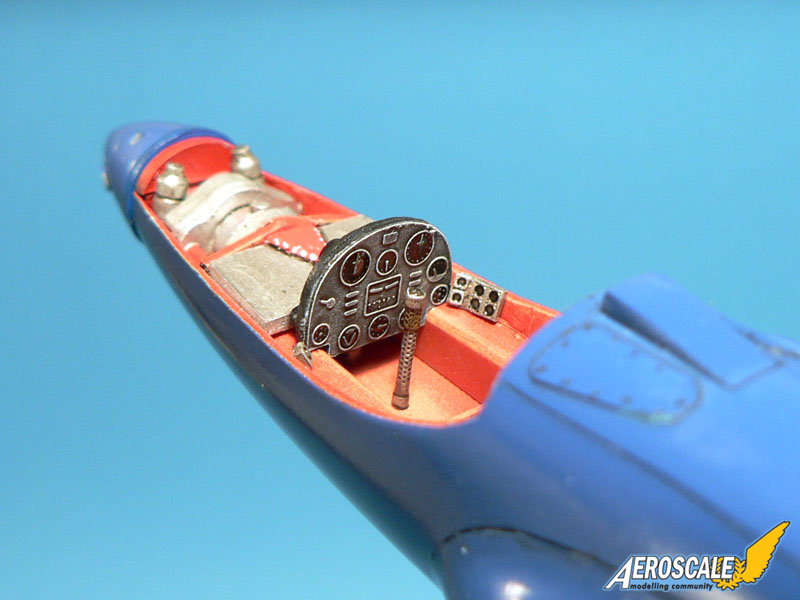
In the detail shots of the cockpit one can see that the seat belts are already molded on the seat. The dashboard looks very nice and is very close to the real thing, though it is perhaps bigger. A drybrush is really only what is needed to reveal the details. The control stick looks cool but the real one is different... oh well... I left it like that.
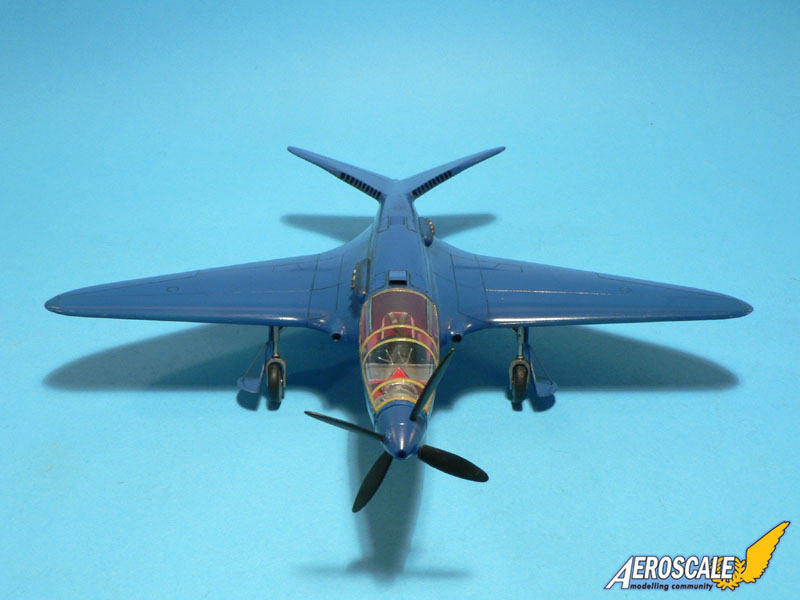
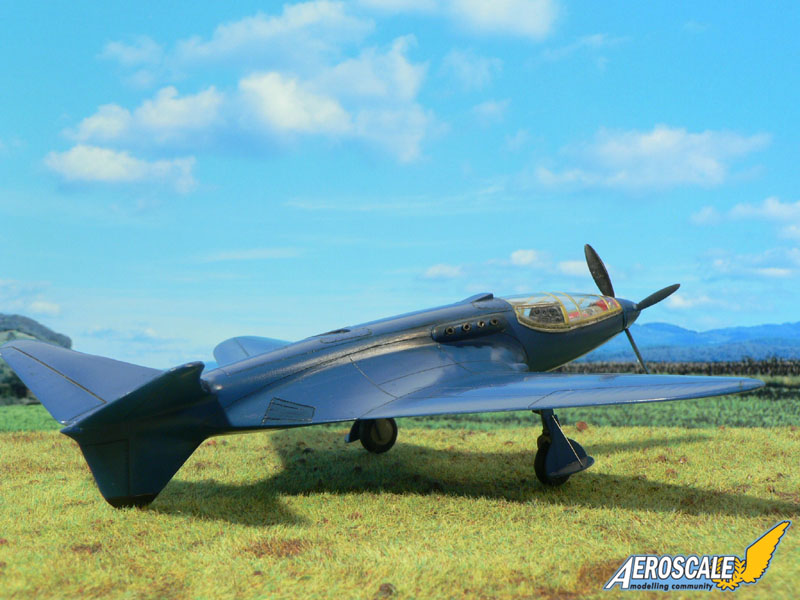
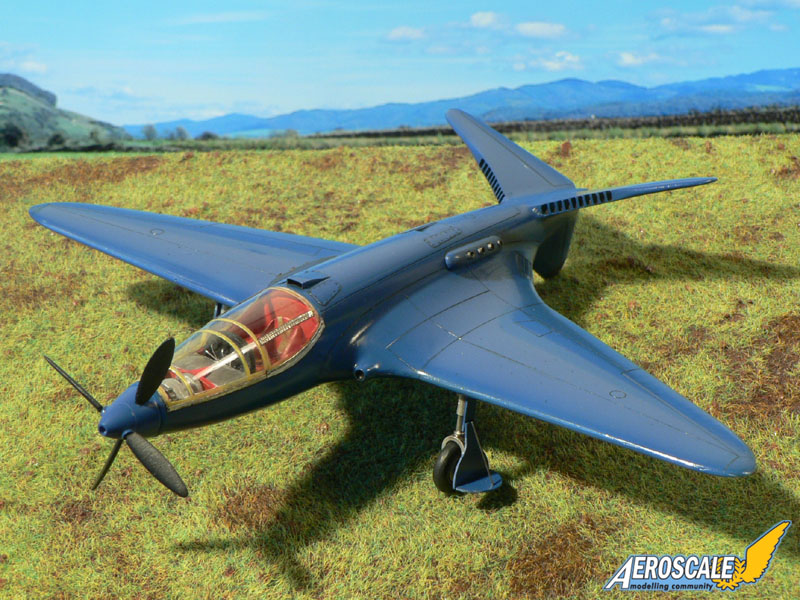
Final work consisted in gluing the landing gear legs and fitting the vacuformed canopy. These were no easy tasks and represent, in my opinion, the only real challenge of the kit. There are no locators for the gear legs and it is almost impossible to make some as there is not enough thickness inside the gear bays to drill a hole. I only managed to carve a round hollow with a drill. The top of the landing gear was sanded to a round shape and this resulted in a bigger bonding zone. I used CA glue to put the metal landing gears in place. I have also added the retractation mecanism which wasn't present in the kit (two parts from the spare box). This gave extra strengths to the undecarriage and it ended up being surprisingly sturdy. By the way, you have to reduce the length of the metal landing gear parts by 2 or 3 mm to give the model the right sit.
The gear covers were added next. If you look closely at the pictures of the real aircraft, you will notice that a wire is attached between the main gear covers and the horizontal semi circular ones. I have added them to my model using small piano wire.
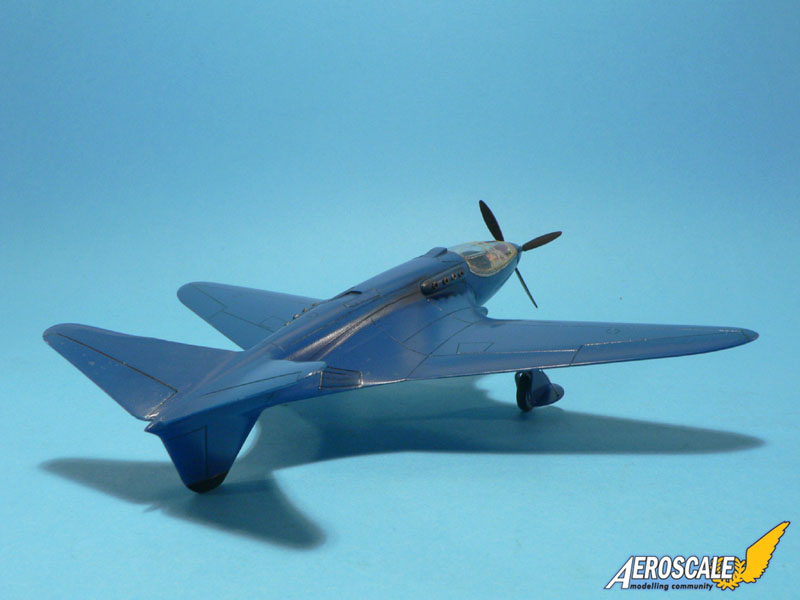
The last effort to complete the model was to attach the clear canopy part. On the real Bugatti, there were no frames but unfortunately Planet Models made some on their vacuformed piece. I chose to paint them from the inside in a translucent yellow color, to give the impression of overlapping sheets of plexiglas. This is a compromise and I think the look of the model can be improved with a totally smooth vacuformed canopy. Nevertheless, I think the result is acceptable as it is. I have added some hinges made from self adhesive aluminium though. The fit of the vacuformed part of the kit is excellent provided you cut it and then sand it to the right shape. Test fitting is important here and it is to note that two canopies are provided in the kit, so in case something goes wrong, there is always a second chance.
Conclusion
Planet Models Bugatti 100P is a lovely little kit. If you want to try out resin for the first time or if you are searching for a fast build, I can highly recommend it to you. It is necessary to add some small details that were sadly omitted in the original kit, but this won't represent a big challenge. Once finished, the model looks very close to the real thing. Now I can help myself to think that 1:32 would be just the perfect scale for such a small and cool looking aircraft!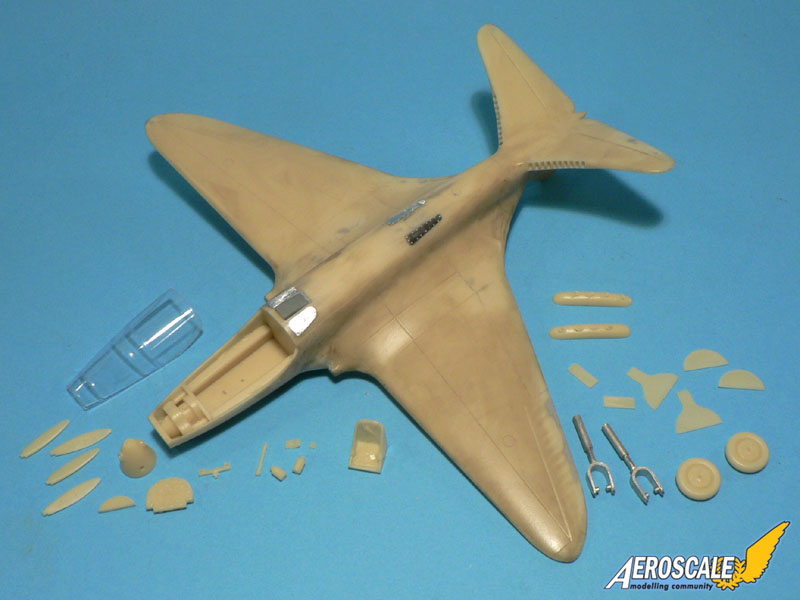
About the Author


FROM: MOSELLE, FRANCE
I'm mainly interested in WW2 aircraft and I build them in 1/48 scale.
Comments
That's 1 week model
Very nice
Question 1: How much does it costs??
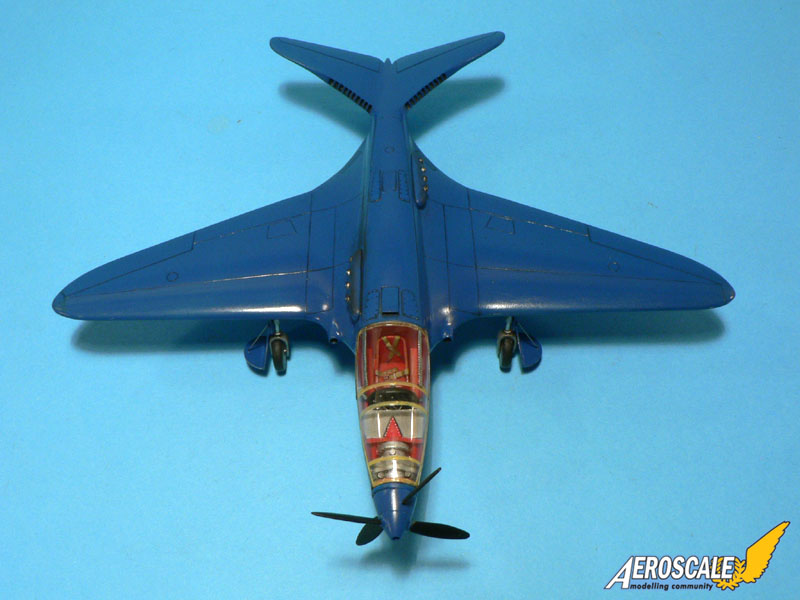
Question 2: In which color did you paint the down surfaces?? (sorry for my english )
Request 1 : I need a photo of the down surfaces!!
Cheers Nick
NOV 20, 2009 - 11:03 PM
Fantastic, spectacular! It's the kind of plane some crackpot cartoonist might design... ;D
Wonderful model, Jean-Luc- the finish is exemplary. Looks like a fun build as well- no alignment worries!
Cheers-
chuk
NOV 21, 2009 - 05:04 AM

Hi Nick and Chuck,
Thank you for the kind words...
Nick, sorry for the late reply. A review of the model can be found here. It is out of stock at Modelimex were I have purchased mine for 44. It is still listed at the CMK E SHOP, but for 50.
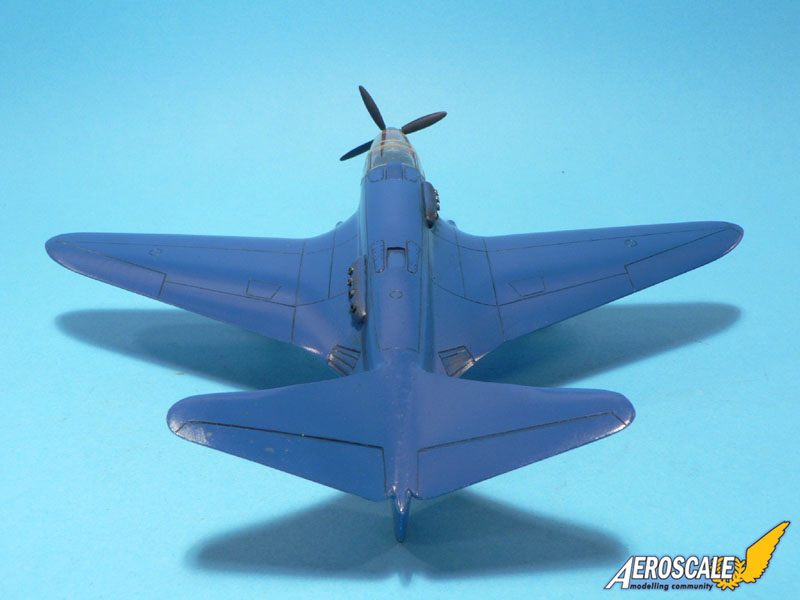
The aircraft is all blue, even on the underside. I'll see if I can add a photo from the underside in the feature...
Jean-Luc
NOV 27, 2009 - 01:02 AM
Copyright ©2021 by Jean-Luc Formery. Images also by copyright holder unless otherwise noted. The views and opinions expressed herein are solely the views and opinions of the authors and/or contributors to this Web site and do not necessarily represent the views and/or opinions of AeroScale, KitMaker Network, or Silver Star Enterrpises. Images also by copyright holder unless otherwise noted. Opinions expressed are those of the author(s) and not necessarily those of AeroScale. All rights reserved. Originally published on: 2009-11-21 00:00:00. Unique Reads: 16611

WEB HOSTING BY


Copyright ©2021 AeroScale and Kitmaker Network, a subsidiary of Silver Star Enterprises
All Rights Reserved. Please read our Conditions of Use and Privacy Policy.
All Rights Reserved. Please read our Conditions of Use and Privacy Policy.