

1⁄48Siebel Si204
5
Comments

Introduction
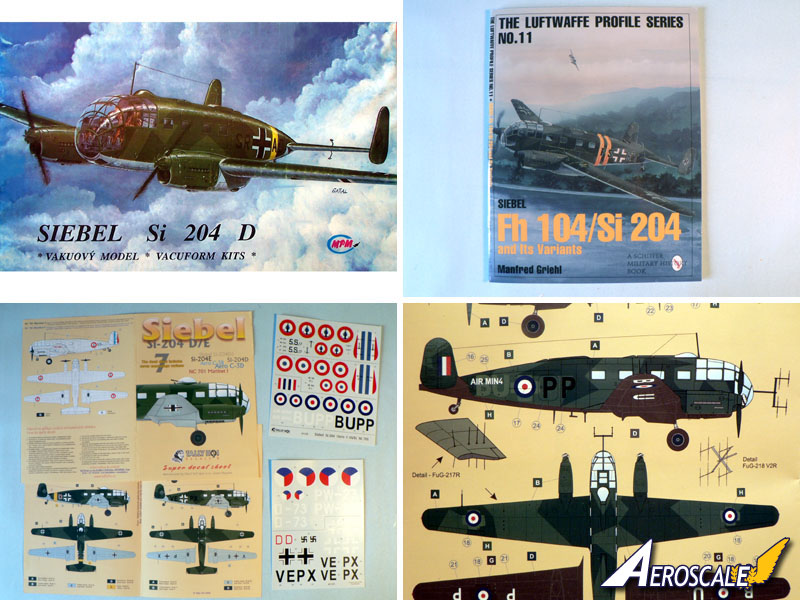
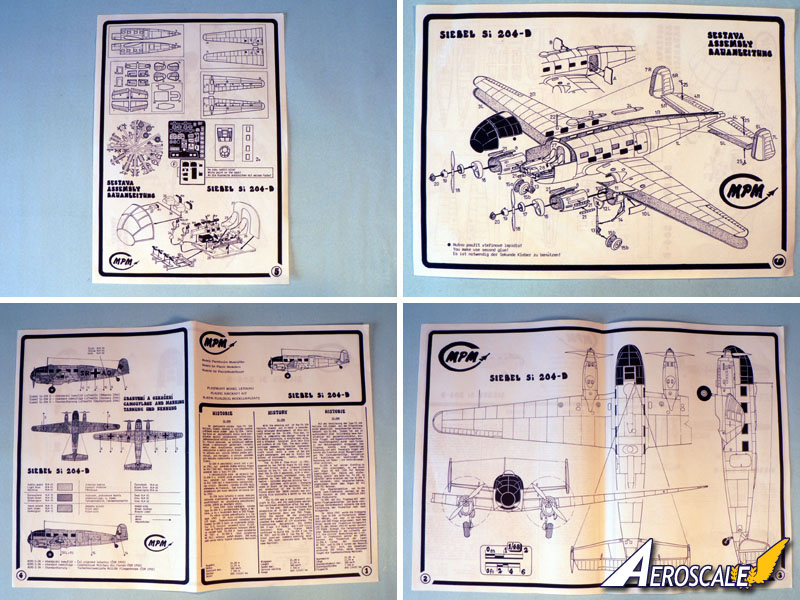
I didn't found tons of references on the web about the Siebel Si204 so I purchased a copy of M. Griehl's book "Fh 104/Si 204 and its variants". It was very useful, as the instructions of the MPM kit are rather vague in some places. I also managed to find replacement decals from Tally Ho! (ref. 48025) since those in the kit have yellowed badly. It is quite extraordinary to see that aftermarket stuff do in fact exist for such exotic kits.It is to note that not all the parts of the kit are vacuformed. Indeed, some details parts are made of injected plastic and a photo etched fret is provided as well. The PE parts are mainly destined to the cockpit area. Glazings are vacuformed, as you would expect in such a kit. By the way, it is of course not available anymore. I've purchased mine second-hand on e-bay.
Preparation of the parts
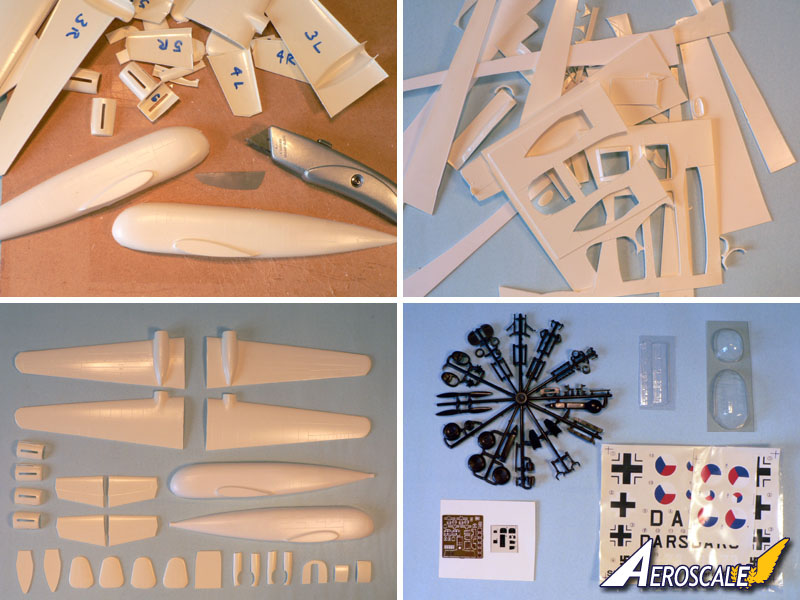
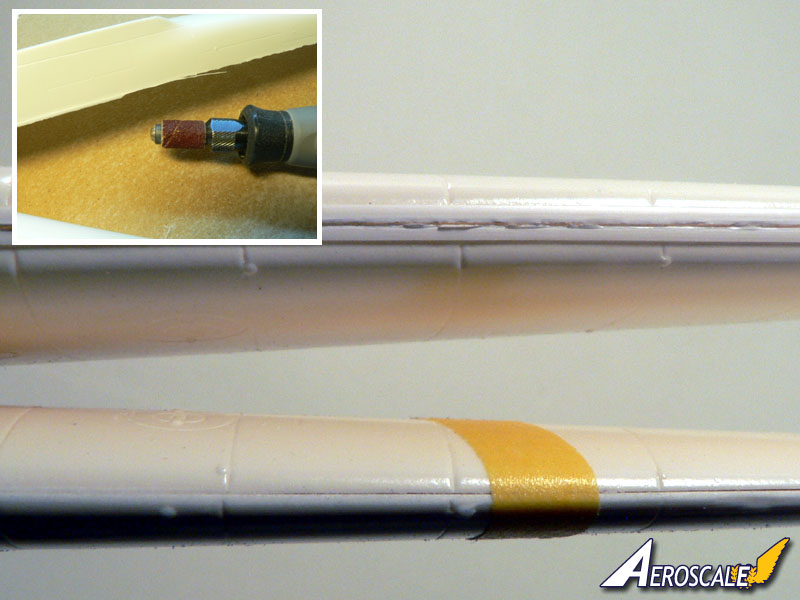
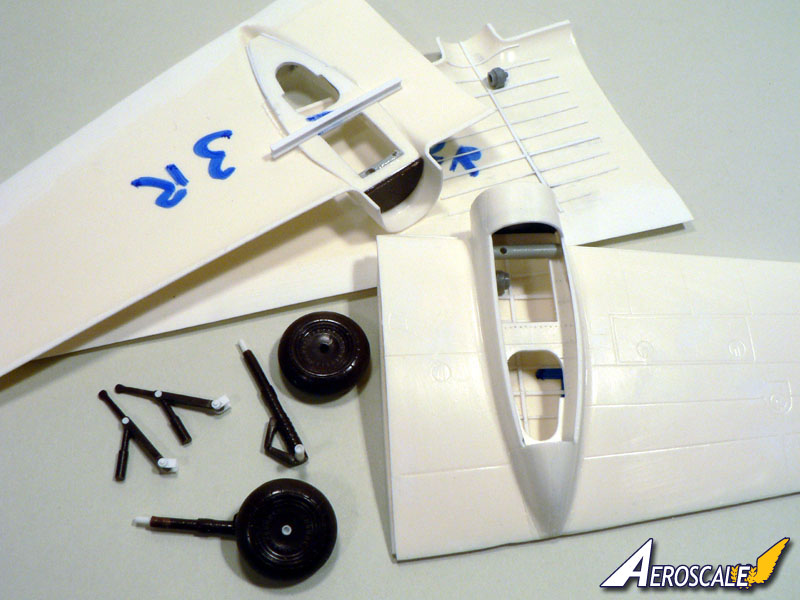
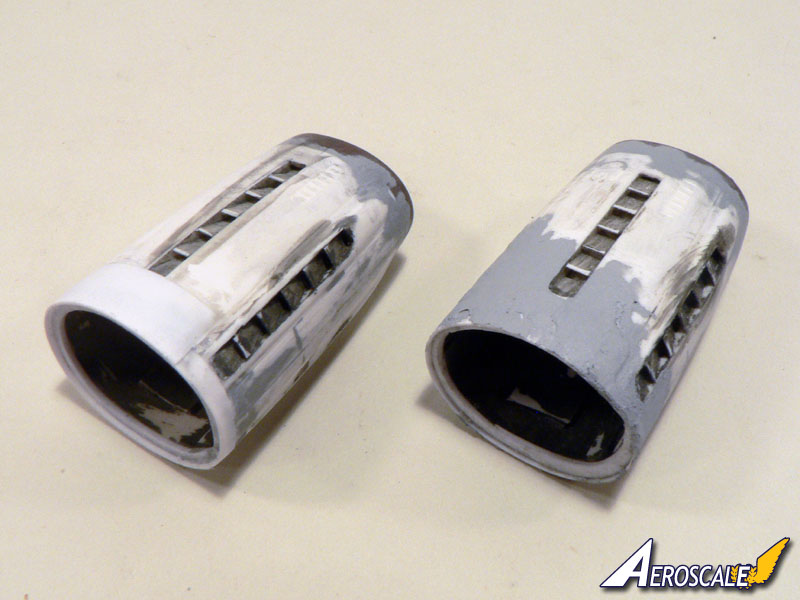
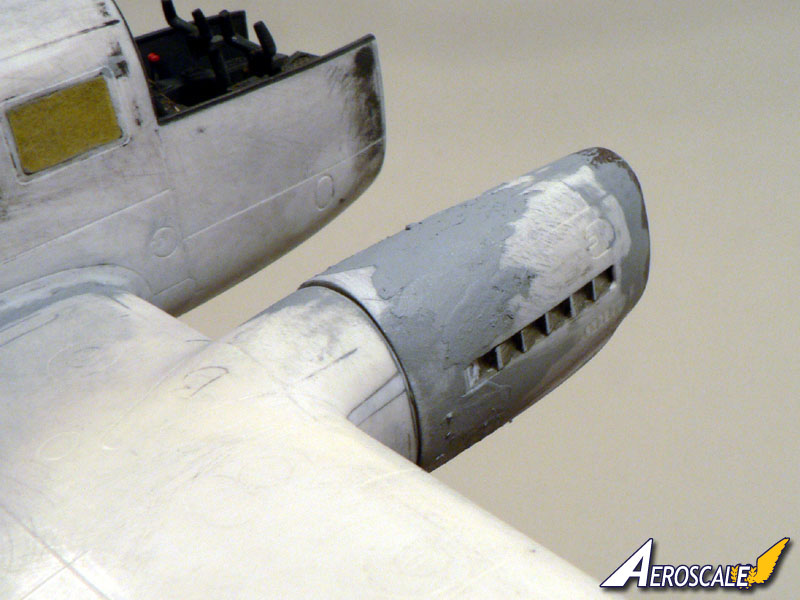
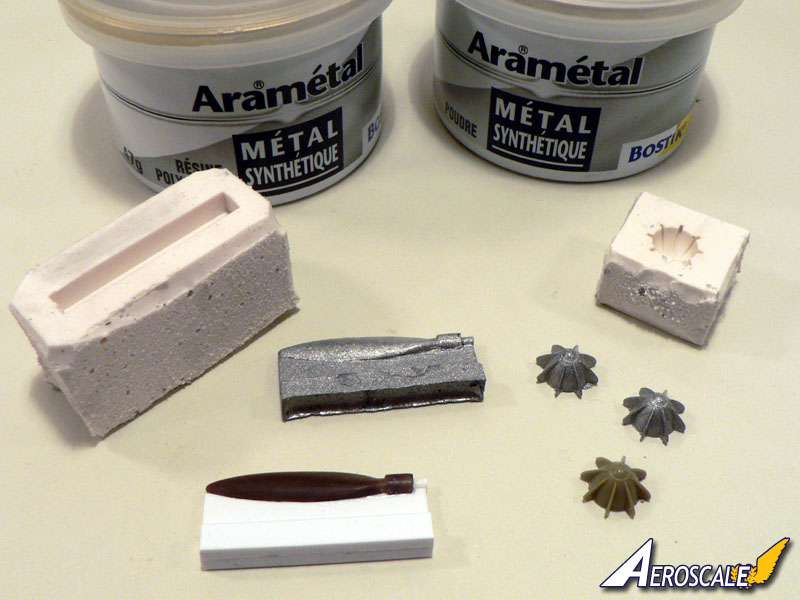
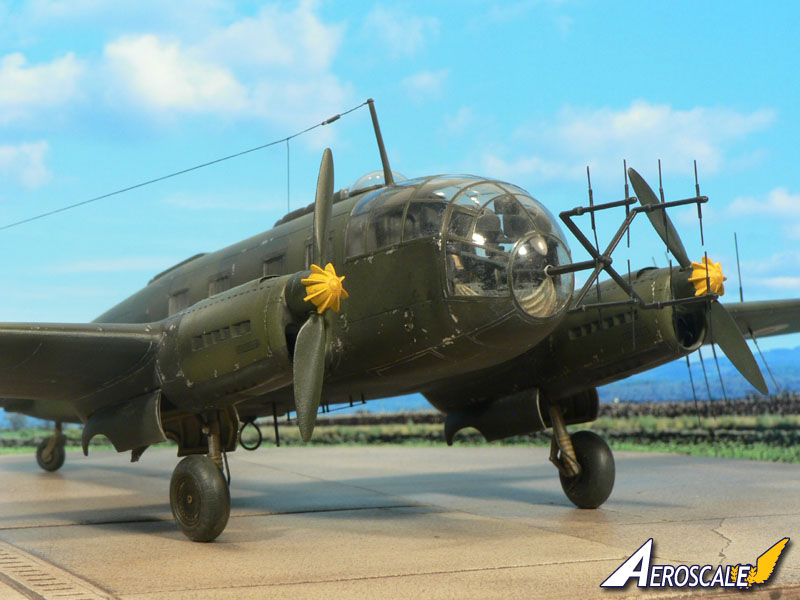
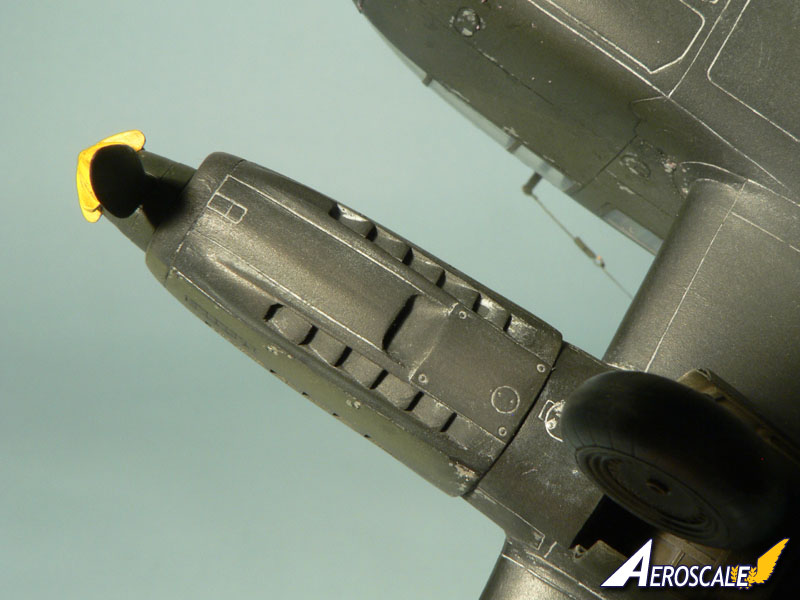
The first step of the build was to cut the vacuform parts using a strong knife. On all the parts I have eliminated the thickness of the plastic sheet with my Dremel tool. There was almost 1mm to get rid of! I must confess that I forgot to mark the edges of the parts on the plastic sheet to know how much to grind (it was my first vacuform kit) so I have lost a lot of time test-fitting the parts.I have then assembled the engine nacelles on which I have replaced the injected exhaust parts of the kit with small pieces of plasticard. A lot of filler was needed to blend everything together. Of course all the lost panel lines were rescribed later. No Argus motors were provided in the kit so a "dummie" was made out of spare parts. While not perfect it is better than nothing to fill the empty space there. I had to do replacement parts for the propeller cone and the propeller blades. I reshaped one propeller blade of the kit and decided to do copies rather than do each one. This way the four blades would be exactly the same. I used a resin called "Aramétal" I found in a DIY store. The resin is composed of a sirup like liquid and... powder!? Mixed together it hardens and is suppose to look like metal. For small parts it works quite well.
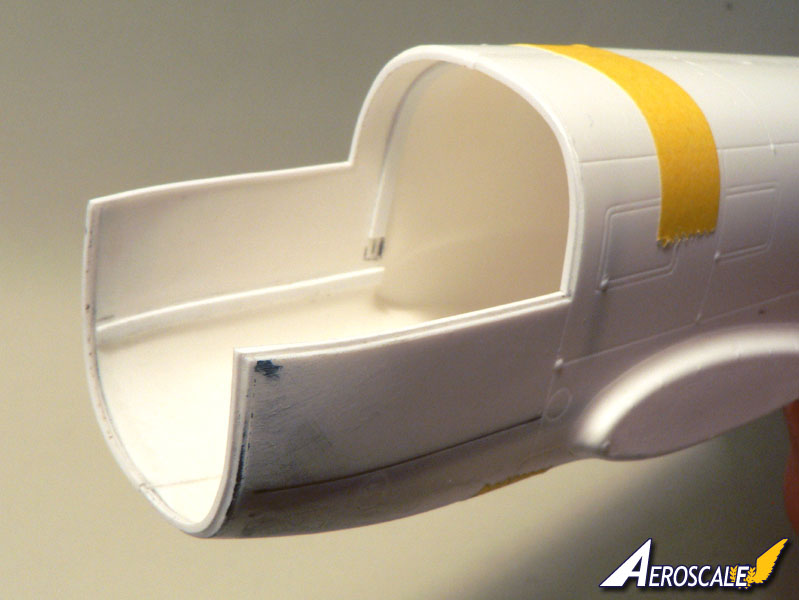
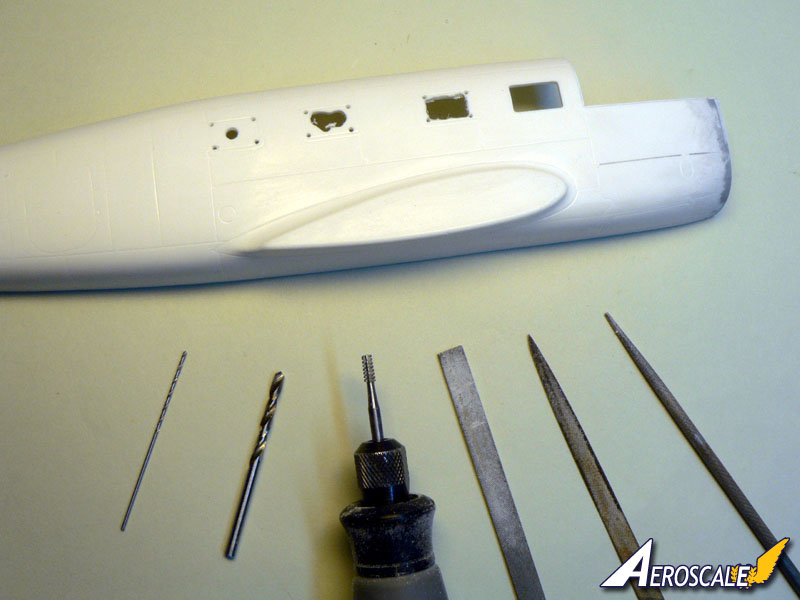
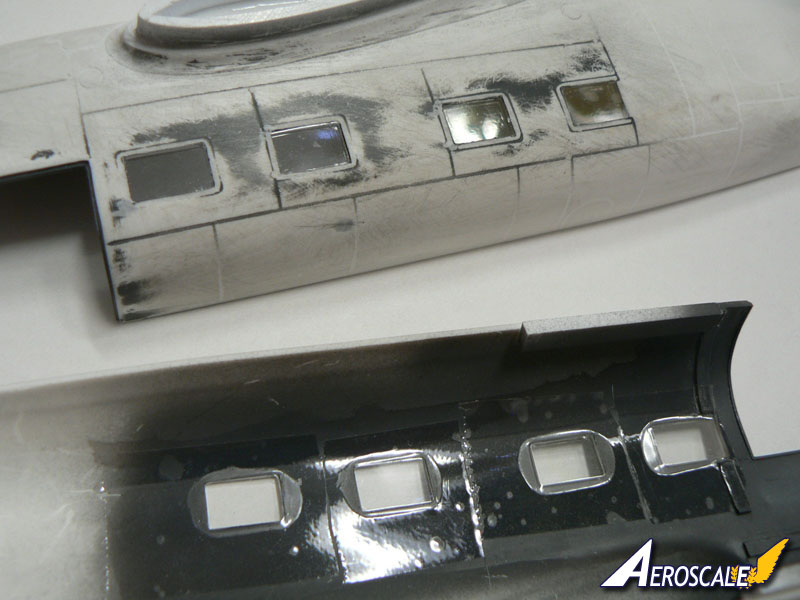
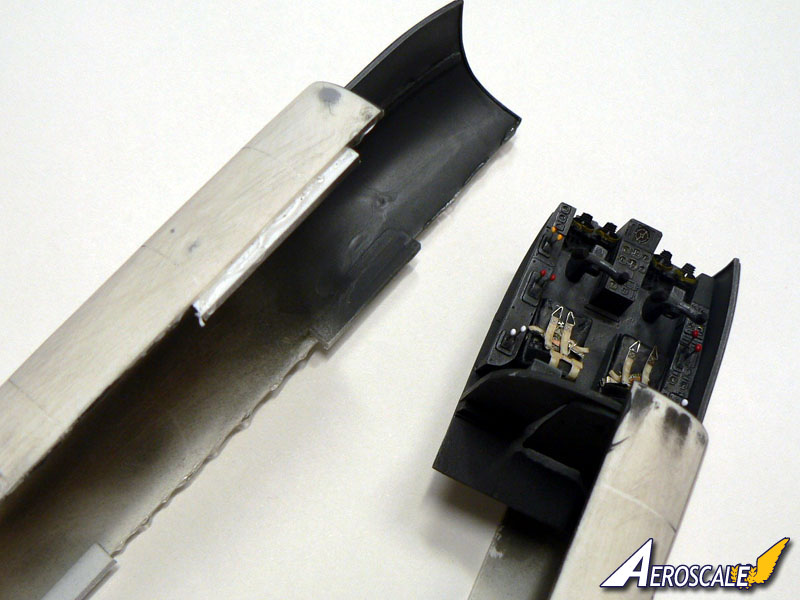
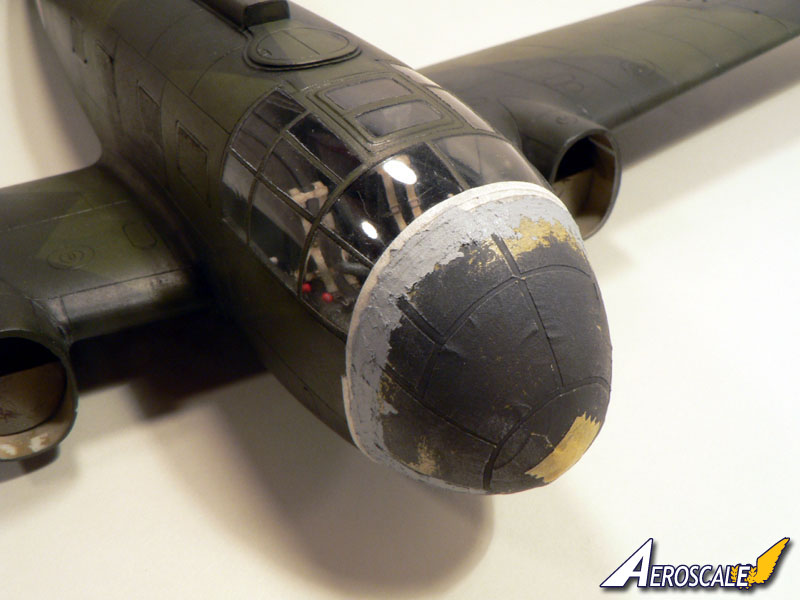
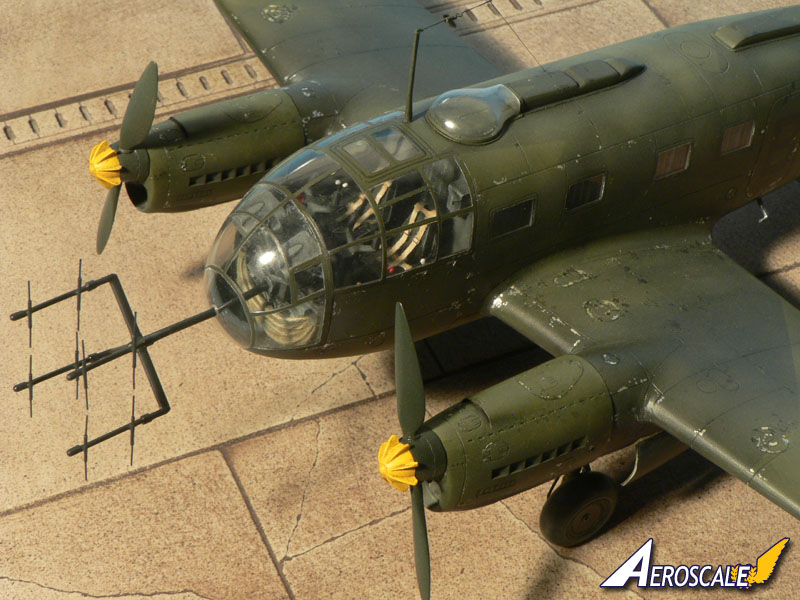
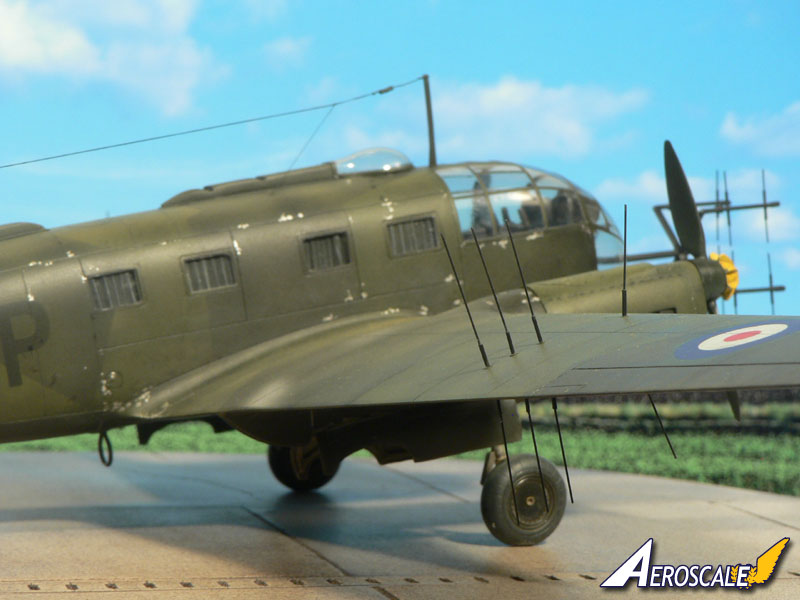
I have test fitted the forward glazings to the fuselage at a very early stage of the build because I've expected most of the construction troubles here. To my surprise, the fit was very good. I only had to add locators all around the cockpit opening to act as a guide. I've also added locators inside for the cockpit floor and the rear bulkhead. The side windows have been hollowed using various tools. I first drilled small holes, then used my Dremel and finally finished with files. The glass panels are made of 1mm thick transparent plastic (same thickness as the white vacu plastic of the kit) which I have sanded to shape. I didn't used glue to secure them but only transparent tape. Because I was lazy and didn't wanted to scratchbuild a complete fuselage cabin, I have occulted the openings with curtains made with Tamiya Epoxy. These were painted in black.
Interior
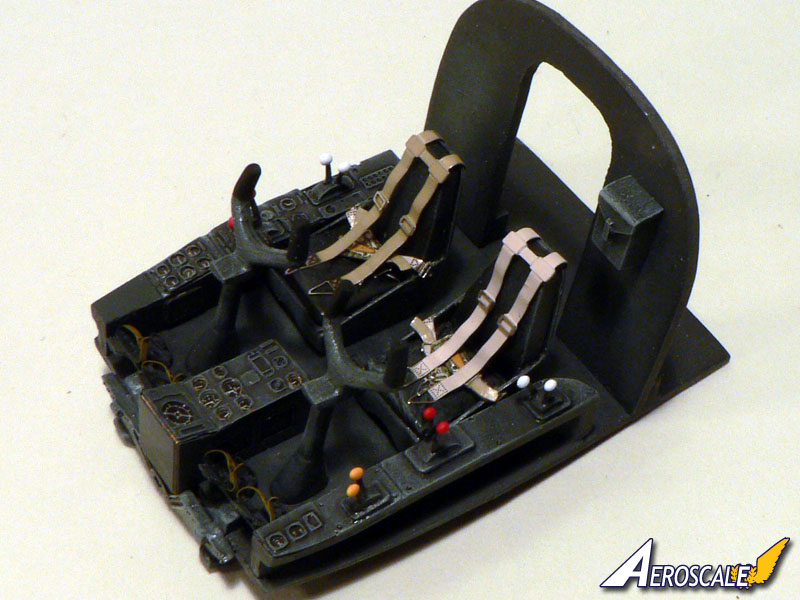
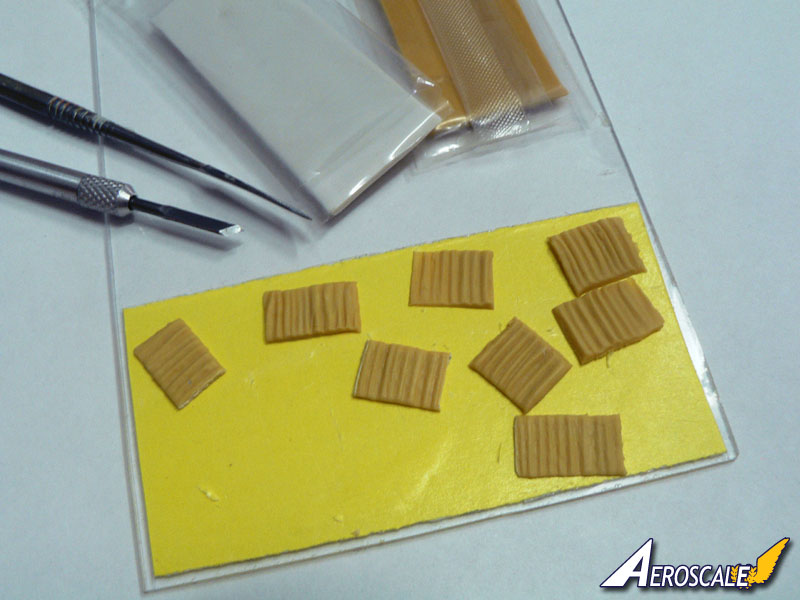
The interiors of german aircraft are quite dark (RLM66) but the nice cockpit will still be very visible through the front glazings. The overall detail is very good thanks to the PE parts and the acetate instrument panels. Some pieces were difficult to get in place, especially the rudder pedals. I had to trim some plastic parts for a proper fit. The levers are PE parts with a blob of white glue added at the top of them.Some consoles have been left aside because they must be positionned on the front glazing. It is better to do this at the very end of the build. I replaced the sides of the seats with thin plasticard and added cushions. Other additions were the seatbelts from Eduard and the box on the rear bulkhead which was scratchbuilt. Everything else came from the kit.
Assembly
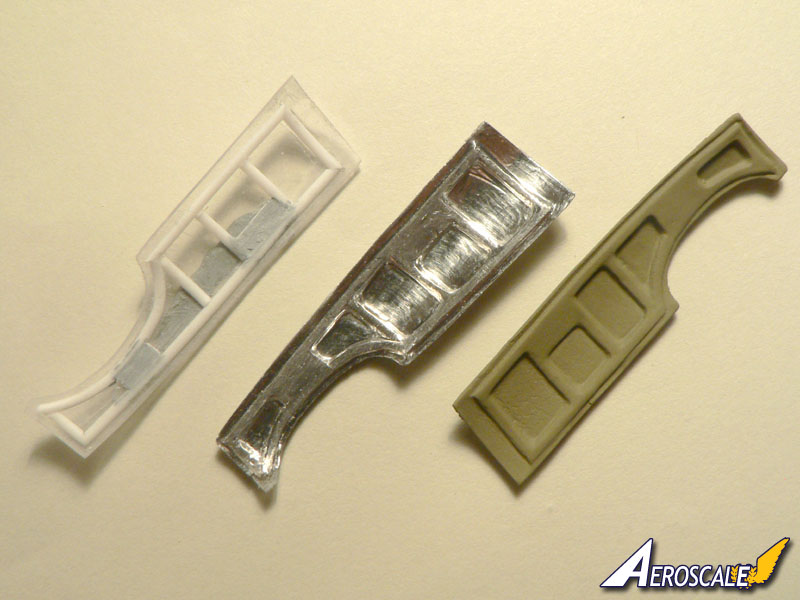
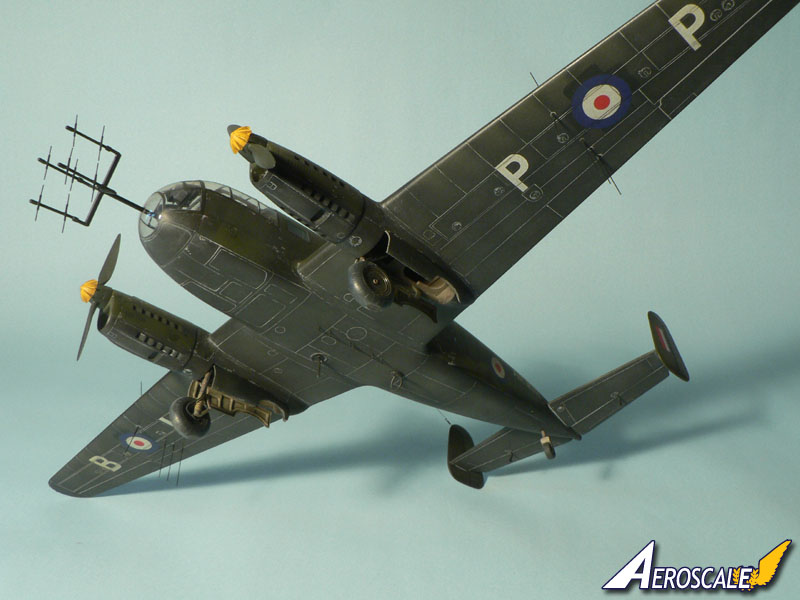
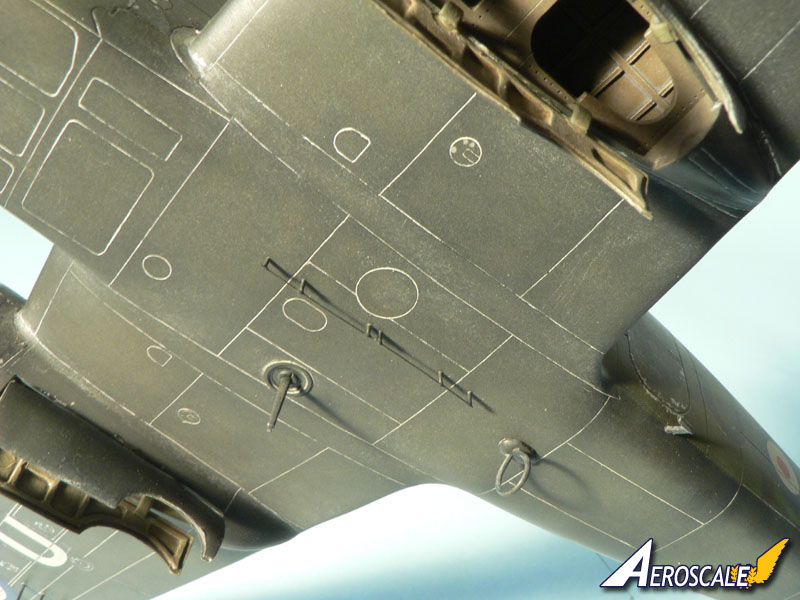
The two fuselage halves were glued together using CA glue. I randomly placed some locators for a stronger bond. I didn't used plastic cement because I did notice earlier that it didn't worked well with the white vacu.In the landing gears bays, some details were added using evergreen strips and pieces made with a punch and die set. Nothing special but enough to make this area look less empty. The parts then received a coat of RLM02 color. The original landing gear bay covers were replaced with scratchbuilt ones which have more internal details. These were made with evergreen strips (semi circular) and aluminium foil.
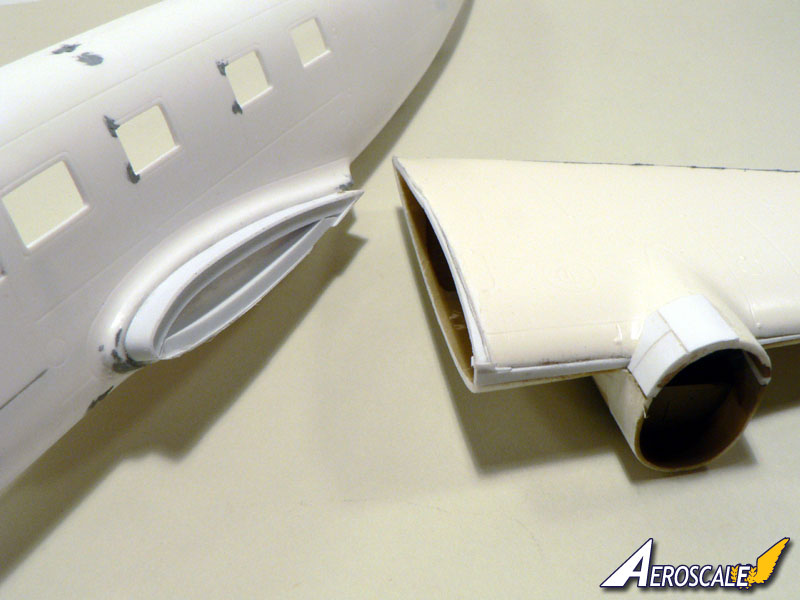
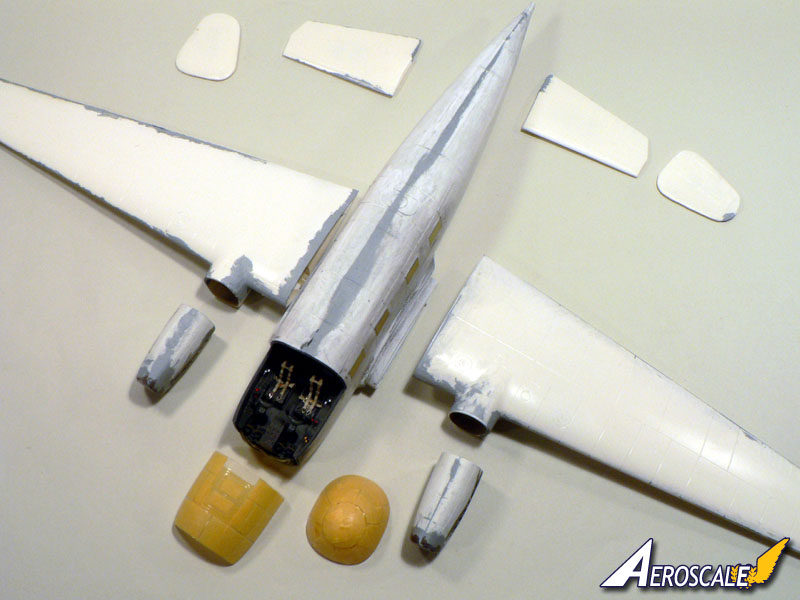
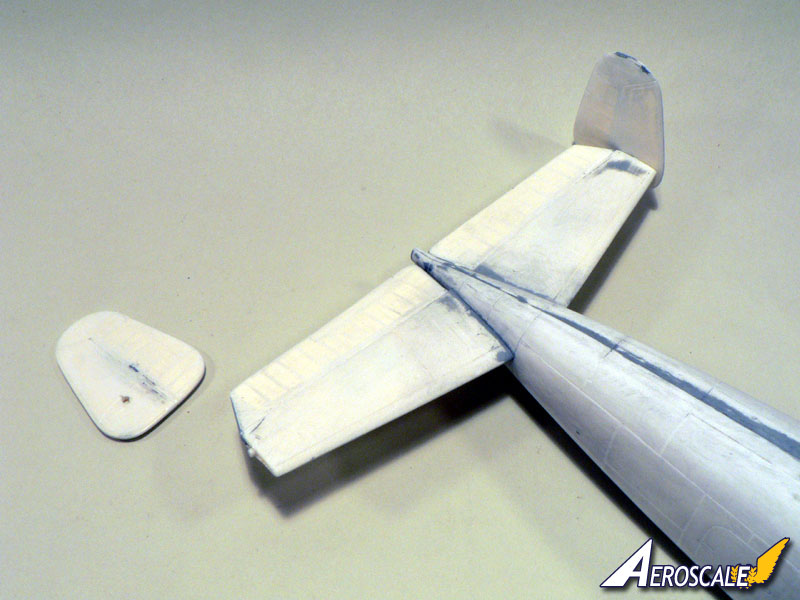
Fitting the wings to the fuselage wasn't a piece of cake. Some reinforcements made of plasticard helped strenghtening the wing to fuselage junction. I also had to fill gaps at the wing roots (leading edges) because I was too optimistic while sanding the vacuform parts. Some fine plasticard pieces had to be glued on the engine nacelle mounts to allow a smooth transition with the engine nacelles.
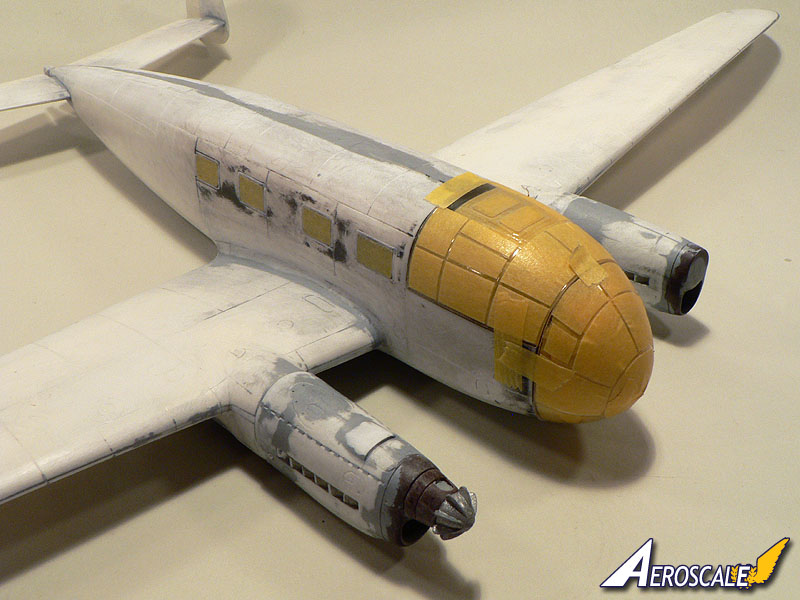
I decided to glue most of the glazing in place at this time and scratchbuilt some doors for the astrodome located just aft of the cockpit. I don't know if this was a feature of the real plane but it was the only solution I found to hide the empty space inside the fuselage. Let's call this "artistic licence". Only a little sanding here and there, some rescribing as well, and the model was ready for some coats of paint... at last!
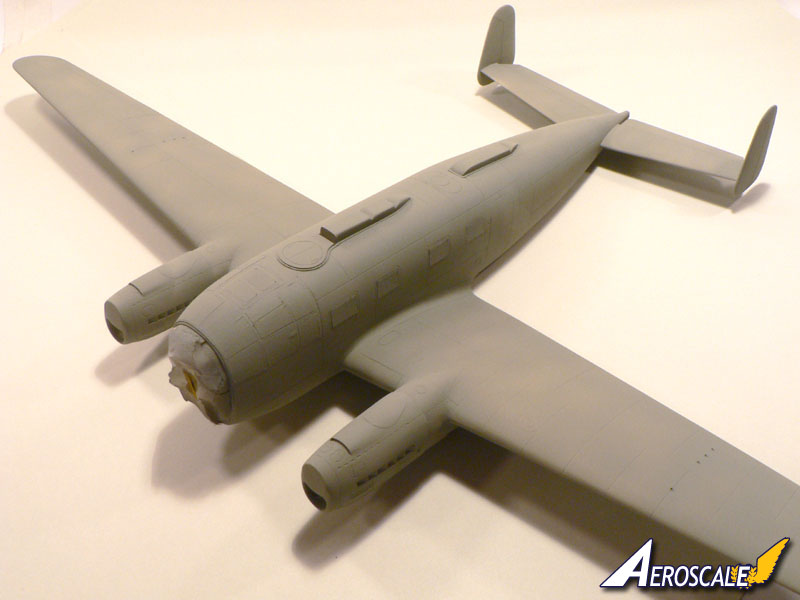
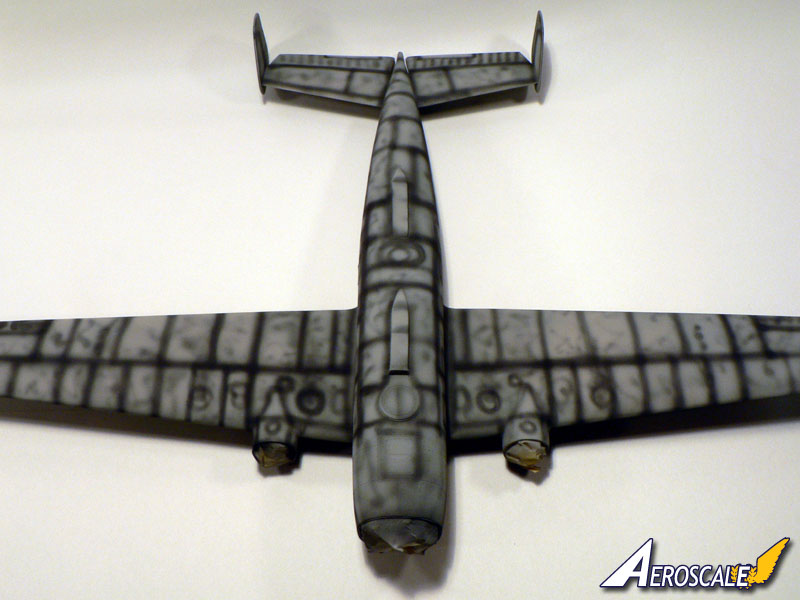
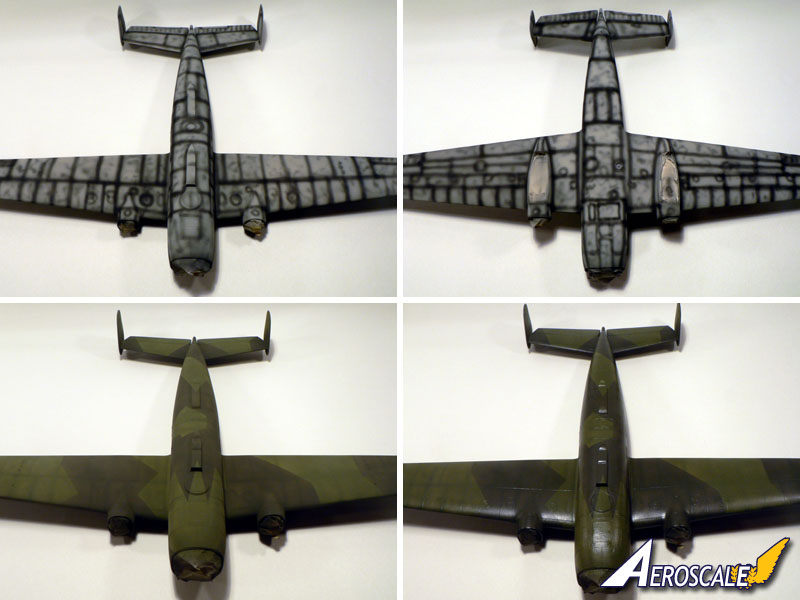
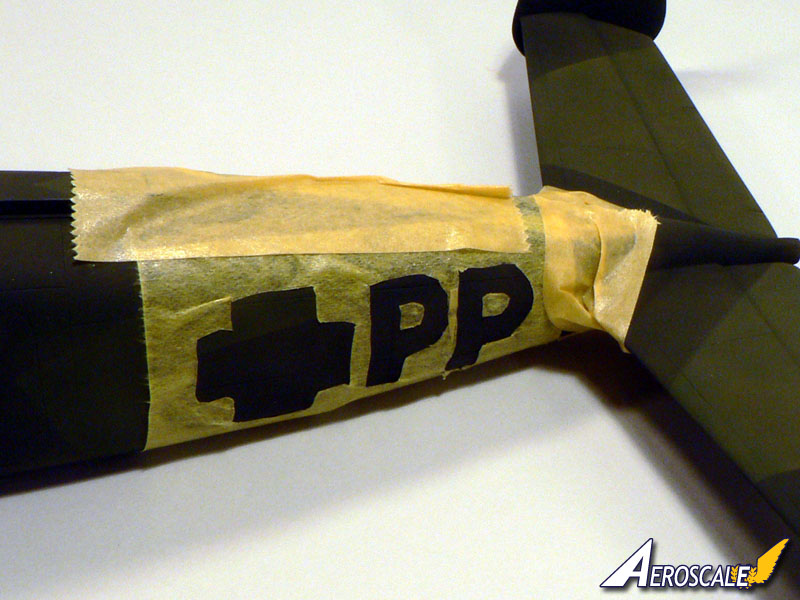
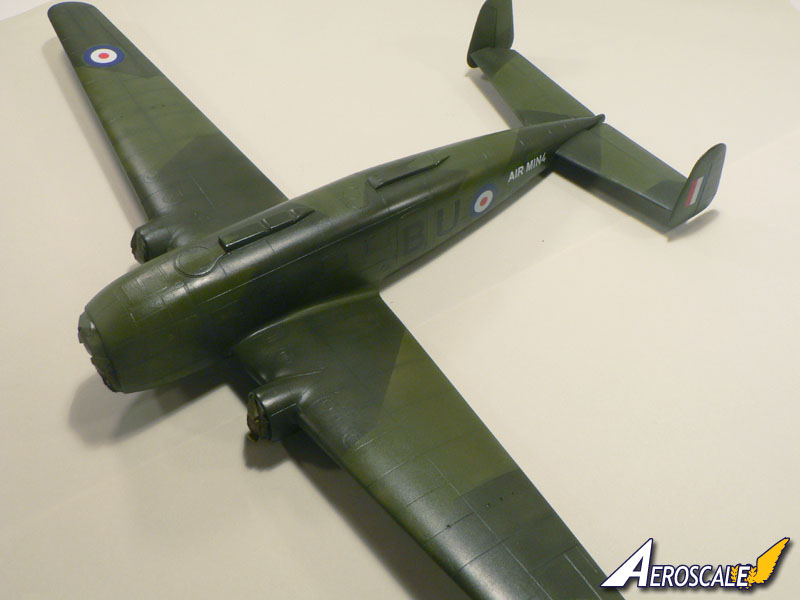
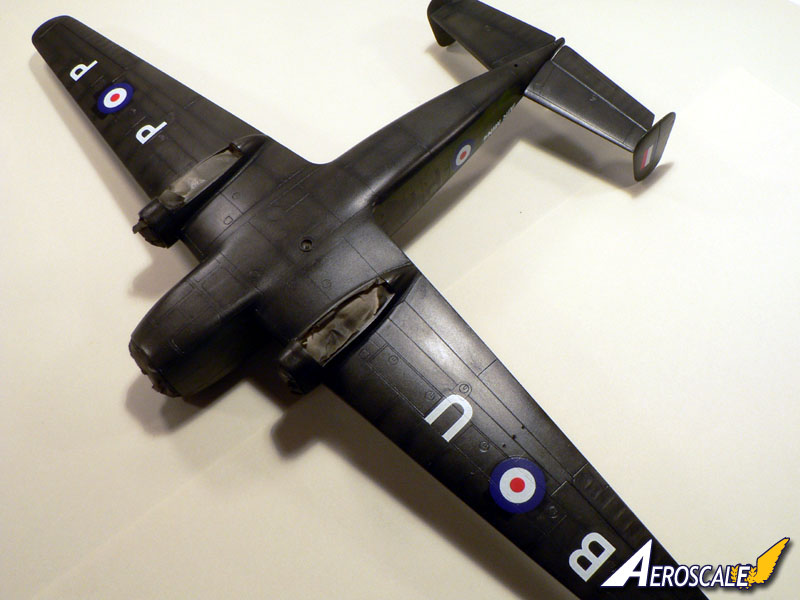
Painting and decalling
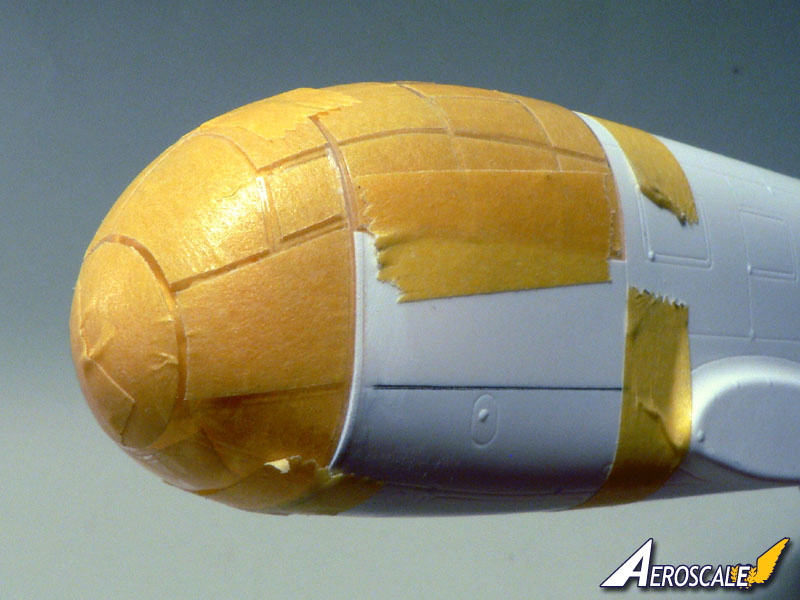
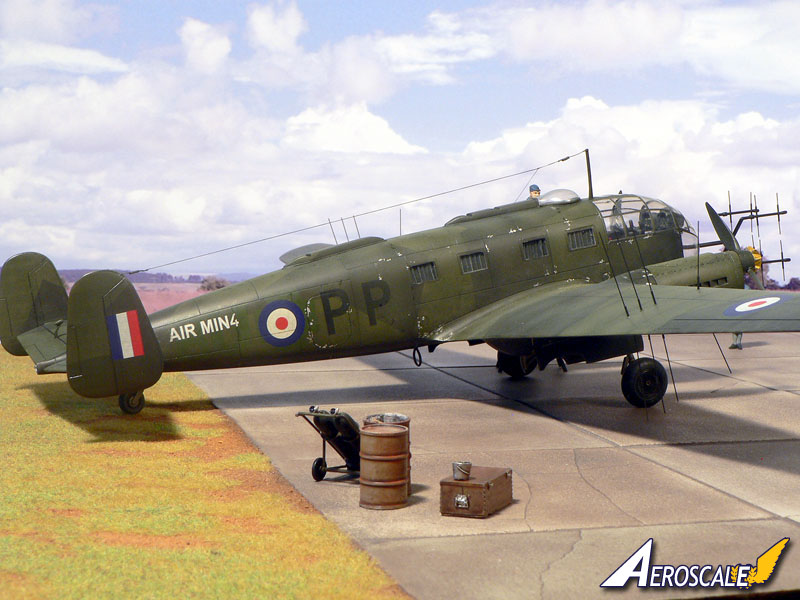
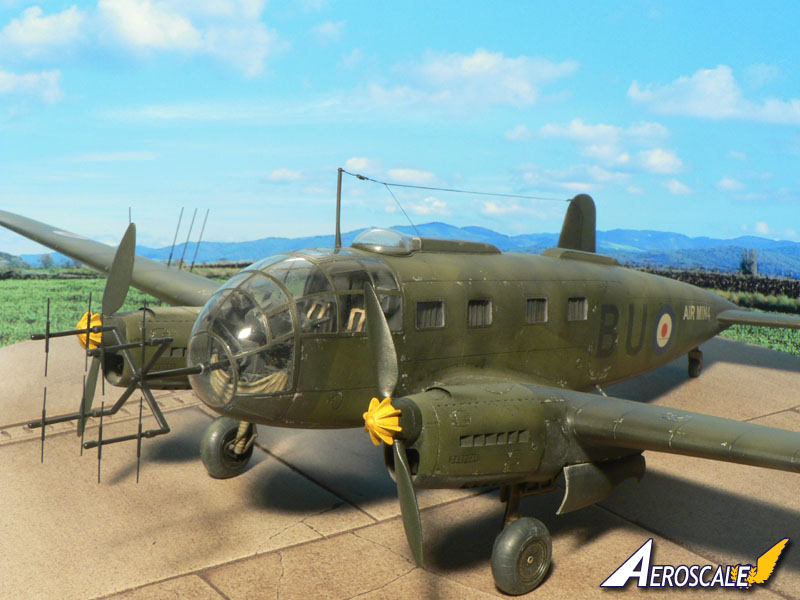
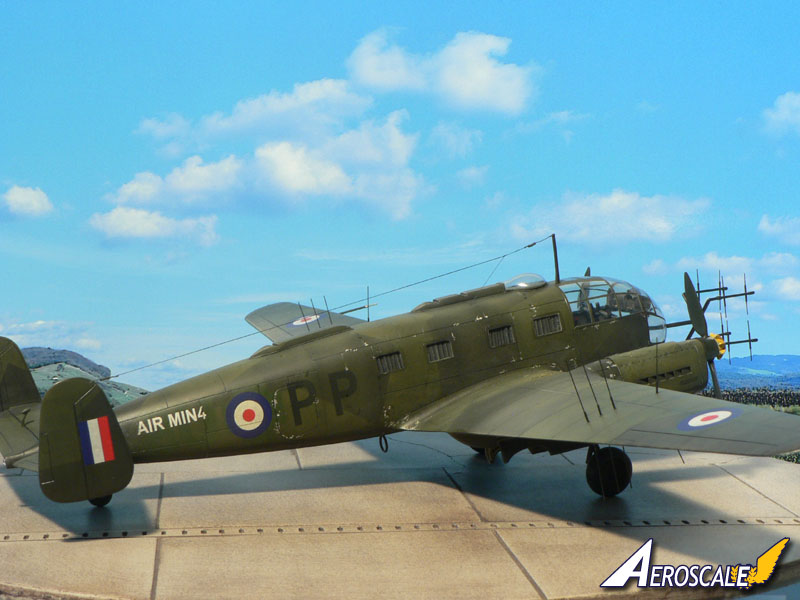
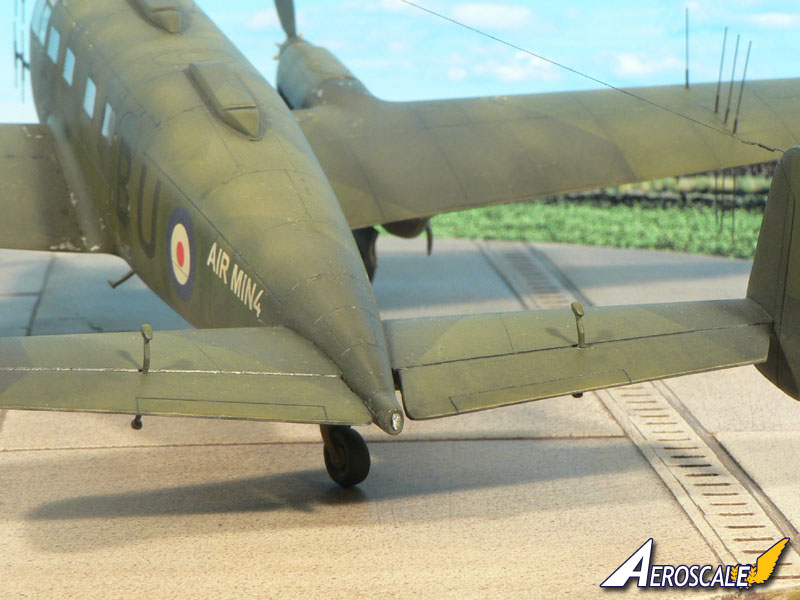
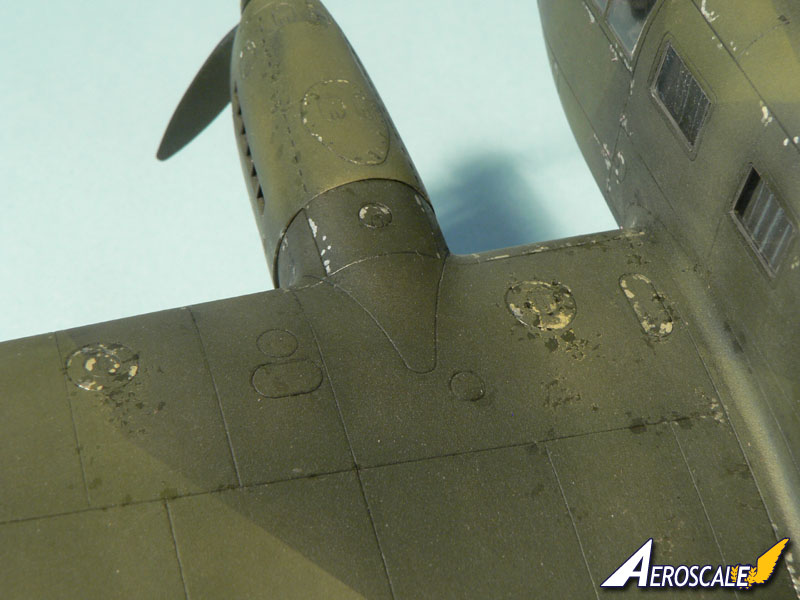
before applying the camouflage colors, I sprayed the model in grey to reveal the surface imperfections. After some more sanding and another coat of grey, the model was entirely pre-shaded in black. It then received a RLM 70/71 upperside over Black underside camouflage sheme.To do the captured Air Ministry machine, I had to mask the areas of the german identification markings to cover them with fresh coats of green and black. The model then received some coats of Klir (Future) prior to applying the Tally Ho! decals. These went well over the glossy surface.
Weathering was done with Promodeler wash, pastels and some paint chipping done with aluminium paint.
Finishing and diorama
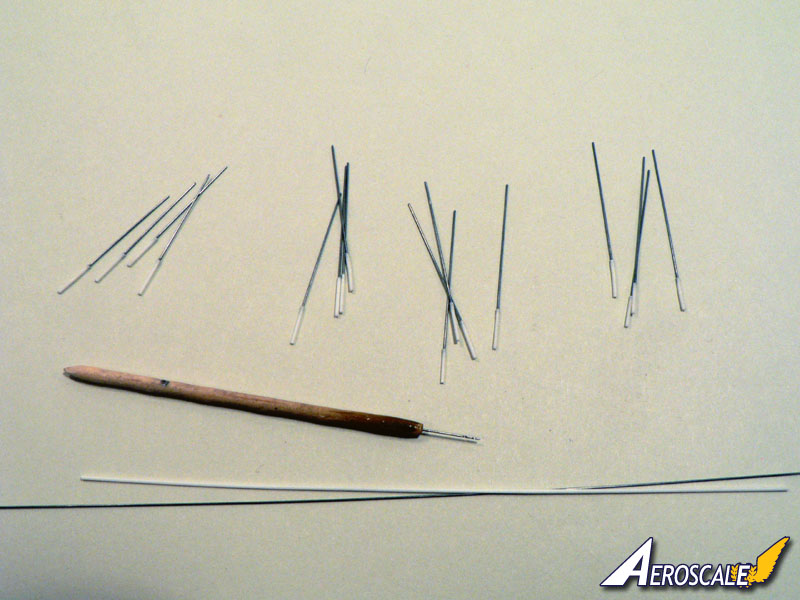
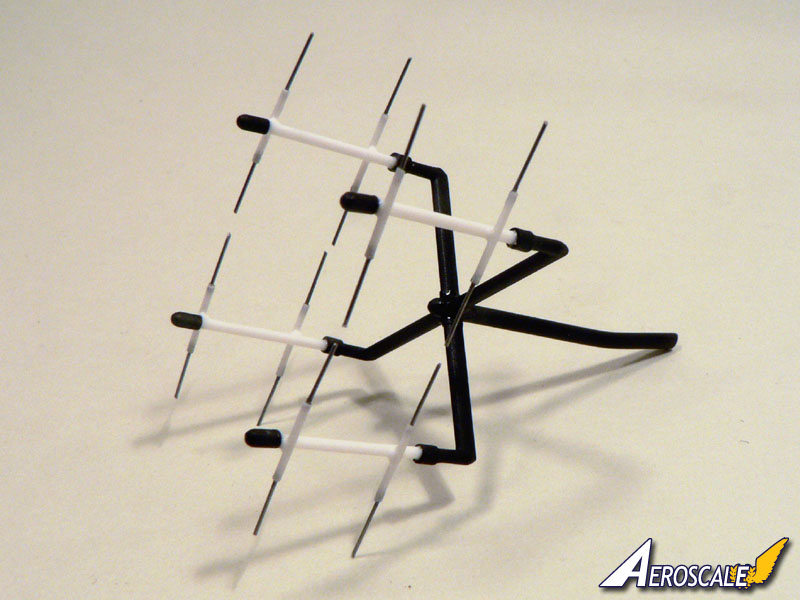
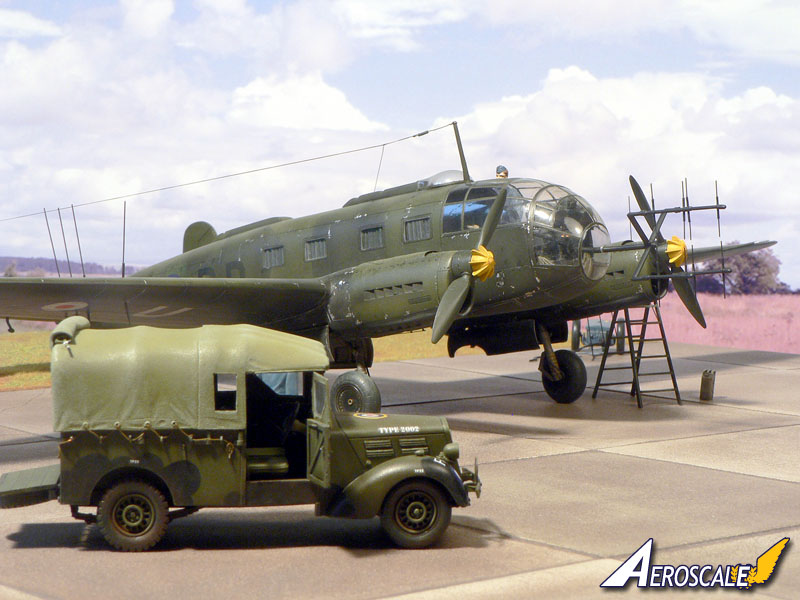
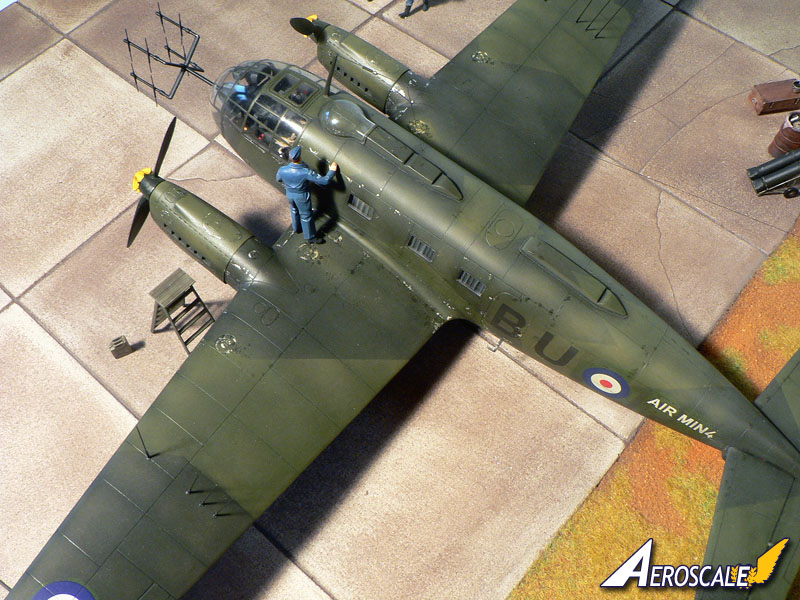
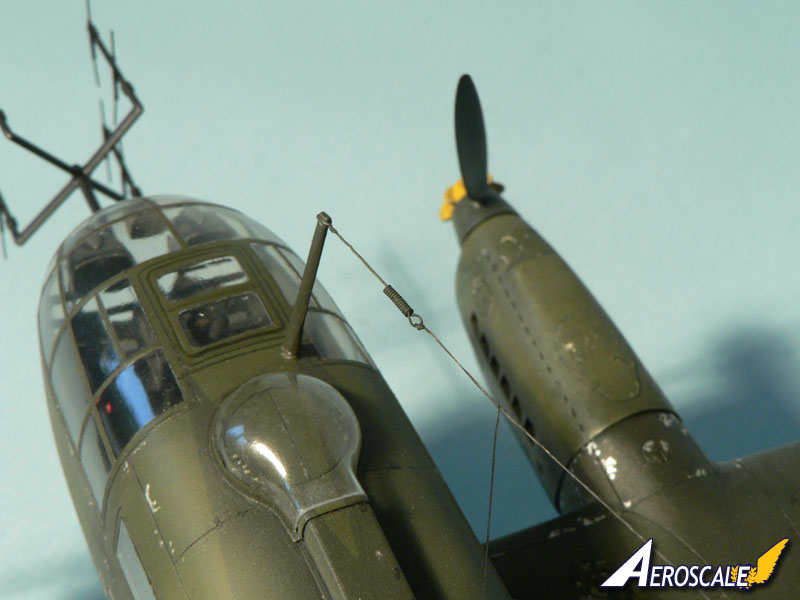
Final assembly consisted of gluing the landing gear legs, the aerial wires and the wing antennas made from piano wire. The forward FuG-218 V2R antenna was half scratchbuilt and half made of spare parts from a He 219 Uhu.The diorama base is from several pieces of Mark58 concrete plates and the grass was made from railroad products. The figures and accessories are from ICM and the Tilly truck is a resin model kit from Accurate Armor.
The model was featured in issue n°217 of the french magazine Réplic.

About the Author


FROM: MOSELLE, FRANCE
I'm mainly interested in WW2 aircraft and I build them in 1/48 scale.
Comments

Most exellent Jean-luc !
Very nice to see a vac kit done , ones I wish we see more of then the stander kit's on the market today .
DEC 12, 2009 - 04:15 AM

Hi Jean-Luc
excellent model but .. you know
all the best
Steffen
DEC 12, 2009 - 05:22 AM

Hi Jean-Luc
It really is a fantastic build! I loved it at the time, and seeing it again after a break just re-focuses one on how much there is to admire there! I'm still knocked out by the way you reworked the undercarriage doors - it's a technique well worth remembering.
All the best
Rowan
DEC 14, 2009 - 11:22 AM


Copyright ©2021 by Jean-Luc Formery. Images also by copyright holder unless otherwise noted. The views and opinions expressed herein are solely the views and opinions of the authors and/or contributors to this Web site and do not necessarily represent the views and/or opinions of AeroScale, KitMaker Network, or Silver Star Enterrpises. Images also by copyright holder unless otherwise noted. Opinions expressed are those of the author(s) and not necessarily those of AeroScale. All rights reserved. Originally published on: 2009-12-12 00:00:00. Unique Reads: 16591

WEB HOSTING BY


Copyright ©2021 AeroScale and Kitmaker Network, a subsidiary of Silver Star Enterprises
All Rights Reserved. Please read our Conditions of Use and Privacy Policy.
All Rights Reserved. Please read our Conditions of Use and Privacy Policy.