

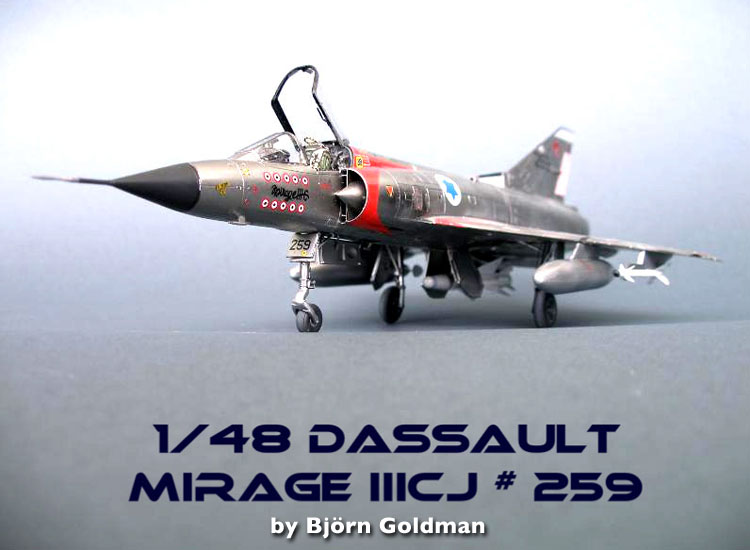
1⁄48Mirage IIICJ
4
Comments
Overview
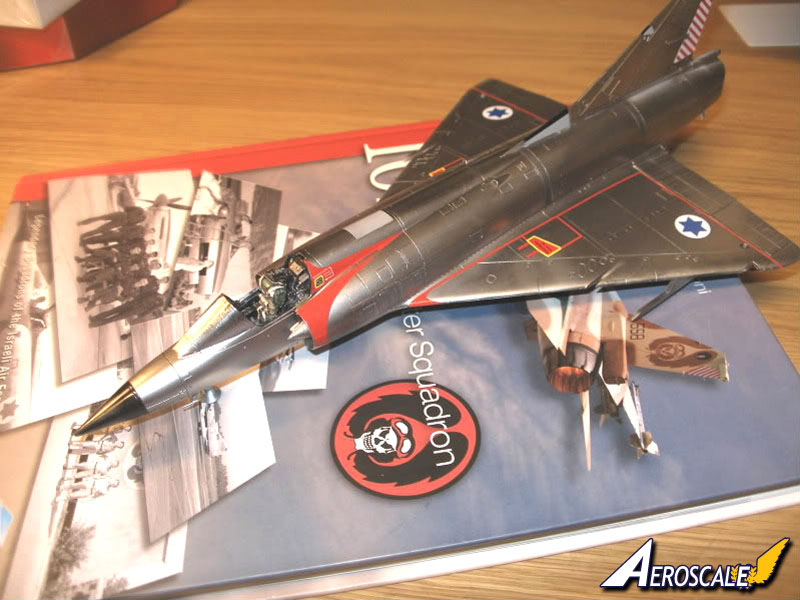
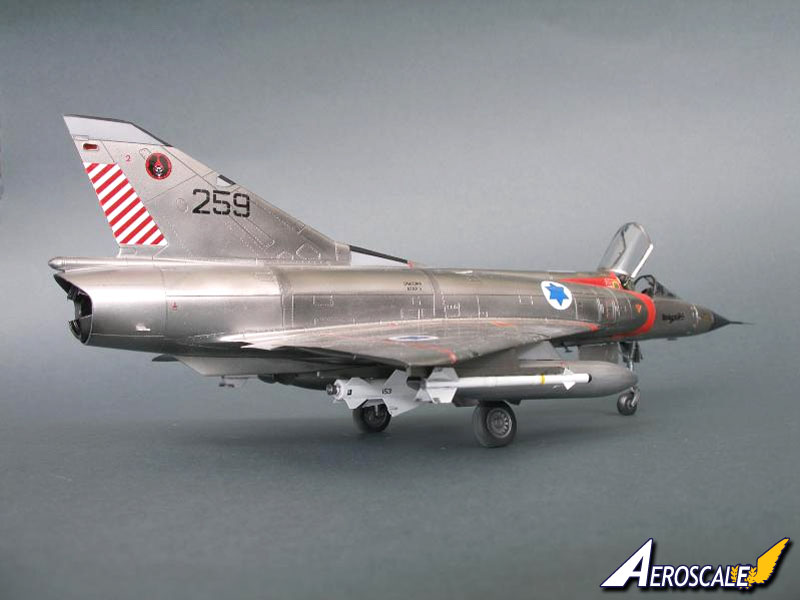
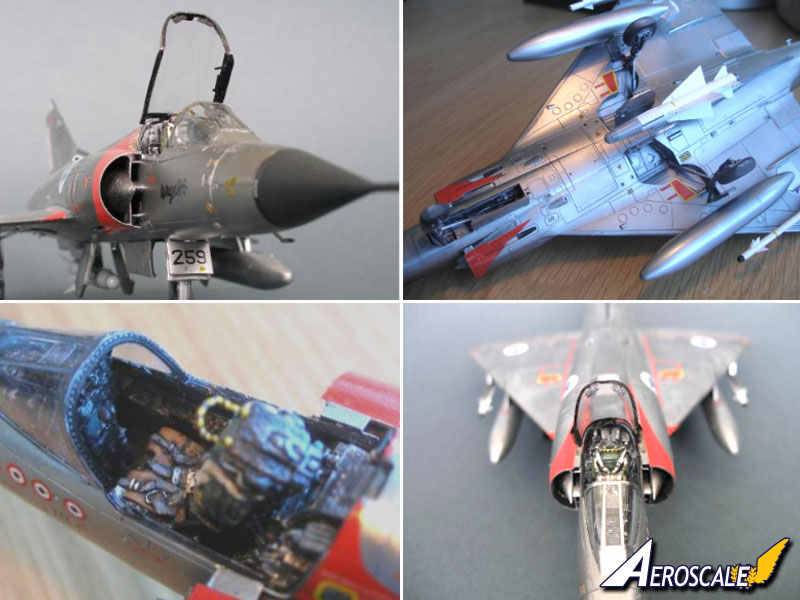
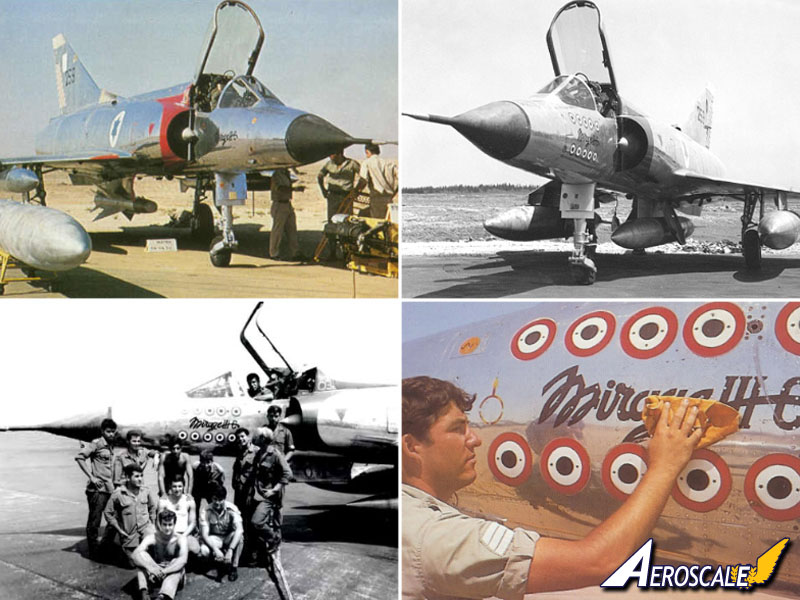
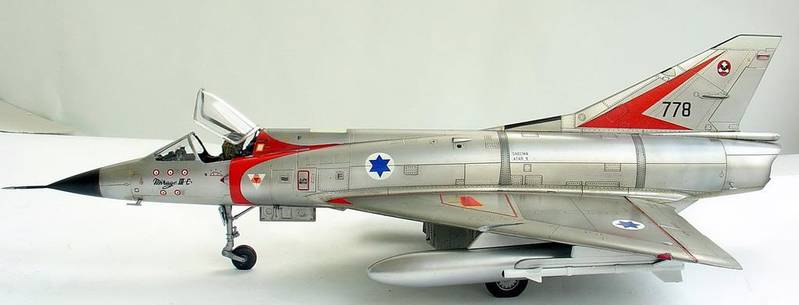
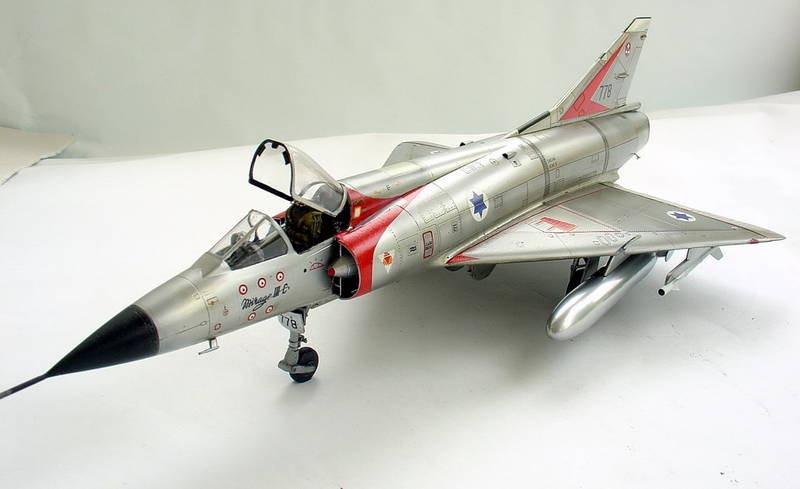
The model is Eduards Dassault Mirage IIICJ, enhanced and supplemented with the cockpit and wheel bay set from S.B.S. Models, Eduard PE (including the separate set for the missiles) and some decals from IsraDecal.The markings are the ones of the famous Shahak 59 of the 101 Squadron, which was the highest scoring Shahak in Israeli service (with a total of 13 kills). It was the first Shahak to score a kill when Yoran Agmon shot down a Syrian MiG-21 in July 1966. Several pilots have scored kills while flying Shahak 59; among them Oded Marom, Israel Baharav and IAF's top ace - Giora Epstein. This scheme represents "59" as it looks like in the summer of 1970, right before it was painted in desert camouflage colors. It had at the time actually scored 11 kills, but only ten kill marks had been painted!
Construction
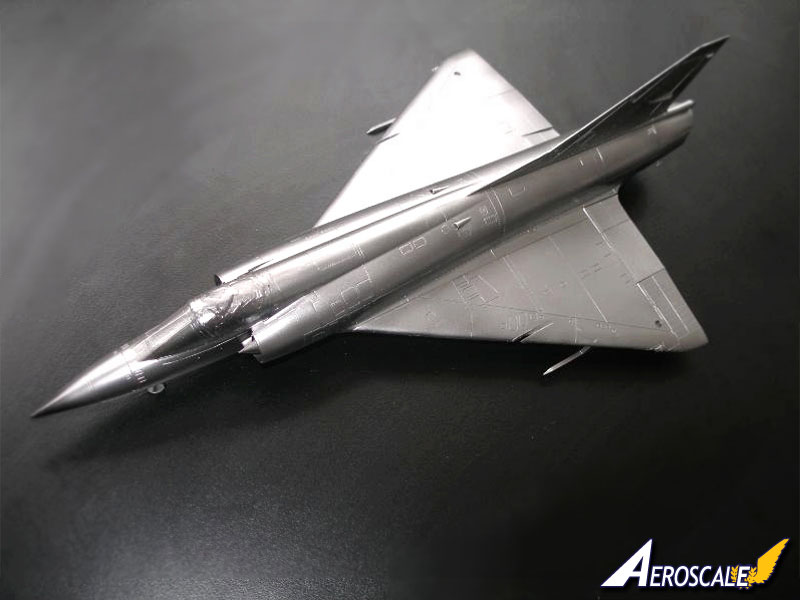
This is my first build in the 1:48 scale, but it will definitely not be my last!Ive built two Mirages before (in my old 1:72 scale), one of which was with the exact same scheme as this one. I really wanted to build a more detailed version of this my favorite aircraft. I opted for the Eduard kit after reading a lot of reviews about this one, the Hobby Boss and the Heller kits. All of them have their pros and cons. I definitely didnt want to rescribe the model, so Heller was out. Since I got a hold of the Eduard kit for a reasonable price, I opted for that one. Apart from two minor(?) issues, I had no problem with construction. Firstly, my fuselage halves where warped as bananas one facing north and one south! This was rectified during assembly by gluing a small portion of the fuselage seam at the time. I started at the rear and then moved forward, using Ethyl Acetate and pinching the model together inch by inch, using both clamps and tape to make it hold. The second issue was that some of the clear parts where too big to fit the models. I found it too difficult to sand down the clear parts with acceptable results. As you can see from one of the in-progress pictures, I decided to try a different approach. For the position lights on the wings and the vertical stabilizer, I filled a medical syringe with a mix of Humbrol ClearFix and Tamiya clear red (for the stabilizer, and clear blue for the light on top of the wings), and slowly filled the holes with the gooey blend. It worked!!!
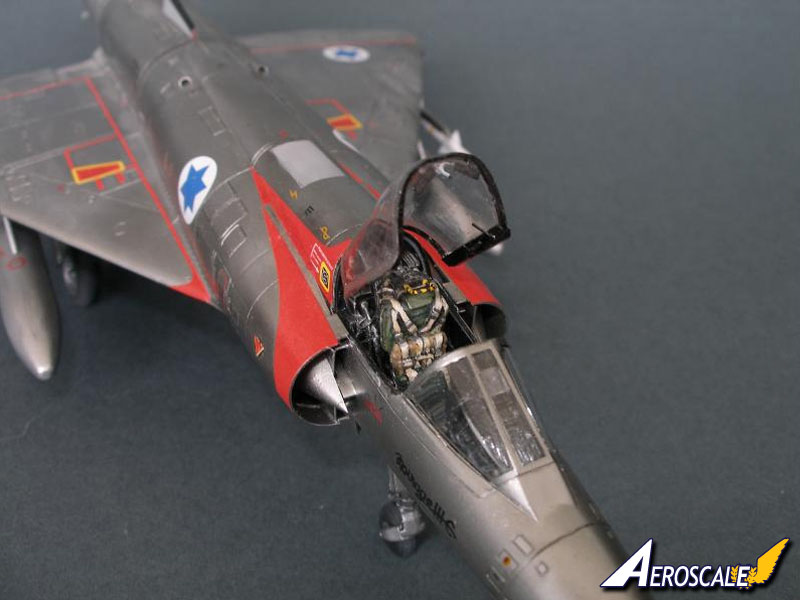
The cockpit was a combination of the most excellent S.B.S. Models resin kit (highly recommended!) and the Eduard PE, as well as some scratch built parts (for example, I found the Eduard ejection handle to be too slim). The resin was the best Ive seen to date, and I love the detail that it added. I used Vallejo colors for the seat, starting with a black base and slowly adding the colors and the highlights in thin layers. The Eduard PE also added a lot to the cockpit and the canopy. Unfortunately, it is difficult to take pictures that gives the real thing justice.
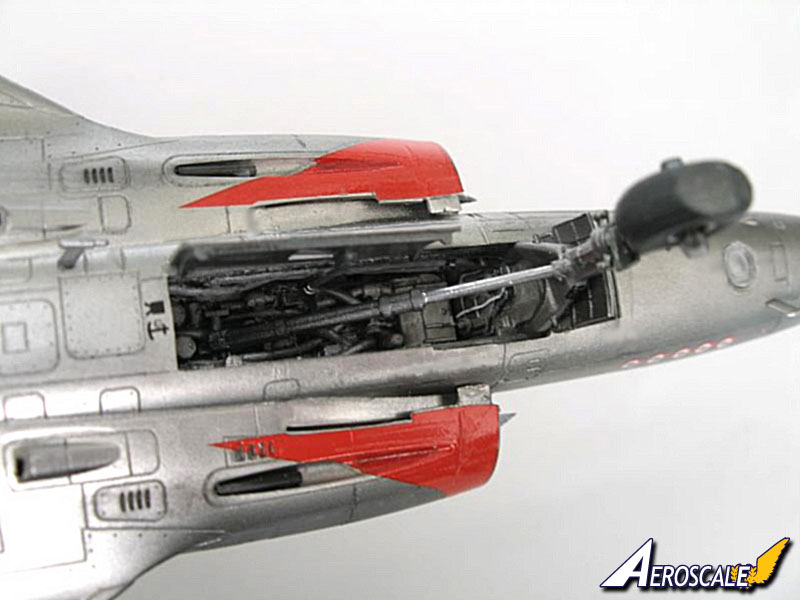
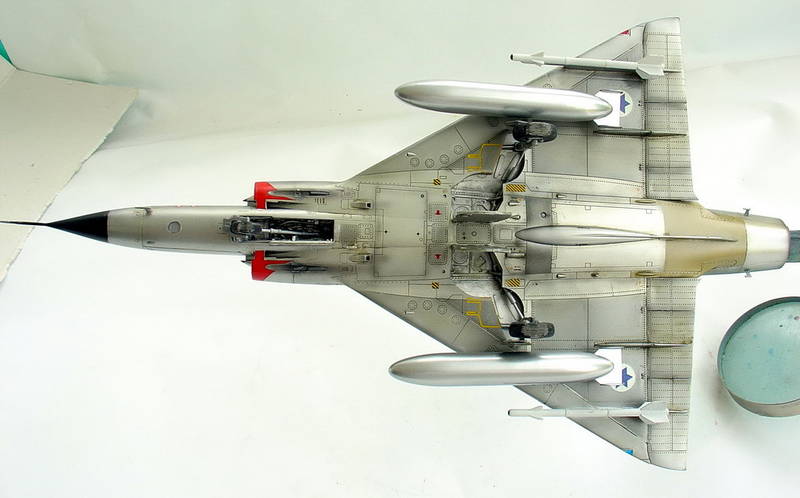
The wheel bays were also from S.B.S. Models. I usually dont give wheel bays any real attention, since I dont compete with my models (MoM being the sole exception) and since no sane person will ever notice them, but I decided to give them a go during this build. The resin parts were excellent and there were no real issues with the fit (as always, some sanding was required).
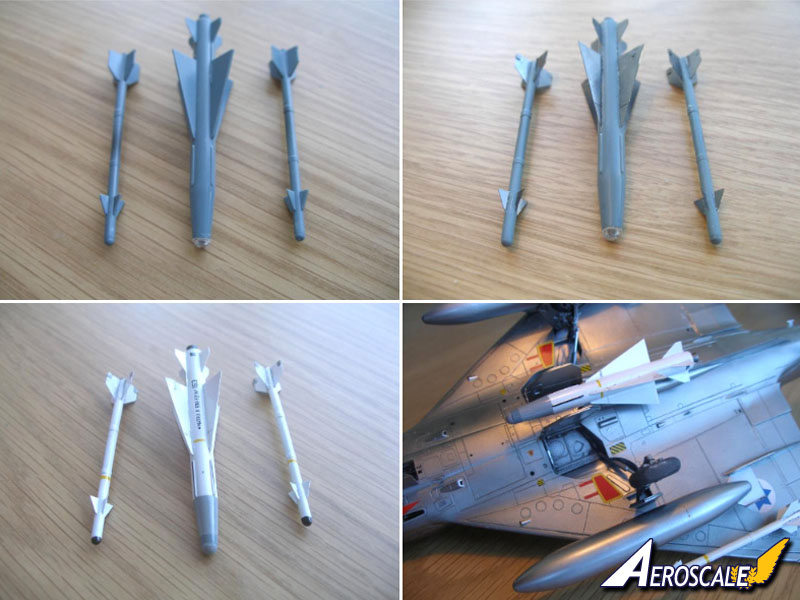
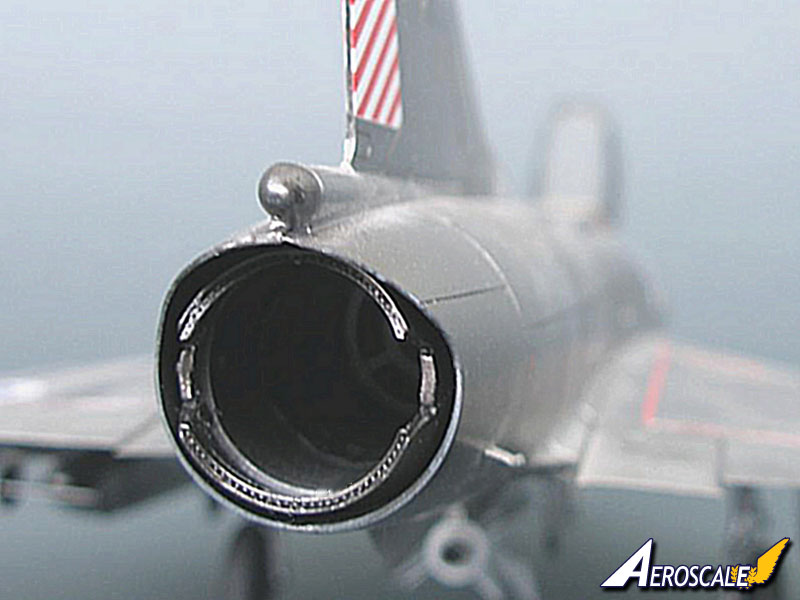
The exhaust was spiced up with Eduard PE, as was the missiles (46 parts of PE, just for the missiles!) and the wheel areas. The Matra / AIM-9D combo might be historically questionable, but this was provided in the box and I had to speed up the build in order to finish it for the Aluminium campaign deadline! No time to be picky!
The construction went like a charm. Unfortunately, the de-construction also went pretty smooth. Somehow, my two year old son found his way into daddys office one early morning, and decided to try out the flight capabilities of the model aircraft. All pitot tubes, the front canopy section, etc had to be mended and replaced
Painting and Decals
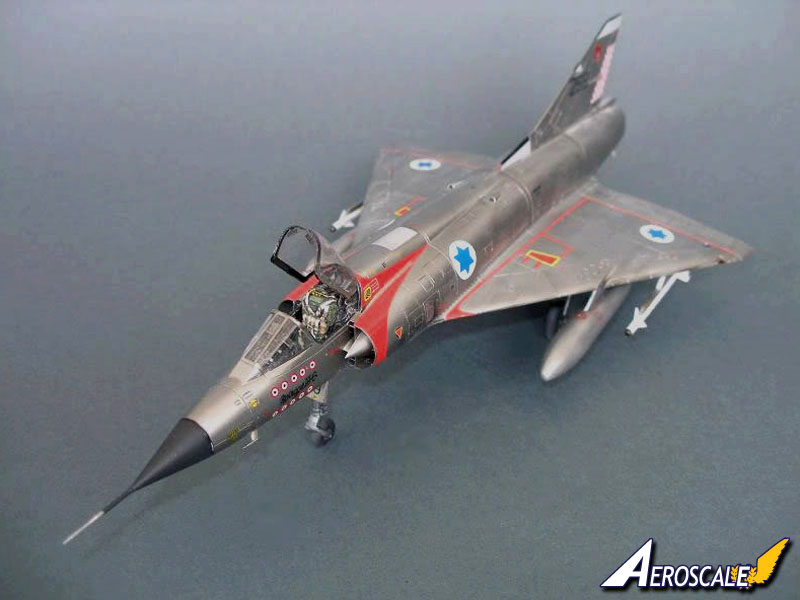
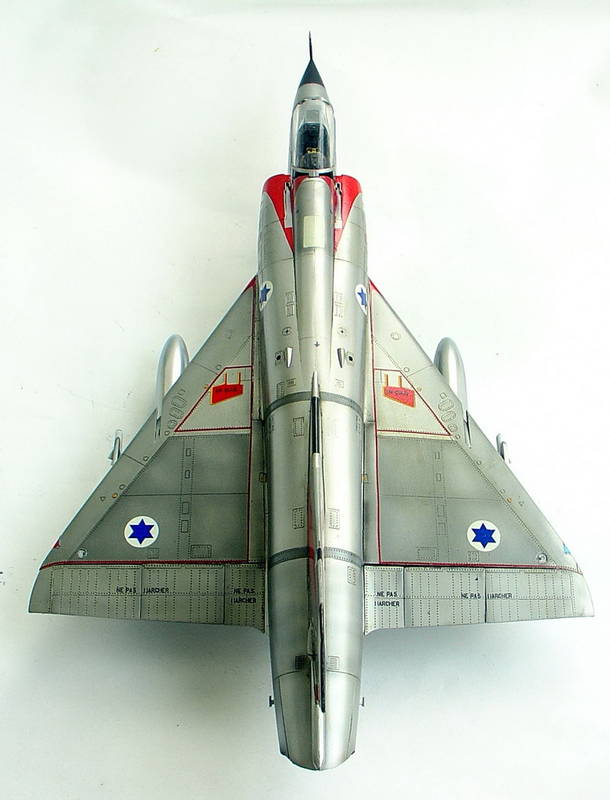
Even though my modeling experience is not that vast, I have experimented with NMF during some of my latest projects. I enjoy working with the Alclad II range, but it takes a little practice to get it to behave as one wishes. For shiny finishes, a glossy black coat is a must. I used Tamiya black for this one, followed by a few coats of future. Let it cure and harden thoroughly! I primarily used the Airframe Aluminium. Some of the panels are somewhat shaded with a mix of Airframe Aluminium and other aluminium shades, albeit that it is hard to notice on the pictures. For the wheel bays, I used Darkened Aluminium, and for the exhaust well, you guessed it! I tried to replicate the rather matt black of the nose cone, using a mix of Tamiya matt black and German grey. I used a soft led pencil (6B) in the panel lines, and for some weathering (together with the Tamiya makeup box soot). The Israelis kept their precious shahaks very clean and shiny, as you can see on some of the reference pictures.The kit decals were in most regards excellent especially the extensive stencils - but some of the more the more prominent decals were incorrect or questionable. I used a mix of IsraDecals set and box decals to accomplish what I wanted. I hade some serious problems getting the red decals that goes around the intakes to fit properly, but managed to save them with a sharp blade and some Microsol solution.
Unfortunately, the IsraDecals instructions are highly inadequate and somewhat erroneous, which resulted in a minor boo-boo from my part. No, Im not going to tell what went wrong. Ill just let the Shahak experts try to figure it out!
Conclusion
I truly enjoyed this project! I put in lot of hours, but it was all fun and Im quite happy with the result. There are always thing that one can do better, but Im still learning. I hope to add a camouflaged Shahak (with them big pretty triangles) to my collection, but that will have to wait for a while. I also hope that there will be a decent, modern 1:48 Kfir kit release in the near future.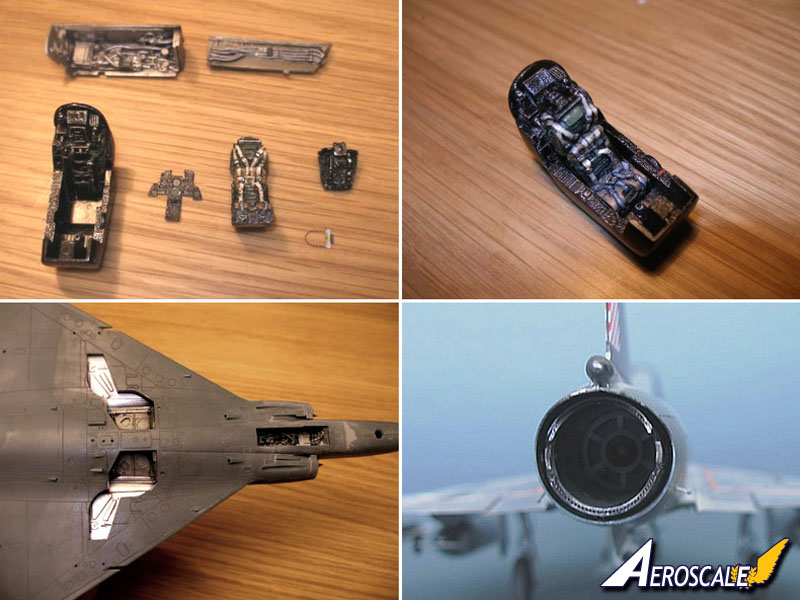


About the Author


Comments

Björn
this is an outstanding model!!! I really love it and it reminds me to continue on my Shahak .... but let's better talk about your model.
Great modelling, great painting, great meatallic look ... did I mention that I love it
all the best
Steffen
MAY 22, 2010 - 01:33 AM

Hi Bjorn
A fantastic build of a fantastic looking aircraft. Thanks for posting realy enjoyed looking at it.
tim
MAY 26, 2010 - 04:33 AM

JUN 21, 2010 - 10:28 PM

Excellent work, Mamutel! I love the added patina on the NMF! What a nice cousin!
I take it that you are as pleased as I am with the SBS cockpit etc. I hope to see more of these great Mirages - in my view the quintesential fighter jet of the 60's - as nicely done as yours!
Welcome to Aeroscale, btw!
Cheers! // PolarBear
JUN 22, 2010 - 03:10 AM
Copyright ©2021 by Björn Goldman. Images also by copyright holder unless otherwise noted. The views and opinions expressed herein are solely the views and opinions of the authors and/or contributors to this Web site and do not necessarily represent the views and/or opinions of AeroScale, KitMaker Network, or Silver Star Enterrpises. Images also by copyright holder unless otherwise noted. Opinions expressed are those of the author(s) and not necessarily those of AeroScale. All rights reserved. Originally published on: 2010-05-22 00:00:00. Unique Reads: 12966

WEB HOSTING BY


Copyright ©2021 AeroScale and Kitmaker Network, a subsidiary of Silver Star Enterprises
All Rights Reserved. Please read our Conditions of Use and Privacy Policy.
All Rights Reserved. Please read our Conditions of Use and Privacy Policy.