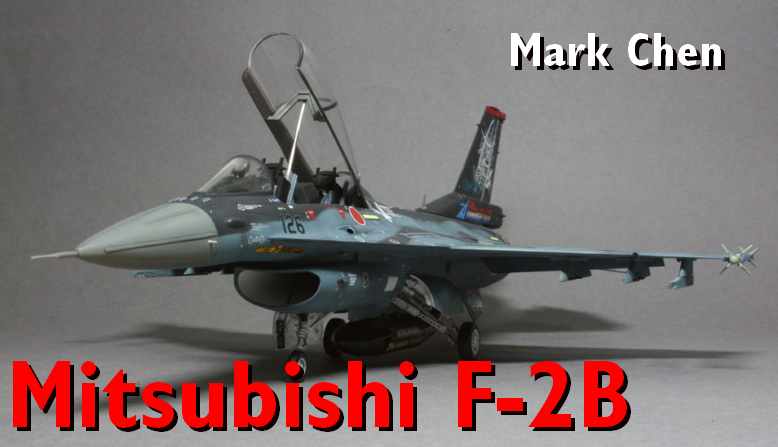
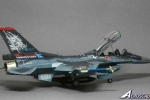
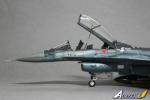
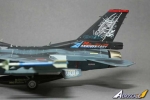
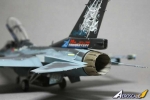
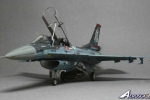
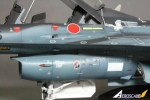
1⁄48JASDF Mitsubishi F-2B.
...
Post a Comment
The Mitsubishi F-2 was born out of the Japanese Air Self Defence Force's (JASDF's) Fighter Support-X (FS-X) programme. In the late 80s, the Lockheed Martin F-16 was selected as the basis for the FS-X and was slated to replace the ageing Mitsubishi F-1s in JASDF service. The eventual design was slightly larger than a standard F-16 and as a result could carry a greater payload than the F-16. The F-2B is the 2-seat trainer variant of the F-2. These trainers are assigned to the 21st Fighter Training Squadron at Matsushima Air Base. On 11 March 2011, a tsunami triggered by an offshore earthquake badly damaged the seaside air base and most of their F-2Bs.
For this build, I used the only F-2B kit on the market from Hasegawa. The fitting of the parts was very good and equal to the superlative F-16C kit by Tamiya. However, it was not without its problems. The radome halves were moulded attached to the fuselage and required filler to ensure that there was no visible seam line between the halves. To achieve this, I had to sacrifice the static strips and AoA probes on the side of the nose cone. The seam was eventually removed with Tamiya putty. The lost strips were replaced with ones made from stretched sprue and the AoA probes were spares from a Tamiya F-16 kit. The nose pitot from the kit was quite poor in shape so a Tamiya spare part came to the rescue again. The kit ejection seats were rather sparse in detail so I added seatbelts made from tape and photoetch from one of Tamiya's F-16 Detail Up Parts sets.
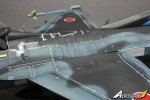
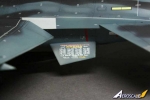
The model was painted with Gunze Mr Color paints. As their range of paints did not have the exact colours, I had to mix a custom blend for both the light and dark blues. The camouflage was airbrushed on with the help of Blutack snakes to give that slightly feathered look. After a gloss coat, I applied the decals fro Afterburner. The Cartograf printed decals went on without a hitch, settling down really nicely into the panel lines and recessed rivets on the model surface with the help of some Mr Mark Softer. The decals were as complete as they get, providing all the tiny stencils commonly associated with JASDF aircraft. Many "wonderful" evenings were spent applying all the decals which is a testament to Afterburner Decals' commitment to provide the very best and accurate markings that money can buy.
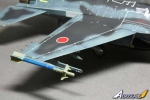
Decals were sealed with another gloss coat in preparation for a panel wash. I used Tamiya enamel flat black to do the panel wash. Usually, I would use brown to apply some hydraulic streaking but seeing as this is a show bird, I decided against dirtying up the jet. The exhaust nozzle was weathered with black and brown enamels and some pastel chalk powder to give it a slightly sooty look. The whole model was then sealed with a flat coat. Once again, this being a show bird, I armed it rather lightly with a pair of dummy AAM-3 air-to-air missiles on the wingtips and a specially painted centreline fuel tank.
Hope you enjoy the photos as much as I enjoyed the build! Mark.
Copyright ©2021 by Mark Chen. Images also by copyright holder unless otherwise noted. The views and opinions expressed herein are solely the views and opinions of the authors and/or contributors to this Web site and do not necessarily represent the views and/or opinions of AeroScale, KitMaker Network, or Silver Star Enterrpises. Images also by copyright holder unless otherwise noted. Opinions expressed are those of the author(s) and not necessarily those of AeroScale. All rights reserved. Originally published on: 2011-06-01 00:00:00. Unique Reads: 6368


