1⁄72Antonov An-12
9
Comments
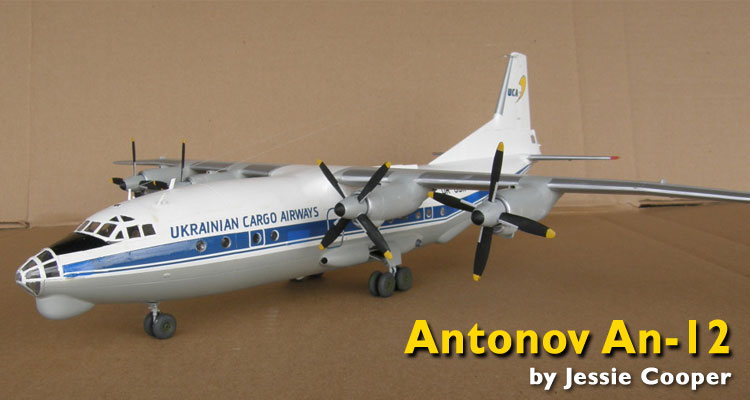
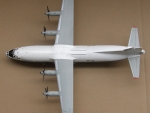
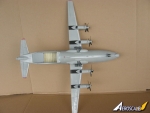
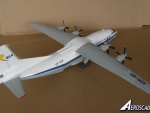
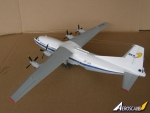
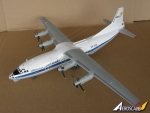
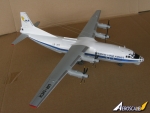
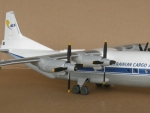
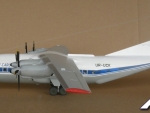
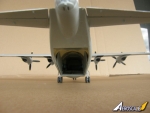
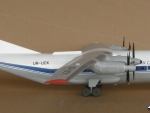
This is Roden's An-12 kit No. 042 with a spare decal scheme from kit No. 048. The plastic in both kits is identical, with the exception of a few extra parts in 048 to portray the earlier radome and turretless tail. Since this scheme used neither of those two parts, using kit No. 042 was a simple choice.
The plastic is quite soft, which means that care must be taken when trimming the parts and cleaning up the flash. The use of very "hot" liquid glue requires a great deal of care if the parts are not to be melted. Apart from its size, this kit was a fairly straightforward limited-run build. Modellers with experience with limited run kits will have no trouble here. The decals gave some trouble due to their brittleness and general unwillingness to conform to compound curves. They finally succumbed to the boiling water trick. I am assured that the use of a hairdryer can also coax them into behaving properly.
The plastic is quite soft, which means that care must be taken when trimming the parts and cleaning up the flash. The use of very "hot" liquid glue requires a great deal of care if the parts are not to be melted. Apart from its size, this kit was a fairly straightforward limited-run build. Modellers with experience with limited run kits will have no trouble here. The decals gave some trouble due to their brittleness and general unwillingness to conform to compound curves. They finally succumbed to the boiling water trick. I am assured that the use of a hairdryer can also coax them into behaving properly.
Comments
SWEET! Nice clean build on a not too often seen subject. My son deals with these things on a daily basis. After doing six years in the USAF he's contracting at Manas air base outside of Bishkek Kyrgyzstan parking, gassing and de-icing both civillian and millitary AC. Thanks for sharing and keep up the good work!
Pat.
SEP 24, 2011 - 03:17 AM
Looks Great! I have this kit in my stash and plan on building it sooner rather than later! I am curious about your comments on the decals. I have never heard of the boiling water trick. Can you tell me more? Thanks!!!
SEP 25, 2011 - 04:43 PM
The boiling water trick is to press down on the decal with a cloth dipped in water that's just been boiled. You can also use a hair dryer to heat the decal. Both of these methods heat the decal film and force it to conform to the model's surface.
Good luck with your build Do you have the military or the civillian kit? (The military kit has far fewer decals, which is probably a good thing. There are no aftermarket civvie decals)
SEP 25, 2011 - 04:55 PM
Thanks! I have the civilian version with the same markings that you have done. At least I have an inkling of what to expect when I get to the decal stage.
SEP 26, 2011 - 02:45 AM
Look in page 6 of the Hangar Queen campaign thread for the start of my adventures with this one.
SEP 26, 2011 - 04:41 AM
Jessica, yet another clean and passionate build. I admire your skill and determination... I was also wondering about the boiling water trick. Doesn't it make the decal even more brittle and difficult to handle? Hopefully I will get to that phase one day
cheers,
E
SEP 26, 2011 - 04:58 AM
These Roden decals are so brittle it doesn't really matter. What it does is soften them up so they stretch around the bumps rather than shattering. You still end up having to do touch-ups where the decal tears, but nothing like having to replace great huge swaths of it. The trick is to press straight down with no side-to-side movement.
SEP 26, 2011 - 06:32 AM
Here's a before and after picture.
Before: The decal has cracked rather than conform to the shapes
 After: The decal is pressed down over the shapes. There are still touchups needed, but way less than before.
 In this image, you can see where I patched the decal with a piece that was just slightly the wrong colour.
 The model ended up with more than a few of these patches
 After: The decal is pressed down over the shapes. There are still touchups needed, but way less than before.
 In this image, you can see where I patched the decal with a piece that was just slightly the wrong colour.
 The model ended up with more than a few of these patches
SEP 26, 2011 - 08:15 AM
Now I see... it is interesting how photos sometimes reveal and sometimes conceal our mistakes. I didn't notice the patches before. It is still very beautiful plane... congrats!
SEP 26, 2011 - 08:36 AM
Copyright ©2021 by Jessica Cooper. Images also by copyright holder unless otherwise noted. The views and opinions expressed herein are solely the views and opinions of the authors and/or contributors to this Web site and do not necessarily represent the views and/or opinions of AeroScale, KitMaker Network, or Silver Star Enterrpises. Images also by copyright holder unless otherwise noted. Opinions expressed are those of the author(s) and not necessarily those of AeroScale. All rights reserved. Originally published on: 2011-09-24 00:00:00. Unique Reads: 11179


