1⁄48Turbo Porter
5
Comments
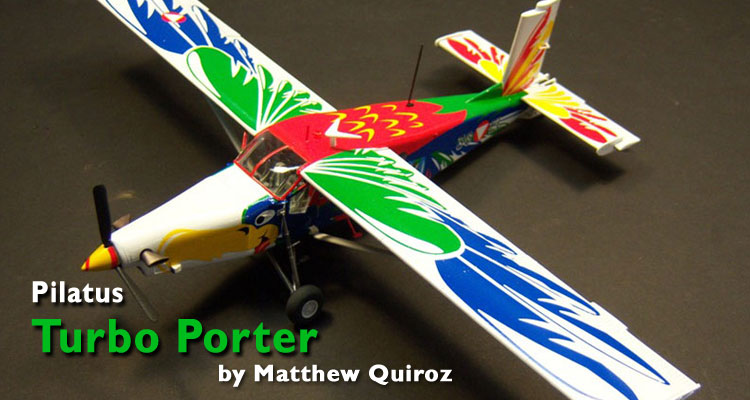
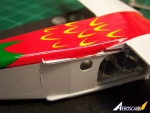
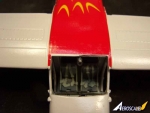
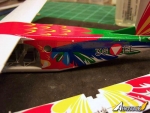
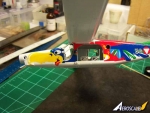
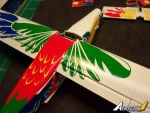
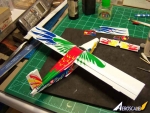
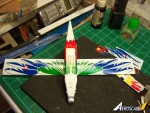
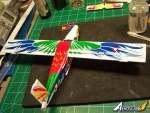
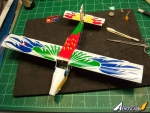
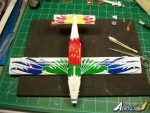
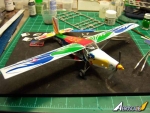
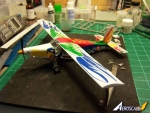
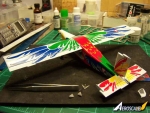
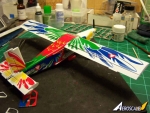
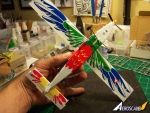
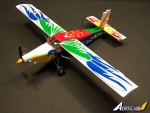
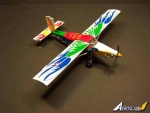
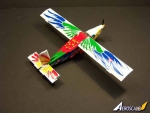
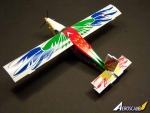
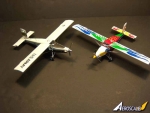
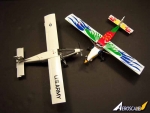
I was happy to receive this colorful version of the Pilatus Porter to build. Of the 4 I had on my shelves, none were as colorful as this. There are minor differences in the varying kits of the Pilatus that Roden has released. I built the same ship recently, Australian marked a/c, but painted it in US ARMY markings as I couldn't resist the high gloss olive green and white scheme. I took what I knew about that particular build and applied it to this one. The build time on this one was considerably faster, but decaling took some additional hours as the decals did not want to respond to any and all setting solutions. I ended up having to use a hair dryer and copious amounts of Solvaset to finally win the battle with the decals. I had some touch up areas to address and Model Master Chevy Engine red was as close a match as there comes for matching the red paint on this colorful plane.
Construction is straightforward, but pay attention to the ends of the wings. They will and can fit on either wing and will end up causing the builder to invent new words and pull their hair out as they go about swapping them….trust me, I know. There were no real issues with the build-up as I drew on my experience with the previously mentioned kit. The decals, as I alluded to above, were a different matter.
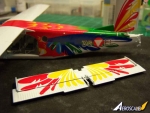
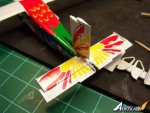
I spent the better part of 3 days applying them. As soon as they made contact with the model they stuck in place. Trying to move them resulted in them breaking apart… again, more colorful words. The trick was to cut the decals into more manageable pieces for placement and lots of water… lots and lots of water to move them around on.
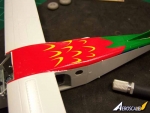
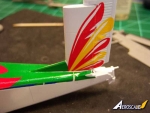
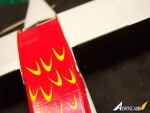
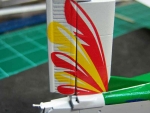
The wings decals are huge. I separated them into two pieces and worked from the inside edge/wing root out. I would rather be on here and fudge the outboard portion than the other way around as this area is really visible. I used landmarks on the plane to aid placing the decals and things worked out well. I kept the kit masked once all decals were on and applied a healthy gloss coat to it. I kept the weathering in check as I didn’t want to cover up all that decal color with washes etc. And, anyway this colorful was surely kept clean for all to observe and enjoy.
The decals will test you, but don’t let them scare you off. If you want one of these on your shelves, go for it. I am soooo looking forward to building the rest of my Pilatus fleet to join this and my US ARMY bird.
Comments
Now that is what I call a colourful bird!! Looks great. Great job on the decals.
Thanks for sharing
OCT 15, 2011 - 04:17 AM
Excellent Matt!
If a model does not challenge you, where is the chance to a great build like this?! Model On Matt!
OCT 15, 2011 - 02:59 PM
Beautiful work Matt, well worth the time spent on winning the man-vs-decal war of atrition.
Cheers, D
OCT 15, 2011 - 09:05 PM
Copyright ©2021 by Matthew Quiroz. Images also by copyright holder unless otherwise noted. The views and opinions expressed herein are solely the views and opinions of the authors and/or contributors to this Web site and do not necessarily represent the views and/or opinions of AeroScale, KitMaker Network, or Silver Star Enterrpises. Images also by copyright holder unless otherwise noted. Opinions expressed are those of the author(s) and not necessarily those of AeroScale. All rights reserved. Originally published on: 2011-10-15 00:00:00. Unique Reads: 9654


