

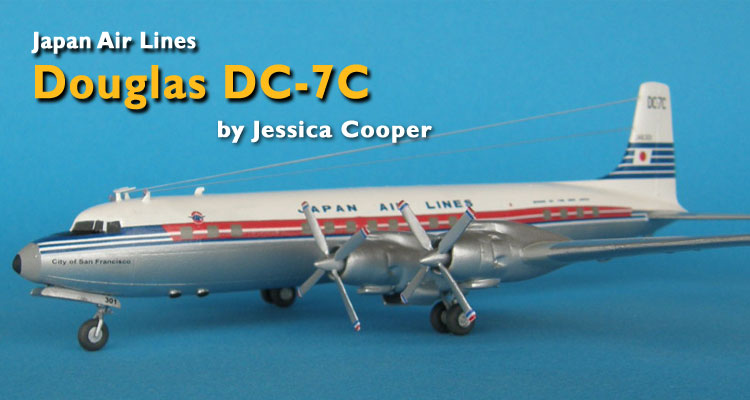
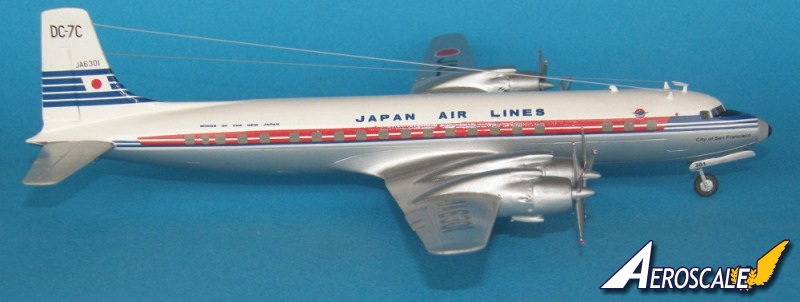
1⁄144Japan Airlines DC-7C
1
Comment
History
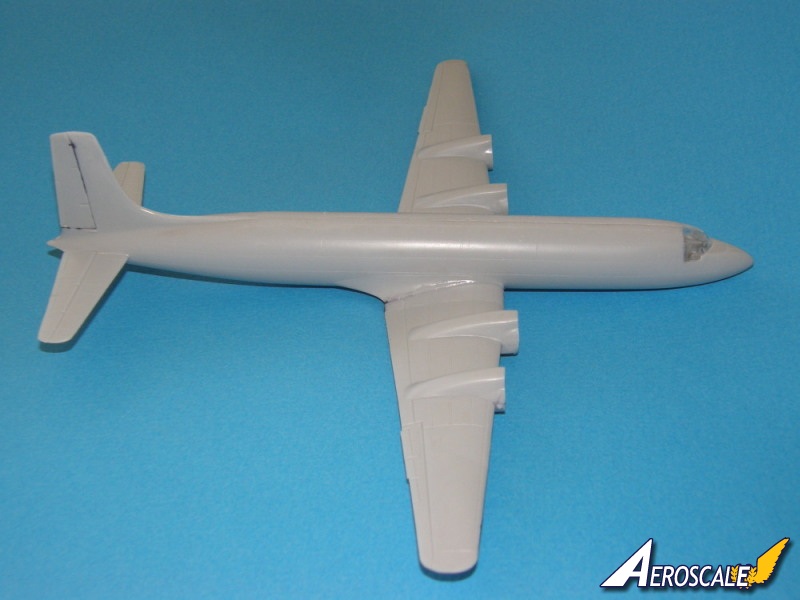
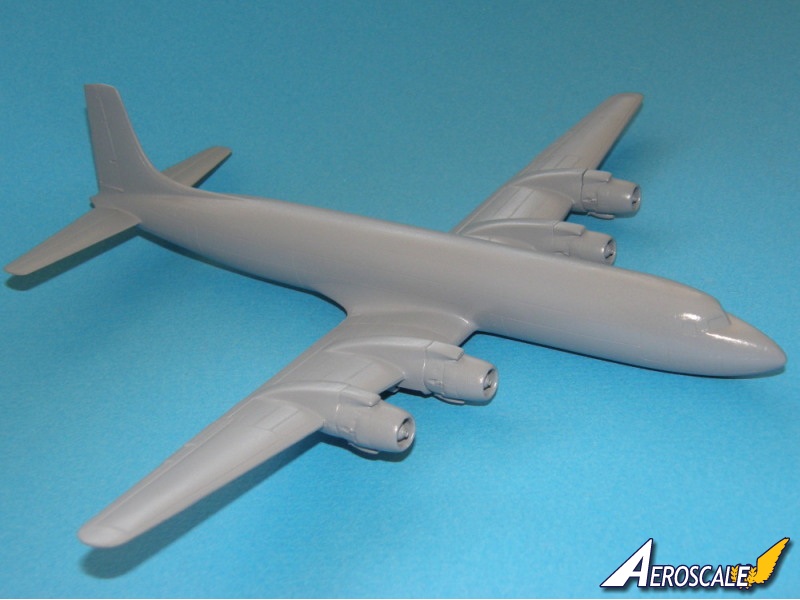
The Douglas DC-7 was an evolutionary development of the very successful DC-6. The DC-7 was re-engined with Wright R-3350 Turbo Compound engines and given a 40 inch (~1m) length increase behind the wing. The-7C version was lengthened a further 40 inches and the wingspan increased by a 10 foot (3m) root extension. The increased wingspan, plus nacelle saddle tanks allowed for more fuel to be carried, giving it sufficient range to fly the Atlantic ocean crossing non-stop in either direction, a first for any commercial aircraft. The DC-7's passenger carying career was cut short by the introduction of the 707 and DC-8, but many airframes continued on to long careers flying freight, spraying and firefighting, so there are numerous options for colour schemes. Some DC-7s are still flying today, carying freight and fighting fires long after their successor aircraft were sent to the scrapyard. The DC-7 did not serve in major militaries, which limits the colour scheme options to civillian operators.Roden's kit
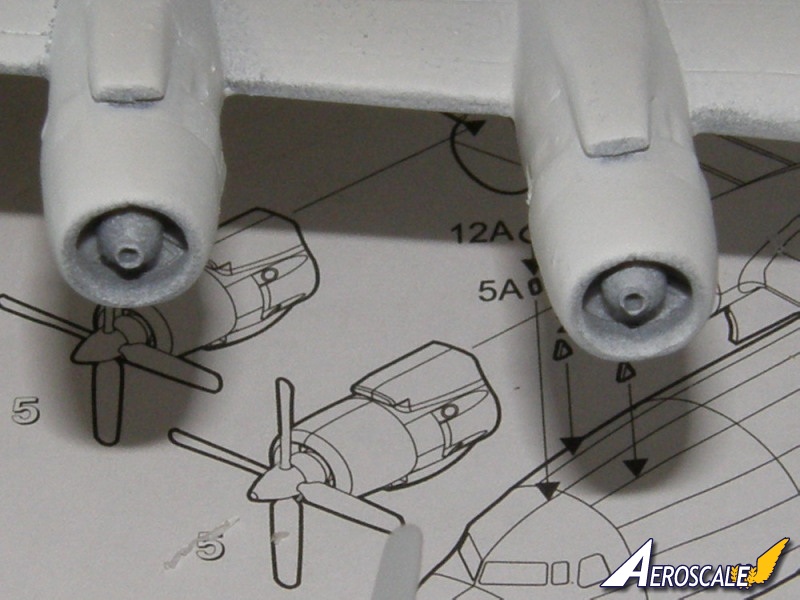
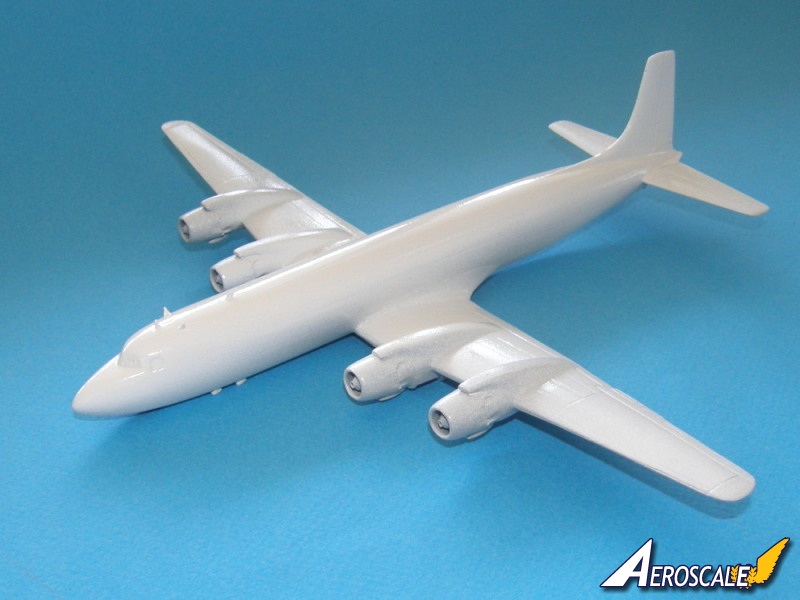
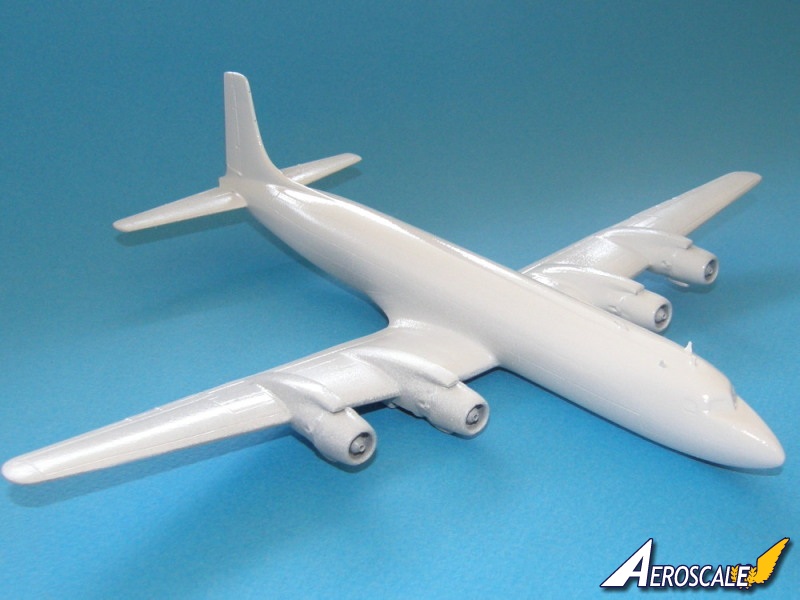
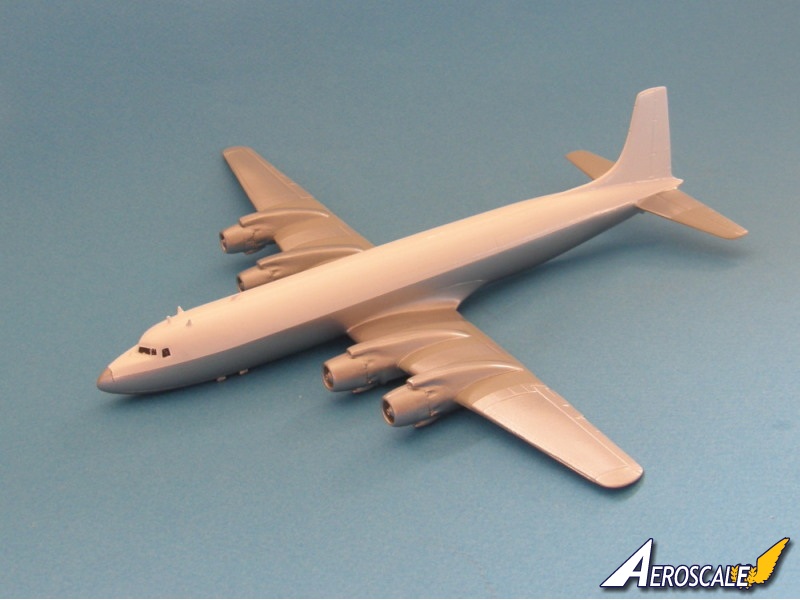
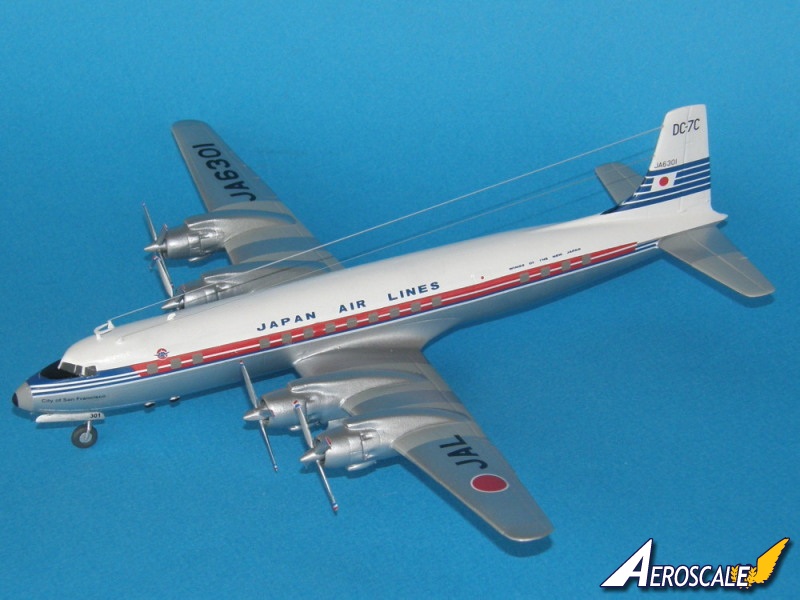
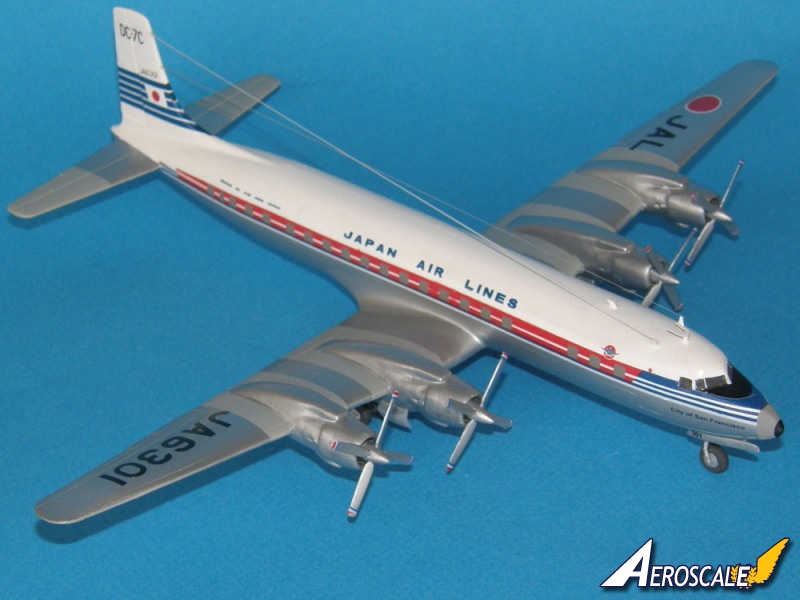
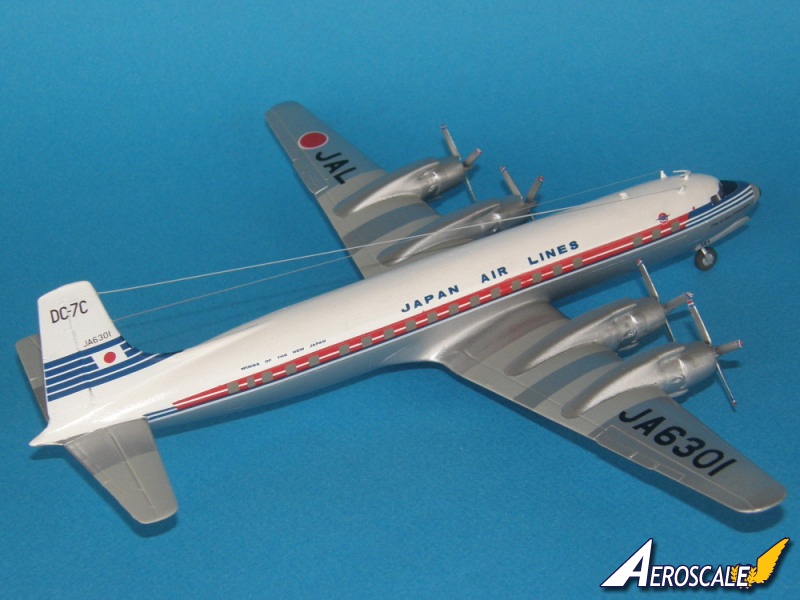
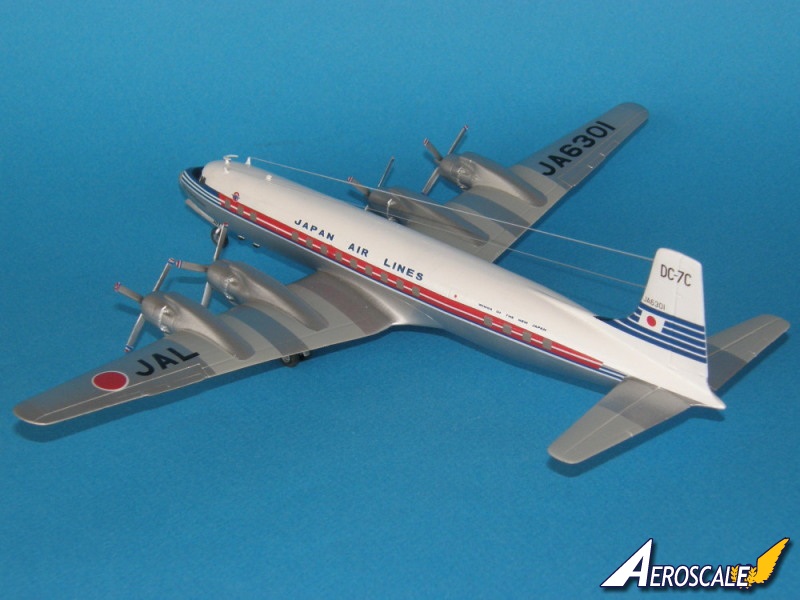
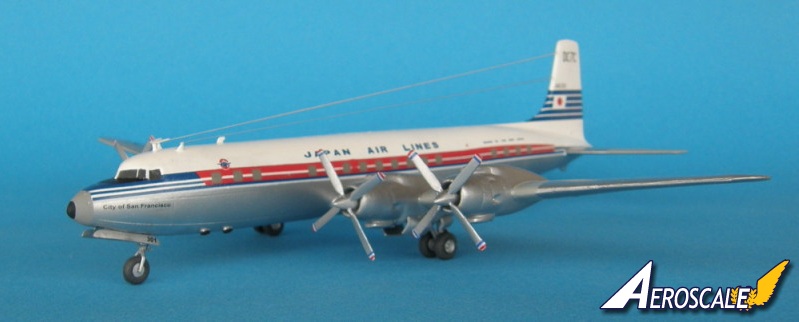
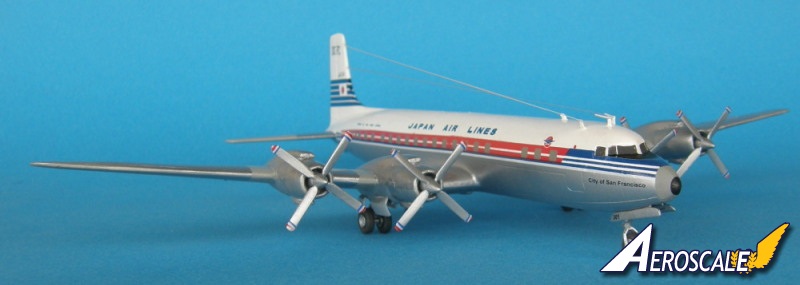
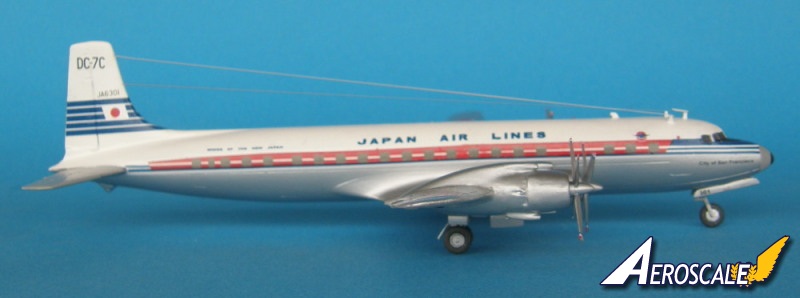
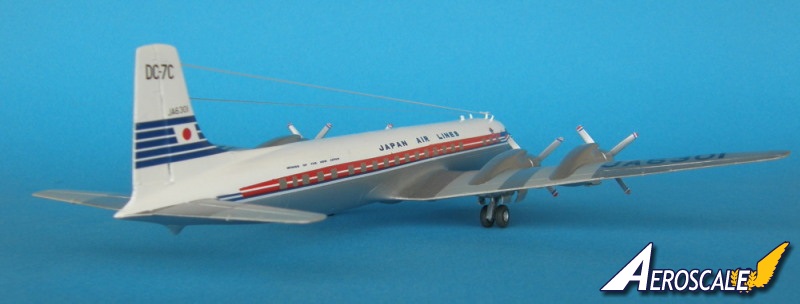
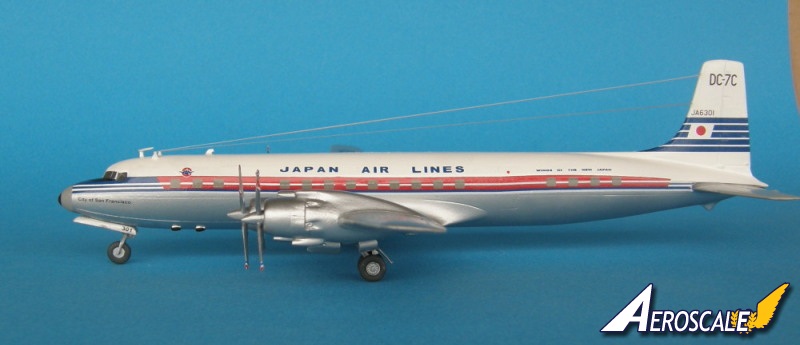
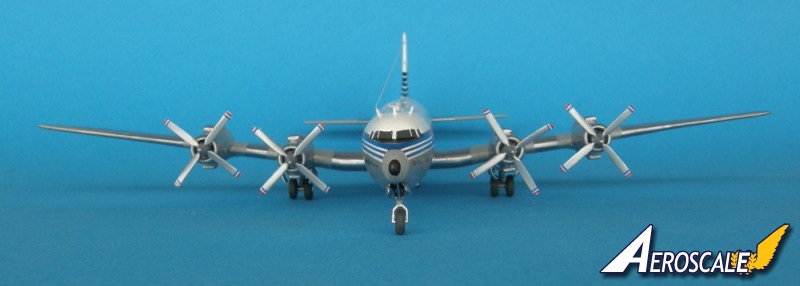
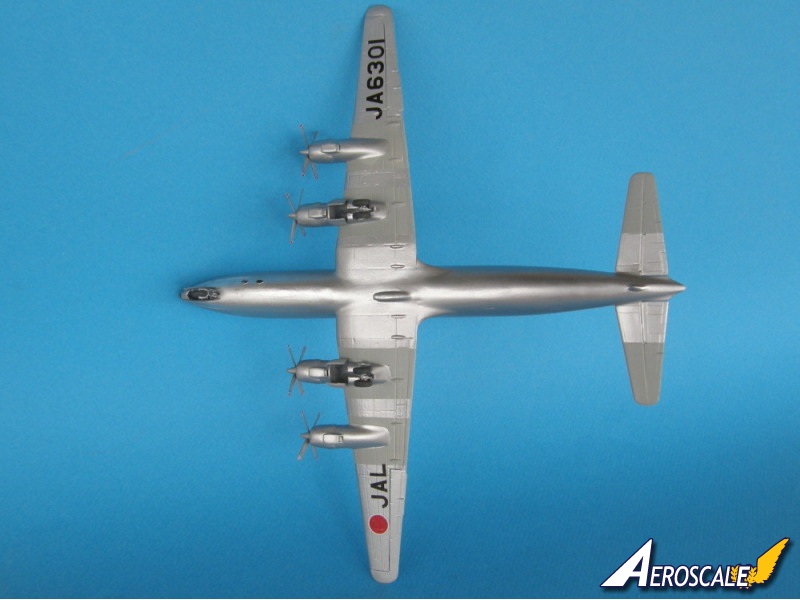
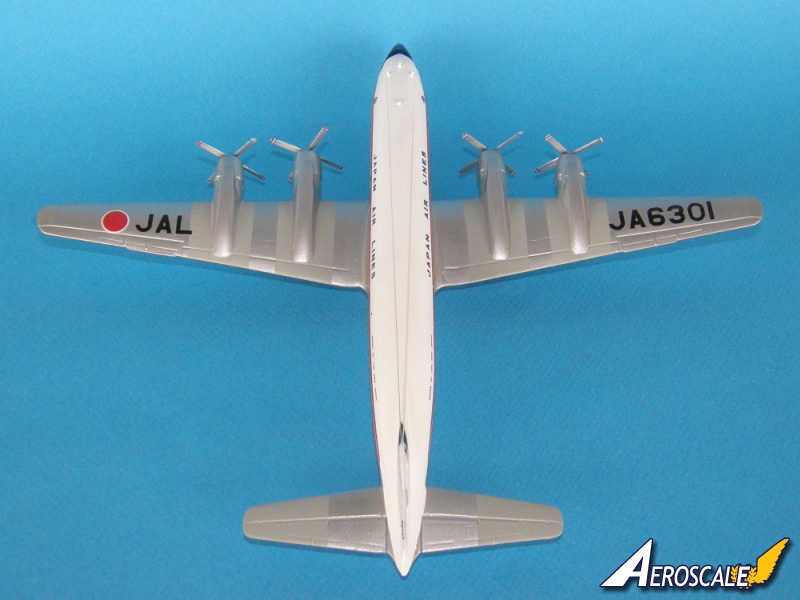
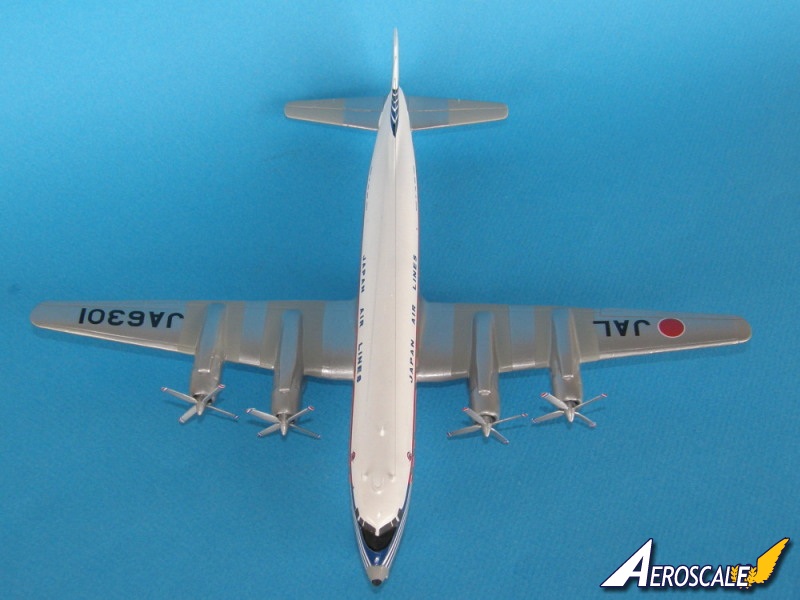
This is Roden's new 1/144 DC-7C in the colours of Japan Airlines circa 1960. This kit needs a fair bit of "some modelling skills required" to do it justice. There are minor fit problems with nearly every part, and the instructions have a couple of minor mistakes. The modeller needs a modicum of knowledge about the subject aircraft in order not to be misled. There are a few places where Roden made the assembly needlessly complicated, in particular the individual propeller blades and the totally absent nosewheel strut mount but all in all it was a straightforward build for a limited-run kit. The decals behaved very well. They are far superior to previous kits. They were strong, flexible, opaqe, and laid down well over the curves and detail on the model. they also reacted well to setting solutions, something Roden decals of past kits have not done at all.Modellers with experience dealing with limited run kits and small parts should have no trouble building a decent replica of this important transport aircraft.
Areas of note in this build
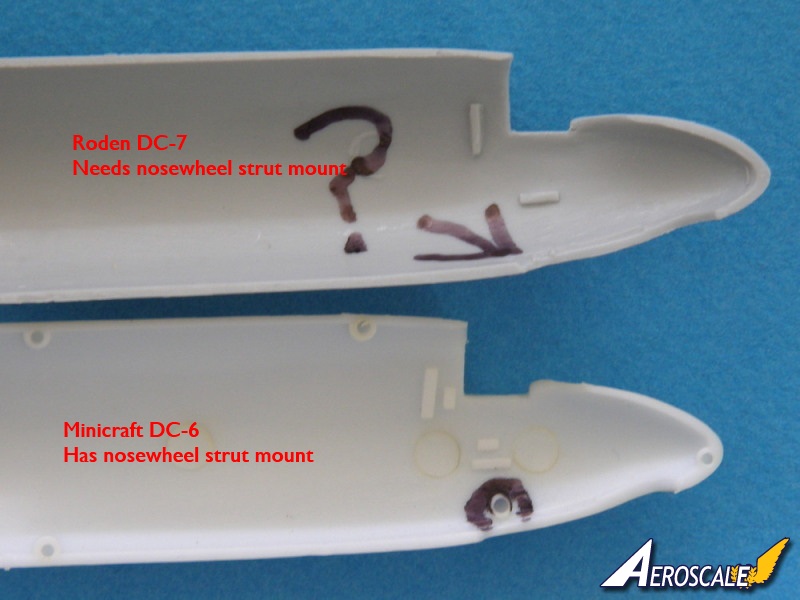
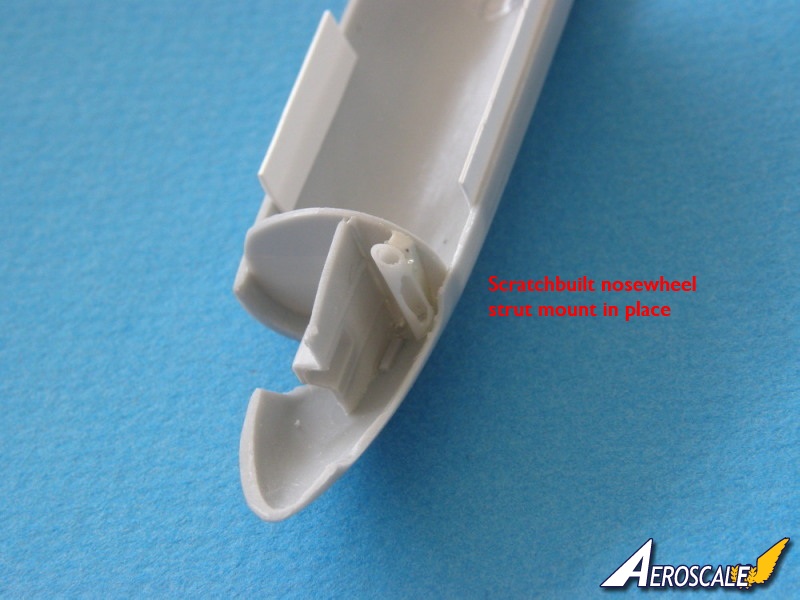
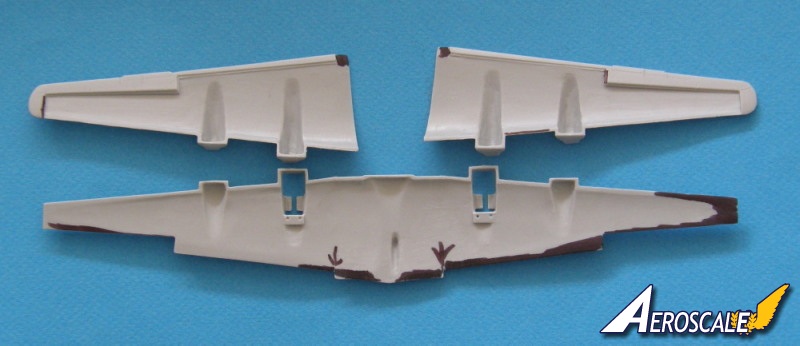
- there are no locating tabs. The kit should be treated like a vacuform and tabs cut from plastic card;- nosewheel strut mounting must be scratchbuilt;
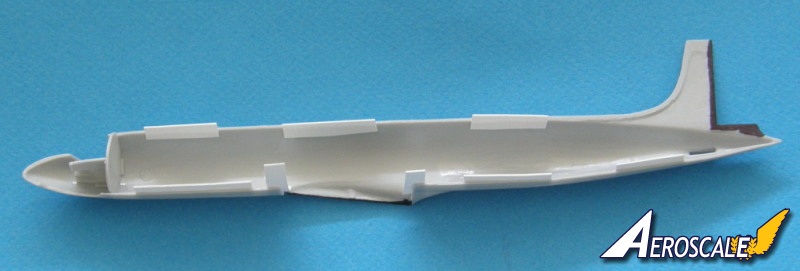
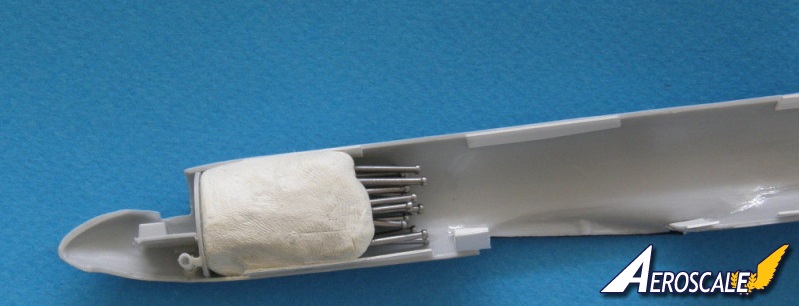
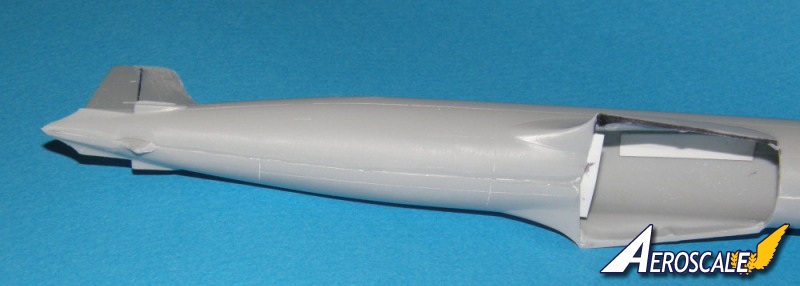
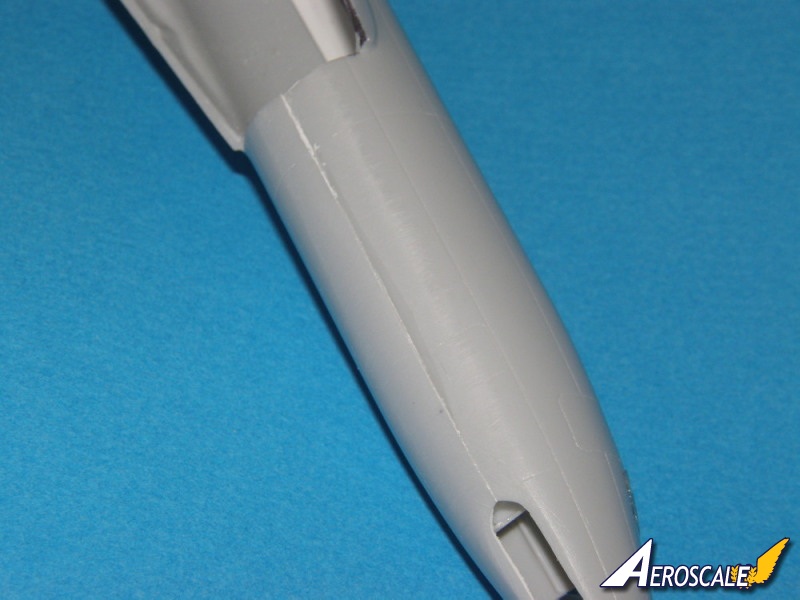
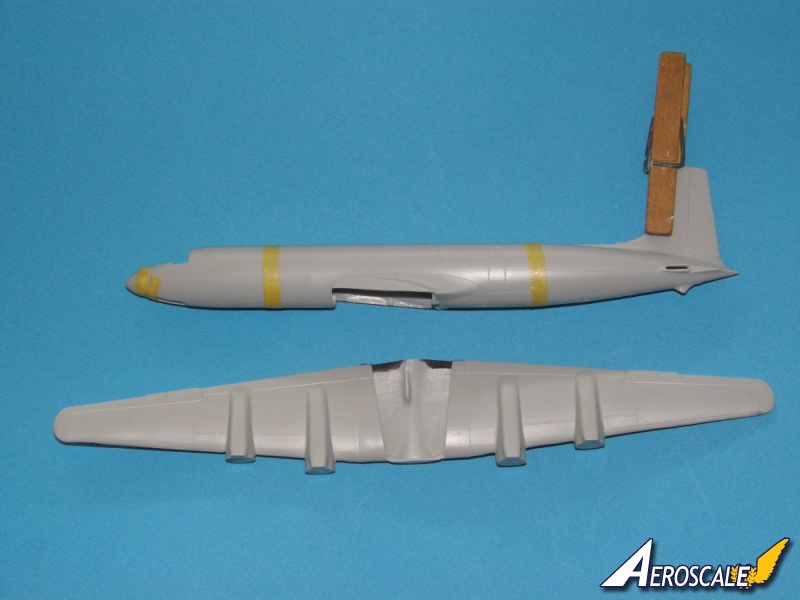
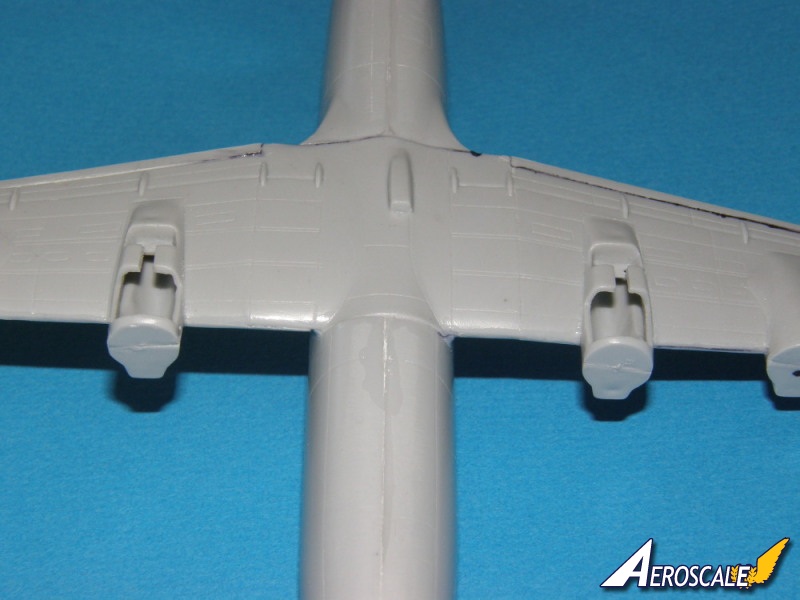
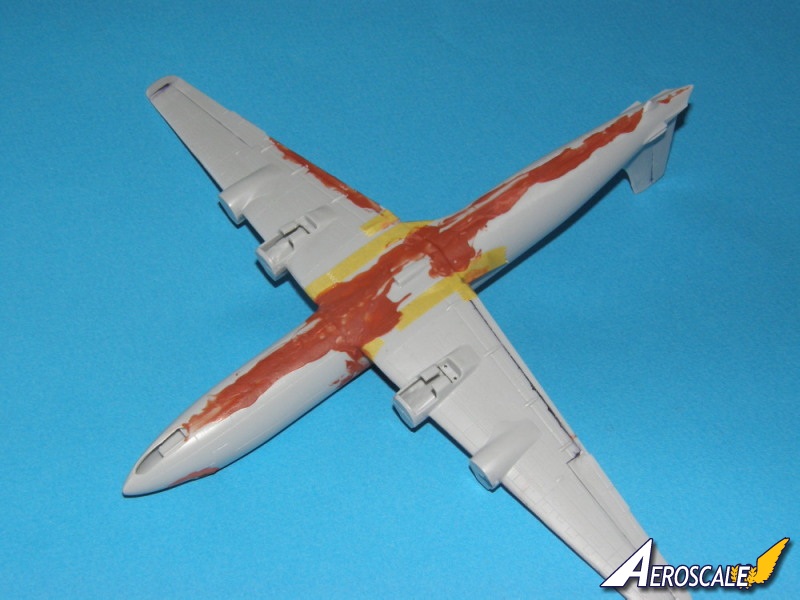
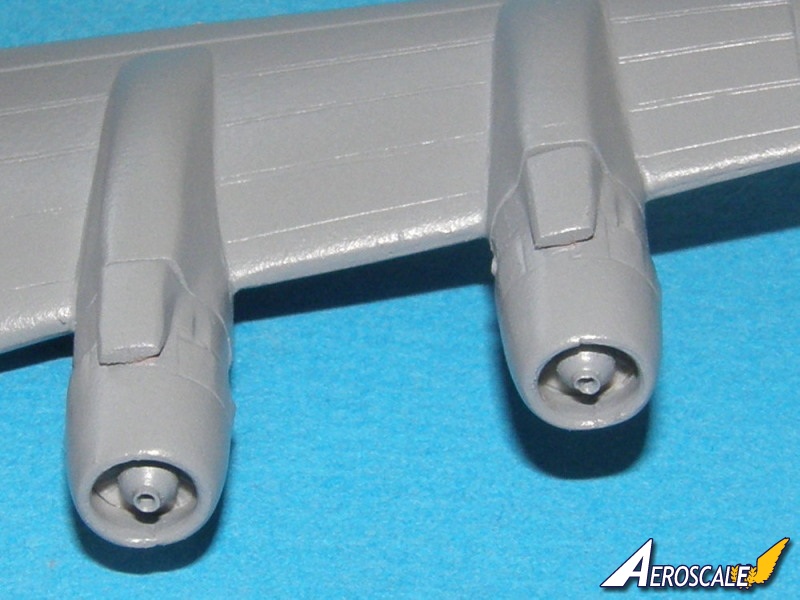
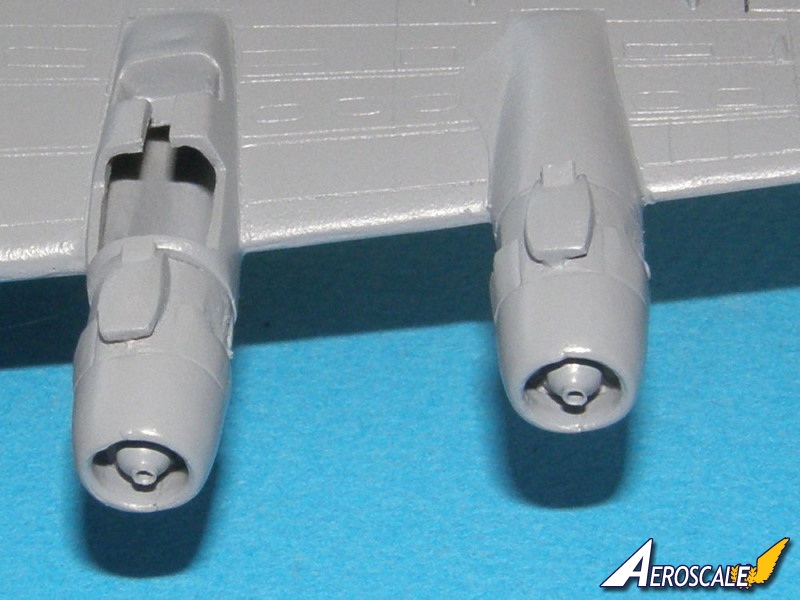
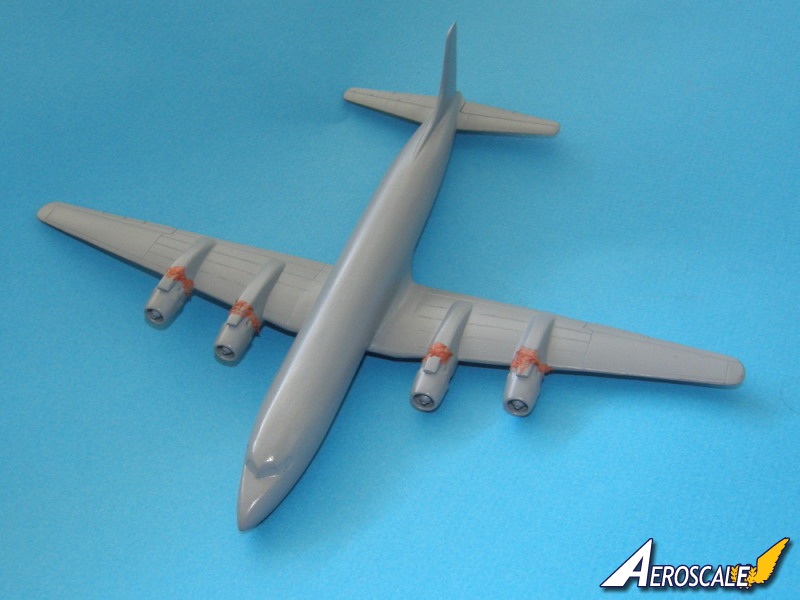
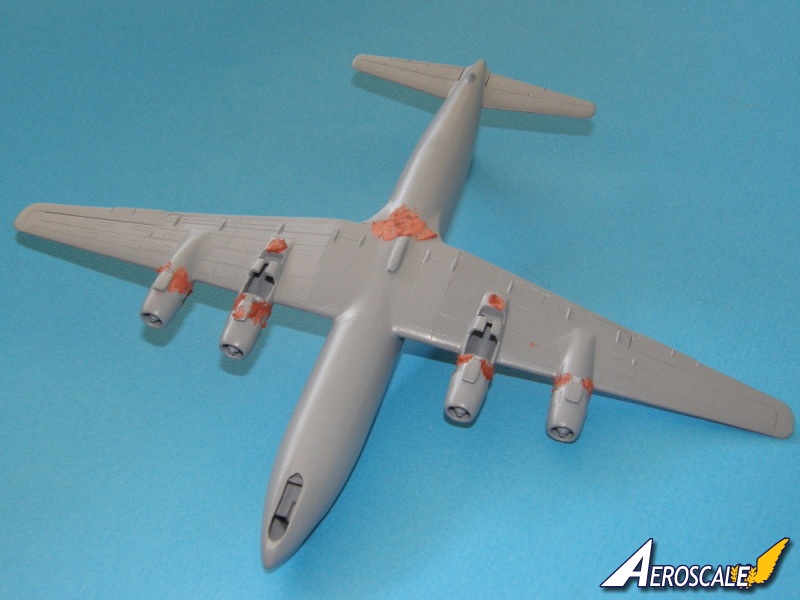
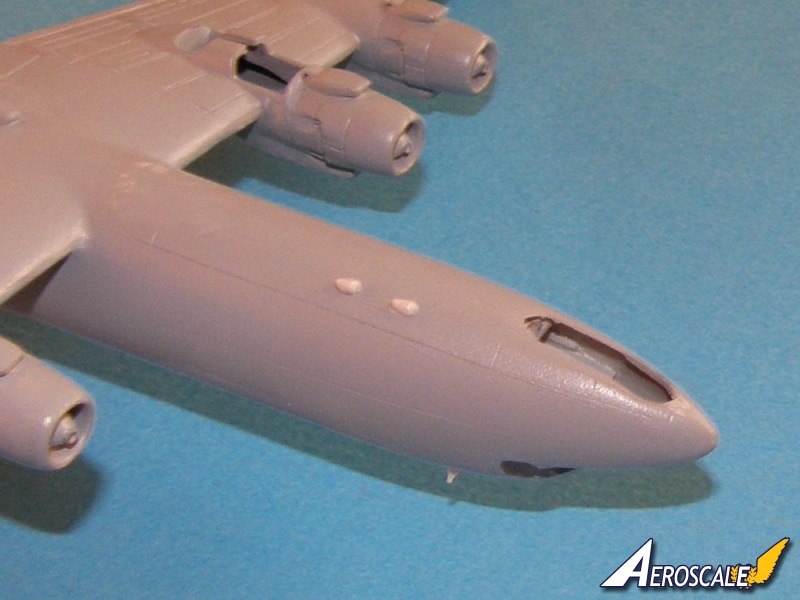
- fit needs refining in all areas. Time spent here will pay dividends at the painting stage. See photographs where the fit problems are highlighted;
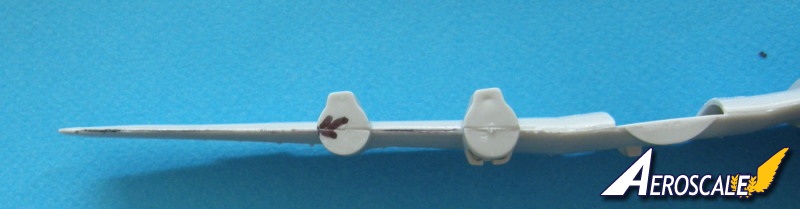
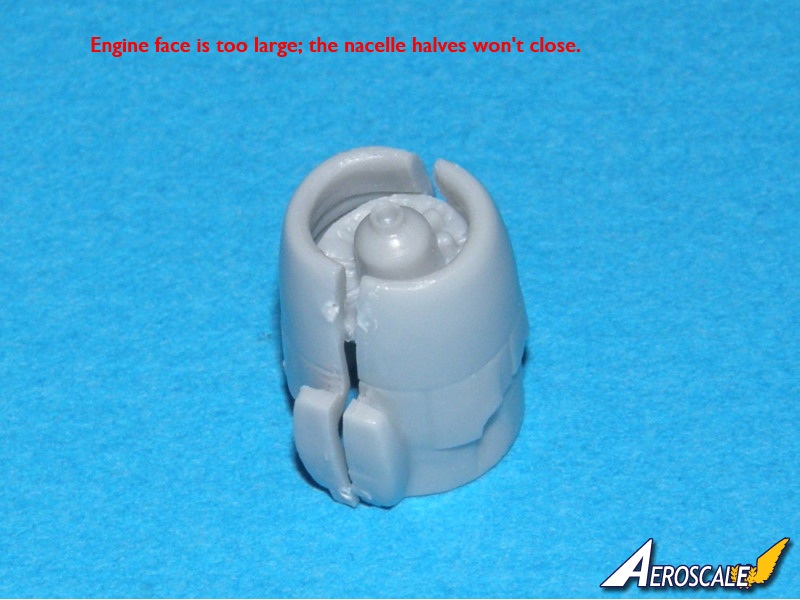
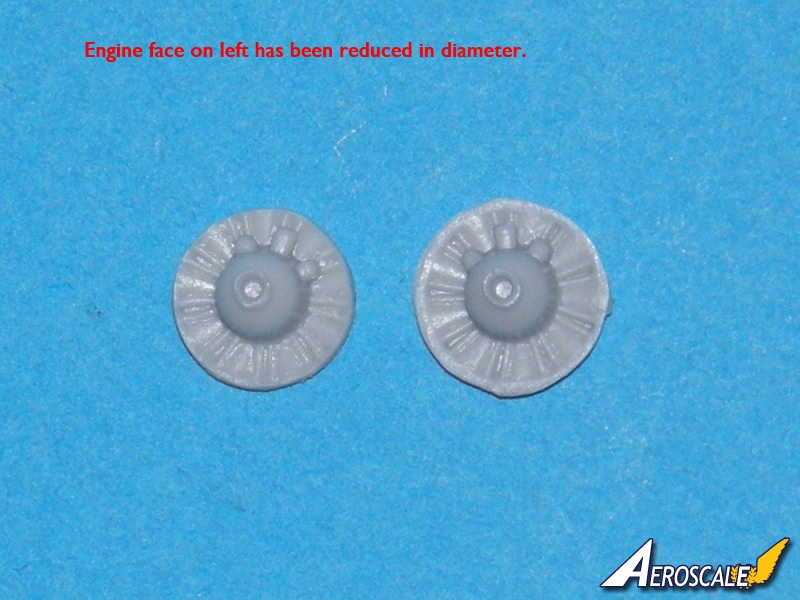
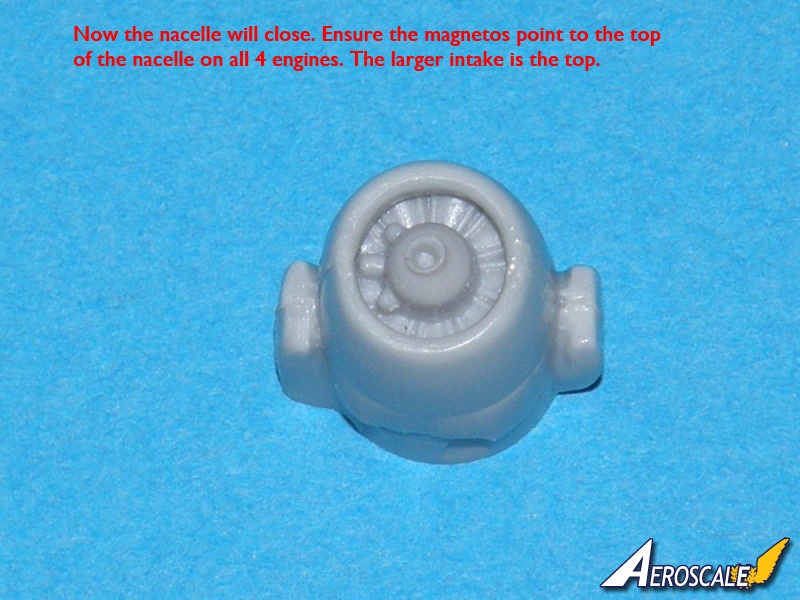
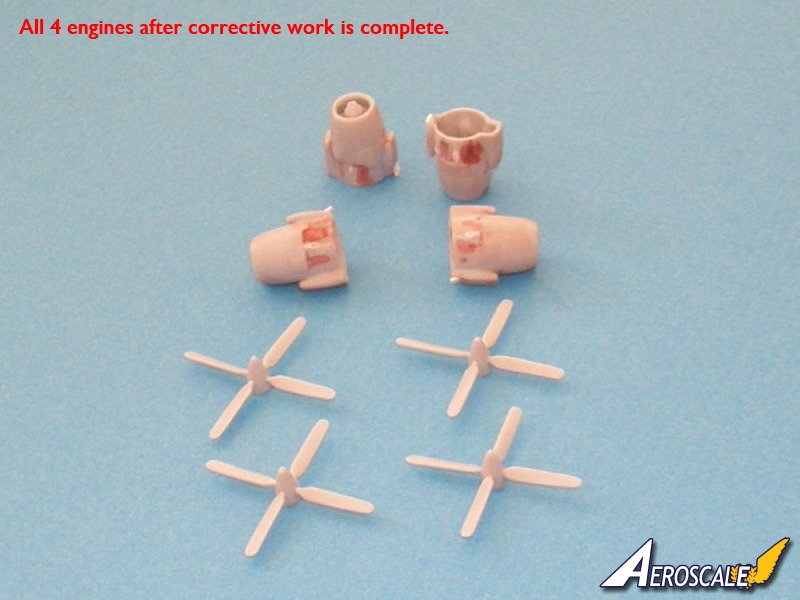
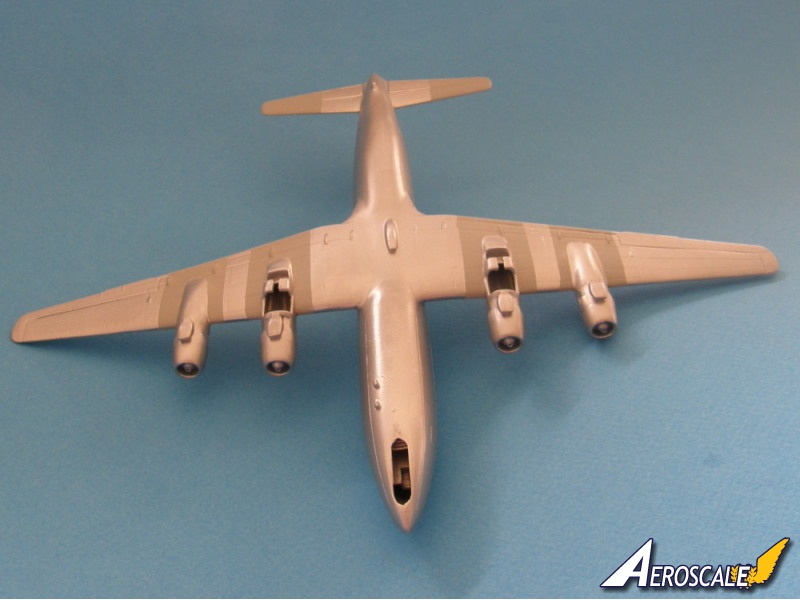
- Engine faces are too large. They should be reduced in diameter;
-Right side exhausts are incorrect. Fill in the moulded exhaust stacks and insert one midway between them;
-Pay attention to the antenna fit of your subject. Leave some sprue on your antennas and drill holes for a positive mounting;
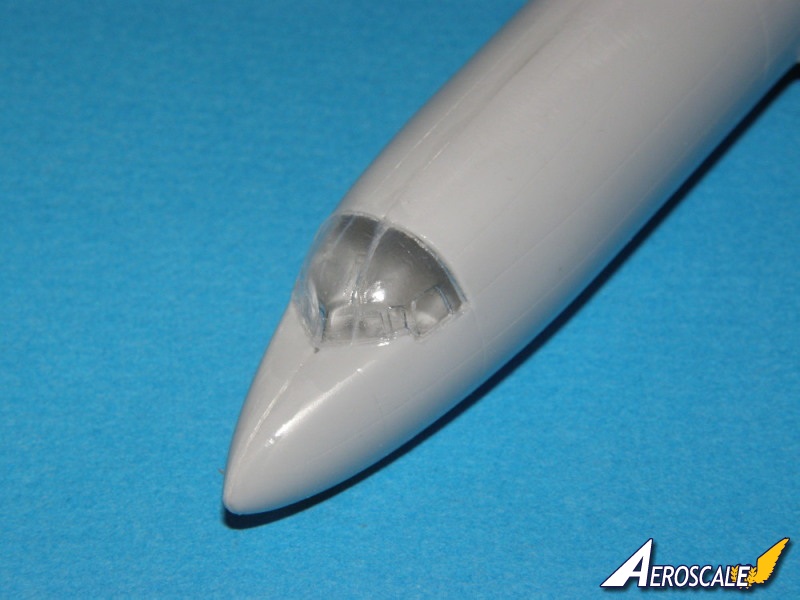
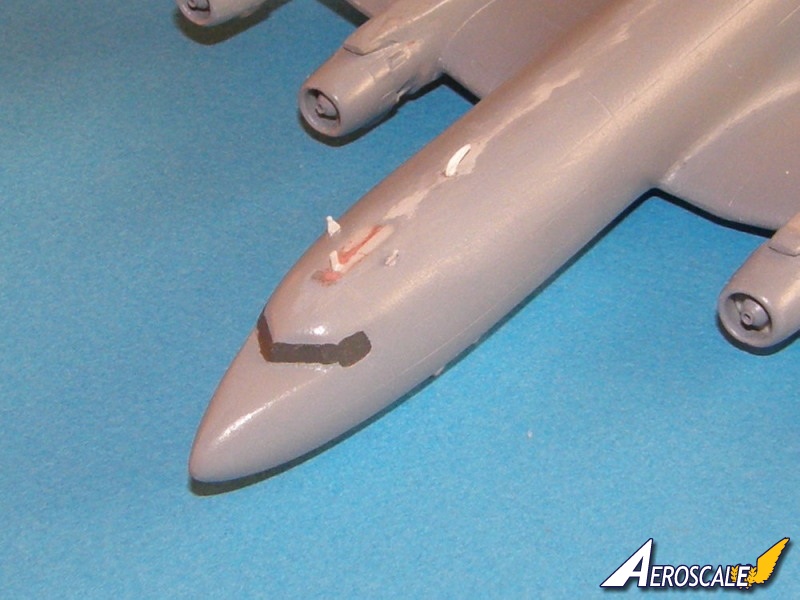
-There is a mould flaw on the copilot's side of the canopy that must be filled;
-Roden's instructions call for the wrong landing gear doors. Pay attention to reference photographs.


About the Author


Comments

Wow Jessica, that's a beautiful bird!
Thanks for building her in an uncommon livery.
NOV 05, 2011 - 04:50 PM
Copyright ©2021 by Jessica Cooper. Images also by copyright holder unless otherwise noted. The views and opinions expressed herein are solely the views and opinions of the authors and/or contributors to this Web site and do not necessarily represent the views and/or opinions of AeroScale, KitMaker Network, or Silver Star Enterrpises. Images also by copyright holder unless otherwise noted. Opinions expressed are those of the author(s) and not necessarily those of AeroScale. All rights reserved. Originally published on: 2011-11-01 00:00:00. Unique Reads: 10669

WEB HOSTING BY


Copyright ©2021 AeroScale and Kitmaker Network, a subsidiary of Silver Star Enterprises
All Rights Reserved. Please read our Conditions of Use and Privacy Policy.
All Rights Reserved. Please read our Conditions of Use and Privacy Policy.