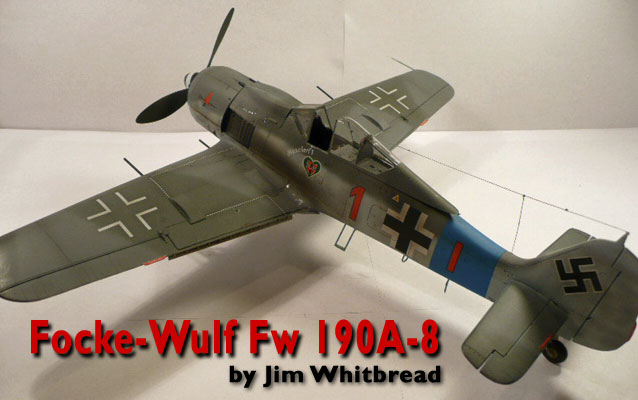
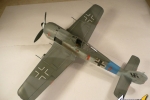
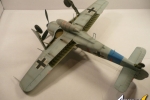
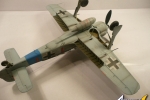
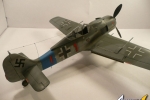
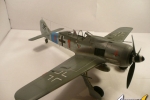
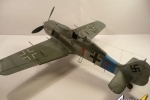
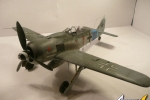
1⁄32Focke-Wulf Fw 190A-8
...
Post a Comment
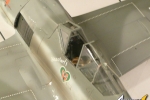
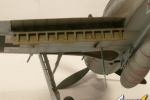
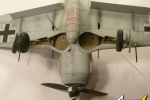
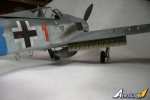
My kit was Hasegawa's excellent 1/32 scale Fw 190. Overall fit of kit parts was very good. Recessed panel lines were accurate and restrained. Kit provided cockpit detail was very nice out of the box but I decided to replace it anyway with True Detail's resin cockpit. I really liked this offering and would recommend it to anyone. In addition I used Eduard's VERY excellent photoetched landing flaps and EagleParts resin tire and wheel set. The Eduard flaps are the best I have seen from Eduard on any kit that I have completed. Construction was straight forward and logical. No fit issues presented themselves and no filler was necessary. I did utilized Mr. Surfacer 1000 to smooth the vertical stabilizer connection to the tailplane and eliminate the joint.
Painting and finishing was completed by first pre-shading panel lines with Tamiya Black Greek XF 27. I selected it because my painting would be accomplished using Testors Model Master enamels so there would be no problems with making a mess by mixing up enamels. I like to use black green on later Luftwaffe paint schemes that utilize grey and dark grey so there is a little softer transition visually between colors. The aircraft was finished using Testor Model Master RLM 74/75/76. The testor paints are easy to work with and go on very nicely. The mottled paint scheme can be tricky but with a little practice it is a piece of cake to do well.
Once the camouflage colors were painted I used that little wonder paint otherwise known as Tamiya Smoke to simulate exhaust staining, cordite residue and overall dirt and grime. I then sprayed the model with Tamiya clear gloss in anticipation of decal placement. I used the kit decals and they all went on very well with clear register and little residual film. I did use Microsol to soften the decals and allow conformance to surface detail. In addition, once the clear acrylic gloss had cured I mixed up a very dilute burnt umber oil-based paint. This was brushed into relevant surface details. Once the umber mixture had dried I wiped the excess in the direction of airflow to complete it. The last little bit of work to finish was to spray the model overall fit Humbrol matt finish, install the cockpit canopy and radio antenna. The antenna was fashioned out of fine fly fishing leader.
In conclusion this was a fun and enjoyable plane to build. Hasegawa has offered up an great model that I would recommend to anyone.
Copyright ©2021 by Jim Whitbread. Images also by copyright holder unless otherwise noted. The views and opinions expressed herein are solely the views and opinions of the authors and/or contributors to this Web site and do not necessarily represent the views and/or opinions of AeroScale, KitMaker Network, or Silver Star Enterrpises. Images also by copyright holder unless otherwise noted. Opinions expressed are those of the author(s) and not necessarily those of AeroScale. All rights reserved. Originally published on: 2011-12-16 00:00:00. Unique Reads: 7408


