

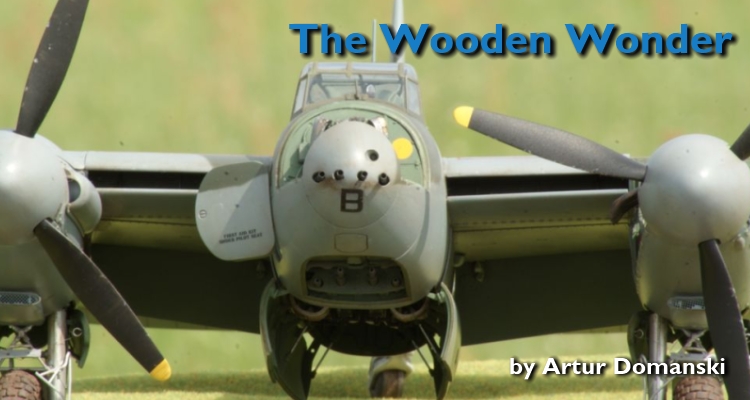
The wooden wonder...in 1:24 scale
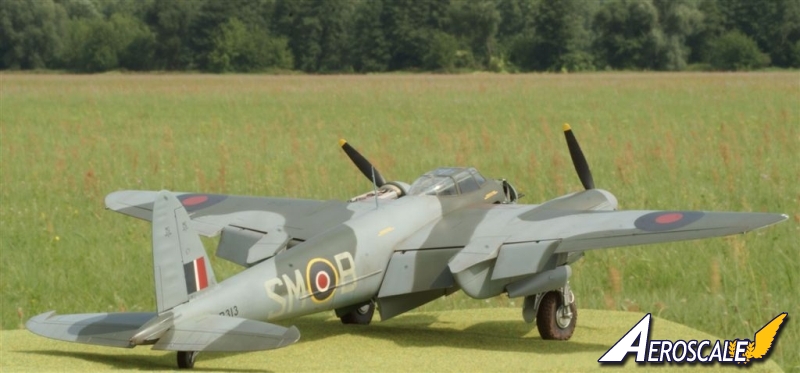
Due to the wooden construction and great performance Mosquito was often called a Wooden Wonder or sometimes a Wooden Terror. Ground crews used to call the plane the "Termite's Delight" or just Mossie.
In 2009 a rumor went around the word that Airfix is going to refresh their offer in the 1:24 scale and something new will appear on the market. I remember that time when I wondered how similar to the older brothers will it be. Then, first in the internet movie and later on the Airfix official website, I found an information about incoming release: a Mosquito. I remember my first contact with the kit: a giant box, lot of sprues in the typical Airfix style, no details. What occurred later, this time it was going to be a much different kit than already known.
The struggle begins...
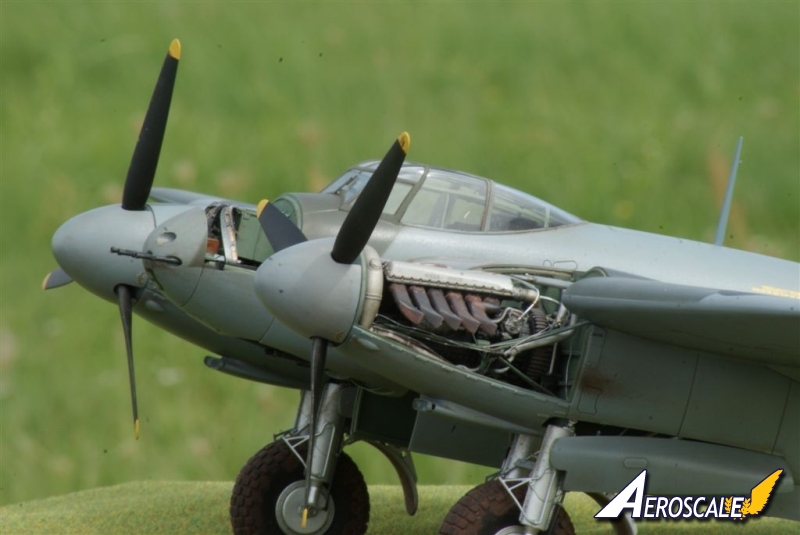
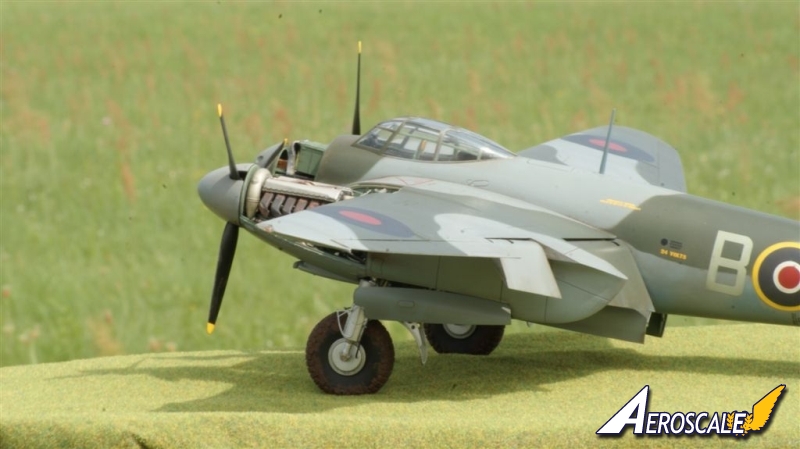
As usual, I started with the cockpit. All main parts were cut out of the sprues and I encountered the first problems a lot of ejector pin marks in strange and difficult to remove places. It took me three days to remove them all. In the meantime I have been also working on the instrument panels, control column and pedals. I used Humbrol enamel H78 for painting of the interior and black for the instrument panel. The details were painted or decaled according to the instruction provided in the kit. At the end I made some delicate paint chipping and weathering and started to deal with the tail wheel and armament bay. It took me also almost a week to sand, fit, add the wires and cables and paint the particular details. These parts were painted using black, aluminum and H78 paints. Unfortunately my references showed different places for the wires as there are about 30 planes preserved in the museums around the world and each shows a different solution. I had to find some golden middle so I focused on the pictures published in the Modeler's Datafile and finished the cockpit according just to this publication. Finally the time has come for the first major fittings of pre-assembled parts and here came another problems. Some wires prevented to close the fuselage halves so I had to make a bit of space for them. When the rudder was done I could glue all the interior parts together. Cockpit, armament and tail wheel bay was glued to one halve of the fuselage. The second halve was fitted and I closed everything almost without any problem, there was also no noticeable misalignment of the fuselage halves. The assembly of the wings with adjacent is a straightforward task for just one evening. I could make the first fittings of the wings and fuselage. You just have to watch out on the wingtips there are few types for different Mossie versions. Putting together of the horizontal stabilizers and elevators was also an easy task and took me just an hour or so. When I started the build I already knew that I want to have one engine cowling open and one closed. Fitting of the main engine parts didn't bring any surprises, it was also a straightforward job. I can not say the same about all those pipes and cables around the power unit. The colours and location in the instruction didn't reflect those shown in my references. I decided to make this part according to a few good quality colour pictures made during the war, so I used black, gunmetal and aluminum paints. Some wires were made from scratch using a cooper wire. The exhaust pipes are the original parts with drilled holes, made with a dental burr (the aftermarket ones were too expensive in my opinion). I replaced the meshes in the engine air intakes as those provided by Airfix were unacceptable. I have scratch-built them using the leftovers from the different models. I think they do not look worse than the aftermarket ones. With the engines done I focused on the undercarriage. The kit designers have made a lot of good job, so there are many parts as the original unit was quite complicated. You have to pay a lot of attention and build your kit according to the assembly instruction to avoid any unnecessary complications. I started with the main legs and added the handles for the wheel brake lines. Having other small details attached I have painted everything with aluminum. At this point the brakes line were added so I could do some weathering and chipping. Fitting of the engine and undercarriage to the nacelles requires a lot of attention as there are many parts which we can not forget, but the final effect should please everyone. Some small details, like wiring or springs for gear covers, were made from scratch. When attaching the engine nacelles to the main wing only a small gap required filling with the putty.


Copyright ©2021 by Artur Domański. Images also by copyright holder unless otherwise noted. The views and opinions expressed herein are solely the views and opinions of the authors and/or contributors to this Web site and do not necessarily represent the views and/or opinions of AeroScale, KitMaker Network, or Silver Star Enterrpises. Images also by copyright holder unless otherwise noted. Opinions expressed are those of the author(s) and not necessarily those of AeroScale. All rights reserved. Originally published on: 2011-12-31 00:00:00. Unique Reads: 7910


