

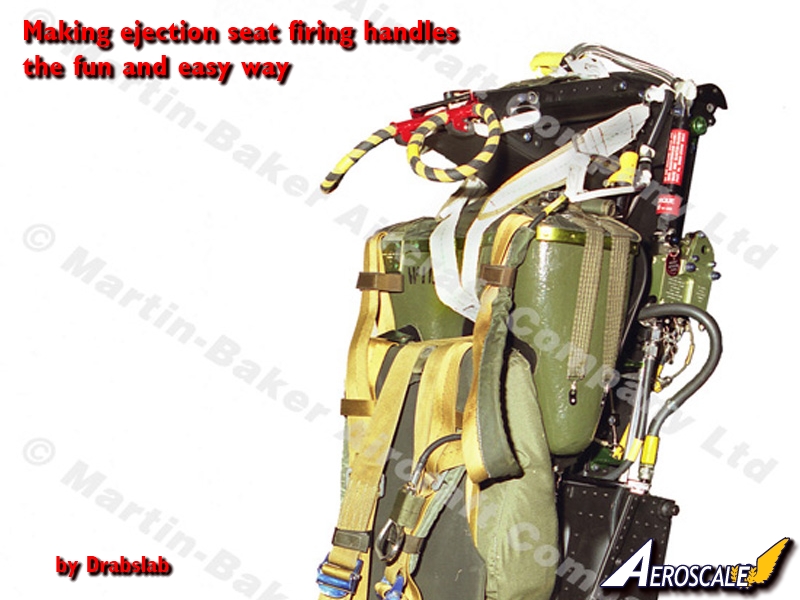
Making Ejection Seat Firing Handles The Fun and Easy Way
16
Comments
For what is it worth, here is a small trick, based on sweet childhood memories.
I remember making these "spinners" with sewing thread and buttons, but also with much bigger and heavier disks and thick ropes. So here is a warning, the below trick is harmless considering that it only involves a button and some sewing thread.
However, in the unlikeley event that this would invite you to experiment with larger and heavier objects, be careful. A frantically spinning car wheel can travel a huge distance, and break whatever comes in the way, when a five meter long rope suddenly breaks. The opposite neighbours' garage door is testimony to that!
So here is the safe version, for modelling purposes only.
CAUTION! Now is not the time for kitty to be anywhere nearby.
Repeat steps 4 and 5 until the yellow and black are visually correctly mixed.
I remember making these "spinners" with sewing thread and buttons, but also with much bigger and heavier disks and thick ropes. So here is a warning, the below trick is harmless considering that it only involves a button and some sewing thread.
However, in the unlikeley event that this would invite you to experiment with larger and heavier objects, be careful. A frantically spinning car wheel can travel a huge distance, and break whatever comes in the way, when a five meter long rope suddenly breaks. The opposite neighbours' garage door is testimony to that!
So here is the safe version, for modelling purposes only.
CAUTION! Now is not the time for kitty to be anywhere nearby.
Picture 0
Many ejection seats (like this Martin Baker) have yellow-black striped cords on top of the seat, and in between the legs of the pilot. Painting these cords, if at all available in the model is quite difficult.picture 1
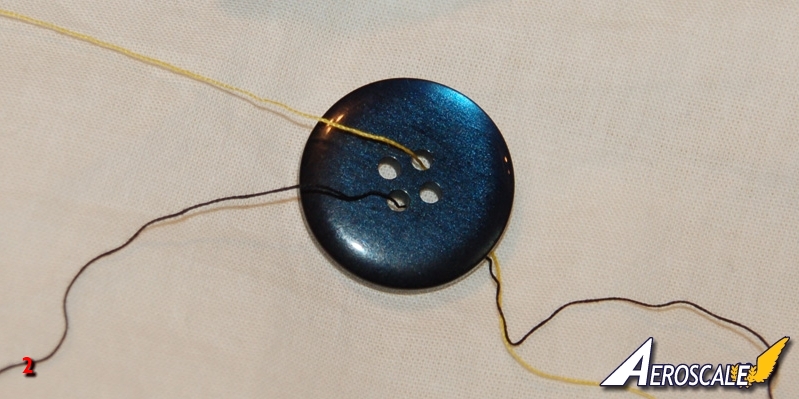
What you need is some superglue, a big (and heavy) button, and some yellow and black sewing thread of equal length.Picture 2
Put the thread through the opposite holes of the button, and bind the ends together.Picture 3
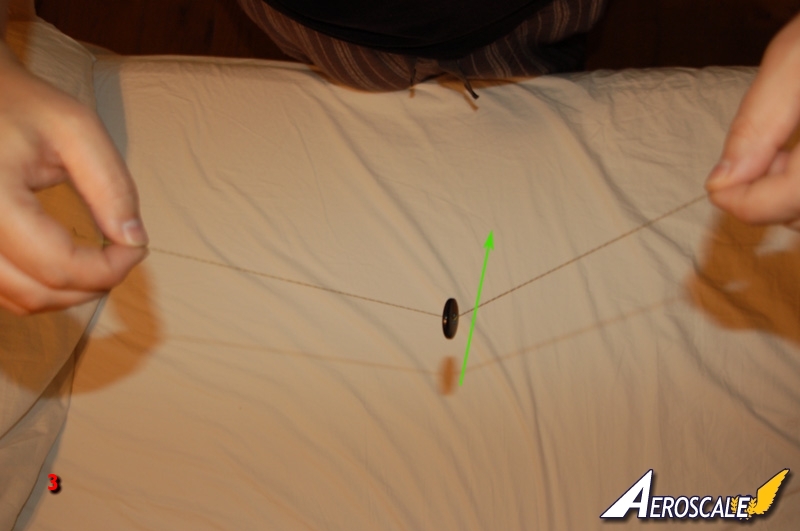
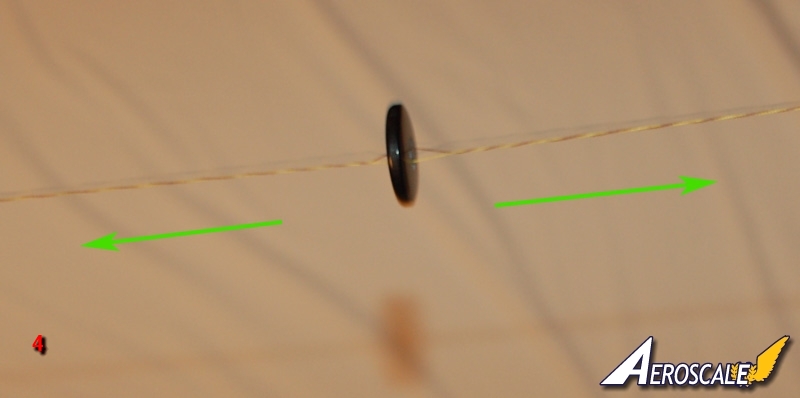
Take the ends of the thread in both hands, then where you have made the knots, and start swinging the button (make sure that is is absolutely in the middle) around. The effect is that the yellow and black threads will start winding around each other.Picture 4
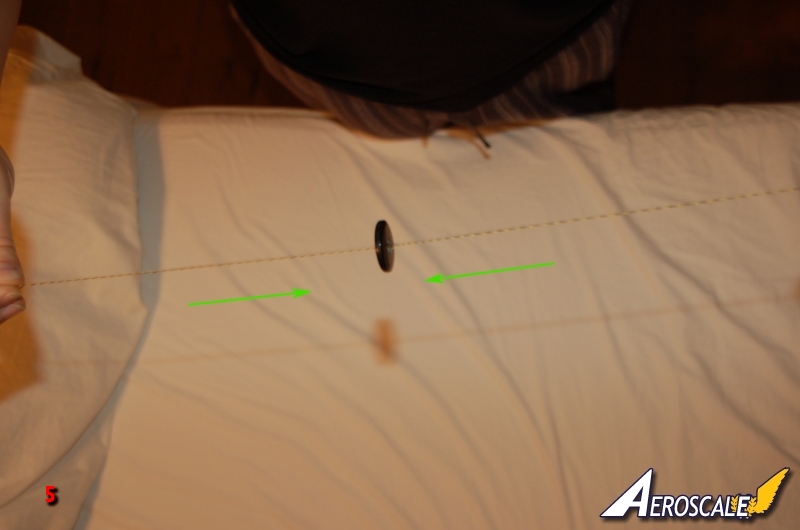
Now gently pull your hands apart. The effect is that the black and yellow threads get under tesnion and unwind rapidly. The button, trapped in the middle, spins rapidly and collects a lot of energy. Careful, don't put your fingers inside the thread; this can lead to deep cuts and spoil your modelling enjoyment.picture 5
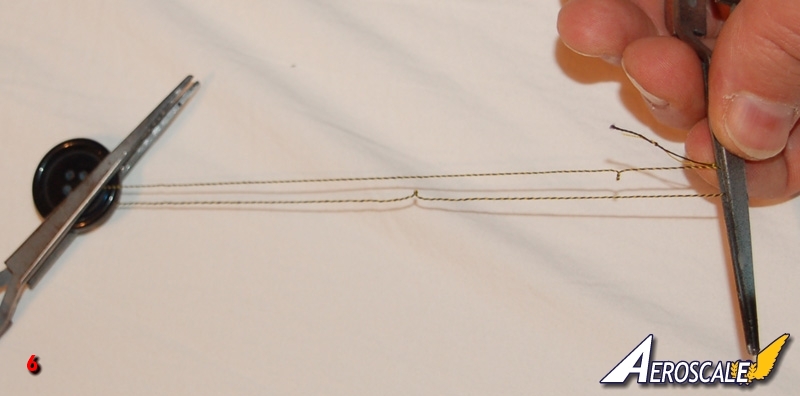
The trick is to gently release the tension just at the moment that the threads are stretched completely. The button, spinning around like a maniac, now makes them wind up again in the opposite direction, but much more tightly than was the case after step 3.Repeat steps 4 and 5 until the yellow and black are visually correctly mixed.
picture 6
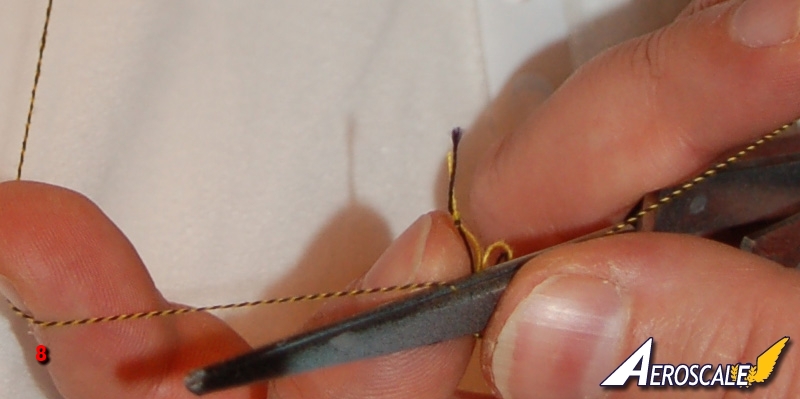
Block the thread to stop it from unwinding.picture 7
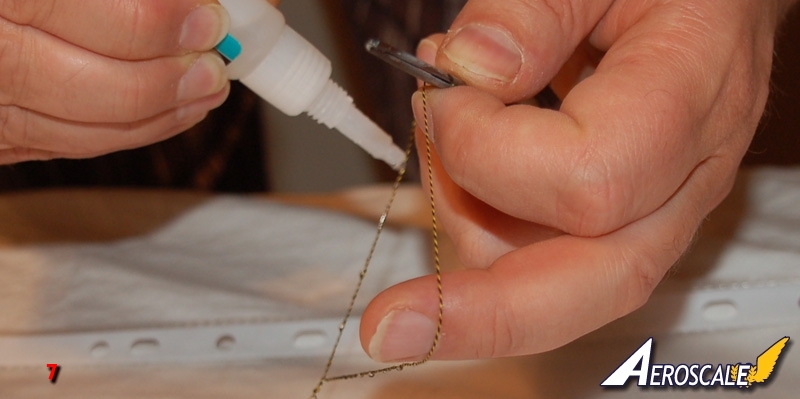
Add some superglue to the complete length and have a few minutes patience (I know, this is the hard part). Keep the threads under just enough tension that they remain straight and not wind up in a huge knot while the glue is setting.Picture 8
The end result. Cut the length needed and glue to your ejection seat.Conclusion
This whole operation, with some practice, takes more or less five minutes. Explaining to my father how the spare wheel of the car got embedded in the neighbours' garage door took slightly longer.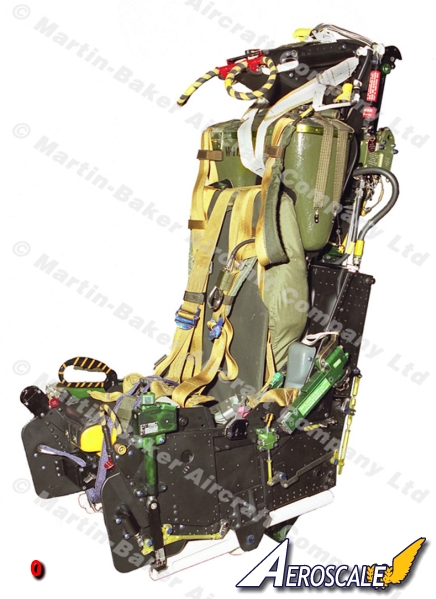

About the Author


FROM: EUROPEAN UNION
I made my first airplane models when I was about 11, a Mistubishi Zero, a Messerschmidt BF 109 and of course, a Spitfire. They were all Airfix and all 1/72. Sounds familiar? I remember I could not even pronounce Mitsubishi, I used to call it Mutsibutsi. I continued building mostly airplanes until...
Comments

Thanks Jessie, great tip Drab!
FWIW, US Navy doctrine is that having the eject handles overhead causes the pilot to pull down, correctly aligning the spine to absorb the shock of ejection. US Air Force doctrine on the other hand, states that pulling the handles (on the side of the seat) straight up correctly aligns the spine for ejection. In either case, it's said that ejecting from a modern jet will compress the spine up to 1/2 inch.
JAN 30, 2012 - 05:22 PM
this is a great tip and i shall be using it again and again ... however i found that super glue tends to make the yellow go a little dull. Hairspray works better and the thread is also easier to work with
AUG 21, 2012 - 09:28 AM
Now that is a brilliant modelling tip.
I work for Martin Baker in England and build and develope these seats on a daily basis.Many a time when building a 1/48 jet i have found myself a work wondering how i could model the yellow and black ejection handle and you have just answered my prayers........thank you.
neil.
AUG 21, 2012 - 09:54 AM

Here is a description of how I d make the same things.
1.take a piece of fine copper wire.
2.Straighten it by rolling under a ruler.
3.Paint half the length yellow the other half black.
4.Bend in half.
5.Take the end of the V shape between two fingers
6.Take the two loose ends and twist
Alternativley
replace steps 5&6 by securing one end in a pin vice the other in a slow turning drill chuck
AUG 26, 2012 - 11:23 PM
Outstanding tip. Airraid's method has a lot of merit as well.
Just how much did it cost to fix or repair that garage door?
Joel
SEP 13, 2013 - 03:00 AM

As long as you don't use a car wheel, it is fone ��[/quote]
Nope, won't use the car wheel (maybe the van's wheel) LOL
SEP 13, 2013 - 07:13 AM

There was no fixing but replacement, so calculate for yourself ������
SEP 14, 2013 - 09:31 AM
Copyright ©2021 by Drabslab. Images also by copyright holder unless otherwise noted. The views and opinions expressed herein are solely the views and opinions of the authors and/or contributors to this Web site and do not necessarily represent the views and/or opinions of AeroScale, KitMaker Network, or Silver Star Enterrpises. Images also by copyright holder unless otherwise noted. Opinions expressed are those of the author(s) and not necessarily those of AeroScale. All rights reserved. Originally published on: 2012-01-26 00:00:00. Unique Reads: 13421

WEB HOSTING BY


Copyright ©2021 AeroScale and Kitmaker Network, a subsidiary of Silver Star Enterprises
All Rights Reserved. Please read our Conditions of Use and Privacy Policy.
All Rights Reserved. Please read our Conditions of Use and Privacy Policy.