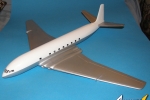
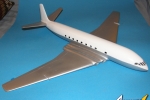
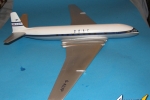
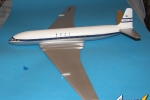
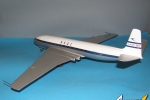
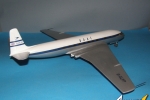
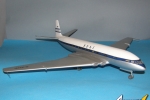
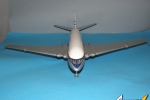
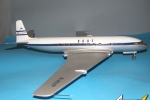
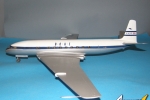
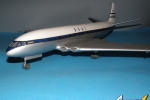
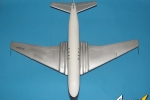
1⁄72The first Jetliner. Dh-106 Comet I
2
Comments
History
The Dh-106 Comet was the first commercial jetliner in the world to fly, and the first to enter revenue service. In 1952, BOAC showed the world what the future would be like. Well, sort of. The Comet 1 was an all first-class service; passengers paid a premium to fly similar to what was done with the Concorde two decades later. The Comet 1 was the size of a 737-600, yet carried fewer than half the passengers. Champagne service and luxury were the name of the game for BOAC's Comet services. Alas, the adventure was not to last. Operating jet transports was an entirely new game, and the constant cycles of pressurisation and depressurisation introduced a new menace to flight safety: Metal fatigue. Until the Comet, aircraft were not routinely exposed to the stresses they now faced on a daily basis, and the mechanics of fatigue were poorly understood even by the design engineers. Working to the best practises of the day, they shortly discovered how deficient those practices were in the face of the new reality passenger jets encountered. In the case of the Comet, its square cutouts for the windows and skin-mounted flush antennae and De Havilland's determination to keep weight down were the causes of its downfall. The lightweight skin eventually tore at the corners of those windows under the stress of holding in the aircraft's cabin pressure at high altitudes. After two aircraft “mysteriously” crashed in 1954, the Comet fleet was grounded, and the largest technical investigation to that date was carried out to determine the Comet's weakness. The lessons from the Comet's crashes were shared with aircraft manufacturers worldwide, ensuring that no subsequent design would suffer the same weakness, and thus ensuring passenger safety. The next time you fly in a Jetliner, take a moment to look at the doors and windows. Note that all the corners are smoothly rounded, preventing the phenomenon of “Stress concentration”, and that very often there is a double thickness of metal surrounding the cutouts to better carry the stresses of high altitude pressurised flight. Take a moment to pay tribute to the lessons learned in 1954 that to this day contribute to your safety.First Impressions
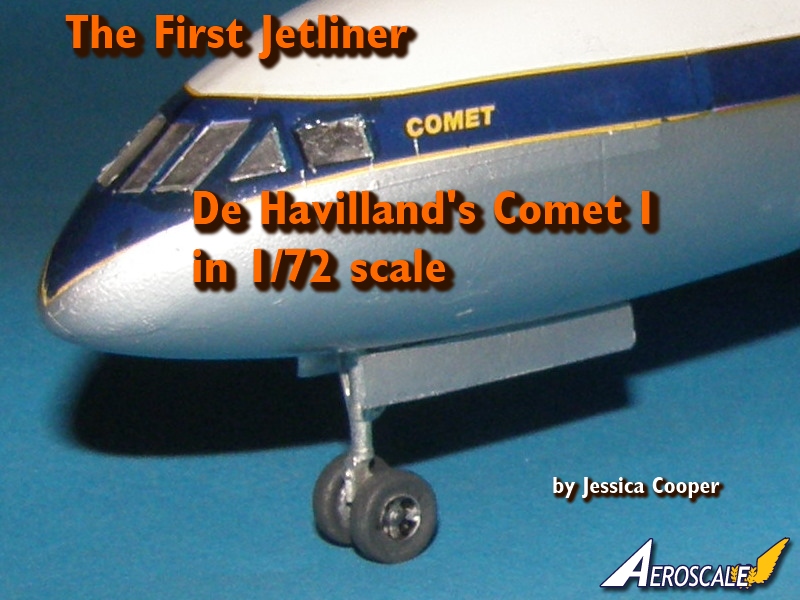
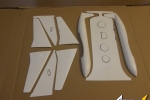
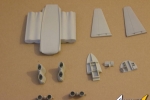
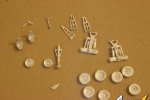
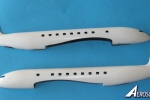
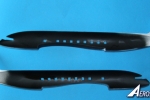
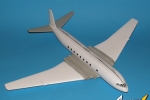
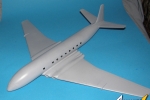
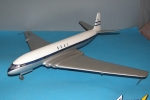
Welsh Models' Comet I is moulded in multi-media. The fuselage and outer wings are in Welsh's traditional thick vacuform plastic, with a satin finish to the outside surfaces, and engraved detail. The windows are indented and the airframe surface is covered in tiny mould pips where the hot plastic was drawn into the vents in the mould during the vacuum forming process. These pips are easy to shave off with a sharp razor knife, and will disappear entirely when the surface is sanded. The wing centre section, engine intakes, exhausts, tailplanes and cockpit interior are moulded in light grey resin. The pilot seats, yokes and landing gear are provided in white metal.Fuselage
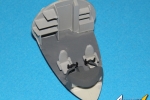
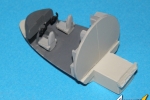
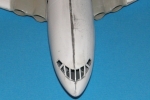
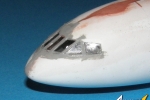
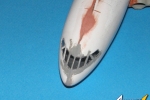
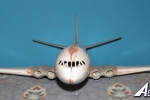
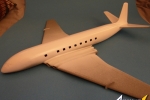
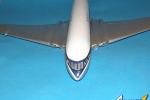
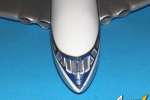
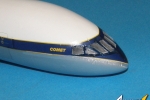
The fuselage is two halves from nose to tail. The cockpit is adequately detailed given that little will be seen of it once everything is closed up. 4 bulkheads are provided to ensure that the vacuform fuselage doesn't collapse. I used slightly rolled tabs cut from the backing sheet to give the glue more gripping surface. In the event, the upper and lower fuselage seams kept cracking open while I was sanding them down. I should have used tabs along the entire joining surface. I cut open the windows intending to use Krystal clear to glaze them. I cut out the entire cockpit glazing and window pillars as one piece rather than struggle to retain the thin pillars. I replaced them using plastic strip but got the replacements in slightly the wrong places. This would come back to bite me at decalling time. I cut out pieces of clear acetate to fill the cockpit windows, a tricky process. Perhaps next time I'll use Krystal Clear there as well.Wings
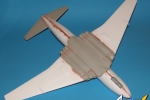
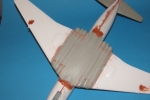
The wings are made up of vacuform outer panels which fit onto the heavy resin centre section. Care must be taken to sand down the trailing edges in order that they are as sharp as possible. There is a step moulded in the centre section, but it is not the same depth as the thickness of the wings' plastic, which means that a good deal of sanding, scraping, filing, fitting and cursing will ensue before the wings can fit properly to the centre section. Pay attention to the wheel wells. There's a portion of the strut door moulded into the wing undersurface that should be cut out and lined up with the portion of the well moulded into the resin. I missed doing that, which meant that I could not install the main gear retraction struts when it came time to install the landing gear. The gear well in the wing will need to be lined and detailed. The wing fence parts as moulded are too thick. They will need a good sanding session to thin them down to their proper thickness, and then once installed they'll have to be sanded back to the proper size. At least they're too large rather than too small. The engine intakes and exhausts are separate resin pieces. They'll need a bit of cleaning up and fitting before they will blend into the engine nacelles moulded into the centre section. Do this before gluing the wings to the fuselage, or you will encounter difficulties reaching the insides of the exhausts next to the fuselage. The small intakes nearest the fuselage must be drilled out; Welsh neglected to include them. When it came time to fit the wing to the fuselage cutout I had to do quite a bit of filing to the front and back of the resin moulding in order to match it to the size of the cutout. It's a very tight fit. I made the wingtip pitot tubes from old map pins I had lying around.Empennage
The tailplanes are one piece mouldings with small moulded-in mounting pegs. They fit well, but still need some blending in with putty. Luckily the BOAC cheatline goes under the tailplanes instead of around them.Landing gear
The landing gear struts and wheels are finely moulded and nicely detailed. Being metal, they'll hold up nicely under the weight of the model, and will not need painting. They may be glued on with no more than a bit of cleaning up and polishing. The wheels are also metal, and have sufficient detail to look good with no more than a wash. I had lost one of the main wheels at one point, so I had to make a resin replacement. Since it didn't look as sharp as the metal wheels, I hid it on the inside of the landing gear bogie where it should go unnoticed.Accuracy
I don't compare models to drawings or published measurements. When assembled it looks like a Comet.Decals and Markings
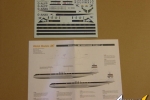
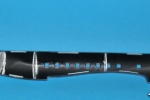
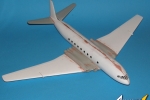
This kit offers the choice of BOAC or Air France. The only other airline to fly a square-window Comet 1 was Aeromaritime. The BOAC scheme has the option of BOAC/SAA to portray the aircraft SAA leased from BOAC. I chose to portray G-ALYP, the first production Comet I to enter service, and therefore the first jetliner to carry revenue-paying passengers. Sadly, YP was the first Comet to crash in 1954, near the island of Elba while en route from Rome to London.The kit decals have the windscreen and window shapes printed in the cheatline, but they're subtly different from the shapes as moulded in the plastic. I had to do a fair bit of detail painting around the cockpit windows in order to make the printed outlines match the actual window pillars. If I had to do this kit again, I'd cut the windows out and paint that portion of the cheatline entirely, just to keep it neat.
The cabin windows were not an exact match either, which was annoying. I had to cut and splice the cheatline in two places to force the windows to fall on their cutouts. Welsh provides an optional cheatline without printed cabin windows. In hindsight I should have used it instead. The tail stripes lined up nicely on both sides of the fin without the need for extra painting.
The decals are fairly fragile, and the pigment will flake off if they're bent too sharply. They should be covered with a clearcoat before being used, and applied very carefully.
Conclusion
In a brief career spanning just over two years, the Comet I forever changed the air travel experience. The Comet's legacy lived on until 2011 in the shape of the RAF's Nimrod Maritime Patrol aircraft, and in the painful lessons learned about how pressurised aircraft experienced metal fatigue its legacy will live forever.Comments
Good job Jessica. I wish there was an injection model of this aircraft, I can't think of one at the moment. It is such a historic bird. Another aircraft is the Canadian built Avro jet, can't remember it's designation, it was an early commercial job as well. Flew in the fifties as well I believe. That would be a nice subject too. Good job again, Russell
FEB 05, 2012 - 11:44 AM
That would be the Avro Canada C102 Jetliner which flew only 2 weeks after the Comet did. Sadly the airlines in North Amercia couldn't be bothered to buy them, and when the Korean War was at its height, CD Howe had the Jetliner program cancelled, saying it took too much away from the CF-100 production line.
Frsin does a solid resin kit of the Jetliner in 1/144.
The Comet kit itself is quite straightforward, especially if you don't mess around with the windows and use the decals. It's actually a pretty good first or second vacuform kit.
Of course there is the Frsin injection kit in 1/144 if you like a challenge.
FEB 05, 2012 - 12:24 PM
Copyright ©2021 by Jessica Cooper. Images also by copyright holder unless otherwise noted. The views and opinions expressed herein are solely the views and opinions of the authors and/or contributors to this Web site and do not necessarily represent the views and/or opinions of AeroScale, KitMaker Network, or Silver Star Enterrpises. Images also by copyright holder unless otherwise noted. Opinions expressed are those of the author(s) and not necessarily those of AeroScale. All rights reserved. Originally published on: 2012-02-05 00:00:00. Unique Reads: 13727


