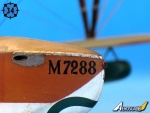
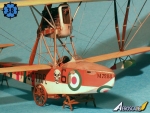
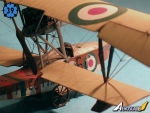
1⁄48Macchi M5
5
Comments
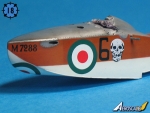
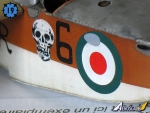
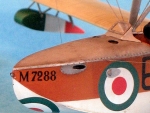
After much hesitation I decided to make a new hull for Fly Model's Macchi M5 for greater accuracy and to use Pheon Models decals.
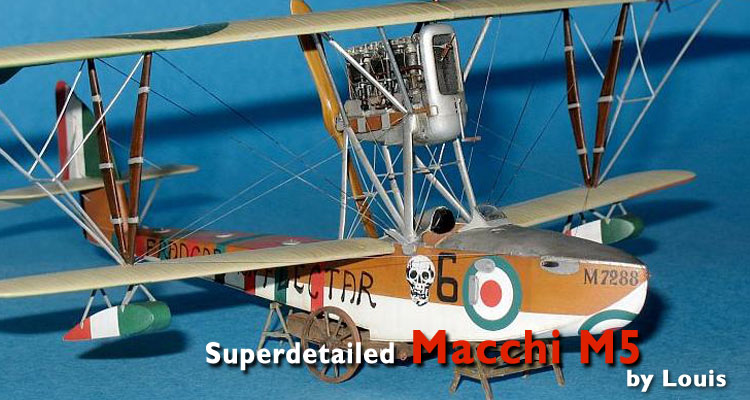
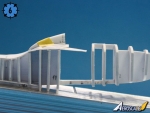
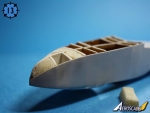
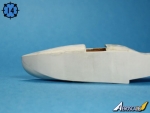
The FLY hull: Pic 1
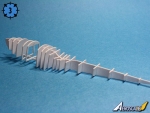
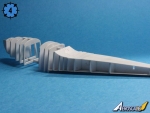
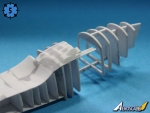
Rowan Broadbent (who produces Pheon Models decals) very kindly gave me the plan he wants to include with his decals for the Macchi M5 (to anyone who buys the decal sheet and want plans for a small extra payment): http://www.britmodeller.com/forums/index.php?showtopic=37430. Pics 2- 6
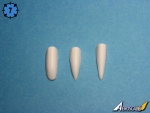
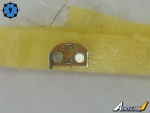
I made a new headrest. On your left the headrest from the kit. On your right the last one, it must be cut again. Pic 7
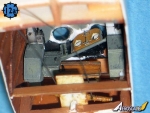
I (re-)started the cockpit. You can find reference photographs on P28-30 in Windsock N°74.
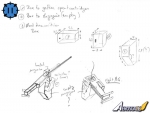
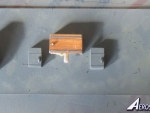
The seat base (and other things) is made from plans (avioebooks): http://www.avioebooks.com/welcome%20page.htm. Pics 8 - 12c
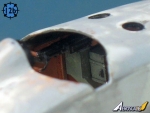
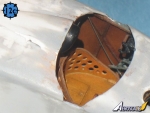
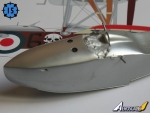
After a long sanding of the deck... I spent a layer of aluminum to look for the default. I do not know what color it was. Pics 13 & 14
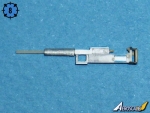
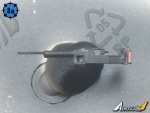
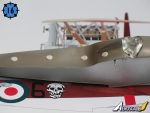
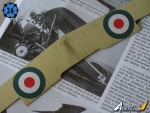
I used the Pheon decals to protect the output of the machine guns. They are very thin and easy to apply. Pics 16 - 19
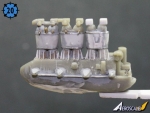
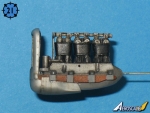
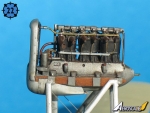
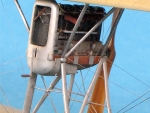
The engine is almost done. The cover is extended over the wooden arm that support it. Pics 20 - 23
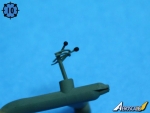
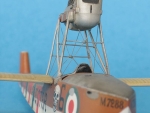
The masts on top of the engine are metal remake. Pic 27
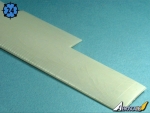
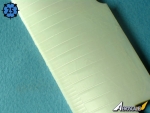
Colin has offered me Blue Max wings from his new Macchi m5 kit. The upper wing is separated into two parts. It is better than FLY's wings. Pics 24 & 25. Thank you Colin (Mr. BlueMax).
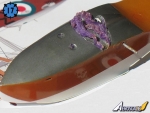
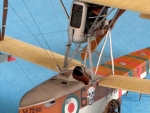
Weathering is done in oil paint. It is very light on the hull. These planes seemed very clean. Pics 19 - 28
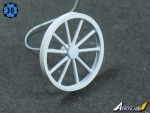
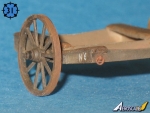
And a cart to transport the plane. At the rear, the bottom is rounded for easy loading (I think). Pics 29 - 31
The tail is glued. The cables that control the rudder (Perhaps the black stuff is for water?) are stretched "cotton bud" and plastic. Pic 32
Note the flat rod that comes out of the tail for depth control.
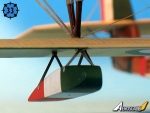
New float: Pic 33
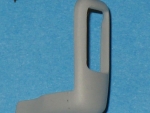
New crank, new generator: Pic 35
New mooring ring. Pic 36
New ventilation louvres: Pic 39
Finished!!!
Pics 37, 38 & 40
Comments
It was pure pleasure to follow the building log of this bird, a lot of work, and skills was needed to make this beautiful realistic model. Congratulations to Louis
FEB 25, 2012 - 10:07 AM
Congrats on an excellent feature Louis !
The time you have spent on this project has been a joy to watch . Most excellent to finally see her finished !
FEB 25, 2012 - 05:02 PM
Very nice, but it would be helpful if the features had something to indicate the scale. I presume this is quarter scale from the detailing, but it could be smaller....
In any case, lovely work, very realistic.
FEB 29, 2012 - 06:52 AM
Copyright ©2021 by Louis. Images also by copyright holder unless otherwise noted. The views and opinions expressed herein are solely the views and opinions of the authors and/or contributors to this Web site and do not necessarily represent the views and/or opinions of AeroScale, KitMaker Network, or Silver Star Enterrpises. Images also by copyright holder unless otherwise noted. Opinions expressed are those of the author(s) and not necessarily those of AeroScale. All rights reserved. Originally published on: 2012-02-25 00:00:00. Unique Reads: 6904


