1⁄32Caudron C.714C1
Assembly
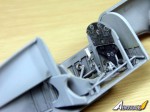
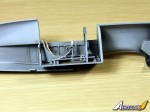
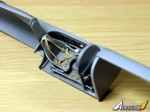
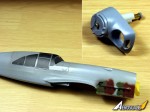
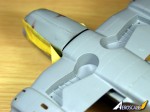
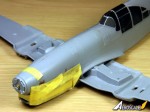
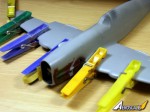
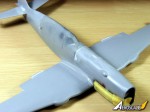
The fit of the model proved to be really good for a short run. The cockpit went together as a snap, including all the PE bits and pieces. Just the instrument panel needed to be painted by hand, since there were no provisions for this neither in the decals nor in the PE. In the 32nd scale, this proved to be well feasible.A slight challenge was presented by the exhaust system: The pipes sit tight in the corresponding openings, and are nearly flush with the fairing. It would be hard to mask it later. I pre-painted the part of the cowling in the final tones, and after milling open the exhaust ports with a dentist's spherical micro-milling cutter, I located the painted exhaust pipe elements in the fairing. The complete section was then masked with tape till the end of the build.
The prop got as usual a bearing - this time from two brass tubes, one located in the other.
The engine is well exposed - in the kit it has just half the first cylinder, and ended there with a dead wall. I added the internal parts of the "V", which could be seen, and put the engine in the fuselage.
The canopy had to be futured, masked, painted inside, unmasked inside, and then glued to the fuselage. The idea of large segments in clear plastic is a double-edged sword. On one hand, it provides neat positioning of the complex glass panels on the canopy. On the other hand, the fit is not perfect, forcing the brittle material into shape may result in cracks, as happened to me.
Additionally, the different hardness of the gray and clear plastic requires extremely careful sanding at the seam of the canopy with the fuselage. In my case this meant losing most details on the clear part close to the edge, like rivets or handholds.
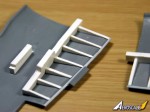
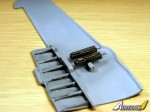
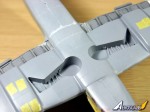
A picture of a Finnish Caudron with open landing flaps brought me also upon the crazy idea of opening these. They looked quite interesting, with perforated stripes on the inner edges. So I cut them out of the wing, together with the ailerons. The flaps were detailed with styrene card, in which I drilled the perforations. The situation became tough when fitting them to the wing, which has an inverted gull wing profile, and therefore a complex intersection between the flap and the wing bottom. To achieve a fit, the wing had to be thinned in this area, and sharpened at the edge.
Basic ribs were added, made from a foamed PE plate, and rudimentary machine guns housings, which I located below the casings chutes.
The ailerons had to be re-built on the inside, and lost texture in the process. I regenerated it by gluing PS stripes, and the sanding them slightly down.
The (even in the original) rather boring wheel wells got beefed up by adding a number of lines, cables etc. to the landing gear.
Copyright ©2021 by Jaroslaw Kierat. Images also by copyright holder unless otherwise noted. The views and opinions expressed herein are solely the views and opinions of the authors and/or contributors to this Web site and do not necessarily represent the views and/or opinions of AeroScale, KitMaker Network, or Silver Star Enterrpises. Images also by copyright holder unless otherwise noted. Opinions expressed are those of the author(s) and not necessarily those of AeroScale. All rights reserved. Originally published on: 2012-03-16 00:00:00. Unique Reads: 4287


