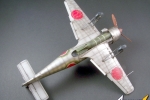
1⁄48Nakajima Ki-115 Tsurugi
8
Comments
A bit of history
On 20th January 1945, in the face of unavoidable invasion of American forces on Japanese islands Nakajima company got an order for designing simple, easy in pilotage and maintenance and cheap, suicide airplane. Just three month later first prototype of Ki-115 was ready. Metal construction covered with steel and aluminium sheets with wooden internal equipment was not very successful due to the small bearing capacity of the wings, lack of breaks and amortisation of landing gear. In the June of 1945 prototype was equipped with simplified flaps and amortisation of landing gear. In this shape the plane have entered production. Only 104 planes were made, none of them was used in real combat.The model
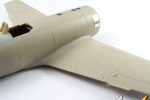
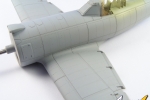
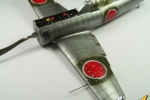
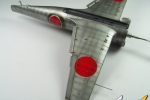
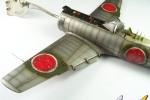
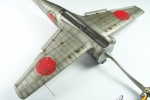
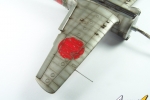
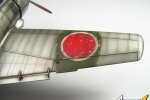
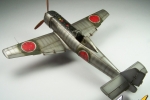
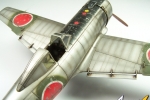
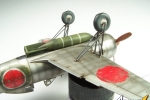
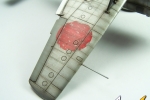
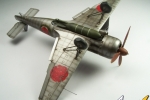
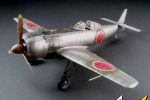
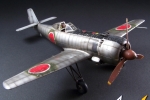
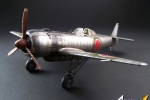
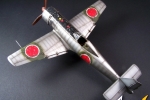
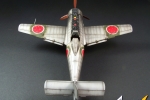
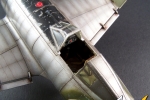
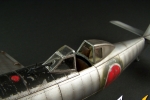
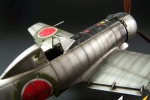
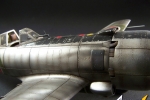
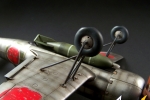
I wanted to build my Tsurugi out of the box with just few corrections. Although many may say that the plane which was never used in combat should be clean and shining my intention was to have in my display case an extensively used for testing and later abandoned machine, as may be seen on these few original photographs. I started the building process by filling all the rivets on the wings and fuselage surface. After few days for drying everything was sanded with a paper of 360, 600 and 1500 gradations. Technological breakdown of the sprues enables to glue fuselage halves before painting interior and this is what I did. Interior was painted with Gunze C127 (Nakajima Cockpit Green) and washed using dark brown artistic oil diluted with white spirit. Tsurugi, which had to be very cheap plane, had many wooden elements (like cockpit floor, pilots seat or control stick). My method for painting this parts is to paint it with sand colour and cover it, rather roughly, with thick oil brown and yellow colours. Then using hard and short brush I remove the oil paint to leave the bars and show through the base colour. After few days for drying I apply 2-3 very thin layers of acrylic wood mordant (palisander colour) and I varnish everything with matt lacquer (I prefer Humbrol Matt Cote – in the glass bottle for its easy application, good final effect and short time of drying). When the fuselage and wings were glued together I started riveting. I really enjoy this step. I use for this a riveter of my own design made of watchmakers tothed rack, pair of old compasses, handle of modellers knife and a paper clip. As a guide for my riveter most often i use 3M tape. It is thick, sticks hardly and can be easily applied on curved surfaces. You have to watch out not to make the rivets too delicate, as they will disappear under primer, paints and decals. When you make them too deep the final effect will be just dark dots after application of washes. While riveting my Ki-115 I used as reference a great drawings found in 48th issue of Czech Revi magazine. While sanding the joint lines I removed inspection panels and reinforcements under the wings. To recreate these elements I used an aluminium foil used for sealing ventilative installations. You can cut it with scissors and don't require any glue. Other elements were glued and assembled according to the kit instruction.Painting and decaling
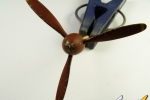
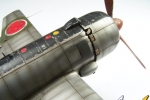
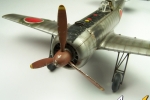
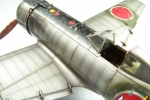
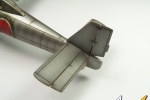
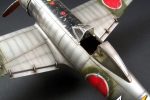
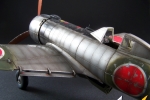
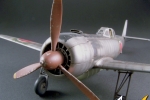
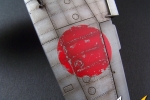
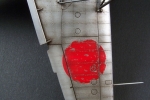
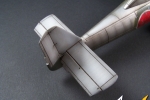
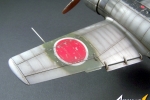
As a primer I used traditionally for me a Gunze Surfacer 1200. I apply it with a single but thick and wet layer. While drying it shrinks showing smooth, gently satin surface which is perfect for further painting. I painted the kit with Mr.Metal Color Chrome Silver no.211 which after gentle polishing with a tissue gets nice, metallic shine. Then I varied the tone of panels and rivets lines with a gently darker base Gunze 211. It instantly resulted with a much more realistic look of the whole plane. Next step was painting green base on the wings and fuselage under the Hinomaru decals and black anti-glazing surface in front of the cockpit. You can't forget about surfaces originally made of plywood which are horizontal and vertical stabilizers and ailerons. These were painted with Gunze H11 and H12. The characteristic Japanese brown of the spinner and propeller was a random mixture of Pactra A14 „Brown” with Model Master „Italian Red” 4631. Smaller details, like a bomb, undercarriage or tyres were randomly painted with their typical colours. I only added a „weighted” shape of the tyres – using a putty. Eduards engine seems to rather simplified at the first glimpse but when you assemble all its parts it changes rapidly into quite attractive. All you need is to paint according to the instruction and add some dark brown oil wash. Exhaust pipes are the worst made details of the kit. You can easiely notice significant misalignment of the moulds which resulted in a need of applying a lot of putty. When I dealed with their shape and drilled the parts were painted with steel metalizer and rusty pigments. When I was sure that the paint on model dried, it was covered with my favourite glossy lacquer which is Tamiya X-22 – it gave a proper finish before application of decals. Decals which I found inside the box are printed without any misalignment and with proper colours. They are just a bit too thick for me. I used Aeromaster agents, Set and Sol. I still had to cut the decals in few places where they had to stick to panel lines. The post shading step was done using the Tamiya Smoke on all panel lines, rivets and nitches. The whole kit was varnished with gloss lacquer followed by matt finish on hinomaru, plywood elements and anti-glare panel.Final touches
The final touches were so characteristic for Japanese planes chippings and scratches. I used a metalizer of Gunzes Chrome Silver and a tiny brush with the long bristle. Adding these had to give my model a generally worn effect. But the look of the kit was not still needed some vividness. This was high time for a wash. I create my mixture of artistic oils with a drop of White Spirit (odourless gasoline). Both the colour and dilution must be catched depending on the base and type of surface. Usually these are different shades of brown diluted to the consistency of ink. Using this mixture all painted panel lines and rivets and after an hour removed the excess with cotton buds gently moistened in White Spirit. The direction of removing the wash was along the air flow on wings and vertically, from top to bottom, on the fuselage. The final step was to assemble all of the smaller details and sub assemblies into a complete model.End note
Eduard kit gave me a lot of pleasure while building. Due to its simplicity and not many parts I can recommend this kit even to novice modellers who just started their adventure with our hobby. It will surely be a valuable addition to the collections of the airplanes from the Country of Cherry Blossoms.Related reviews
Ki-115 Tsurugi review by Rowan Baylis.Japanese Army AF Personnel WWII
Comments
Really nice! But I can't stand: should this machine be so worn?
It leaved production line with perspective of one and only flight? Should the machines for kamikaze be like brand new or
was they intensivly exploited? Nothing personal, Tomek! I like Your style, just some doubts...
JUN 09, 2012 - 04:09 AM
Hi Irek,
I'm affraid you haven't read the text, have you?
First sentence of "the model" section:
"I wanted to build my Tsurugi out of the box with just few corrections. Although many may say that the plane which was never used in combat should be clean and shining my intention was to have in my display case an extensively used for testing and later abandoned machine, as may be seen on these few original photographs."
JUN 09, 2012 - 05:04 AM
Michal, I've read Your text, but my question was do we modellers should to follow history or to create history? And let me say one more time: I like Tomek's model very much!
JUN 09, 2012 - 08:14 AM
Tomasz,
Very nice model of a tragic aircraft.
Irekfm, good question. As a recovering rivet-counter and historical-only purist, I say both!
For years the available reference material showed a limited number of verified color schemes and markings. Then, with the end of the Cold War and opening of archives, many strongly held preconceptions were shattered. We now have a seemingly endless supply of new revelations of paint colors and patterns. Some paint colors and patterns considered nonsense turned out to be accurate; some considered gospel turned out to be translation errors.
In short, T think there is room for speculation and artistic license in our models. A plausible paint job and weathering is practical finish.
BTW, your SA-6 Gainful is magnificent!
JUN 09, 2012 - 11:39 AM
I agree with Frederick about the artistic licence aspect of our hobby. If we don't have some fun with "what-if?" now and then we'll risk being diagnosed with terminal Gastonitis. The horror, the horror!
Jim
JUN 09, 2012 - 06:02 PM
Tnx for good word about Gainful! I think that "fun factor" is important, but sometimes I feel guilty;) That endless conflict:
reality vs fun is sometimes really oppressive!
JUN 09, 2012 - 06:45 PM
Tomasz, perfect build! Could you please give more information on this technique:
Very interested to find out about it!
JUN 12, 2012 - 12:41 AM
Not knowing that much about Japonesse aircraft, I ask this. Would the plane have been used in training to get the pilot experiance, and was it a concrete, dirt or coral airstrip. Would make a differance historicly and painting wise. Coral stips really stiped the paint from prop blast and tropical heat weakens the paint considerably. But no matter what the answer is, it is a real nice looking job on it.
JUN 12, 2012 - 05:54 AM
Copyright ©2021 by Tomasz Chacewicz. Images also by copyright holder unless otherwise noted. The views and opinions expressed herein are solely the views and opinions of the authors and/or contributors to this Web site and do not necessarily represent the views and/or opinions of AeroScale, KitMaker Network, or Silver Star Enterrpises. Images also by copyright holder unless otherwise noted. Opinions expressed are those of the author(s) and not necessarily those of AeroScale. All rights reserved. Originally published on: 2012-06-09 00:00:00. Unique Reads: 5879


