1⁄48The Sparrow of Borovo
4
Comments
the kit
Modelling should be fun. Turning the ancient plastic kit into a fair scale replica of well-known flying legend extraordinarily befits the saying. The MPM’s Aero C.104 (Bücker Bü-131 “Jungmann”) is probably one of the oldest kits in my stash, if not the oldest – it predates even the pyramids of Giza. Most of the people at Aeroscale are probably familiar with this rudimentary type of kits that are virtually void of any detail, and very hard to conquer. It may be somewhat crude and challenging, but it is just a kind of kit that is particularly charming and reminiscent of an era when modelling was more than a skill.what’s in it?
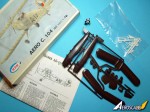
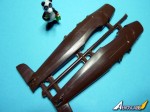
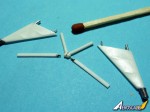
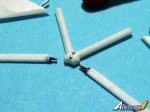
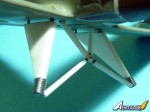
In brief, the MPM’s kit is very Spartan: two trees of parts moulded in dark brown and white brittle plastic, with parts barely distinguishable from the sprues themselves. The kit provides you with the main fuselage parts, wings, front engine cowling, wheels, seats and propeller, wing and fuselage struts, instrument panels, tail wheel, and undercarriage legs. The transparencies are vac formed, and that’s pretty much everything that could be said about the parts. The instruction is very simple with exploded views that obscure more that it reveals. I immediately discarded the decals provided in the kit because they were yellow and faded beyond recognition.the subject
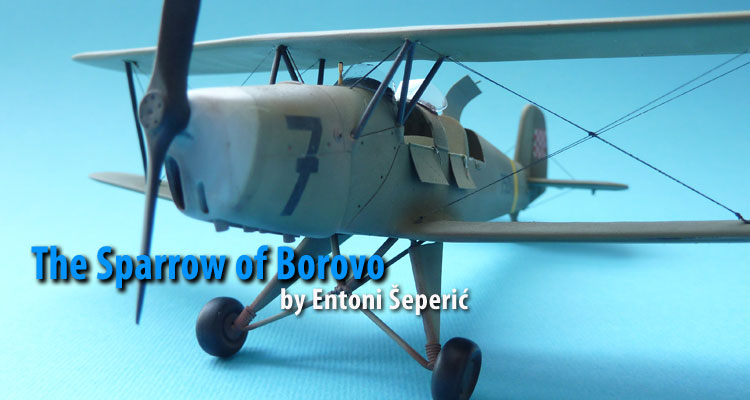
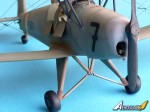
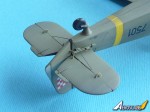
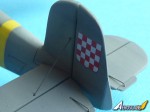
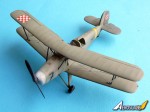
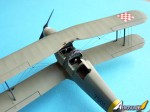
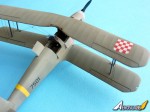
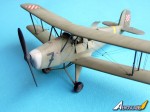
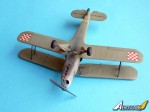
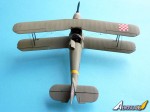
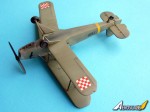
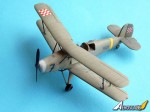
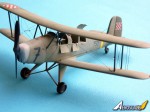
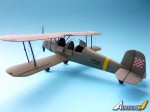
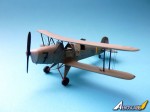
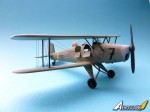
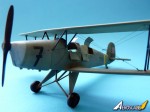
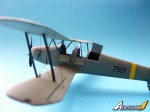
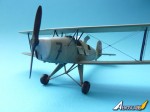
The Bü-131D was in fact an improved B-model, which was mass-produced from April 1938 until late 1941. About 300 aircraft were built under license by the Czech Aero factory in the then Bohemia-Moravia Protectorate from 1939 to 1940. Armed with the Mark I Ltd. “Bücker Bü-131 colours & markings” booklet, which comes with a very nice selection of decals for no less that 12 colourful profiles of this beautiful trainer, I picked the Bü-131D-2, Black 7501/7, from the 1st Pilot School, 4th Air Base, Croatian Airforce, Borovo airfield, late 1943. The blue sparrow on the starboard side was the Pilot School’s emblem, and therefore the name. The aircraft was originally delivered as part of the pre-war Yugoslav 400-piece order. After German requisition, a total of 46 Jungmann’s were handed over to the newly-created Air Force of the Independent State of Croatia in May 1941. This particular aircraft was finished in overall RLM02, with struts and wheel discs painted in black. It also had a non-standard, bigger and steerable tail wheel.the build
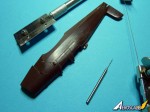
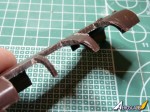
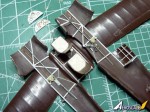
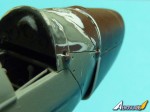
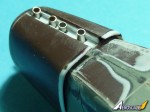
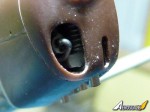
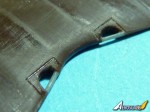
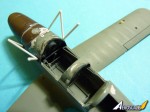
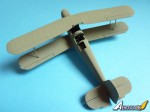
Starting with approx. 30 piece of the crudest plastic on the planet and some modelling benevolence, I decided to commence the build. Although the photos speak for themselves, I will bring some highlights of the build. The step one of the build was cutting and cleaning of the fuselage halves. I almost instinctively took out my saw, along with a pair of RB production rapid saws, and decided to get rid of the front (student) and the rear (trainer) doors on both sides, and also cut out the luggage compartment doors behind the trainer’s seat. The decision seemed pretty reasonable (hm!), but it was only after the saw teeth cut deep into the plastic that I’ve become fully aware of my naiveté. The plastic was simply too thick, and very, very brittle. With the cutouts shooting through the air, I gnawed my thumbs in full astonishment. But without the doors being removed, the cockpit would be hardly visible at all, and this was at odds with my original intention.The fuselage halves were sanded down and finished with sanding paper and sticks of various grits. For the moment I felt like Leepu from the Discovery Channel’s “The Chop Shop”, while desperately trying to make the plastic speak to me. However, after some time and persistent sanding, the fuselage halves were sanded down pretty nicely, and their original thickness was reduced from 3,6mm to 0,3mm! With a sigh of satisfaction and relief, I studied my reference photos and decided to arrange the office.
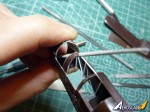
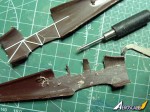
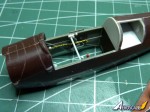
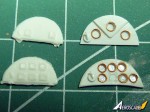
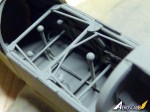
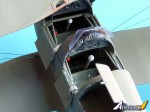
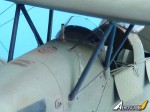
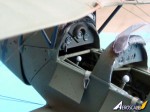
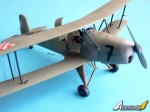
Arranging the office. Once the fuselage was properly thinned, I wanted to add some details to the cockpit, i.e. the tubular framework. This was done with 0.64mm plastic evergreen rods and some stretched sprue. I extensively used photos as main reference for the actual arrangement of the framework, but I decided to do it only in the visible area of the cockpit. Nevertheless, I had to adjust it a bit and compromise with my determination for precision. In order to install the framework properly, I had to scribe and chisel guiding channels in the port and the starboard fuselage sides. Fortunately enough, the plastic was still deep enough to receive the cuts, and the added structural detail only improved the overall appeal of the office. I discarded the original instrument panels, and scratched my own parts from styrene. In fact, the original parts were simply too small now when the fuselage was sanded down and therefore widened, so I had to make replacements anyway.
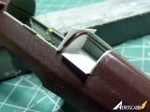
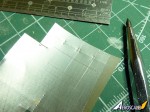
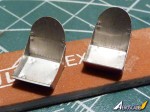
The seats and the controls. After instrumental panels were finished and ready for priming, I concentrated on the central wing section, which encloses the cockpit and its floor. Along with the instrumental panels, the seats are the most prominent and eye-catching details in the cockpit. The original seats are nothing less than two thick plastic chunks, and I discarded them immediately. Since I had no replacements, I scratched my own seats from aluminum can. The replacements were not meant to be perfect, but they ended up quite pleasing. What I tried to achieve is a fair resemblance of Jungmann’s loose sheet metal parachute-type seats. I decided to leave the seats without the cushions, but I did see photos of Jungmann’s having them.
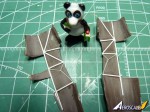
...and more detail. Apart from the seats, even the smallest piece in the cockpit was scratchbuilt from styrene, stretched sprue, copper and lead wire, and even some styrofoam beads (the throttle and the sticks levers). The scratched parts include structural details of the framework, rudder pedals and the pilot’s sticks, instrument panels, side consoles, and the interior of the luggage compartment behind the instructor’s seat. Now when the interior was ready, it was time to close up the cockpit and prepare everything for a coat of primer, and some base color.
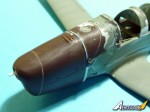
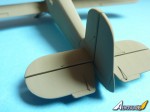
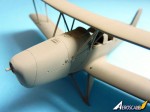
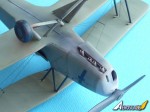
Painting and weathering. The aircraft had an overall RLM02 finish, with only the front engine cover and the tip of the rudder in plain white. The struts, braces, and the wheel hubs were painted RLM76 to simulate faded black. When the decals were in place, I gave it a coat of Vallejo satin varnish. This was one of my first models after a long pause from modeling, so it was still full of mistakes – I didn’t know how to adjust airbrush properly, so the final coat of varnish had somewhat grainy structure. Do not be afraid to learn on the way, and never conceal your mistakes! The rigging was a challenge of its own, but the weathering was pretty easy with the chalk pastels. It is a bit exaggerated and overdone in places, but it is one of my first models… I just didn’t have the opportunity to show it before.
conclusion
Although it is one of my oldest builds (it’s actually the first one that I completed after the end of war in Bosnia and Herzegovina), this crude beast is still very dear to my heart. It reminds me of the old days, when there was no aftermarket goodies and all that incredible stuff that one finds today; the plastic was rudimentary and very, very demanding. It was built out of nostalgia, and I hope it has some interesting appeal even today… at least it’s educational!Comments
Outstanding work Entoni. Great pics, thank you for the pics!
Jim
SEP 15, 2012 - 05:58 AM
Hi,
Thanks for your nice comments. But to be correct, there is, actually, one single PE item used, and this was Eduard's seat belts. The rest is scratched.
All the best,
Entoni
SEP 17, 2012 - 03:30 AM
Copyright ©2021 by Entoni Seperic. Images also by copyright holder unless otherwise noted. The views and opinions expressed herein are solely the views and opinions of the authors and/or contributors to this Web site and do not necessarily represent the views and/or opinions of AeroScale, KitMaker Network, or Silver Star Enterrpises. Images also by copyright holder unless otherwise noted. Opinions expressed are those of the author(s) and not necessarily those of AeroScale. All rights reserved. Originally published on: 2012-09-15 00:00:00. Unique Reads: 6340


