

1⁄35A Story of a POGO
4
Comments
The Kit
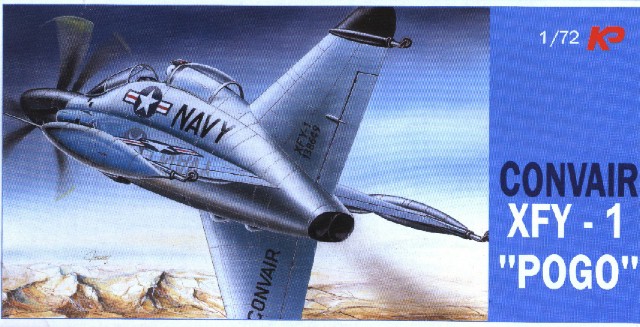
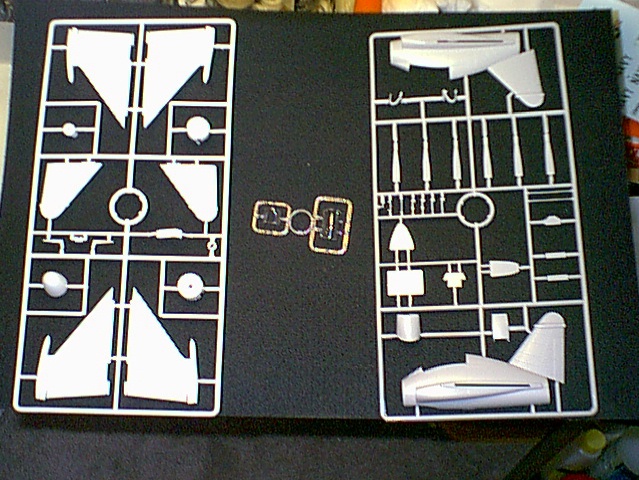
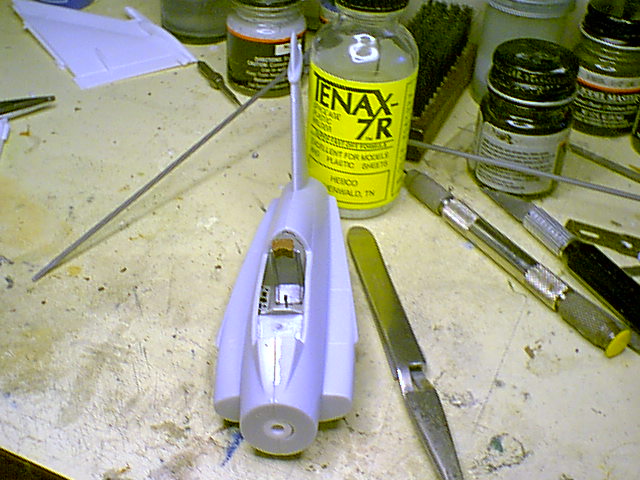
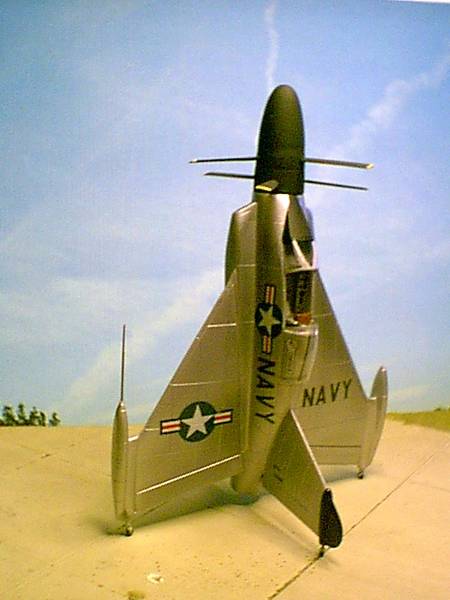
I did the basic construction of the Pogo, to use as a scale reference for the dimensions / proportions of the equipment to be scratch built, as I had no drawing just photos to go by.The kit as you can see in the box art photo, is the 1/72 scale Pogo XFY-1 from KP. The kit was a pretty straightforward build from the box. Many consider KP to be a limited edition or short run house, but most of their releases are readily available, in fact the Pogo was recently re-released with new packaging.
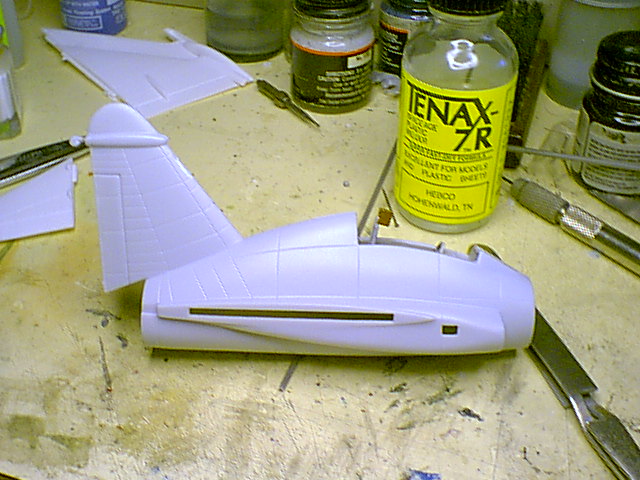
One major flaw was encountered during the construction, that being the inability to properly align the tail cone to the fuselage. This required some Squadron putty and Moto tool work. I was so confident that this would work out okay; I bought a second kit as backup. Everything did work out okay and I didnt need the second kit.
Other than this one major flaw, there were few areas that required attention. A small mismatch in front of the cockpit and a little filler at the wing roots and to blend the leading edges to the fuselage were all...
Modifications
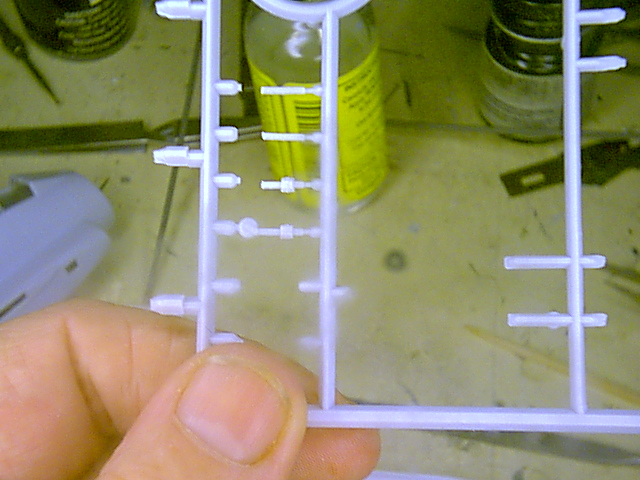
There was a modification required to the landing gear, not due to a flaw in the kit, but due to the way the model was to be displayed. As the aircraft was to be in both the vertical and horizontal position the gear would need to compress and relax. As with most kits the gear is supplied to be in one position or the other, in this case compressed as the typical display is as a tail sitter.To facilitate both positions of the gear, I removed the kit wheels from the provided supports. Then cut straight pins to the proper length, leaving the heads on, and modified the interior of the wing and rudder assemblies.
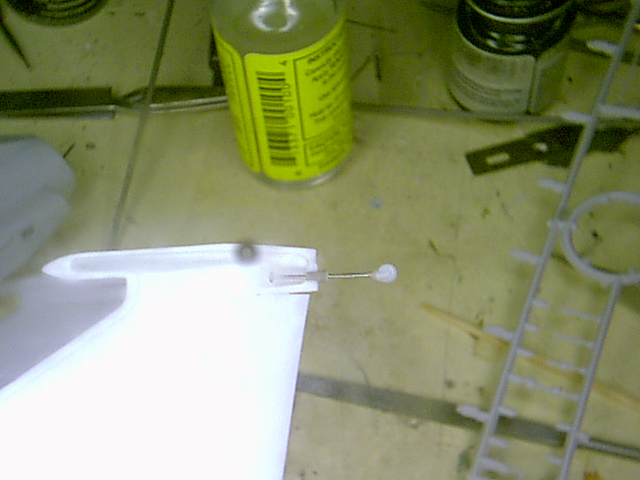
The modifications of the wing and rudder assemblies consisted of hollowing out a groove for the pin to ride in and installing two small sleeves made of plastic tubing, one sleeve to act as a guide and stop to retain the pin by its head, the other to replicate the visible external structure of the gear support.
The modifications finished, the straight pins were placed in the guides and the kit wheels glued to the ends. The halves of the wings and rudders were then glued together.
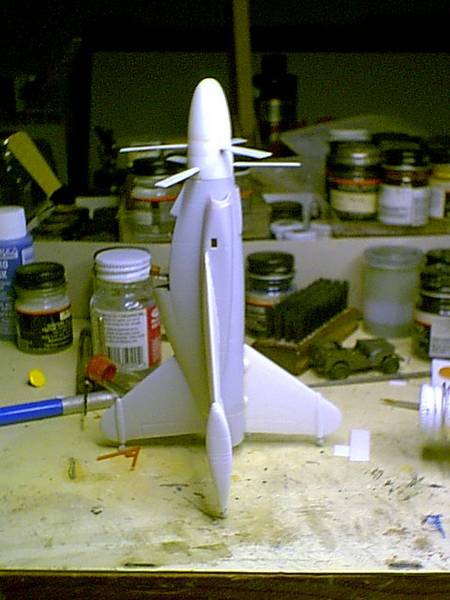
The rest of the kit was pretty straightforward except for the pilot seat being too tall, for the canopy to close; only minor adjustment was needed here. Only problem was I hadnt noticed it till I was ready to paint the NMF, I usually use the canopy as a mask for the cockpit. The kit was left unpainted during construction of all the support equipment, due to all the handling while using it as a scale / proportion guide.
About the Author


FROM: CALIFORNIA, UNITED STATES
I've been building kits since about the mid 1950's. I've built all kinds of subjects, but for the past 20 years or so I've seemed to focus mainly on 1/72 Aircraft and Armor. Why 1/72, mainly for space conservation I build alot. I build primarily for my own enjoyment, and Armorama has helped to en...
Comments

Interesting aircraft! Somewhat reminds me of the Treibflugel, not sure why.....
DEC 13, 2004 - 11:03 AM

Nice work on publishing this Rowan. And nice job Chuck on the whole project!
Cheers,
Jim
DEC 13, 2004 - 11:28 AM

Holy.......Moley!
When I first saw the updates on this one I thought, "Yeah, that's a quart o' Thunderbird in the plain brown wrapper...Where's the damn Pogo?!?!"
Should'a known better than to question theMaster's intent
A Portable Hangar AND the mobile support recovery gantry...
Chuck, you make my paltry efforts look, well, paltry.
I am not fit to stretch your sprue
This one belongs in a Museum. Got anyone on the hook yet?
DEC 13, 2004 - 11:19 PM
Copyright ©2021 by Chuck Shanley. Images also by copyright holder unless otherwise noted. The views and opinions expressed herein are solely the views and opinions of the authors and/or contributors to this Web site and do not necessarily represent the views and/or opinions of AeroScale, KitMaker Network, or Silver Star Enterrpises. Images also by copyright holder unless otherwise noted. Opinions expressed are those of the author(s) and not necessarily those of AeroScale. All rights reserved. Originally published on: 2004-12-13 00:00:00. Unique Reads: 10595

WEB HOSTING BY


Copyright ©2021 AeroScale and Kitmaker Network, a subsidiary of Silver Star Enterprises
All Rights Reserved. Please read our Conditions of Use and Privacy Policy.
All Rights Reserved. Please read our Conditions of Use and Privacy Policy.