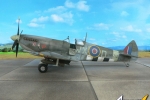
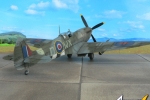
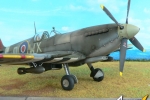
1⁄48Achtung Spitfire!
7
Comments
Introduction
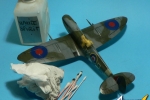
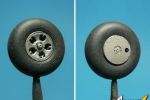
Saturday 30th March 2013, I received a nice Easter Egg from Eduard's little EBunnies. These are well know for their sense of humour and the egg was in fact a squarish box with a pre-production sample kit of the new 1/48 scale Spitfire Mk.IX kit by the Czech manufacturer due to be released a couple of days later. It didn't took long before it landed on the workbench and I soon found myself starting to work on it.Preparation
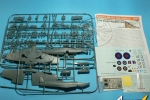
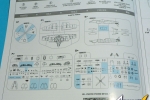
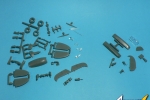
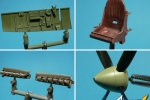
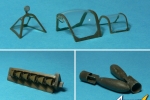
First thing I did was to eliminate all the parts that wouldn't be used in the kit. There are quite a lot that will end in the spare box in the end. They are marked in blue in the instructions. Some have been designed by Eduard for other variants while some are optional in the kit, either because of the chosen variant (round or pointed rudder), because some parts are replaced with PE ones (instrument panel) or because one has the choice between open or closed positions (canopy, access door, wing radiator flaps, etc...).Interior assembly
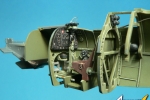
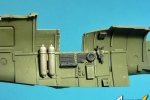
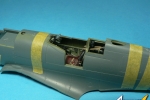
After just some hours gluing parts together, most of the sub-assemblies were ready for the painting of the basic colours. Already at this stage it is evident that the fit of the kit is excellent. The parts have been painted with Tamiya Acrylics. They have received a light dry brush and a wash of Klir (Future) to highlight the superb detail work made by Eduard. The instrument panel and some other items are photo etched parts which makes the painting a lot easier. To reproduce the glass of the instruments I used Scotch tape. Simply place it between the two PE panels and you're done. Weathering was done by mostly applying a lighter shade of the Interior Green colour with a fine brush. Seat belts are provided in the kit as well as very fine gun sight for such a small scale.Getting the two fuselage halves together wasn't that easy, probably because I didn't strictly followed the building steps suggested in the instruction booklet. However, I managed to get the busy interior to fit and the cockpit sub assembly didn't require any glue apart from the sidewalls.
Wing to fuselage assembly
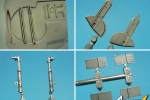
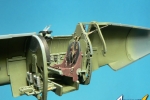
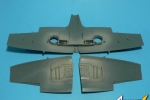
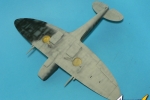
The wheel bays are made of 15 parts not counting the wing. This breakdown of the parts was necessary to reproduce the angled walls to accommodate the tire. Once the wing was completed, I mated it to the fuselage, as well as the rudder and the one piece elevators. The wing root fit was almost perfect needing only some light sanding at the edges for a 100% filler free fit. I didn't glued the upper cowling piece yet. This allowed me to glue the exhaust stacks at the very end of the build to make the camouflage painting much easier. After three days of work, the model was ready for the spray booth.Camouflage, painting and decalling
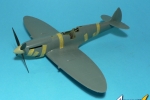
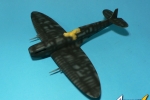
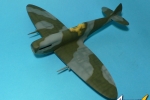
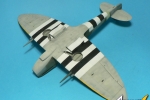
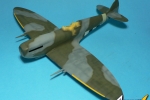
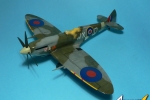
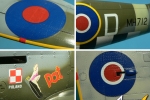
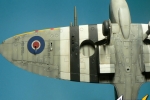
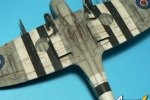
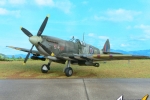
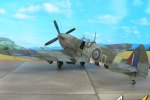
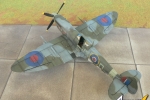
Before painting the three tone camouflage I have applied a pre-shading of black (Tamiya XF-1). Then I have sprayed the new Tamiya acrylics XF-81, XF-82 and XF-83. These were made by Tamiya when they have released their Spitfire Mk.IX in 1:32 scale. The D-Day markings weren't present as decals but it is better to spray them anyway for more realism. I have used some masks to do mine, as well as the fuselage band and the yellow wing leading edge stripes. Everything then received a coat of Klir (Future) for protection and to achieve a glossy finish prior to applying the decals. These are the weak point of the kit. Not that they didn't performed well, but some colours are off (the sky of the code letters is too light) and there are some questions about the proportions of the roundels. Anyway, I used the kit's decals since this was meant to be an "out of the box" build and I only adjusted the tonality of the code letters with a fine brush.Weathering and special effects
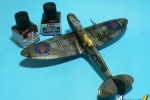
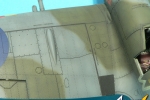
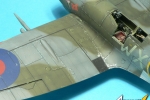
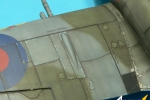
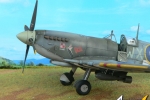
To do the panel lines I have applied a wash of Tamiya Panel Line Accent colours (Dark Brown for the underside and Black for the top surfaces). When the model is covered with ink, I can't help myself and I always think that I have ruined all my work. But after some cleaning using White Spirit everything turns back to normal. To seal everything, the surface receives a coat of mat varnish (Gunze H20 with a hint of Klir).To animate the surface of the model I applied some small paint chips using a triple 0 brush. The idea is to create an effect that is only visible from very near and almost imperceptible from a certain distance. To achieve this effect one needs to use colours only a fraction lighter than the basic colour. I make my paint chippings with Prince August acrylic colours and Revell Aqua colour for the aluminium.
Final touch was the application of filters, shadows and oil streaks using Faber Castell "Pitt" felts (B for Brush type). These are India ink based and very easy and versatile to use. I have mainly used the "Walnut Brown" colour. Final work consisted of gluing all the detail parts: windscreen, canopy, antennas, bombs, propeller etc…
Conclusion
The new Eduard 1/48 scale Spitfire Mk.IX kit was an enjoyable experience from the start to the finish. It is probably the best kit from the Czech manufacturer to date. I also think there is no better Spitfire kit in the same scale now, including the ones depicting other variants. I'm already looking forward to see the other boxings of the kit!A special thank you goes to Jan Zdiarsky of Eduard for having sent us a pre-production sample of the kit a few days before its initial release. So thank you very much Jan!
Comments
Jean-Luc, a pleasure to view your work as always, and I feel bad for only now taking the time to comment. It is shameful how few comments this build has recieved when it is to such a high standard. I am looking closely at the photos as I am going to try and copy the chipping technique on my FR Typhoon. The final weathering steps on this Spitfire are very highly skilled. I hope I don't make a mess trying to emulate them!
JUL 28, 2013 - 08:53 AM
Hi all,
Thanks again guys.
Ben, no need to feel bad. This feature is only a sum-up of the build thread so the model has already received it's share of attention.
Jean-Luc
AUG 01, 2013 - 03:06 AM
Copyright ©2021 by Jean-Luc Formery. Images also by copyright holder unless otherwise noted. The views and opinions expressed herein are solely the views and opinions of the authors and/or contributors to this Web site and do not necessarily represent the views and/or opinions of AeroScale, KitMaker Network, or Silver Star Enterrpises. Images also by copyright holder unless otherwise noted. Opinions expressed are those of the author(s) and not necessarily those of AeroScale. All rights reserved. Originally published on: 2013-04-13 20:03:06. Unique Reads: 13654


