

1⁄32Bf 109 E7
6
Comments

history
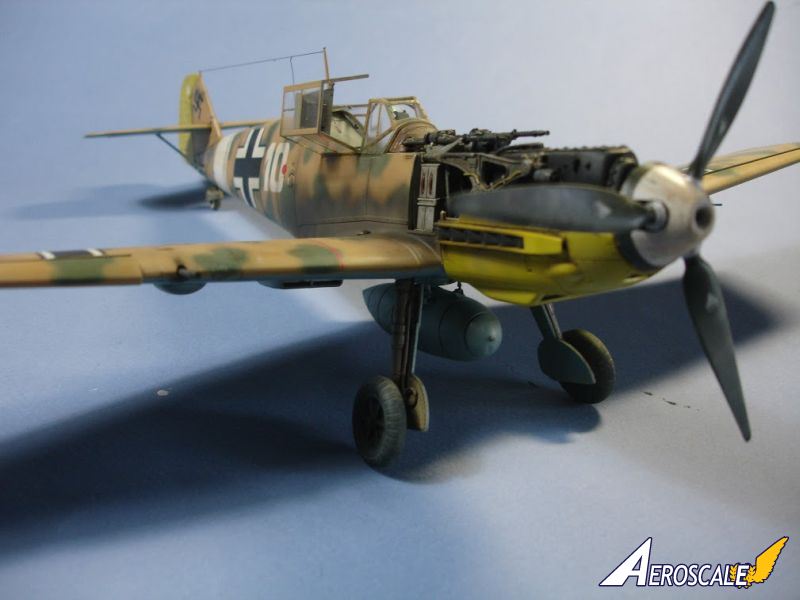
The Messerschmitt Bf 109 is one of the most famous fighter aircraft of the Second World War. One of only 3 aircraft to be in continuous production from the first day of the war to the last, the Bf 109 is also one of the most prolific aircraft in history, with almost 34 000 units produced between 1935 and 1945. The Bf 109 was developed through 8 successive models designated A through H. The E, or Emil was the first to use the Daimler Benz DB 601 inverted V-12 engine and was the first major redesign of the series, moving the radiator from the chin to under the wings, and increasing the available armament. The E-7 was the last incremental improvement of the Emil before the next redesign resulted in the F series, which had replaced it by mid 1941.the build
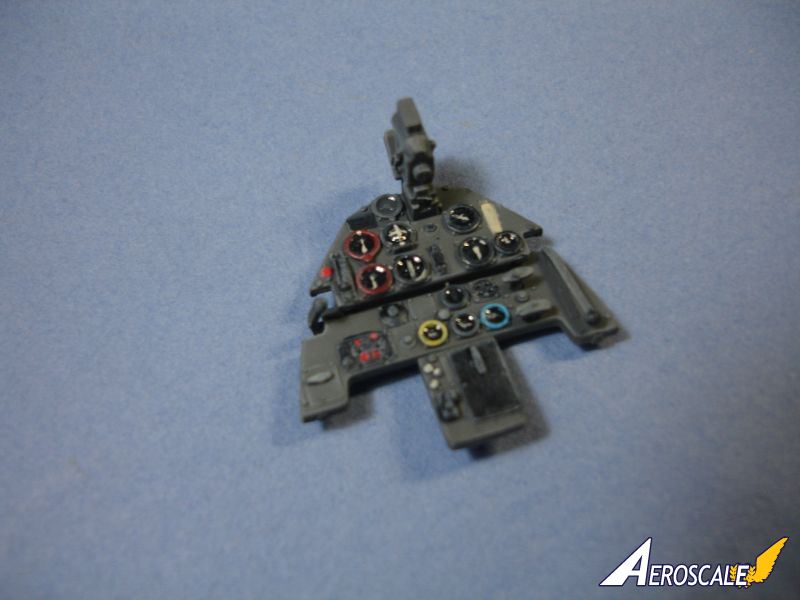
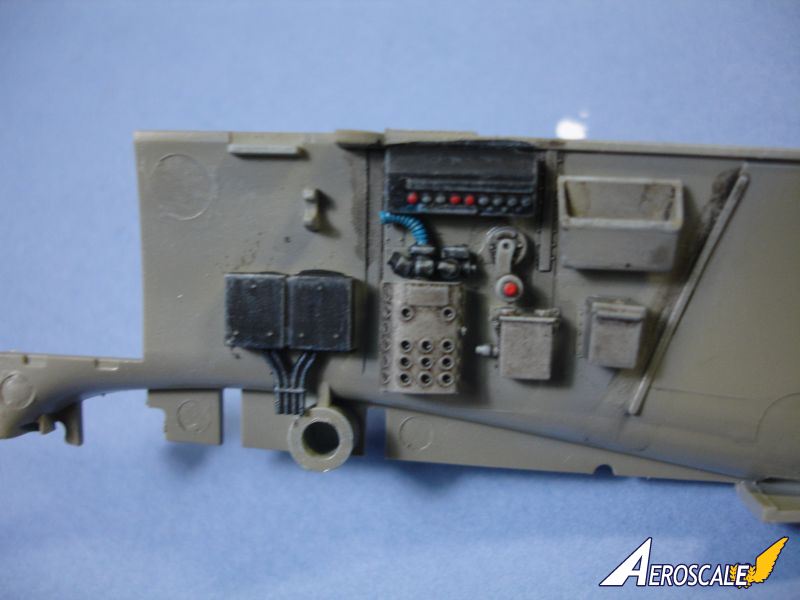
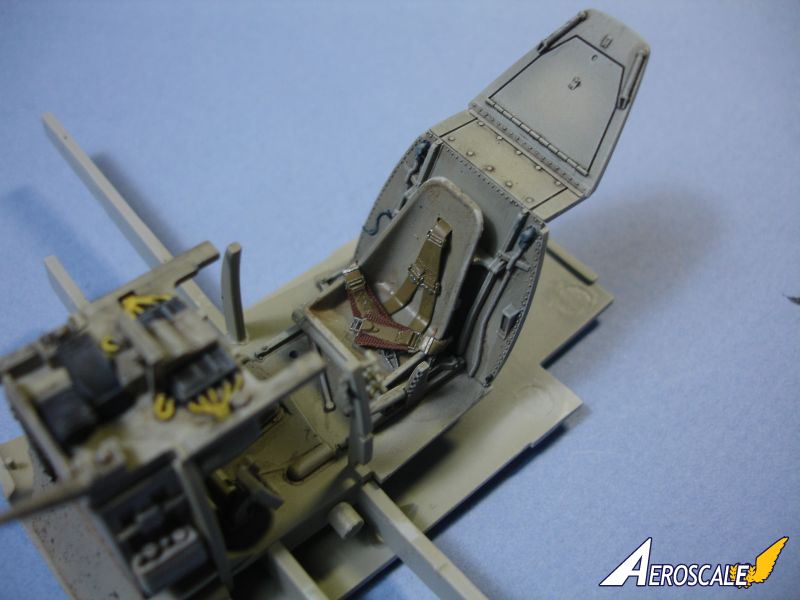
This kit was originally presented to me to do as an in-box review, and then I went ahead and built it to see how the real thing goes together. The in-box can't really provide a picture of how the kit actually builds, so I wanted to make sure I knew everything, and hopefully can provide an informed opinion for people looking at this model. There is a lot of good things about this kit, with just a couple of negative points to it.The good parts are the detail included, and the fact that the thing is an absolute dream to build. The instructions are confusing, only because it's a Dragon kit. Had to turn to some external references in order to accurately pick out the correct colors in the cockpit and engine compartment. I went ahead and added a set of Fine Molds seat-belts to replace the flat PE ones included in the kit. The flexible plastic belts are great, and really take paint and weathering well. They might be a bit over-scale, but were much better than the ones included in the kit.
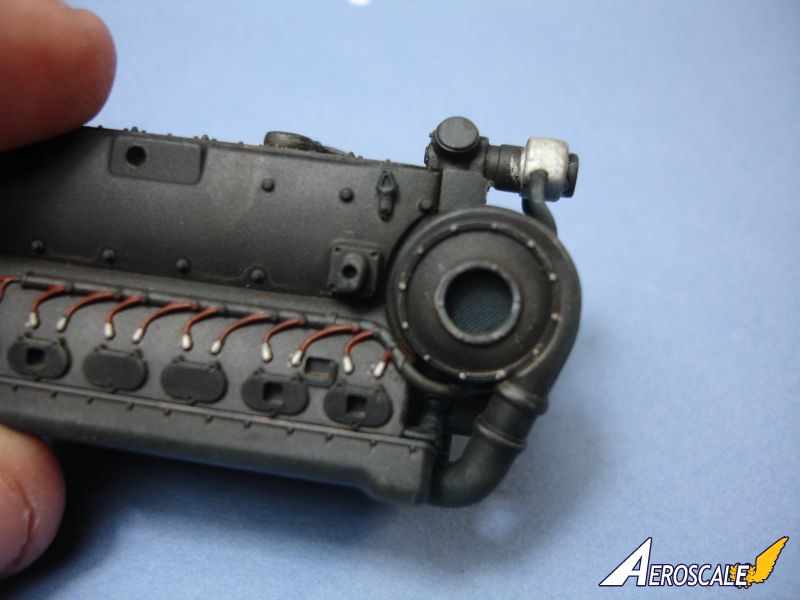
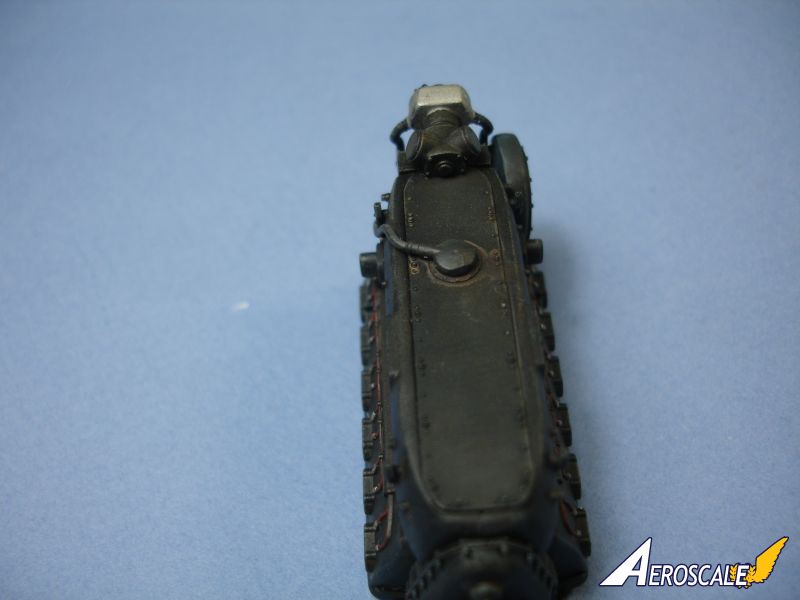
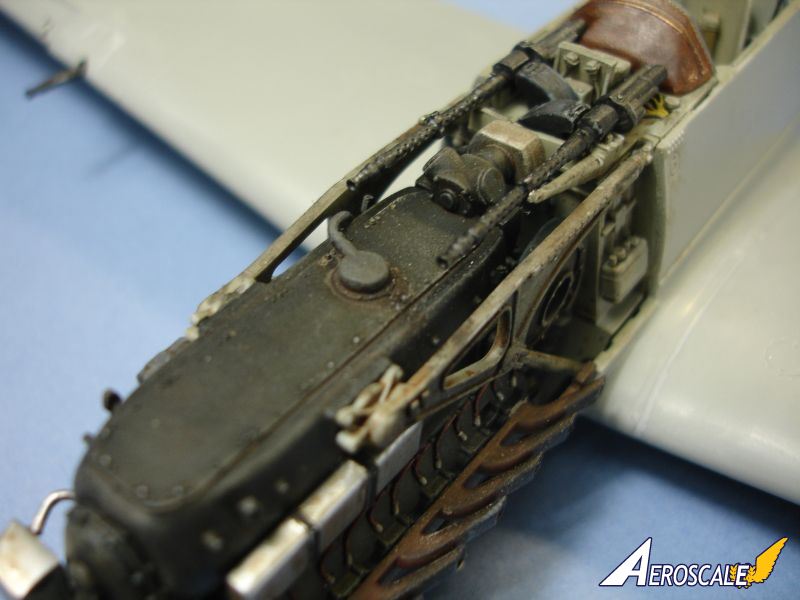
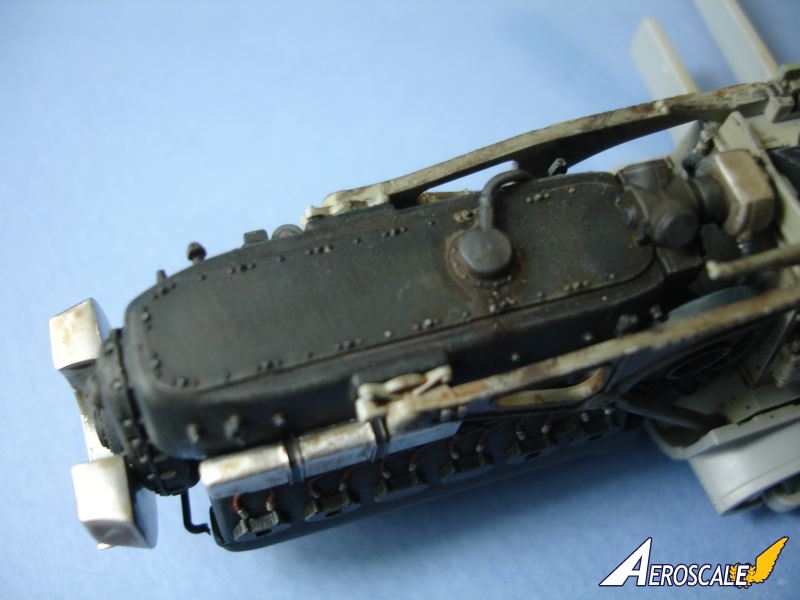
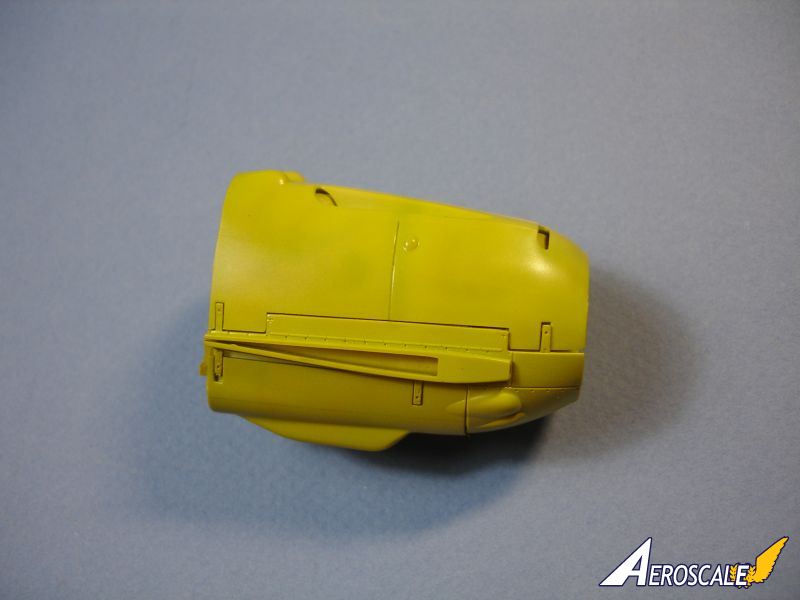
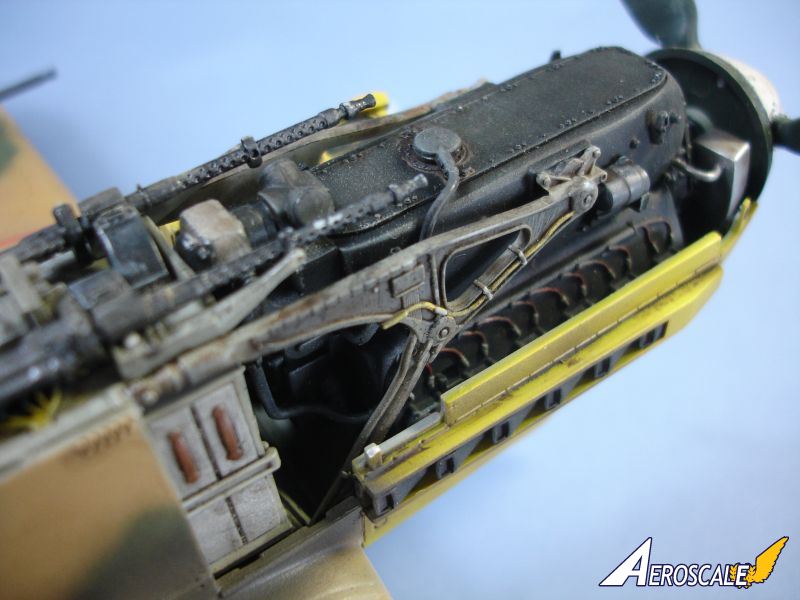
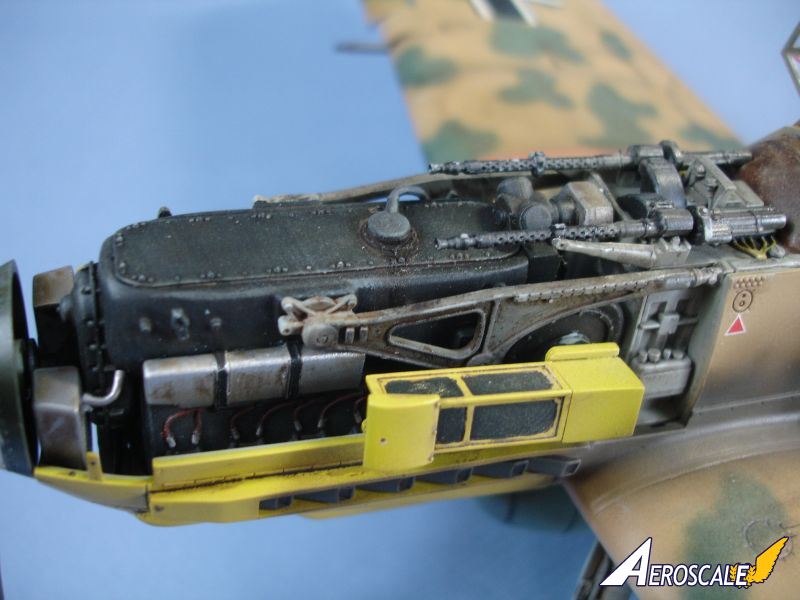
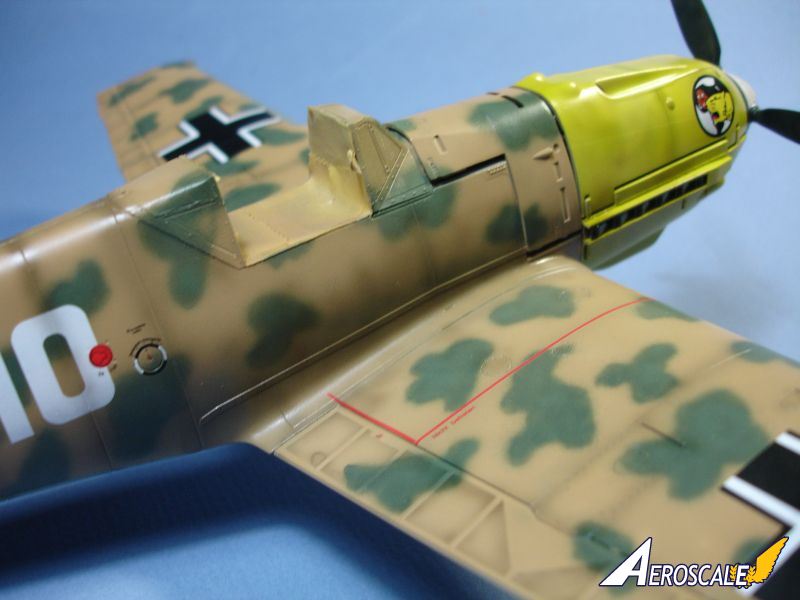
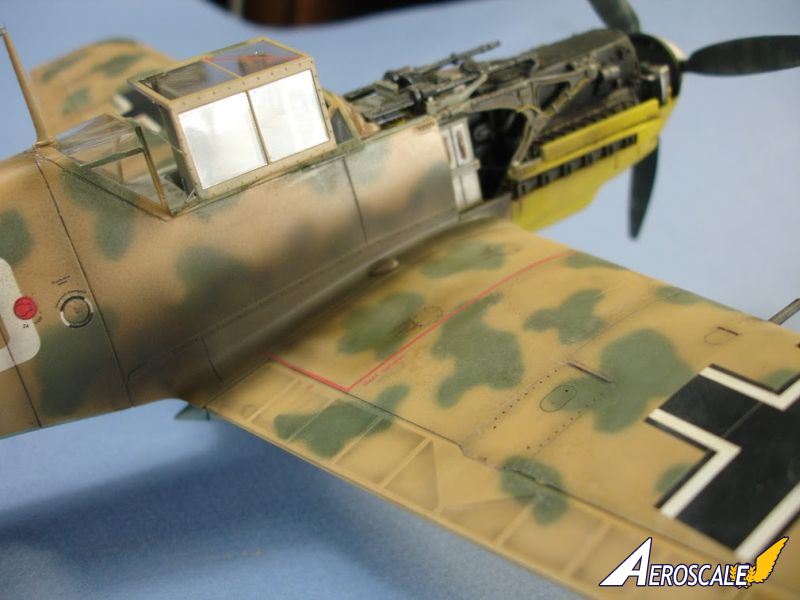
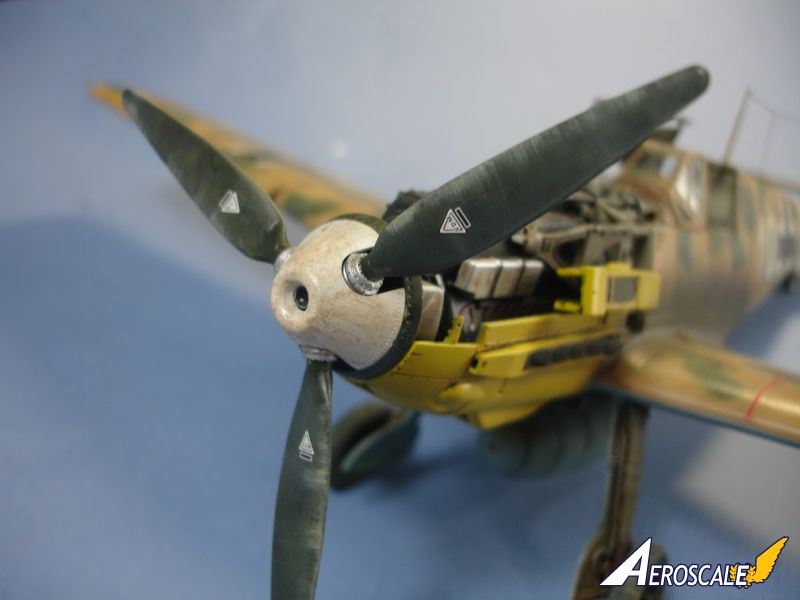
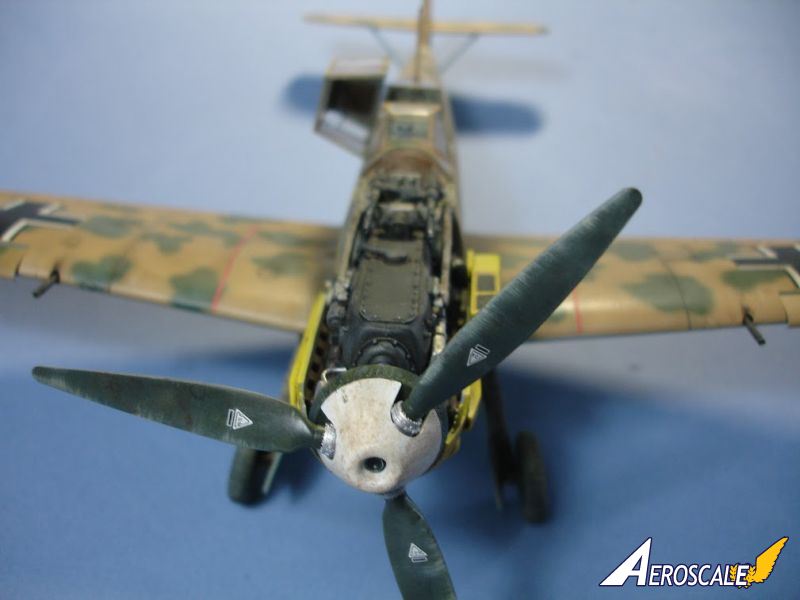
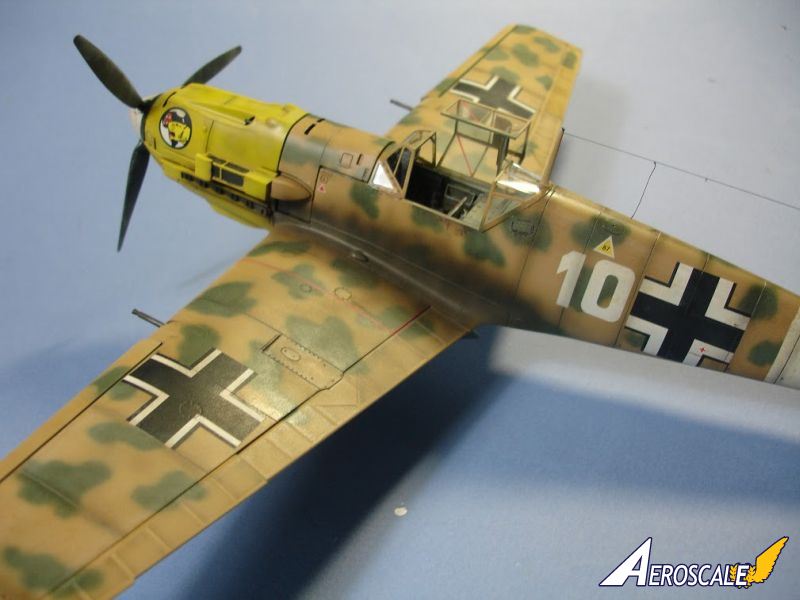
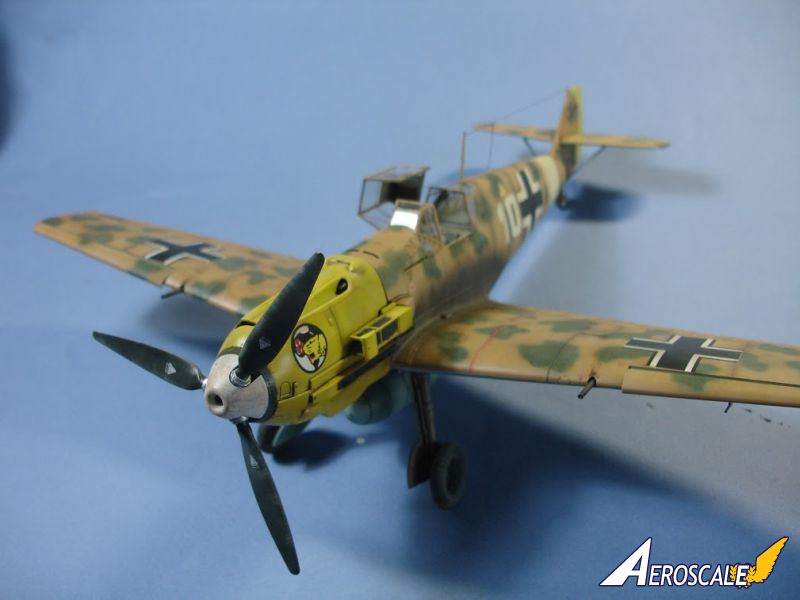
The most visible part that I found was the engine up front. The Cyber-Hobby kit has tons of great detail on here, but there is of course room for more. I could have gone through and added the wires and hoses, but I wanted to keep this build a bit simpler. I did spend a large amount of time trying to get the painting and weathering right on the engine, since it's such a vital part. I used a combination of oils, enamels, and True-Earth filters to try and make the engine look well-used. In the end, I think that it came out well, but there is still more that could be done. Luckily, Dragon allows you to open up the cowling and display your hard work, although you have to remember to paint all of the interior parts, and fill a couple of ejector pin marks.
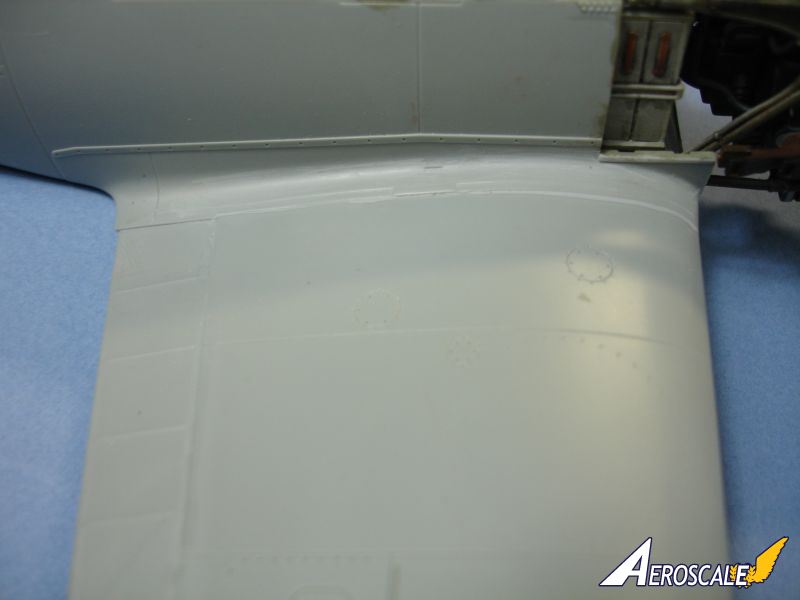
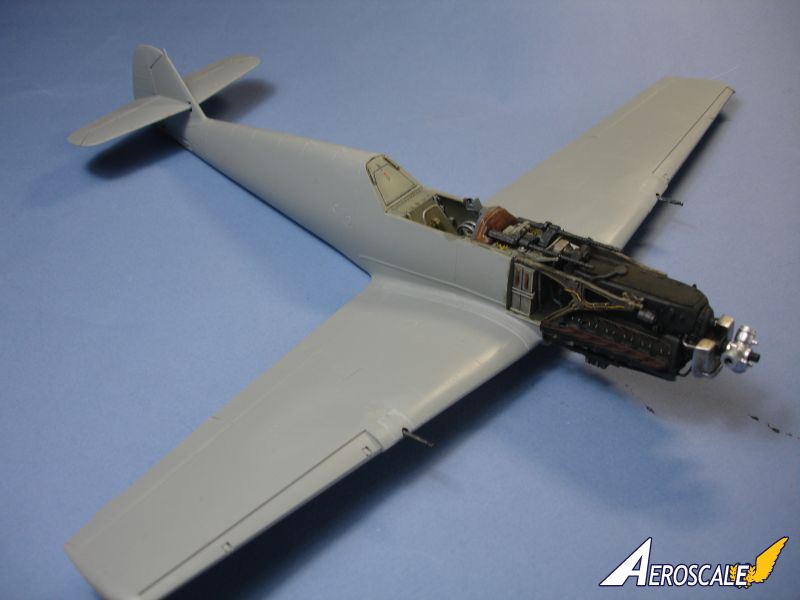
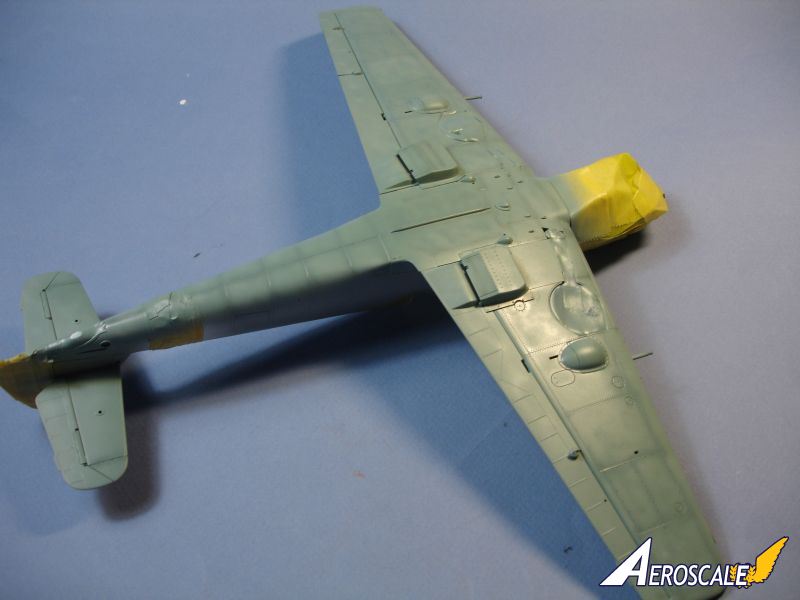
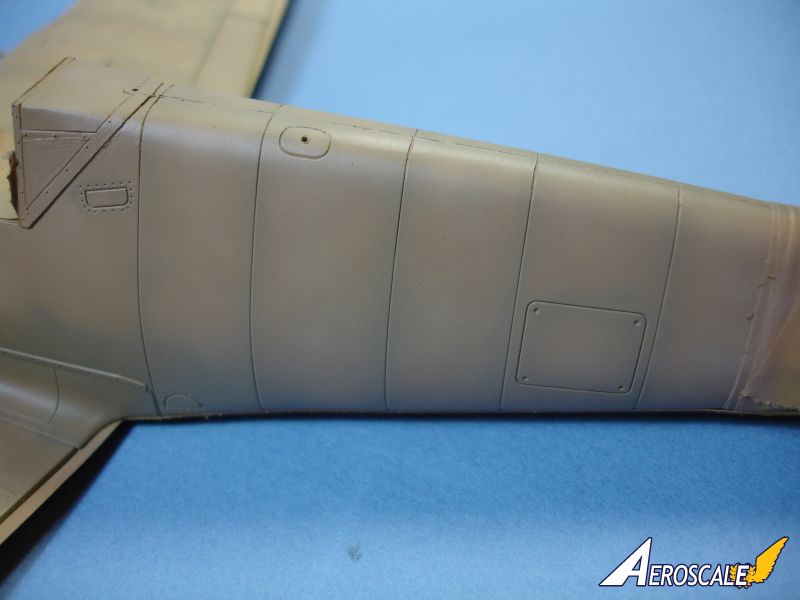
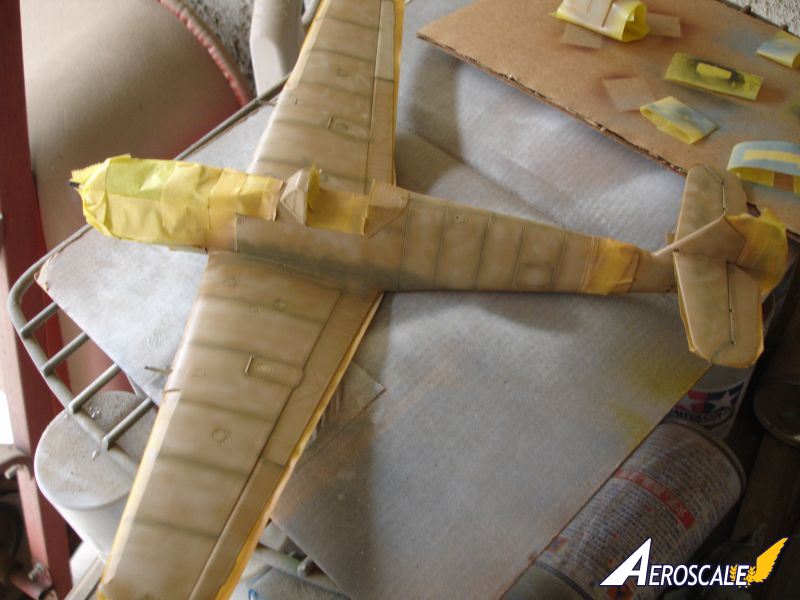
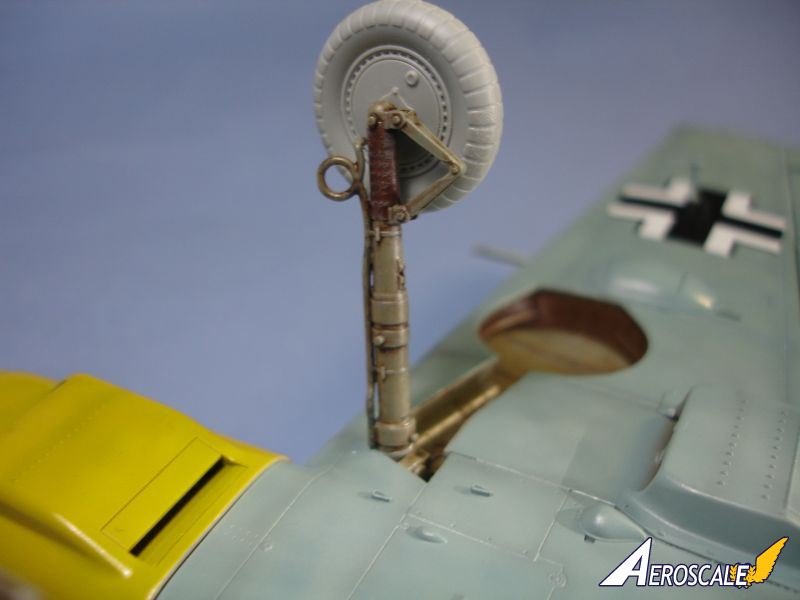
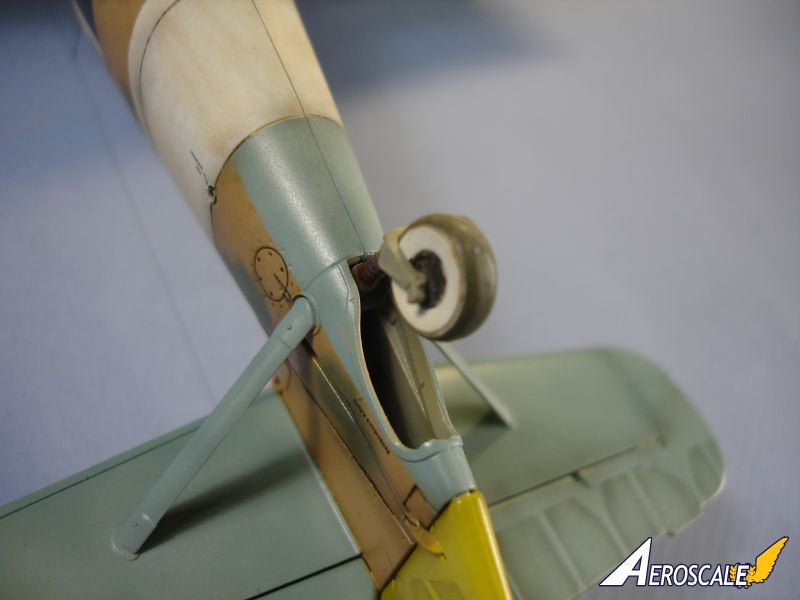
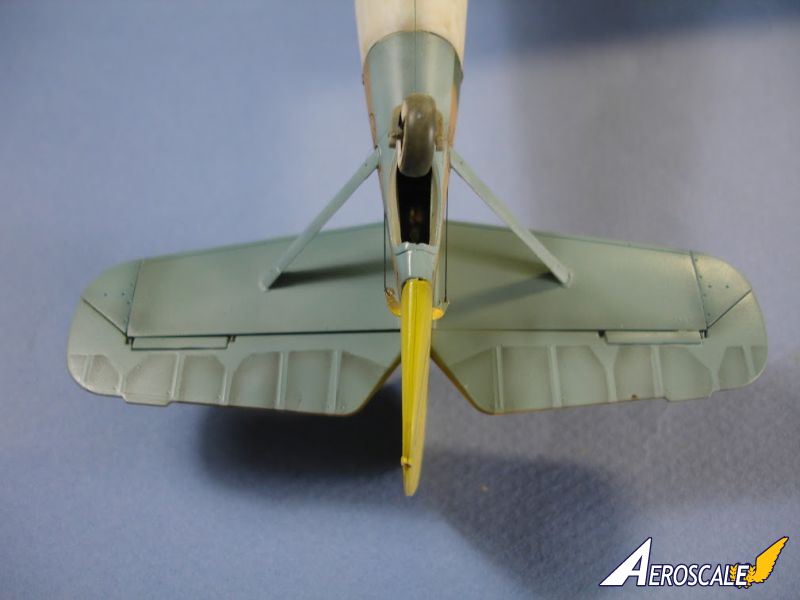
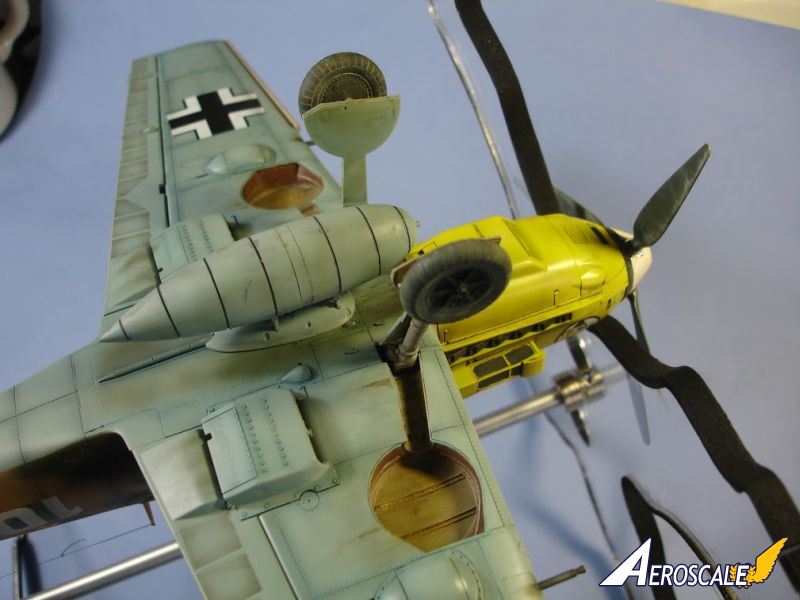
Construction was a complete breeze, as this is a precision engineered product. There was a couple of spots that needed basic filling and sanding to correct, but really not much at all. The clever wing-spar makes sure that everything is lined up properly, and the vinyl wing boots are a great touch. The one problem is construction is the control surfaces, since Dragon has designed them with very fiddly PE hinges that you have to install to build the surfaces. This caused a few headaches, but by going slow, eventually everything went fine. Could have been much easier though if they had just used plastic pins to place the control surfaces instead of the metal parts.
painting and weathering
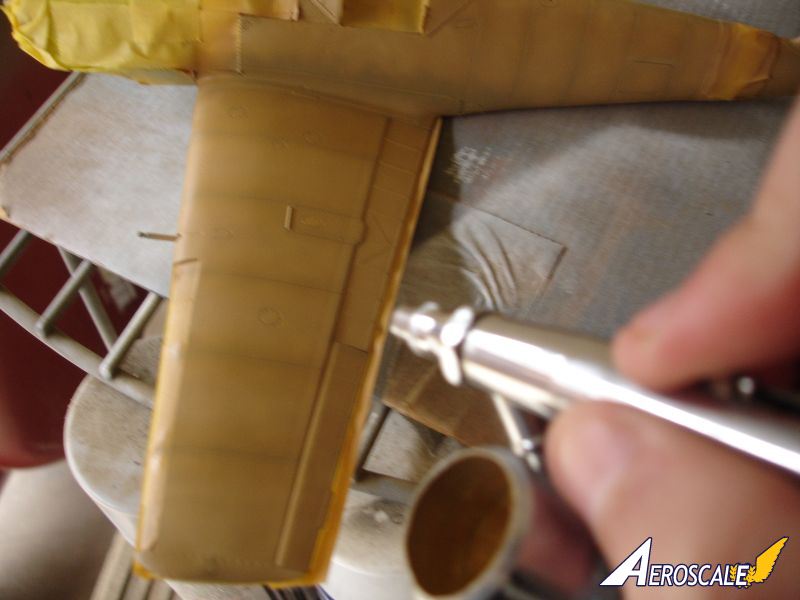
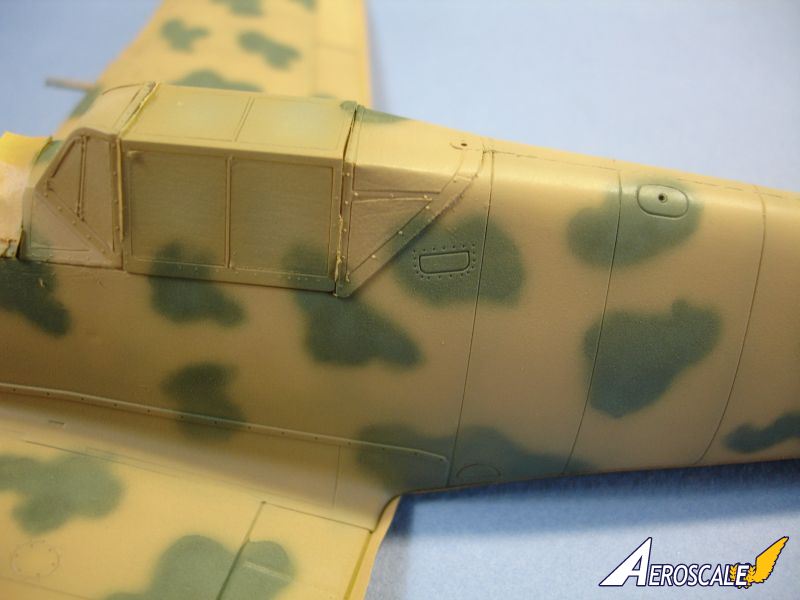
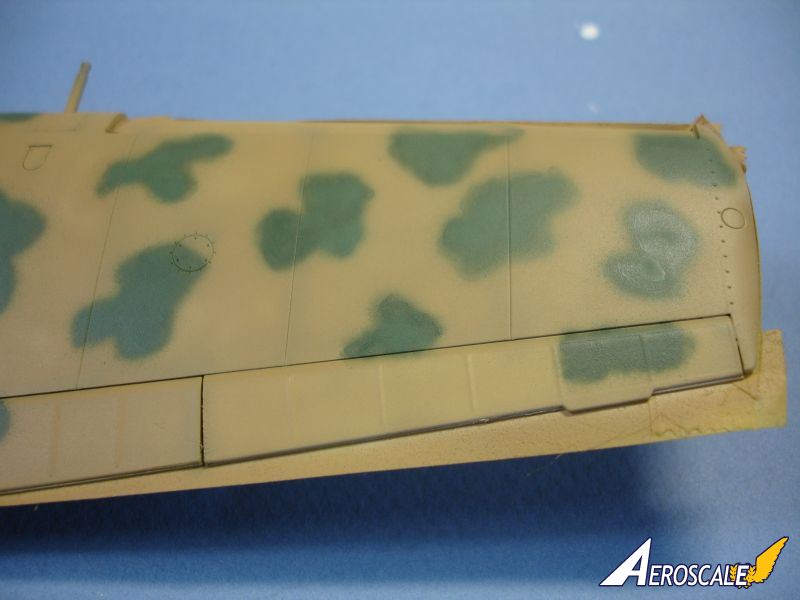
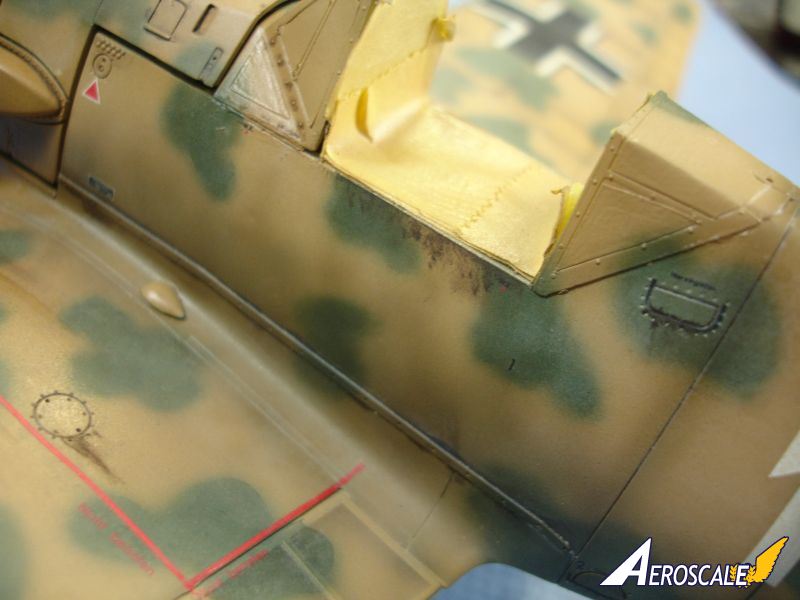
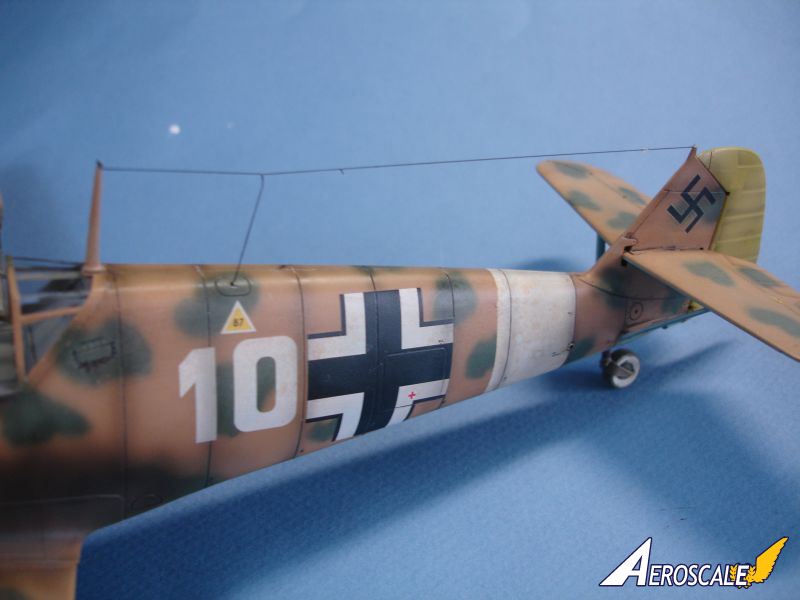
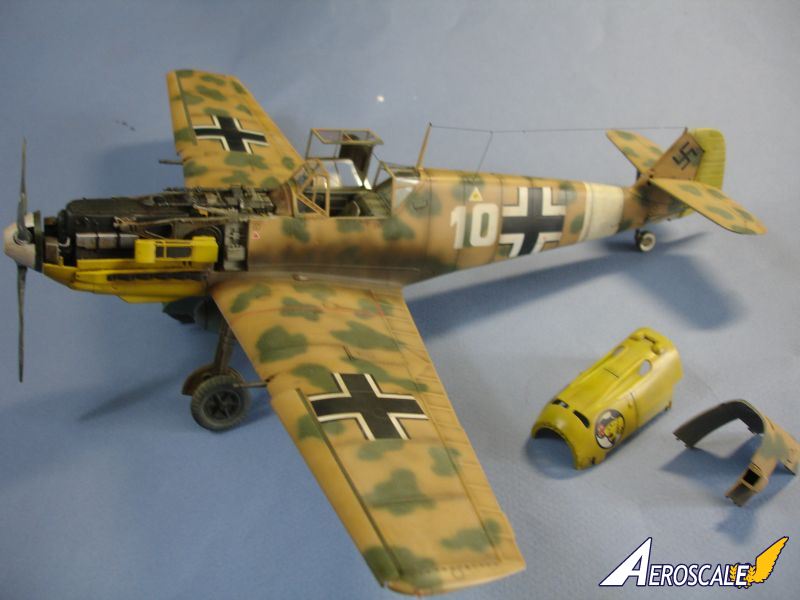
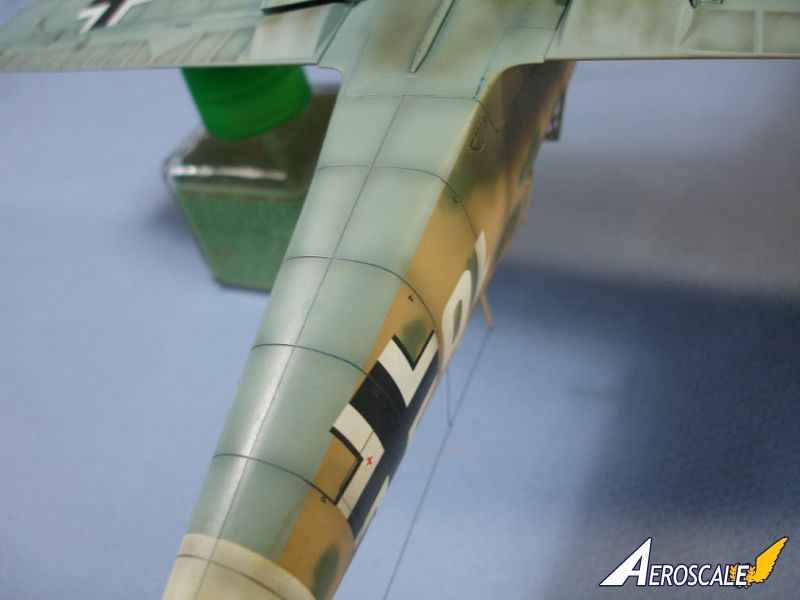
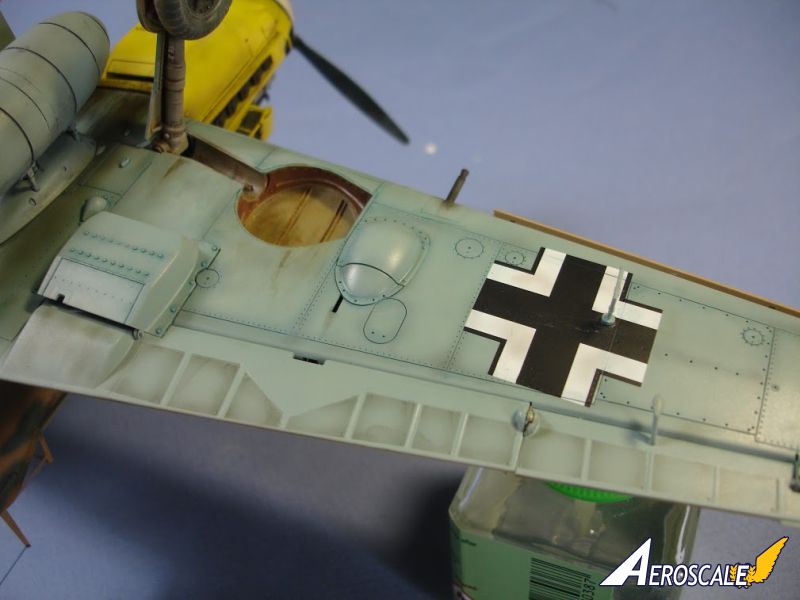
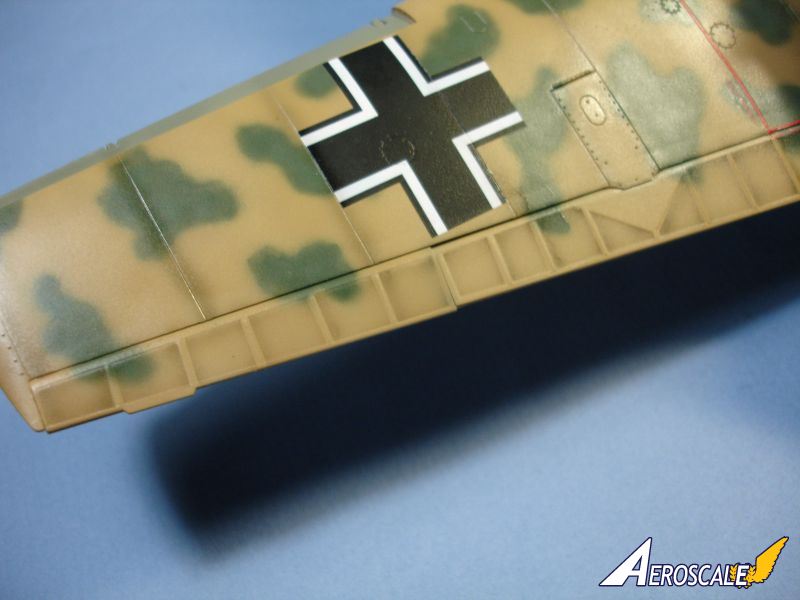
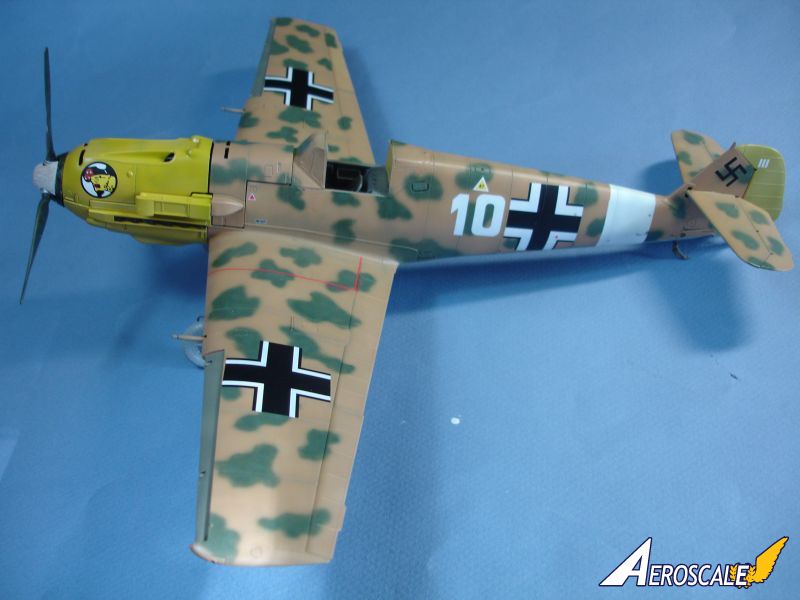
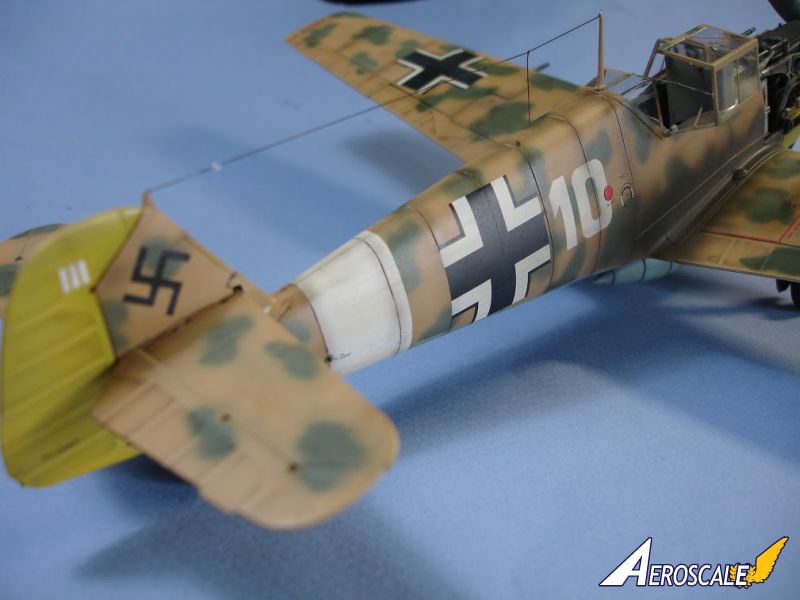
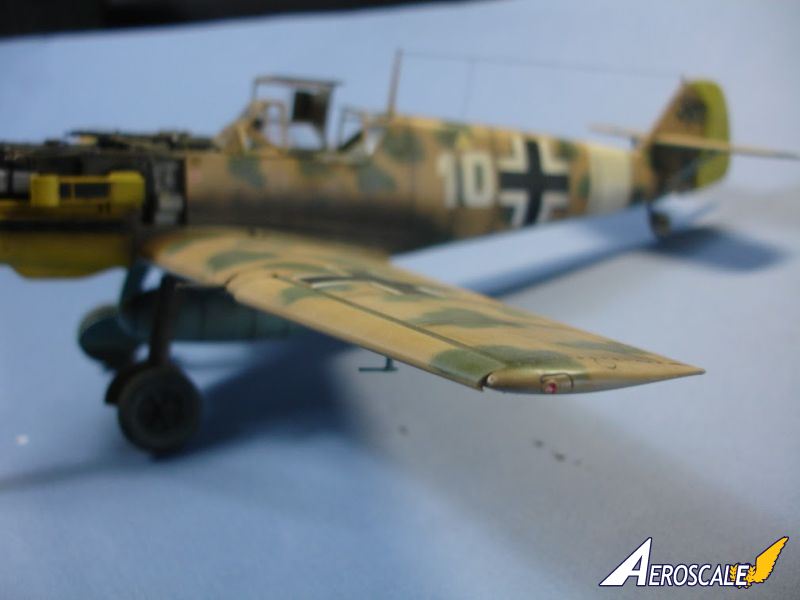
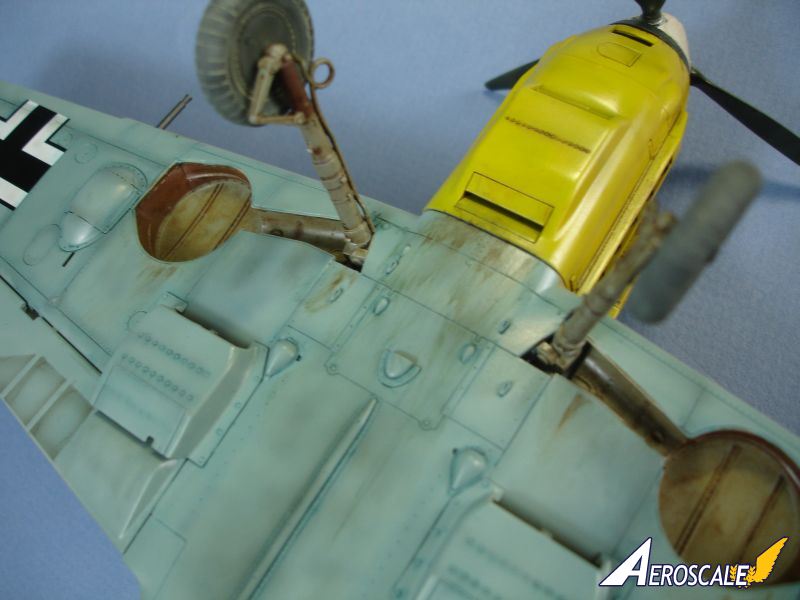
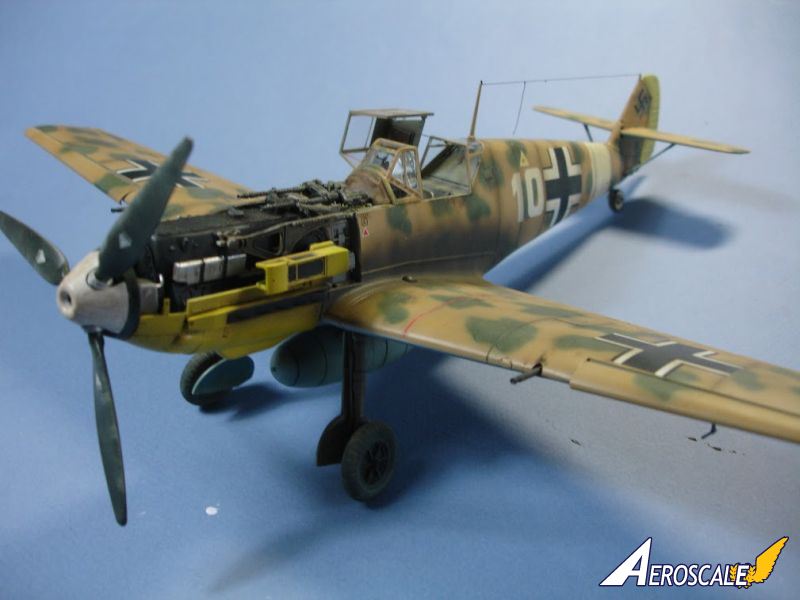
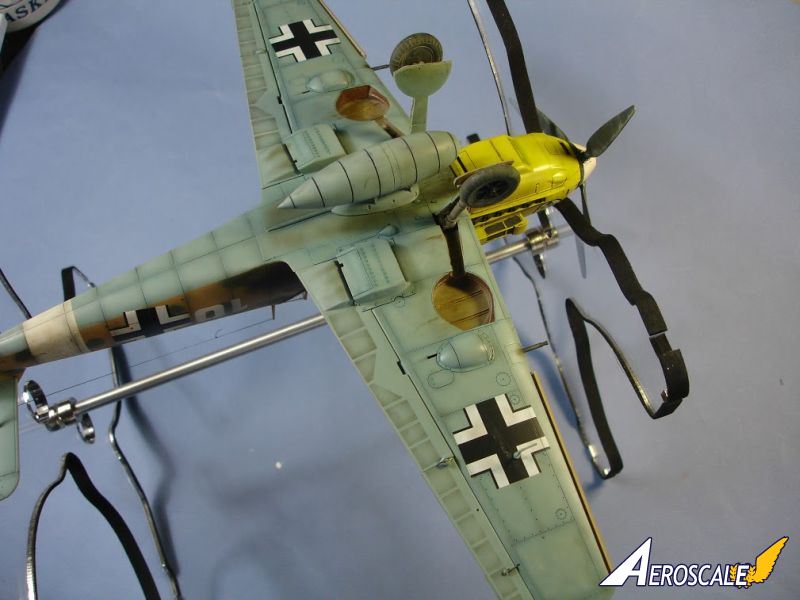
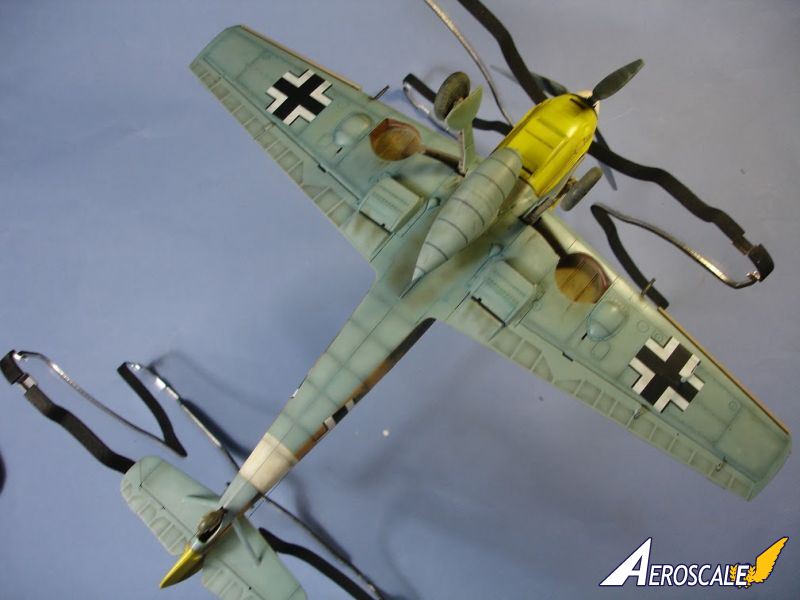
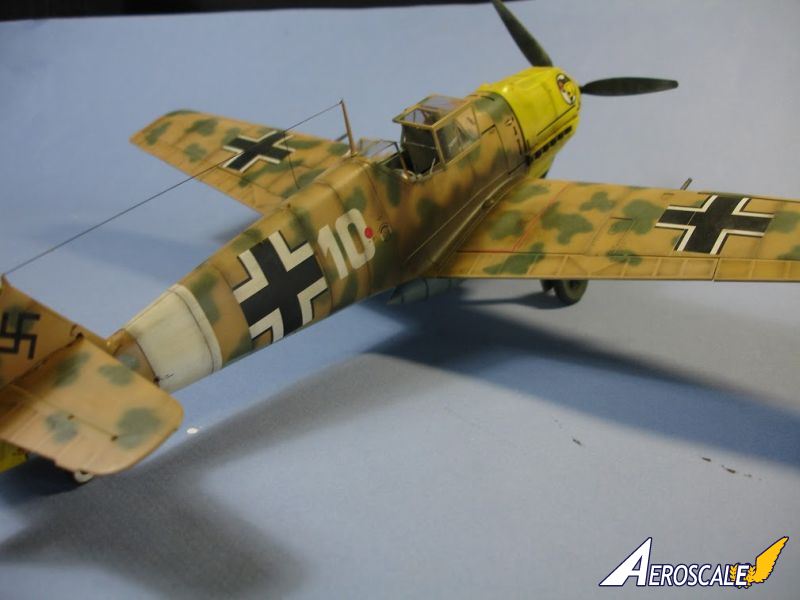
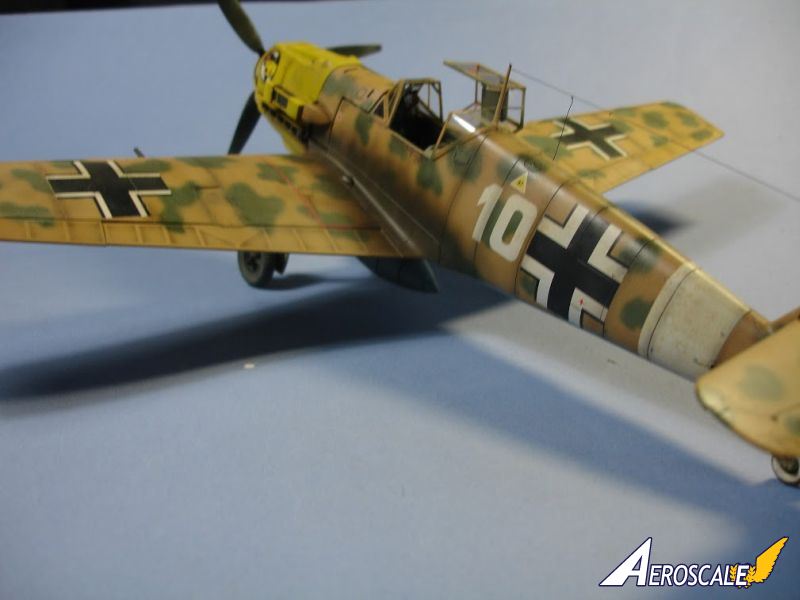
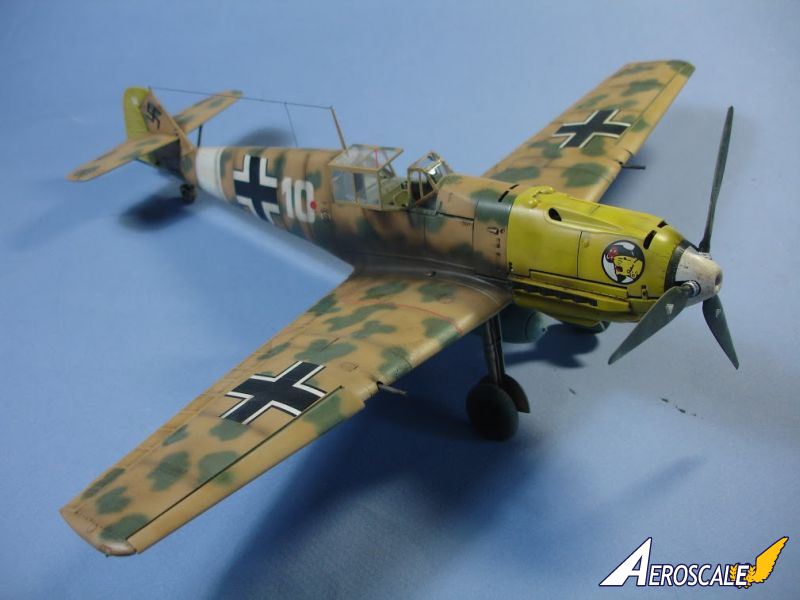
After the construction was done, the painting and weathering was the biggest project to make sure the Messerschmitt looks right. Since it's a desert based plane, it needs to be beaten up and heavily faded. This does expose the one problem with the kit, in that there are only two marking options available, and there doesn't seem to be much available in the after-market world for tropical schemes. The scheme included do look really great, and paint up well. I used Model Master enamels for the base color scheme and airbrush weathering.Once the decals were put on, the fun began with the weathering. I did a few different filters using both True-Earth products and some oil dot filers. There needed to be a lot of variation to the paint scheme, or else the scheme could look a bit boring. After giving everything a final flat coat, I went through with the Mig pigments to create the desert sand that would have been on the surface and pretty much everywhere. The exhaust stain was the final step, and this was sprayed on using heavily thinned Tamiya acrylics. The final bits then got mounted on, and this build was all done, and a wonderfully fun experience. This would be a nice build even if the cowling is closed, and it's positioned in flight. It goes together very well, and doesn't really need anything added into it.
conclusion
Recommended for all but the most basic builder, since there are photo-etch bits to use.Our Thanks to Dragon Models! This item was provided by them for the purpose of having it reviewed on this KitMaker Network site. If you would like your kit, book, or product reviewed, please contact us.
View Vendor Homepage


About the Author


Comments
Matt, a very impressive build. Your painting technique with color modulation for tone variation, and the overall weathering are extremely well done. Certainly not too heavy handed, yet realistically done.
Joel
JAN 18, 2014 - 09:43 AM
Nicely done Matt, that is not an easy camo scheme to do well and you have nailed it
JAN 18, 2014 - 07:28 PM

Absolutely first class work. The desert scheme and weathering are both extremely well executed.
Ernest
JAN 20, 2014 - 08:23 PM


Hi Matt, congrats on a very nicely done desert Emil! I really am captivated by the desert air campaign and your build certainly does this subject justice. Again a job very well done. As far as period and theatre specific markings I agree on the scarcity of options. I personally completed a build of Trumpeter's E-7 Trop kit in 32nd scale which Jessie published here on Aeroscale a year or so ago. In that case I found a Kagero publication entitled "Messerschmitt Bf 109E, E-1/E-3/E-4/E-7 Models" to be most helpful. I mention it just in case you might be interested in it. Anyway, awesome job and thank you very much for sharing! Jim.
FEB 04, 2014 - 02:50 PM

Thanks everyone for your great comments. I've been away for awhile, but it's good to see people enjoyed this build. The Cyber-Hobby 109s are really top-notch kits
APR 12, 2014 - 03:38 PM
Copyright ©2021 by Matthew Robeson. Images also by copyright holder unless otherwise noted. The views and opinions expressed herein are solely the views and opinions of the authors and/or contributors to this Web site and do not necessarily represent the views and/or opinions of AeroScale, KitMaker Network, or Silver Star Enterrpises. Images also by copyright holder unless otherwise noted. Opinions expressed are those of the author(s) and not necessarily those of AeroScale. All rights reserved. Originally published on: 2014-01-18 04:07:35. Unique Reads: 7897

WEB HOSTING BY


Copyright ©2021 AeroScale and Kitmaker Network, a subsidiary of Silver Star Enterprises
All Rights Reserved. Please read our Conditions of Use and Privacy Policy.
All Rights Reserved. Please read our Conditions of Use and Privacy Policy.