

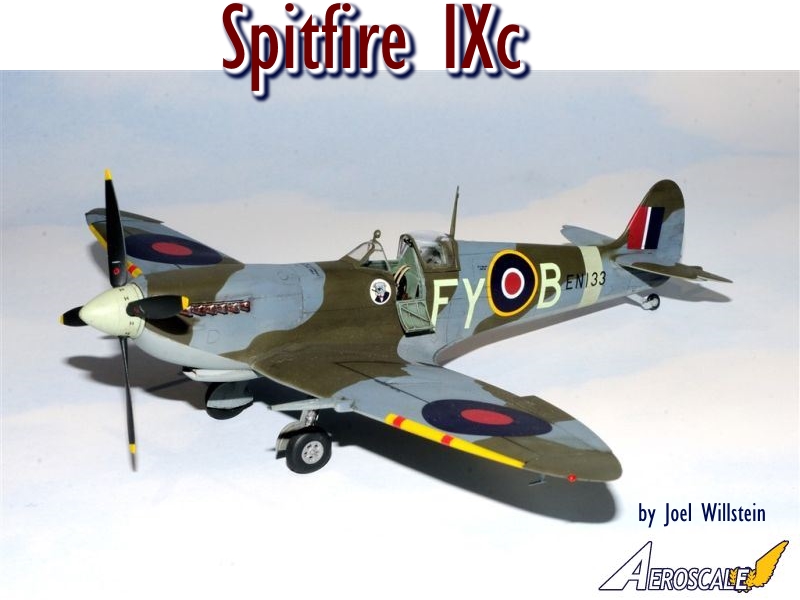
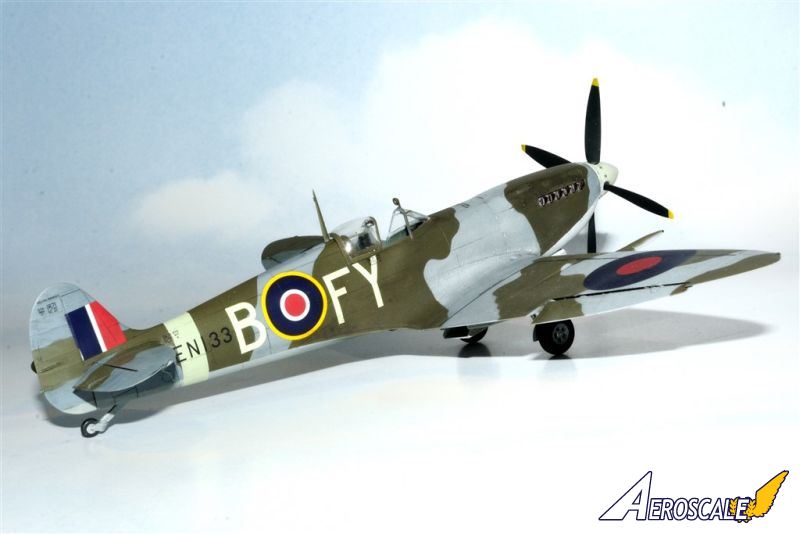
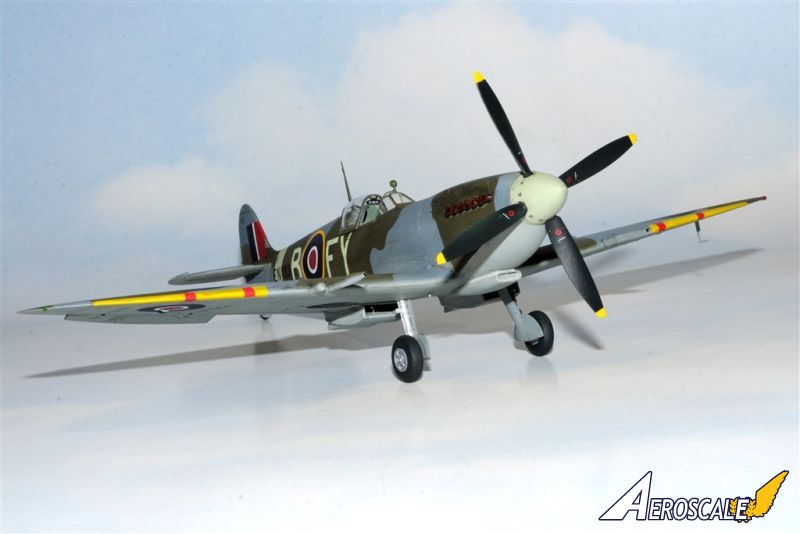
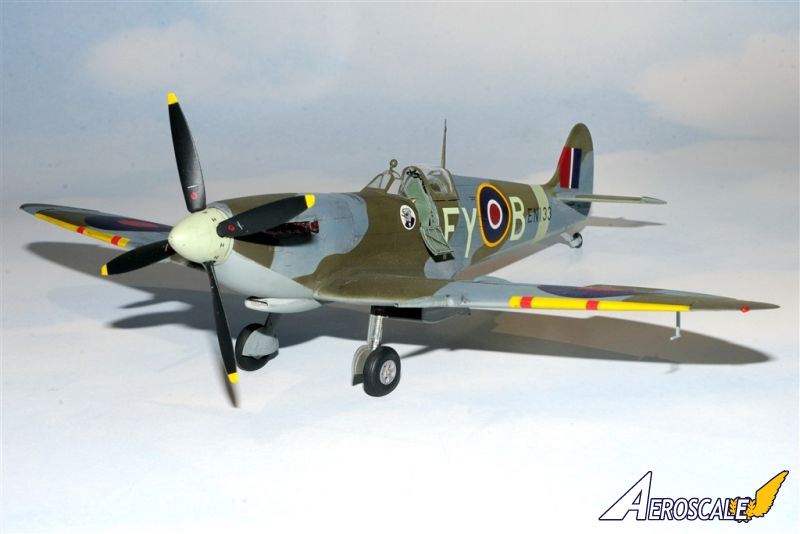
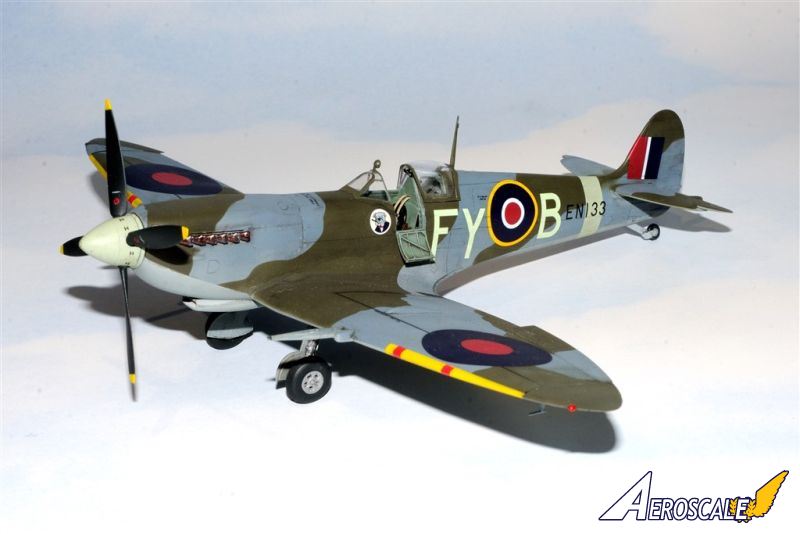
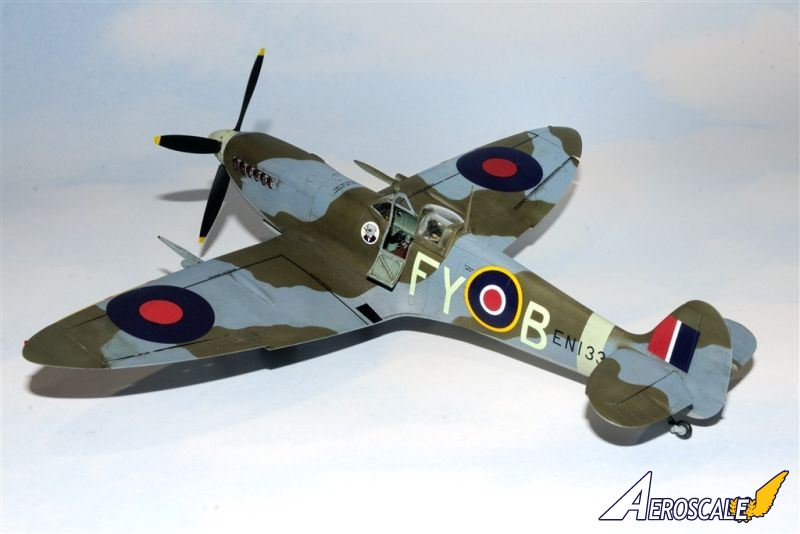
1⁄48Spitfire IXc
10
Comments
History
The Spitfire Mk IX was originally designed as a stop gap measure in response to the Focke-Wulf FW 190A. The official counter to the FW 190A was the design and development of the Mk. VIII. This variant involved a significant redesign to the current Spitfire V series airframe, as it would take considerable time to produce enough aircraft for front line service. The Mk.IX series would provide a viable alternate solution in the meantime. It would use the new Merlin 60/70 series engines that was designated for the Mk VIII, as well as a slightly modified Mark Vc fuselage. Production started Feb 1942. Operational status was achieved by July 1942.There were three main versions of the Mk IX. The standard F.Mk.IX which used the Merlin 61. Then a Merlin 66 engine version. This was the most numerous produced version of the Mk IX. And finally a high altitude HF.Mk. IXs version, which used the Merlin 70 engine.The majority of Mk IXs of all types used the standard c wing.
As I understand it, the Mk.IX actually stayed in frontline service until the end of the war.
The Kit
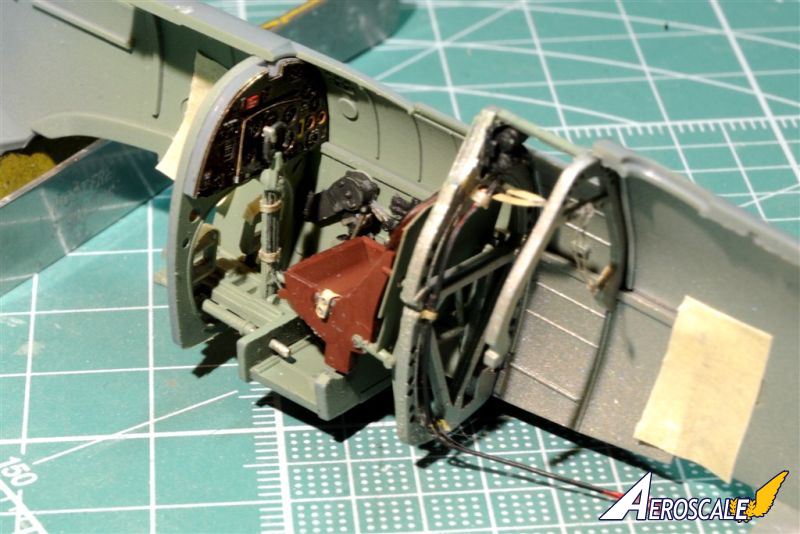
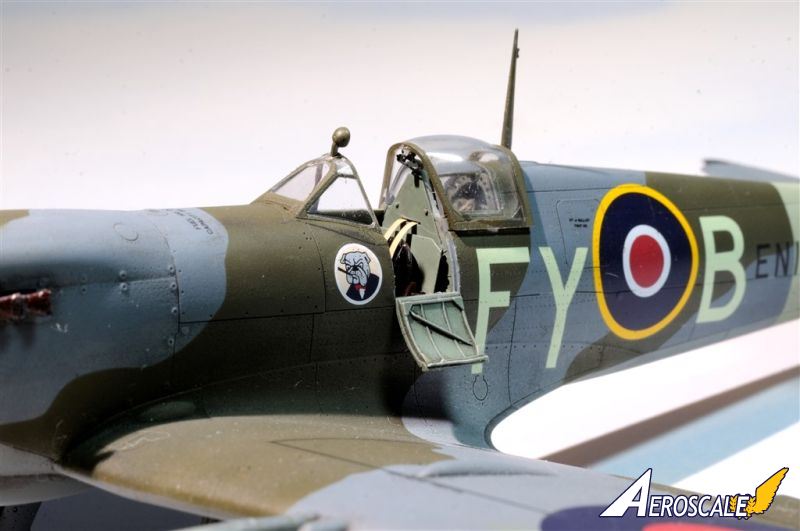
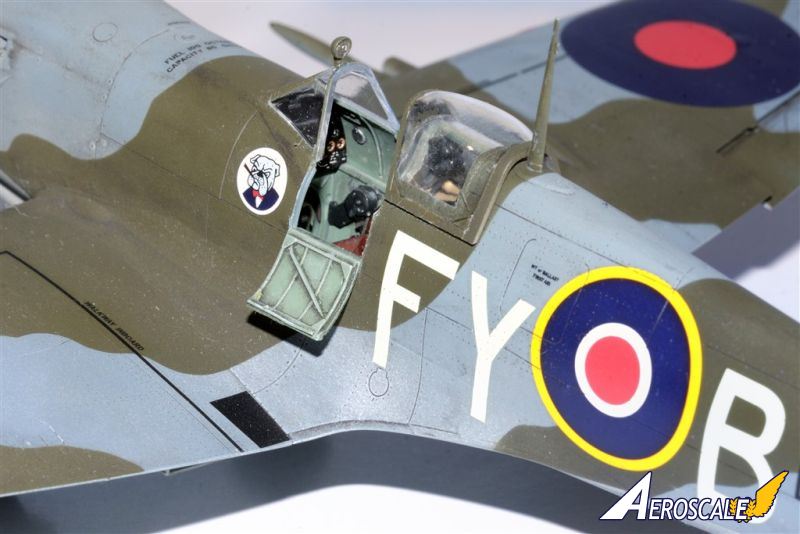
The kit offering that I used was the Eduard limited Longest Day issue. My intention for my 1st ever Spitfire build, or for that matter any build other then USAAF & USN aircraft, was not to hide the full paint scheme under those massive invasion stripes. As it turned out, that wasn't the wisest of ideas.The kit cockpit is an absolute joy to build, is incredibly well detailed, and fits together like a glove. I drilled out the lightening holes in the bulkheads, added some electrical wiring and brackets just to improve the overall look. Care must be taken when fitting it into the fuselage halves as it's a very tight fit. I painted the cockpit with Model Master enamel Interior Green RAF. The section past the last cockpit bulkhead was airbrushed with Tamiya Aluminum.
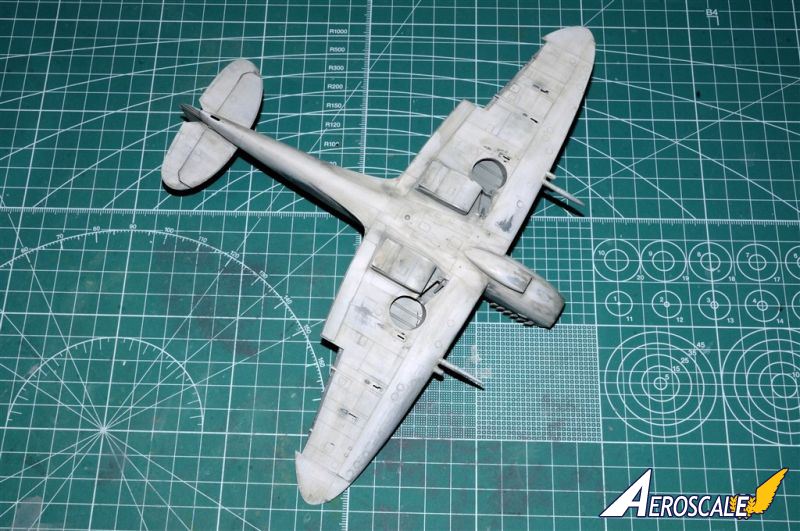
The Assembled fuselage halves fits perfectly so no filler was needed. I've read enough builds on the Eduard Spits to know that there is a general issue of the seam showing down the middle of the engine cowling even after putty work, so I sealed the seam with a few coats of CA glue, then sanded and polished it. End of the seam issue.
The wing assembly builds up perfectly, and fits the fuselage nicely. The wing/fuselage joints with a little work are perfect, but the lower joints actually needed some putty to blend them in.
The rest of the assembly went like clock work, and then it was priming time.
Painting
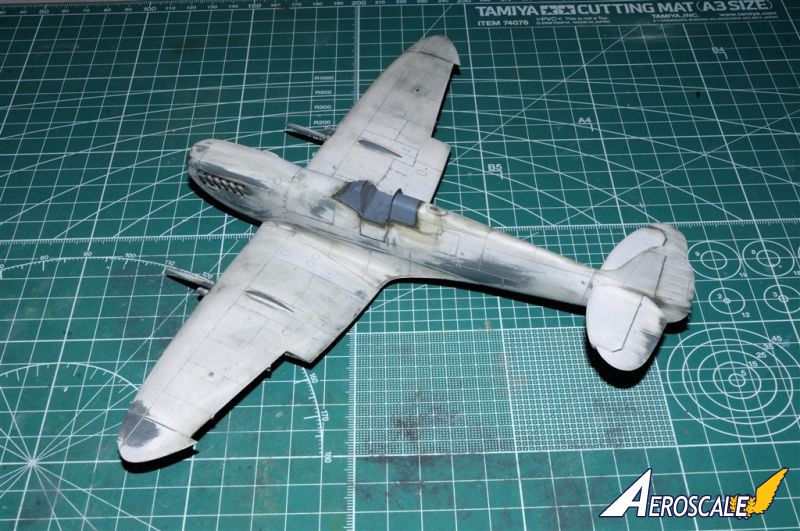
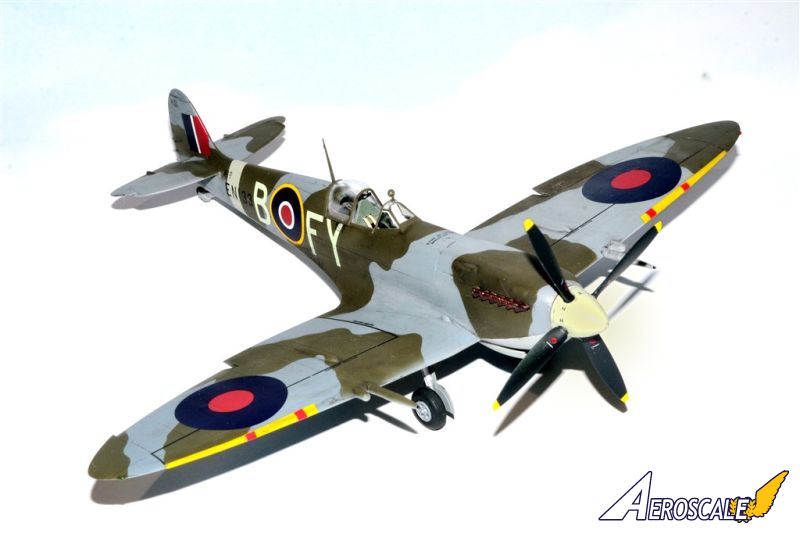
The model was primed with Tamiya Gray surface primer, then painted with Tamiya's new WW11 RAF colors: XF-81 Dark Green RAF, XF-82 Ocean Gray2 RAF, & XF-83 Medium Sea Gray2 RAF. The spinner and fuselage band was painted with my custom mix of Sky, which should have been XF-19, but for some reason I either misplaced the bottle of paint, or more then likely never bought the correct color.It was pointed out to me that I had used the scheme B, which was no longer being used, and should have used the A scheme instead. So now I had a major issue on my hands. 1st impulse was to just leave it as it was. But that just didn't seat well with me. Mal stepped up and offered me a full seat of the his proper Spitfire masks. So the decision was made to strip the Spit, and start over again.
That's easier said then done. I needed to remove all the paint, but not have the residue clog all the fine recessed details, panel lines, and rivets. Knowing that the Tamiya Acrylics are really alcohol based, got me started in the right direction. I tried Isopropyl Alcohol but it hardly removed the paint without a lot of effort. Then I tried Denatured Alcohol, and the Tamiya Acrylic paint whipped right off. A little rubbing and the lacquer based primer came started to come off. When I was happy with the results, I washed down the model with Isopropyl alcohol, then polished it.
Now the re-paint started again. I primed once again with Tamiya Gray surface primer just to make sure that I didn't have any issues I missed. Then the bottom surfaces were painted XF-83, and the next session I masked the demarcation line between the top and bottom, and air brushed on the XF-82.
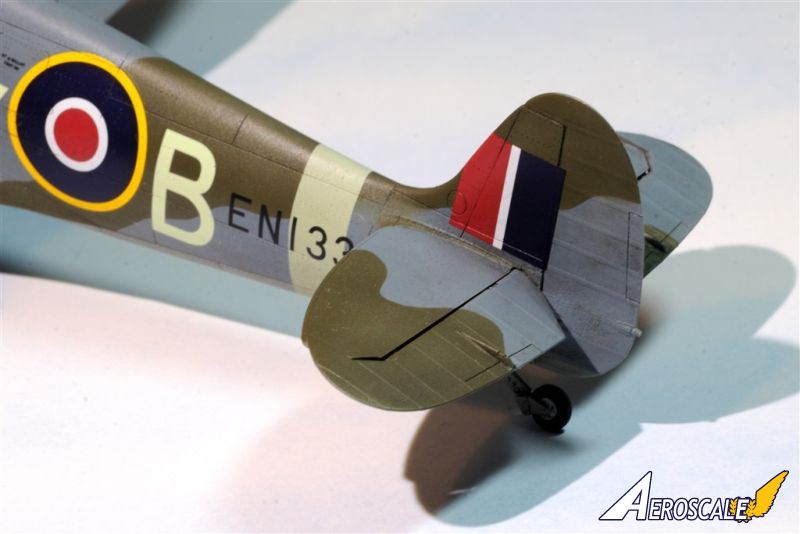
Mal's masks had arrived, and I read the instructions twice. To tell the truth I was some what intimidated by them, and thought for sure that I'd screw it up. So I started with a small tail mask, got the hang of it, and then proceeded with the rest of the masks. It actually was a quite pleasant experience. Thanks Mal for making literally a perfect set of masks.
Next came the XF-81 Dark Green, and I applied that using my brand new Iwata M-1 Air brush. OMG!! I was in air brush heaven. It's the absolutely perfect combination of single action, and internal air brushes. Literally, the best of both worlds.
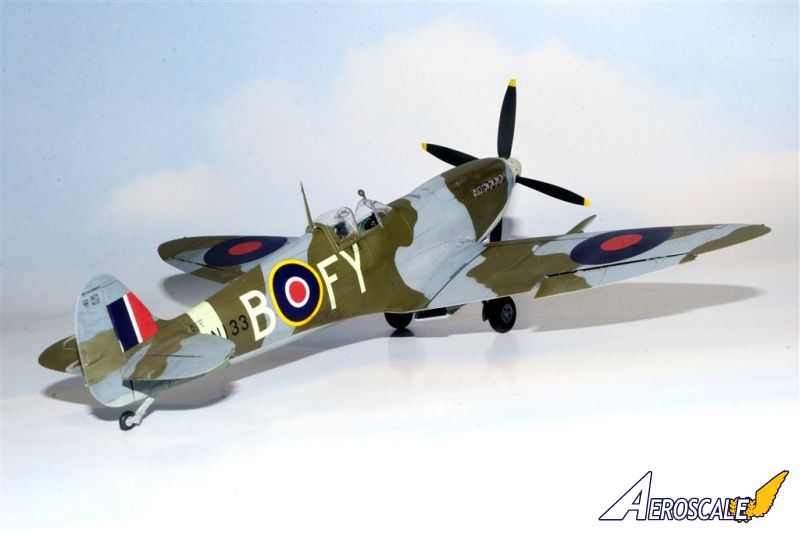
Once the painting was completed, I removed the masks, and was pleasantly surprised that I didn't have any bleed through. Again, I attribute this directly to the materials that Mal had his masks made with. As you can see, I just can't thank Mal enough for all his help and assistance. Then a few coats of Testors Glosscoat, and it was decalling time.
Decalling
The kit decals were designed by Eduard in house, but were printed by Cartograf. The stencil sheet was designed and printed in house. Both sheets were absolutely perfect. They laid down without a single trace of silvering or flash. I've changed my decalling procedures after watching Paul Budzik's decalling video, as well as a few emails back and forth. My procedure is now:- Warm water bath.
- apply Micro Set (Blue) as a wetting agent to the surface. Slide decal into
- position, then a coat of Set. Dab off and seat decal with a moist towel.
- Apply Micro Sol (Red). Let the decal wrinkle, when the wrinkles relax tamp down with a damp towel.
- Apply Walther's Solvaset. Let the decals wrinkle. When the wrinkles start to relax, tamp down into the nooks and crannies. Let dry.
- Seal with Glosscoat.
Weathering
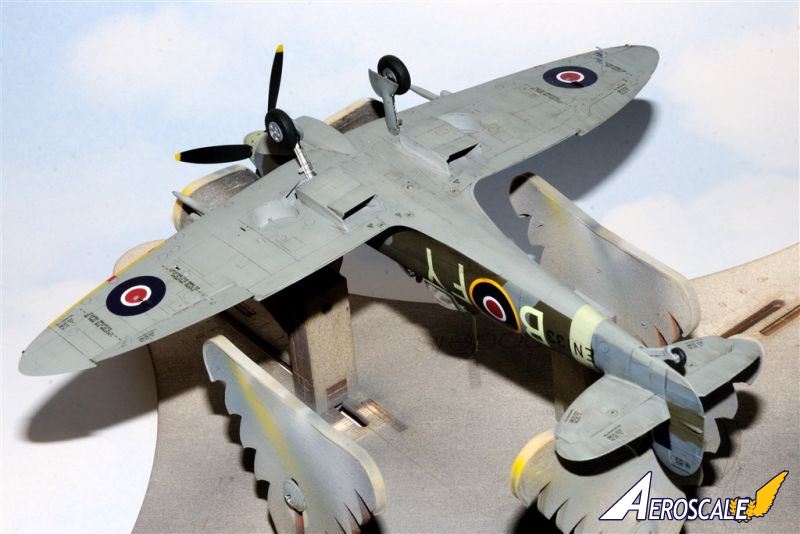
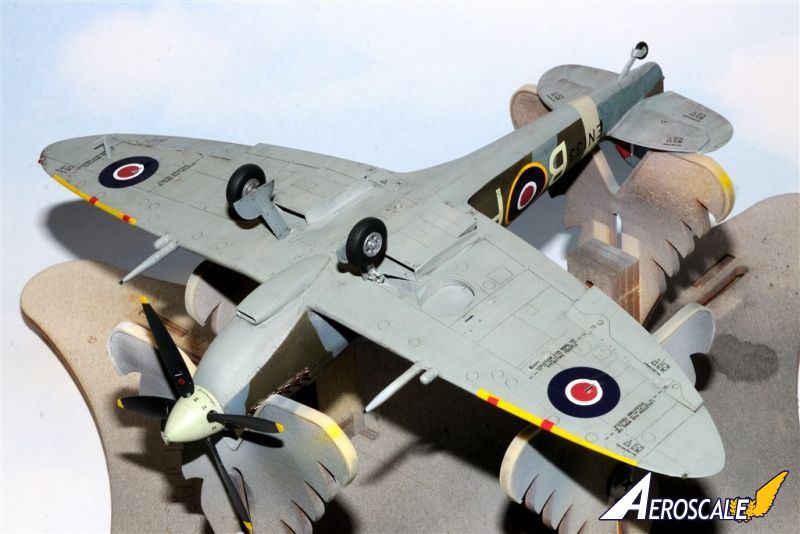
I decided to go easy on the weathering as I wanted my Spitfire to look like a well maintained operational aircraft. A dark pin wash to pop out the panel lines, then a filter of Flory's Dark and Light sludge washes combined for the topside, and just the Dark wash for the bottom. I rubbed 90%+ off. Then sealed with a few coats of Testors Dullcoat.Final touches
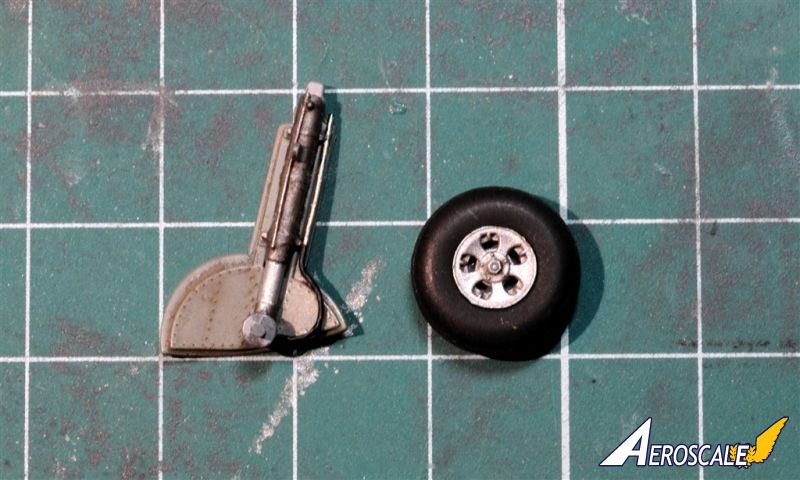
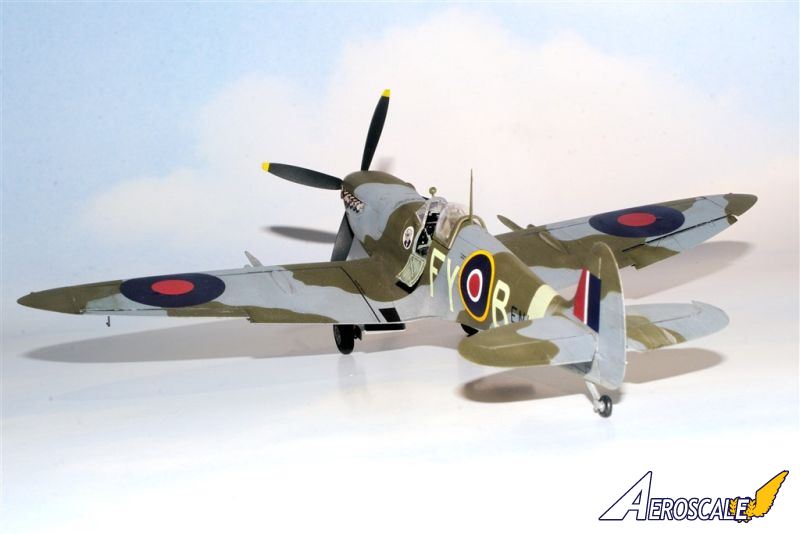
Next up was trying to paint the exhausts that have to be installed while the fuselage halves were separate. I hand painted them primer gray, then rust, then dry brushed burnt metal. I still needed to dry brush them with some pigments, and to create a little bit of exhaust staining.The landing gear and tail wheel were glued into position, then the masking removed from the cockpit glass, and the canopy glued into place.
Final Thoughts
Looking at the finished model, it's hard to believe that it once was headed to my self of Doom. Thanks to several Aeroscale members that wasn't the case. The finished model will always hold a special place in my collection because of your advice and encouragement.Eduard's Spitfire series is certainly state of the art by any definition. And as Mal has said: you can never have enough Spitfires, I'm planning on buying their Mk.VIII and their Mk. XV1 when it's released.

About the Author


FROM: NEW YORK, UNITED STATES
I've been a plastic scale modeler on and off for most of my life since I 1st found them on a shelf at a local toy store way back in the very early 1960s. Once in High School modeling stopped until the mid 1970s when I got married, and needed a hobby that would keep me at home. After 10 years I to...
Comments

Jessica,
Once again I must thank you for an outstanding editing job on another feature article.
Joel
MAY 09, 2015 - 05:22 AM

Wow! What a great looking Spitfire. Your extra work and patience payed off with the camo paint job. Excellent photos also. Very nicely done.
MAY 09, 2015 - 06:40 AM


Magnus,
Thank you. The Feature article is the podium to winning the battle, which did have its major issues. As you know, there was a time when it looked like I would loose the war.
Joel
MAY 11, 2015 - 05:50 PM

After followed up your build it's great to see the Spit finally top finished on the front page! You really deserved it!
MAY 11, 2015 - 08:14 PM
Copyright ©2021 by Joel Willstein. Images also by copyright holder unless otherwise noted. The views and opinions expressed herein are solely the views and opinions of the authors and/or contributors to this Web site and do not necessarily represent the views and/or opinions of AeroScale, KitMaker Network, or Silver Star Enterrpises. Images also by copyright holder unless otherwise noted. Opinions expressed are those of the author(s) and not necessarily those of AeroScale. All rights reserved. Originally published on: 2015-05-09 16:46:58. Unique Reads: 9339

WEB HOSTING BY


Copyright ©2021 AeroScale and Kitmaker Network, a subsidiary of Silver Star Enterprises
All Rights Reserved. Please read our Conditions of Use and Privacy Policy.
All Rights Reserved. Please read our Conditions of Use and Privacy Policy.