

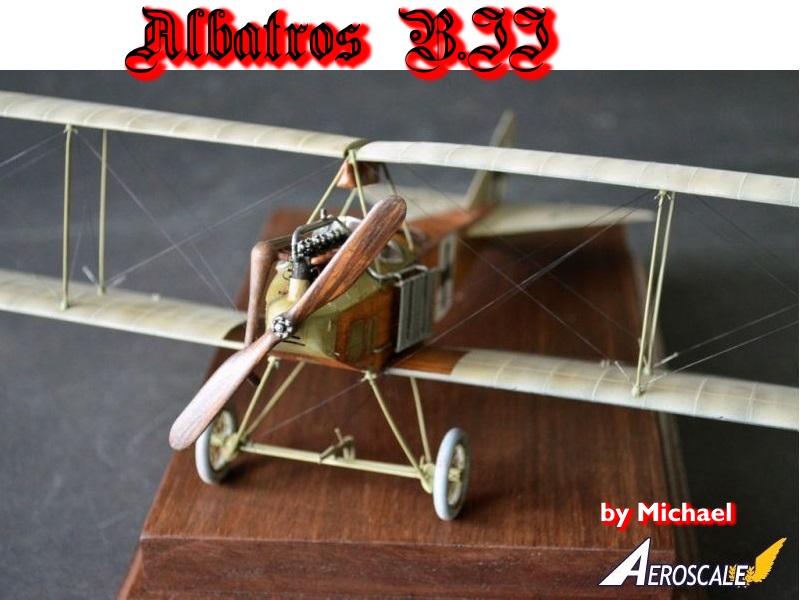
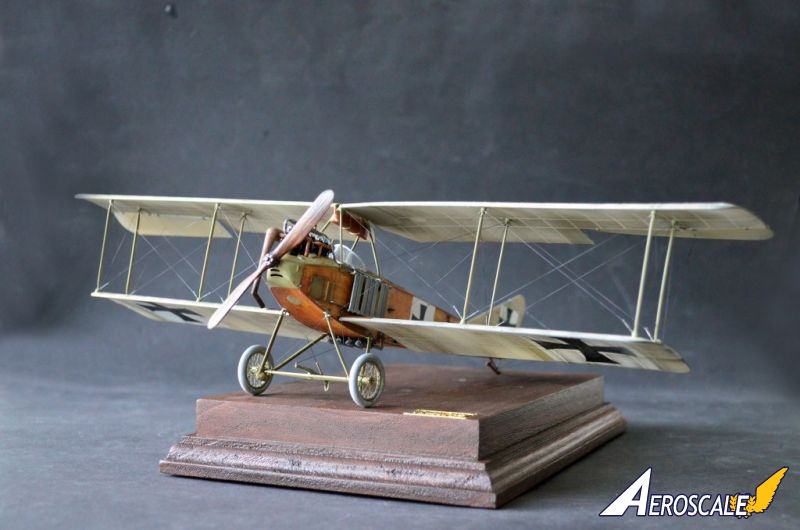
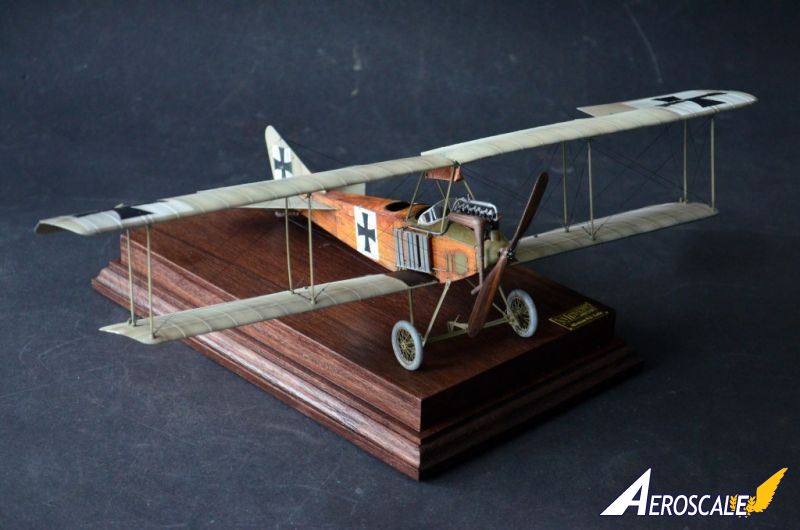
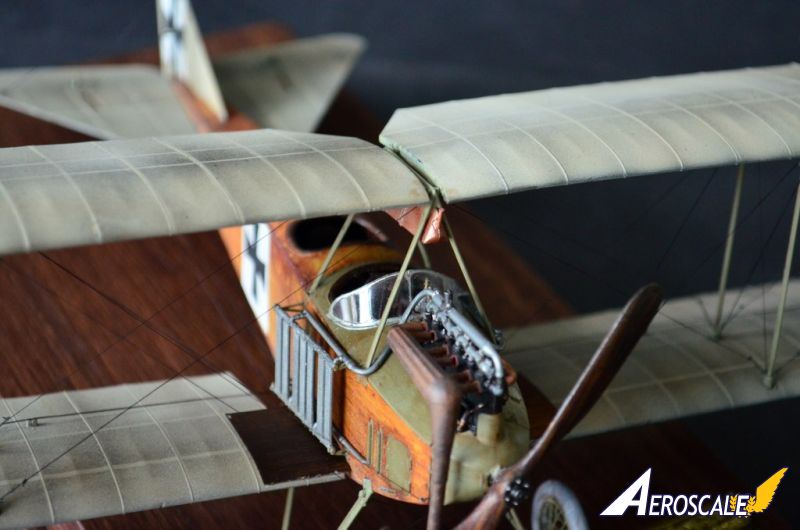
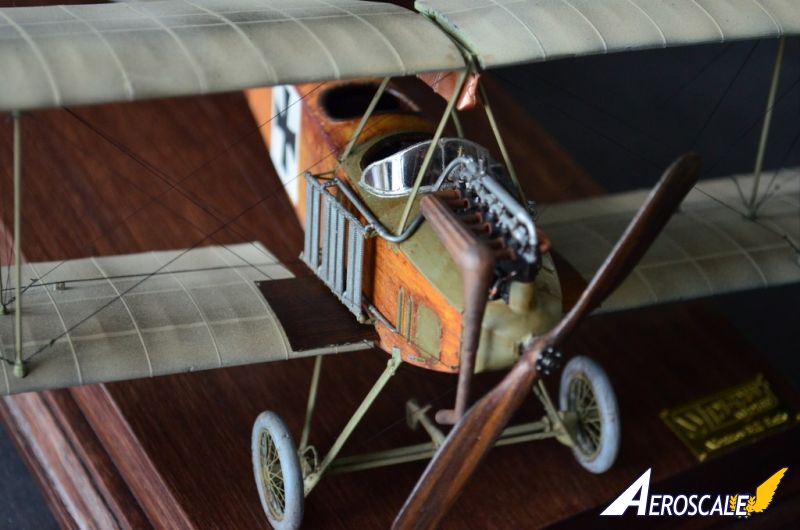
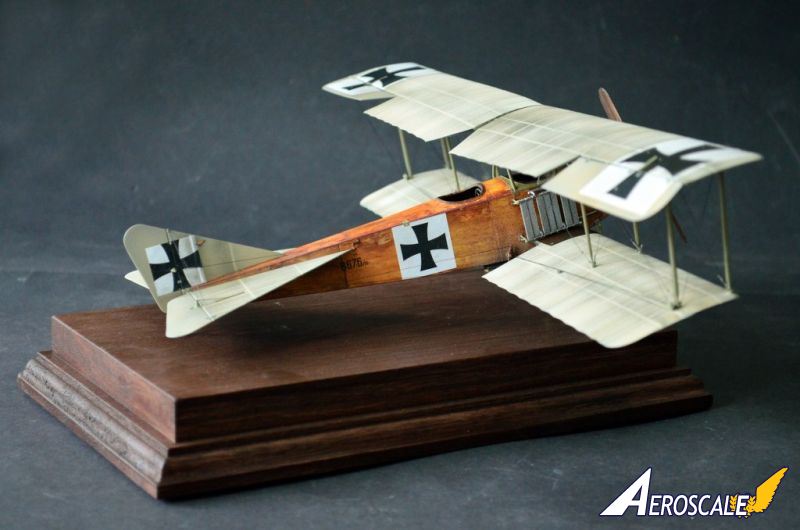
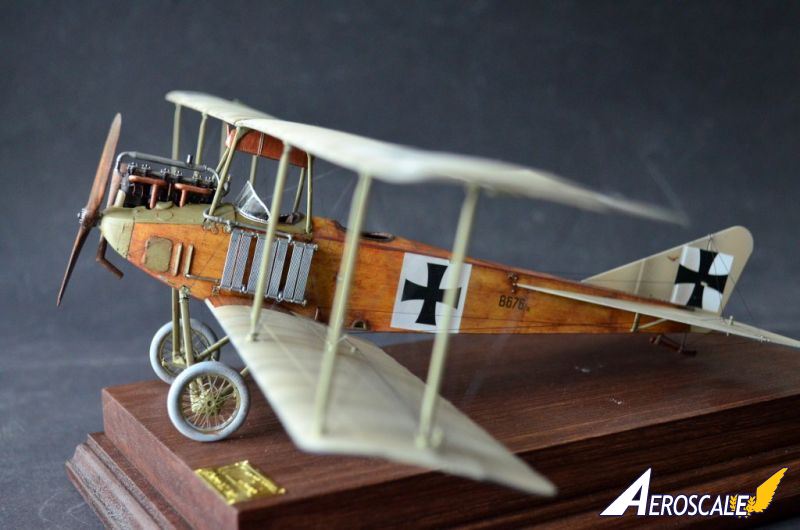
1⁄32Albatros B.II
9
Comments
History
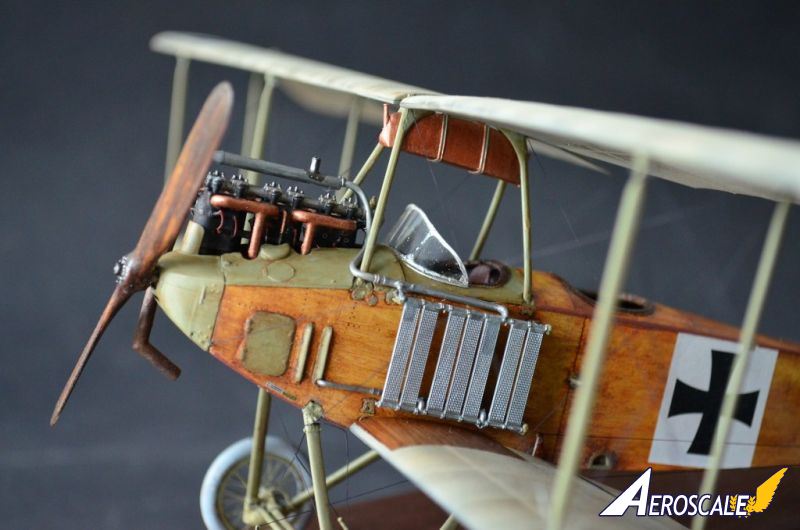
The Albatros B.II is perhaps unique amongst aircraft of the First World War in that production commenced in 1913, continued throughout the war and after the Armistice. The Albatros B.II was initially known simply as the Albatros DD (Doppledecker) and was developed in parallel with the DDK which appeared the same except it was slightly longer and fitted with longer 3 bay wings (and would eventually become known as the Albatros B.1). Like other German B type aircraft it was powered by 100hp to 120hp engines manufactured by Daimler-Mercedes, Argus and Benz with the pilot positioned in the rear cockpit with a steering wheel control column and the passenger in the front seat.The Albatros B.II went through numerous minor and major changes during it"s relatively long lifespan and manufacture by 7 different companies but managed to emerge 6 years later appearing essentially the same. The box section fuselage was constructed from spruce & ash longerons and frames covered with 3-ply wood. The unequal span wings were fabric covered as were the steel tube framed ailerons and tailplane. Interplane, cabane and undercarriage struts were of steel tube construction. Very early aircraft featured a smaller fin with a rounded rudder and a Scheitelküler "Brow Radiator" mounted above the engine which almost completely obstructed the view forward. Early production Albatros B.II, as featured in this model, had a larger fin with a triangular rudder and Hazet radiators fixed to each side of the fuselage. Conservation of steel would lead to the development of the Albatros B.IIa which replaced the sole steel tube frame in the fuselage with wood and eventually the steel tube interplane and undercarriage struts would also be replaced by wooden items. Later developments included replacing the side mounted Hazet radiators with a single Windhoff item mounted in front of the leading edge of the top wings, replacing the control wheel with a stick type control column (necessitating the re-routing of the aileron & elevator control cables), dual controls for pilot training, moving the tail skid forward, adding additional struts under the tailplane, numerous exhaust styles and various positions & shapes of gravity fuel tank; almost all of which could be found retrofitted to earlier production aircraft as needed along with various interchangeable B.1 & C.1 components.
Unarmed B type aircraft like the Albatros B.II were initially utilized for reconnaissance but shortly after hostilities began airmen started carrying small bombs and personal firearms. Eventually many were fitted with bomb racks and various captured machine guns on improvised mountings. With the advent of purpose built armed and more powerful C type aircraft from mid 1915 (the Albatros C.1 was essentially a slightly redesigned Albatros B.II powered by a 150hp or 160hp engine with the gunner in the rear cockpit) the unarmed and underpowered B type aircraft were slowly relegated to training duties. Any history of this important aircraft here is of necessity very brief, therefore we encourage you to seek out the references mentioned below for a more thorough understanding. (text by wingnut Wings)
The kit
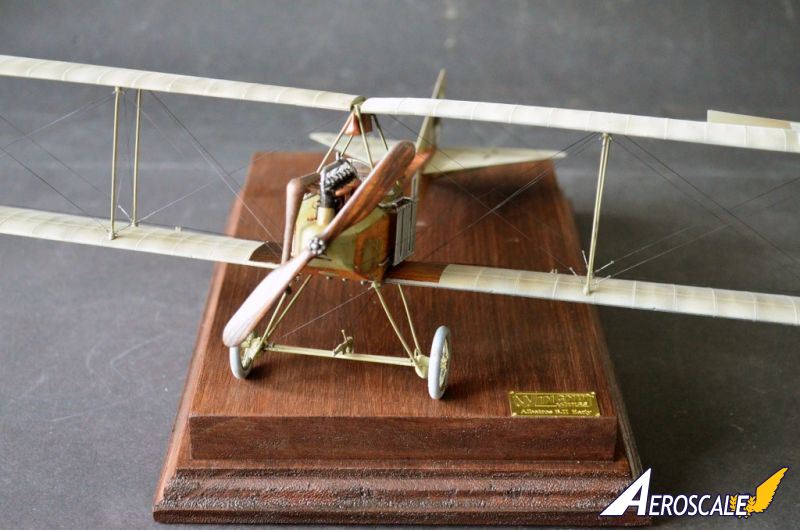
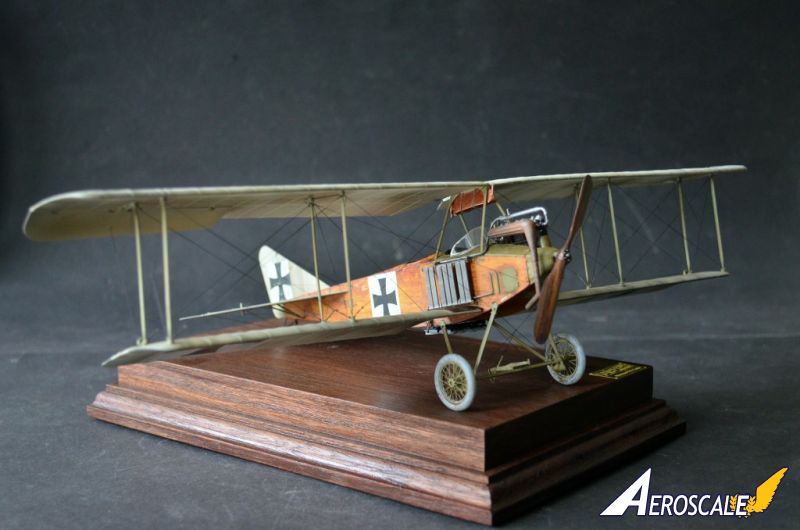
The newest kit from Wingnut Wings, the Albatros B.II (early) is a real "all-round carefree package". There is nothing needed to purchase separately. Everything is included, you only need the rigging material as usual. The kit provides optional parts for building 5 different airplanes. That means different propellers, optional parts for the engines, dashboard and more as well as a lot of Decals for each possible airplane. Furthermore there are some optional parts where you could choose between the easier way, or the (little) more difficult one. For example the wheels - you could choose between closed rims, spoke whels made of (good looking) plastic spokes, or the finest version made of plastic tires and 4-pieces of etched parts for the spoke wheels). This is also the first Wingnut Wings kit which is providing the wood-decals already out of the box. These are looking really good, there is no need to purchase any other stuff. Also the fitting of these decals is fantastic. These are included for the inside of the fuselage and for the outside of course. I have built this kit completely OOB; the only additional parts that I used were the turnbuckles from Gaspatch Models which are easy to install and absolutely peerless. The rigging itself is made with EZ-Line, also without any alternative in my eyes :)Building
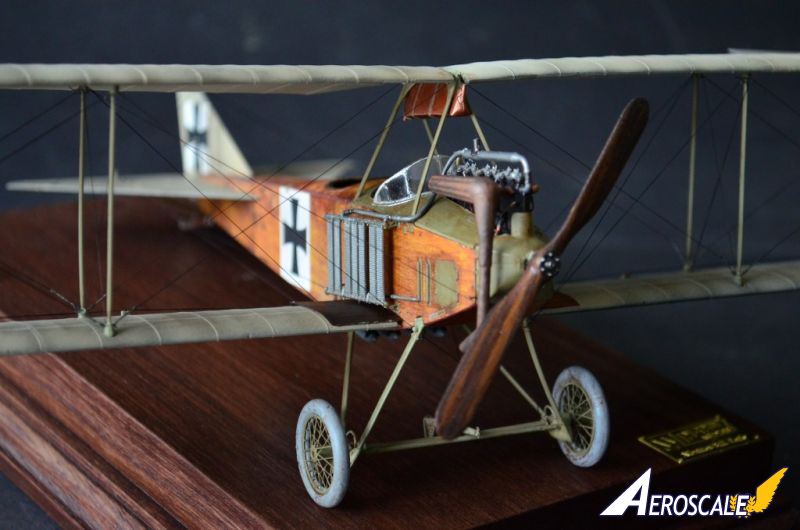
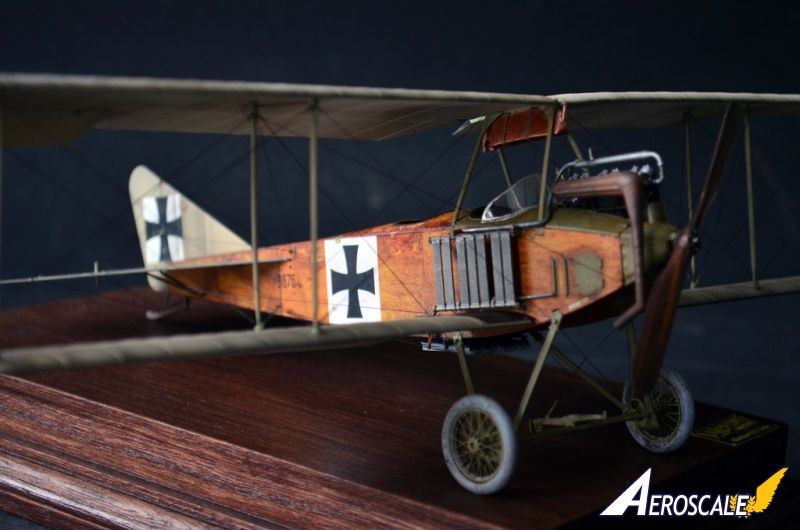
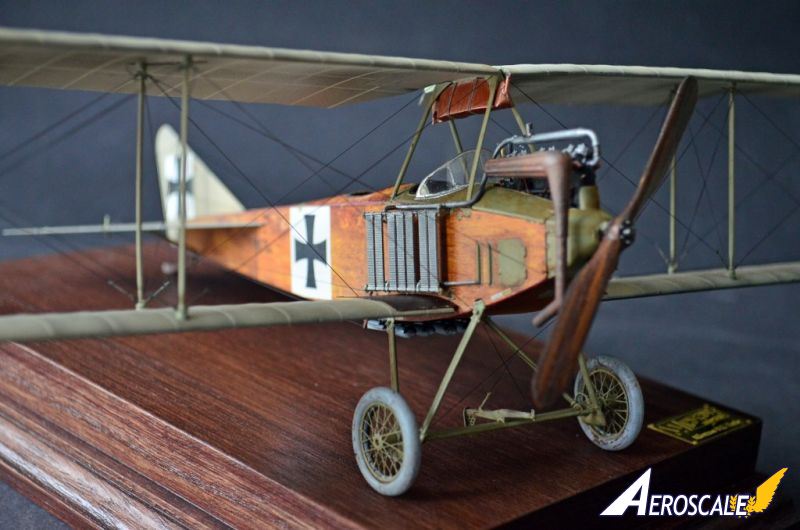
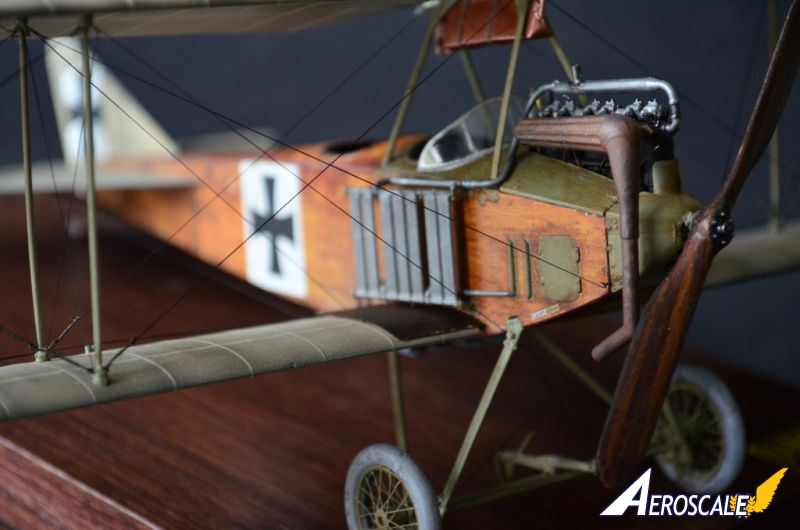
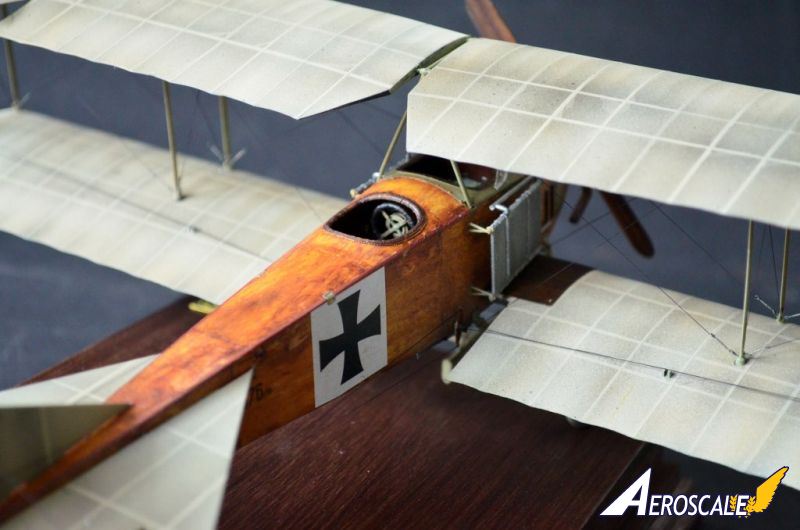
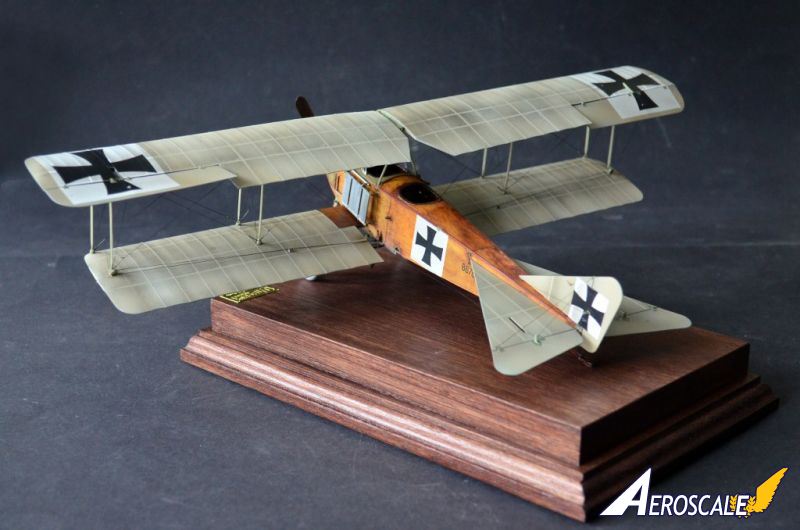
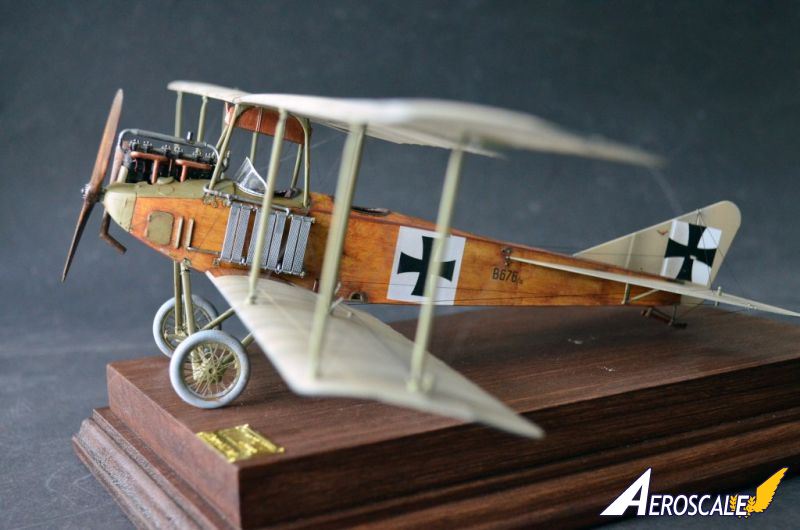
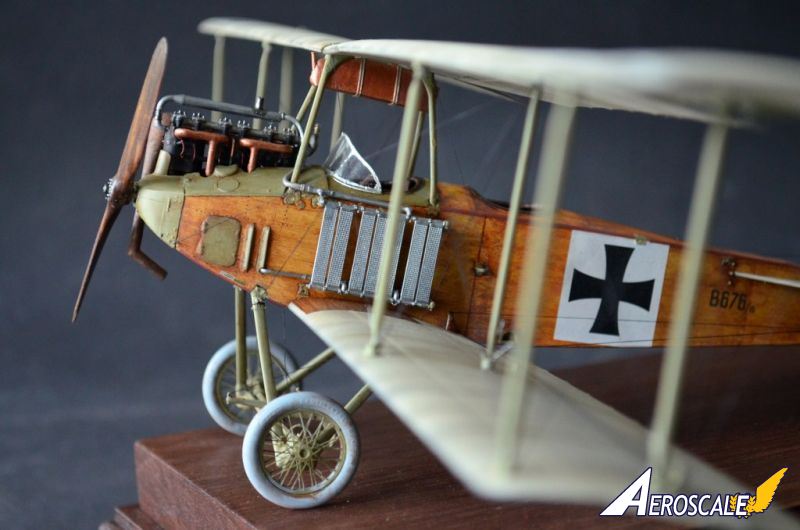
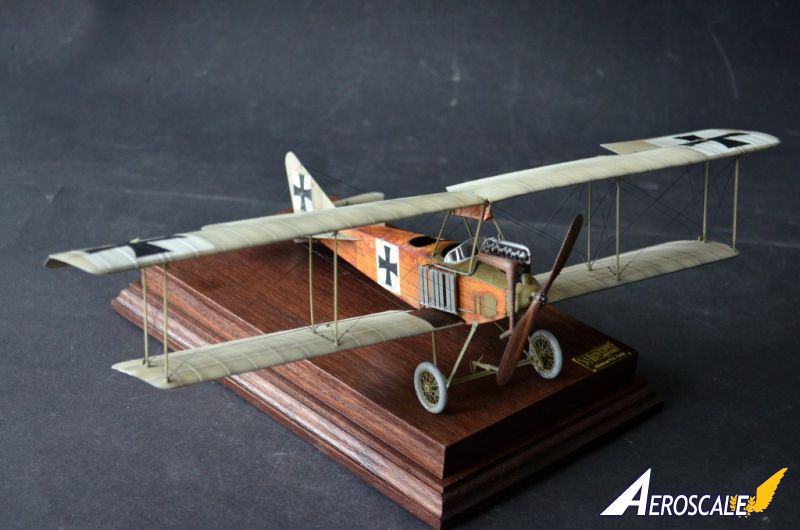
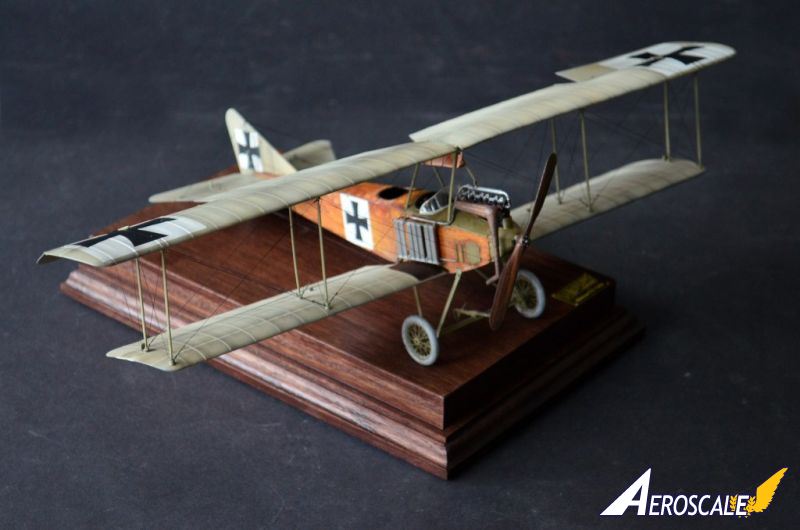
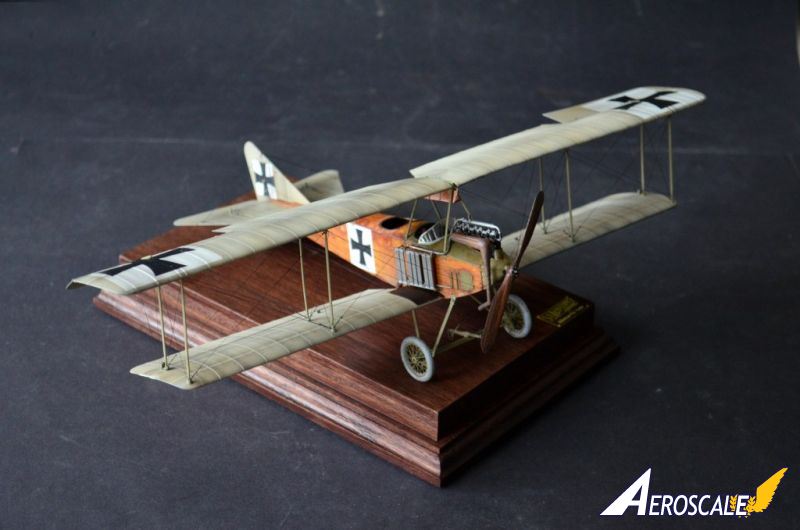
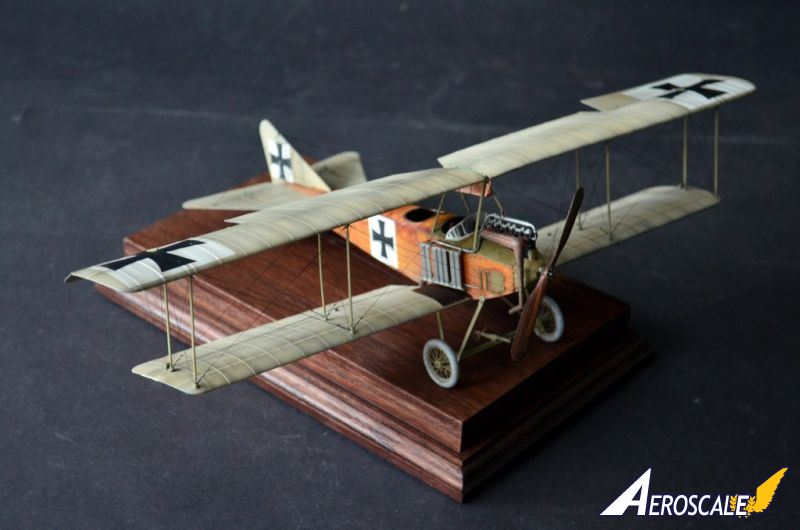
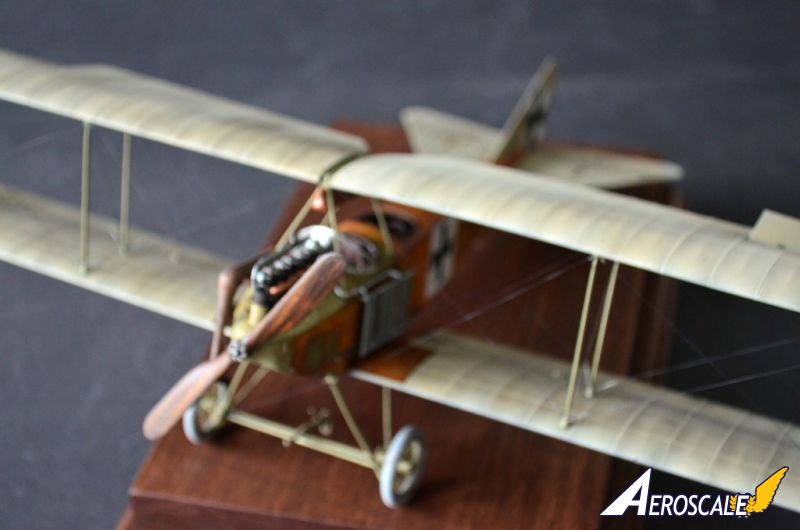
I have started to paint all the wooden parts in a light beige colour with the airbrush. All the internal parts received the "wooden look" with different brown oil colors painted over the beige base color. The seats received some red/brown oil colors to make the leather effect. The metal parts were painted with the AK Interactive metal colours, then polished. The decals were added, Micro Krystal Klear was used to make the glasses of the displays. Once the interior was painted and put together the (little) rigging at the inside of the cockpit was added with EZ-Line. The parts of the engine were put together, then some wiring for the ignition was added, then everything painted, decals added and fixed with clear coat. A light weathering with oil colour washings, some polishing with Uschi's metal pigments, some dust, some oil (Tamiya Smoke) was added, and the engine was finished.The fuselage of the kit is consisting of 4 parts which fit perfect around the interior. Once put together the edges were sanded a bit and cleaned, the interior masked and the fuselage airbrushed in beige as base for the wooden decals which were added next. I have used some softer and fixer to make the decals fit smoothly around the edges. This is an easy task, the result is fantastic. Once the decals were dry I have fixed them with clear coat. I wanted to give the airplane a personal note so I painted the hole wooden fuselage with dark red/brown oil colours and wiped it away, panel after panel ... And fixed that also with matte clear coat after a few days. Then the markings, red stripes, numbers etc. followed and one more layer of clear coat.
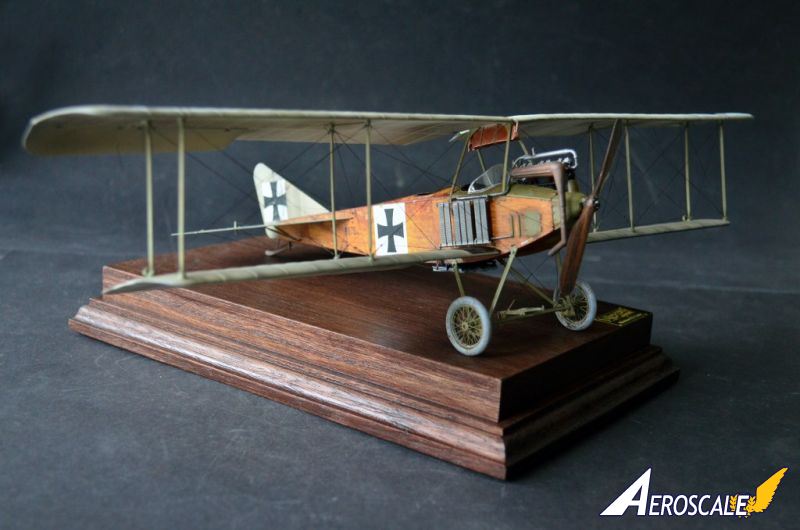
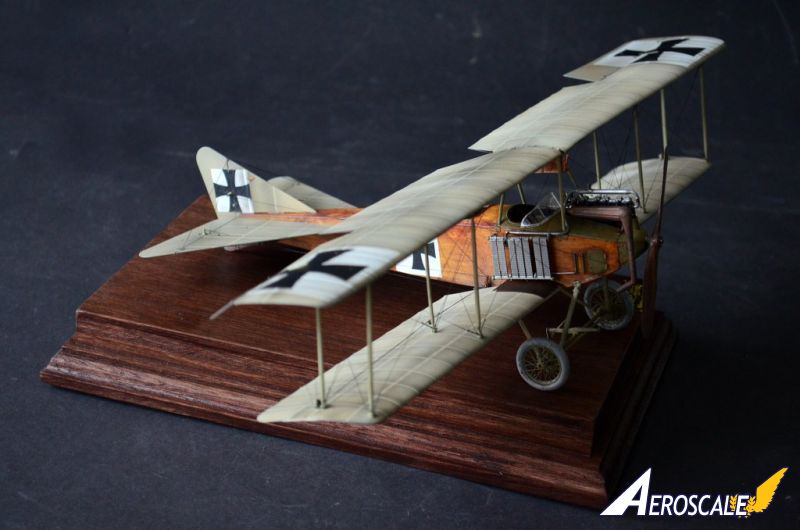
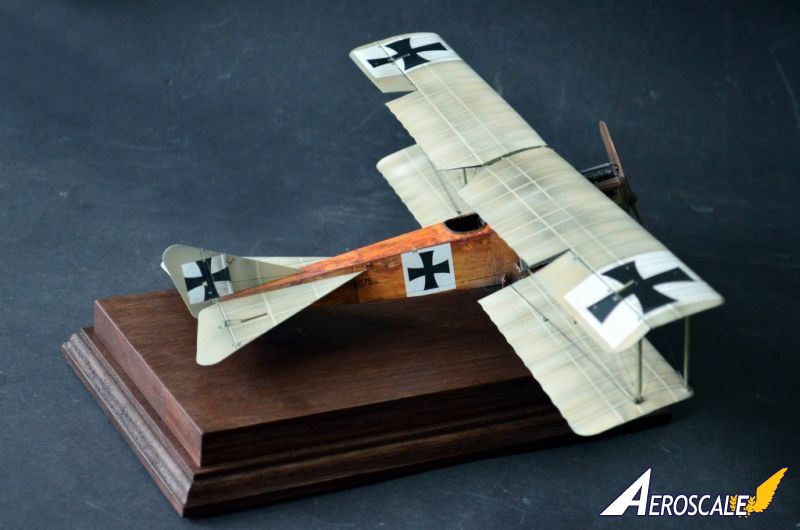
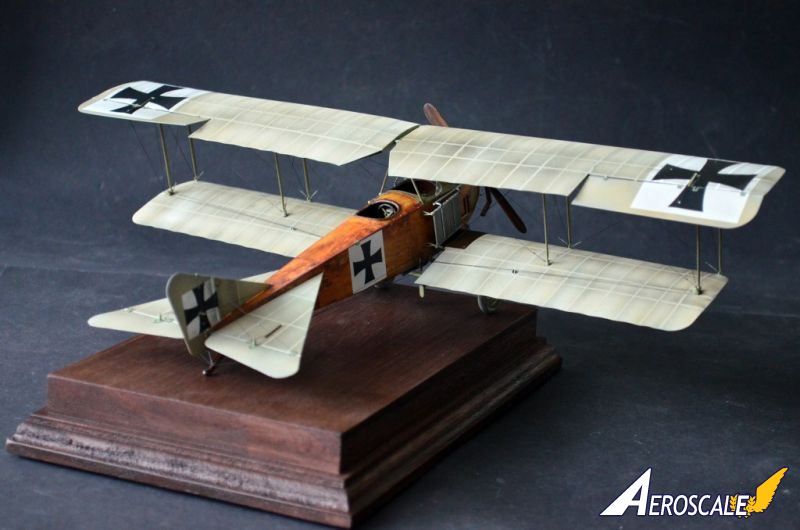
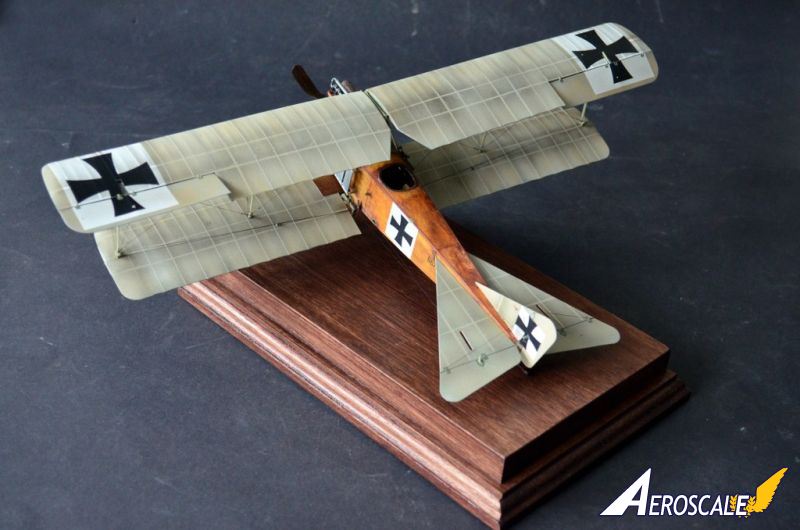
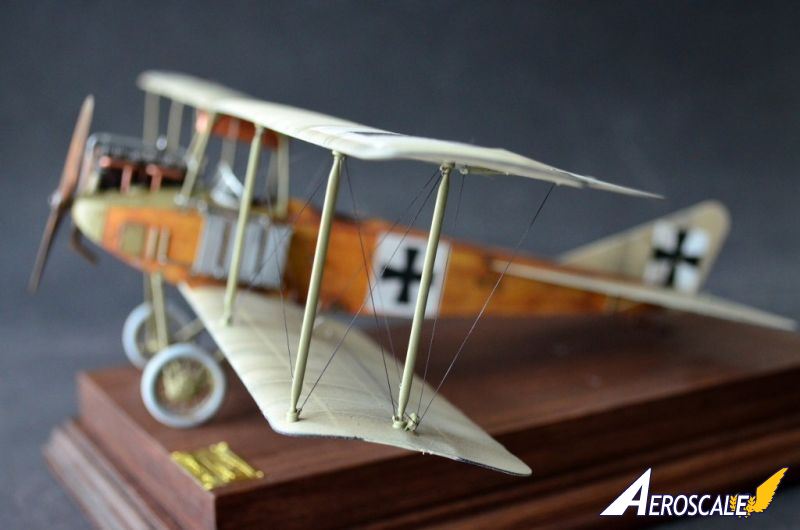
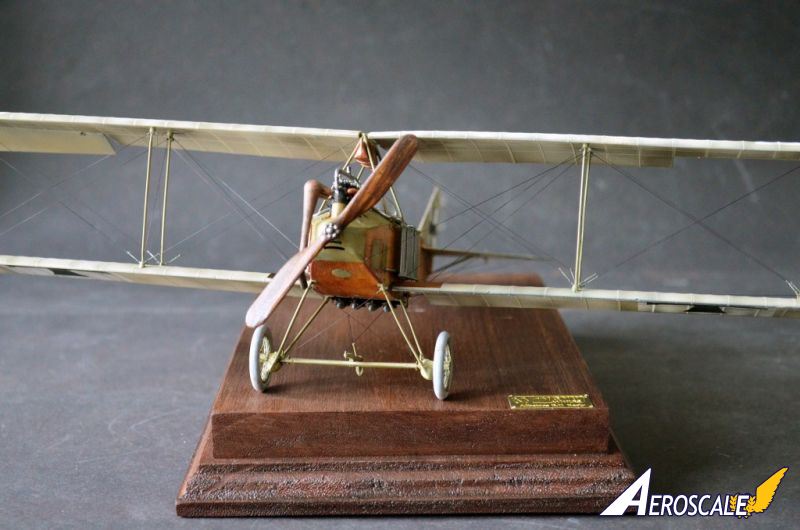
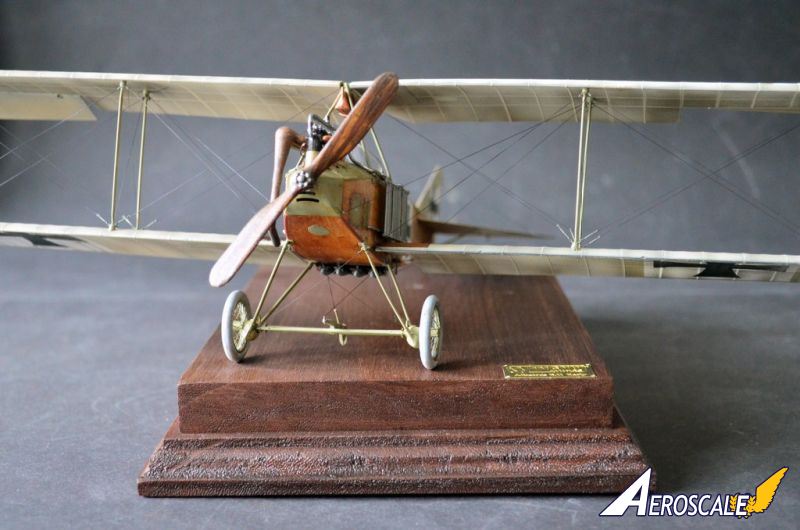
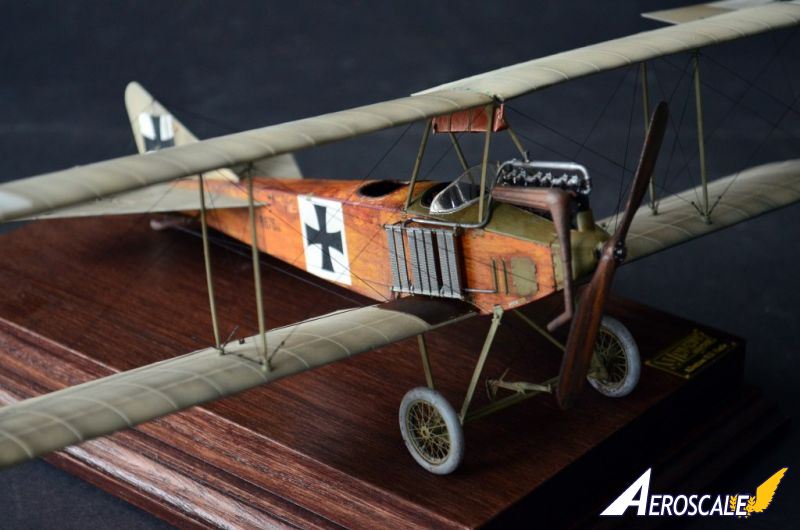
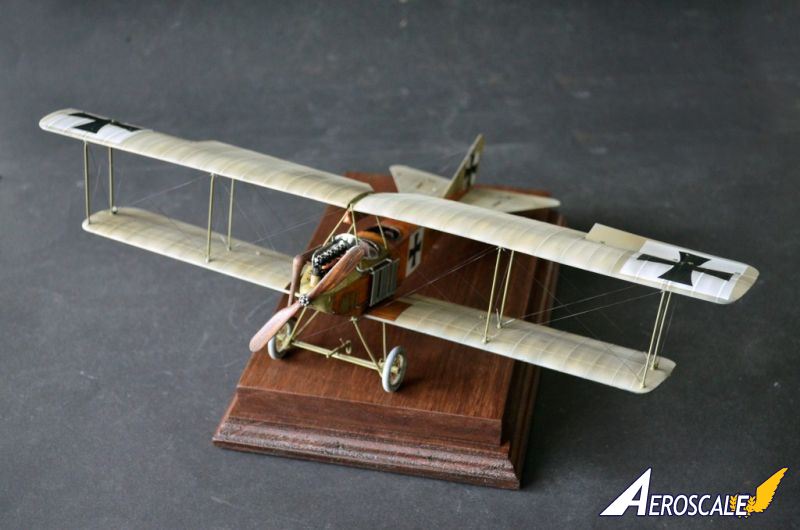
The wings received a first black primer, then the beige base colour was sprayed over keeping the black primer visible as shadow under the beige paint. With white colour the rips were sprayed over to lighten up the color, then thin stripes of Tamiya masking tape was put on the wings to mask the riptales and the braces under the fabric. Tamiya smoke was sprayed over it, then the masking tape removed. White and beige color was sprayed on the wings once again to lighten up the effects. The decals followed next, then the wings were finished with a layer of matte clear coat.
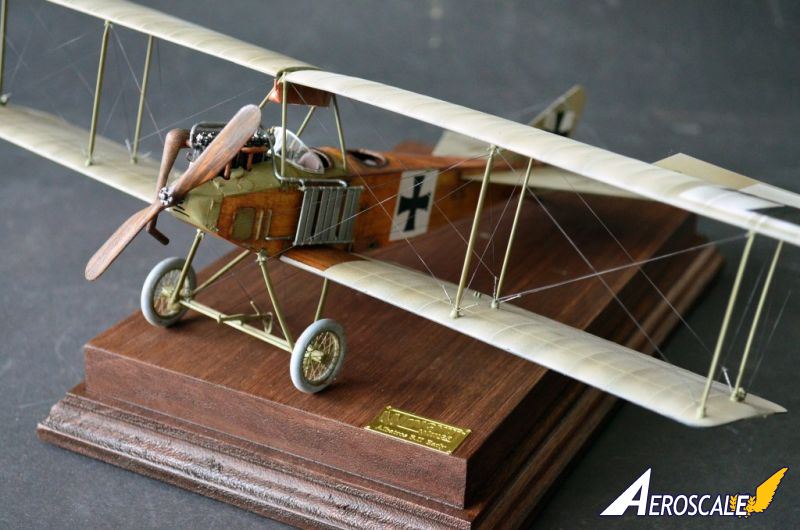
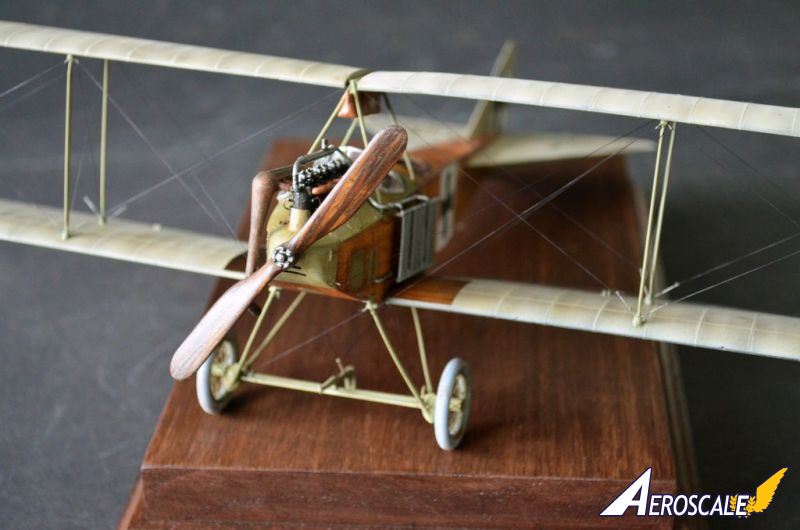
The frame of the window, the tank under the upper wing and some other parts were painted with AK's metal colours and polished after that. Then the wings installed, the spoke wheels (etched parts), and everything weathered a bit with oil colour washings and some beige dust sprayed on the bottom. Then the turnbuckles from Gaspatch Models were glued in their positions, the rigging followed with EZ-Line - glued on one end, drying, tension to the other end, fixing with super glue, cutting the ends, finished. Easier as it looks!
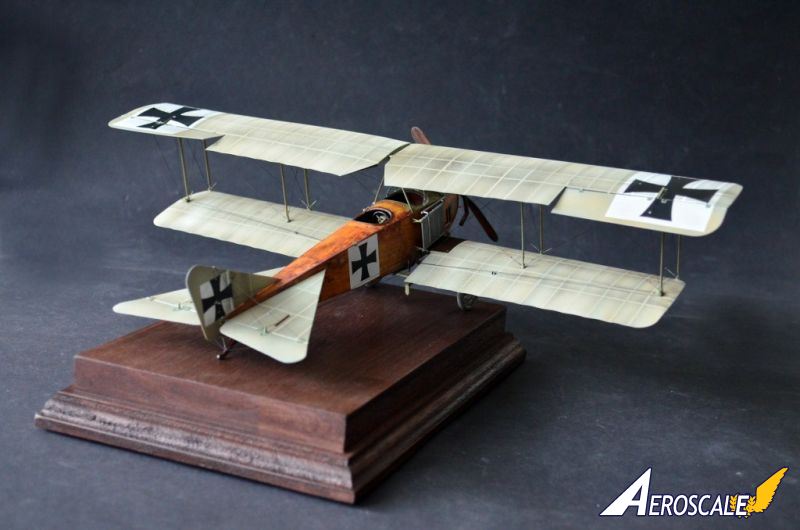
The propeller was painted in beige, then the wood pattern masked, brush painted with dark brown, masking removed and everything sanded to a smooth surface under water. Dark brown oil colour brushed on the full propeller, then wiped away in the direction of the wood pattern. Once dry a layer of shinly clear coat followed, then the hub was painted in silver and polished. Finally the propeller was installed to the airplane, then the Albatros B.II was finished.
Conclusion
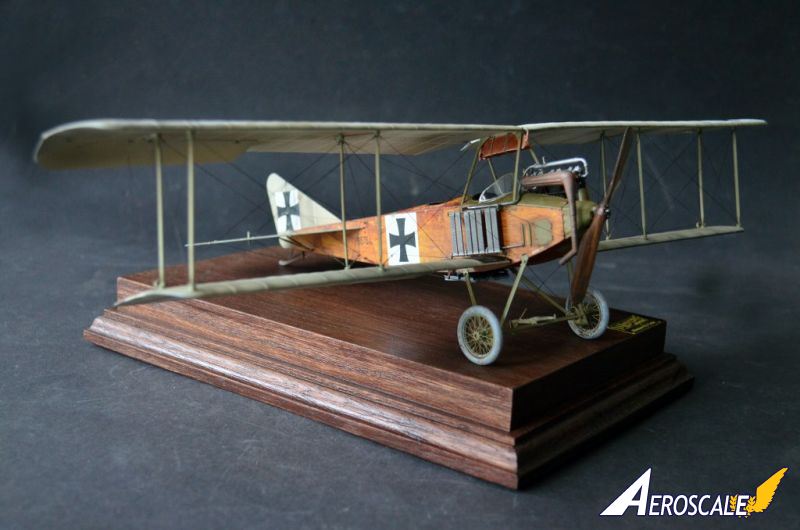
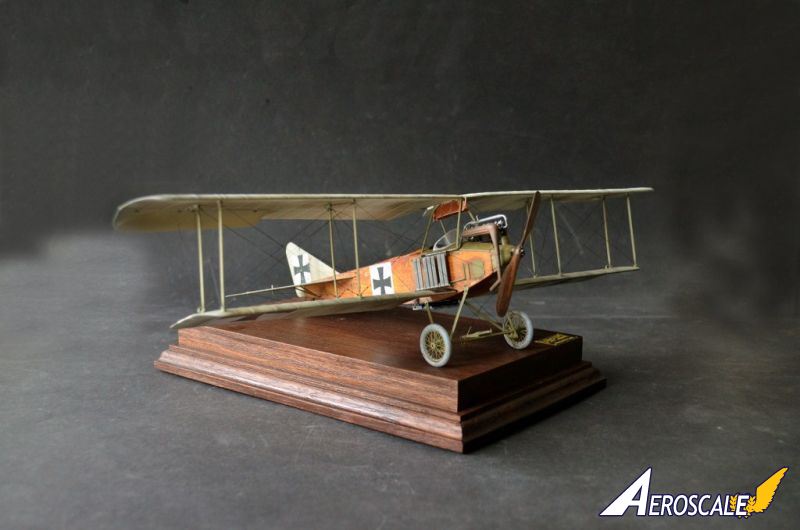
The newest kit from Wingnut Wings is a wonderful kit. Everything you need is included, you only need the rigging material. The fitting is gorgeous, the finished kit is a wonderful airplane.... The kit is much easier then it looks like.... And pure fun!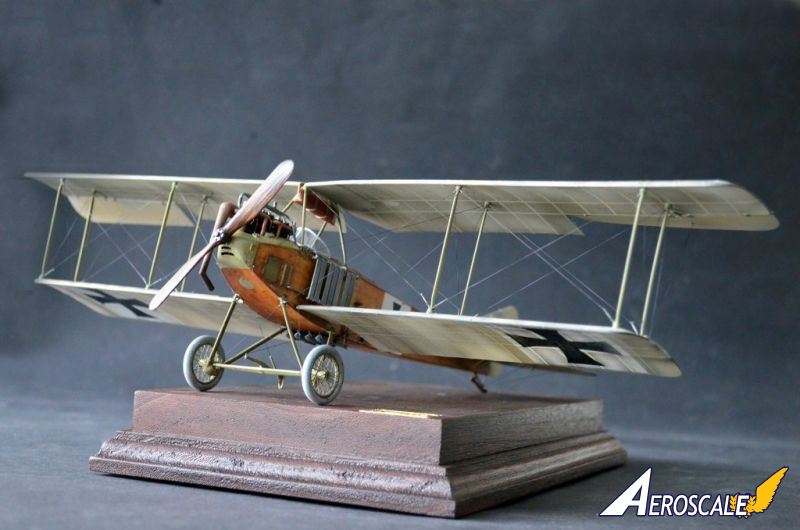


About the Author


FROM: BADEN-WüRTTEMBERG, GERMANY
Modeller with passion since childhood. Living in Germany near Stuttgart with my wife in our house where I have enough space for my hobby, specially for my big scale hobby - I prefer big kits with lot of parts, need lot of space. :) If I am not scale modelling then I like cooking, cinema, mountainbi...
Comments


Michael, excellent work. The wood grain is superb. Those turnbuckles are wonderful.
MAR 20, 2016 - 04:30 PM

Nice one Michael!
It's great to see this beauty on the Frontpage!
All the best
Rowan
MAR 20, 2016 - 05:44 PM


from new-zealand to kit-maker aeroscale the ww1 albatros b.11 still fly.
MAR 21, 2016 - 03:12 AM

Michael, your build is exquisite. Well done, indeed.
Best wishes,
Ian
MAR 21, 2016 - 04:26 AM
This looks like one all string bag modelers should build. Nice work, Michael!
MAR 24, 2016 - 09:37 PM

Being a bit of an engineer....
1. Is that claw brake where the term "Plowing the Field" came from?
OR
2. Was it an emergency stop, incase you ran out of field, applied the brake the aircraft tipped on its nose thus stopping the plane with the prop and if that didn't work the Top Wing?
OR
3. Comic relief.
Tongue firmly in Cheek,
Captn Tommy
MAR 27, 2016 - 08:32 PM

Copyright ©2021 by Michael. Images also by copyright holder unless otherwise noted. The views and opinions expressed herein are solely the views and opinions of the authors and/or contributors to this Web site and do not necessarily represent the views and/or opinions of AeroScale, KitMaker Network, or Silver Star Enterrpises. Images also by copyright holder unless otherwise noted. Opinions expressed are those of the author(s) and not necessarily those of AeroScale. All rights reserved. Originally published on: 2016-03-20 17:53:36. Unique Reads: 6122

WEB HOSTING BY


Copyright ©2021 AeroScale and Kitmaker Network, a subsidiary of Silver Star Enterprises
All Rights Reserved. Please read our Conditions of Use and Privacy Policy.
All Rights Reserved. Please read our Conditions of Use and Privacy Policy.