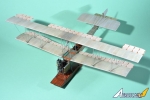
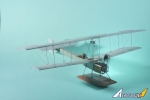
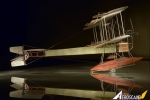
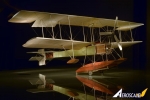
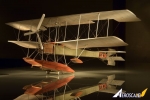
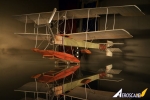
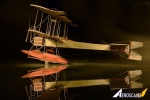
1⁄32Marineapparat Nr.1
14
Comments
History
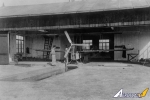
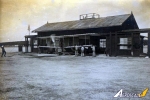
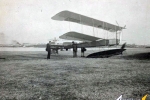
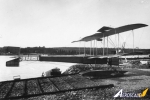
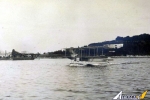
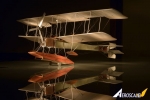
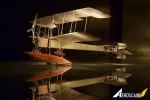
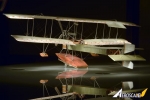
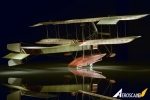
Marineapparat Nr.1 was the first Austro-Hungarian attempt to construct an aeroplane which could take off and land on the water - a seaplane. Guided by similar contemporary achievements abroad, eng. Josip Mickl constructed in 1910 at Seearsenal Pola a single seat biplane powered by the Austro-Daimler 40 HP car engine. The first version of the seaplane had a single plywood centreline float, however after first sea trials, two smaller floats were added to each wing in order to improve stability.First tests were performed during 1910-1911 with Linienschiffsleutnant Viktor Klobučar at the controls. Despite many modifications, the seaplane was only able to take to the air and fly short distances, as the take off run was hampered by the lack of the “step” at the bottom of the float. Only after the seaplane was completely rebuilt to twin-float configuration, it finally took to the air and could be flown in a number of tests.
The Model
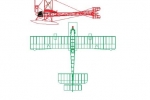
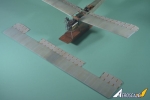
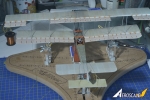
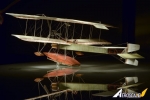
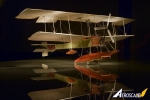
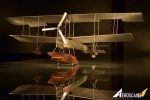
My model was completely built from scratch, and after studying all the available photographs from the History Museum of Istria at Pola (today Pula, Croatia) and gathered from several private collections I decided to build the first version with central float as it looked to me more challenging.My first step was to re-construct scale plans as there were none; this took several weeks to achieve but with the help of good quality photographs I was satisfied with results.
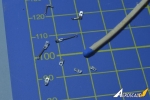
I gathered various materials for the build, such as Evergreen styrene sheets and rods of various thickness, as well as aluminum and brass tubes from Albion Alloys. I particularly liked their pre-cut aluminum tubes for making turnbuckles in 1/32 and 1/48 scale. For steel cables I used the fine EZ-Line.
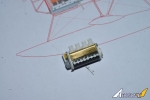
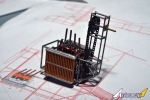
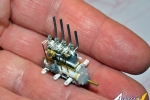
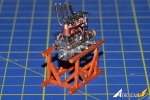
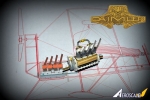
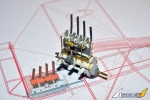
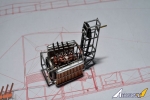
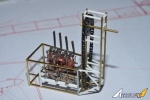
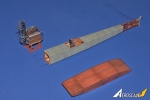
I started by building the 4-cylinder Austro-Daimler engine, the photos of which I found on the Internet. The crankcase was cut from an old pen of suitable diameter and then the cylinder heads and various pushrods were constructed from stretched sprue. The two radiators were fabricated from aluminum tubes cut to size and connected at the top and bottom by covers cut and shaped from sheet styrene. Radiator casings were painted bright aluminum and tubes in brass color. The nose structure containing the engine and propeller mount was built from brass tubes and steel wire. The two side radiators were added to each side of the nose as well as all the tubing connecting the cooling radiators and the engine.
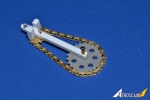
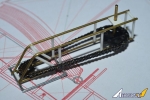
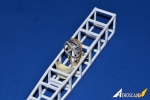
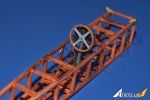
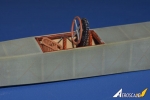
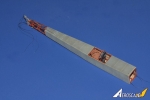
Luckily the fuselage was of square cross section and I built the entire construction using plastic Evergreen 3 x 3 mm strips cut to length and glued together by liquid cement. For the metal chain driving the propeller I bought the etched set from Royal Model for the US 40 Ton tank transporter “Dragon Wagon” and this was cut and formed to the shape that I needed. It was a very delicate operation as I had to add all the rods fabricated from stretched sprue, which were connecting the two halves of the etched chain. Very similar chain was used for the control column construction.
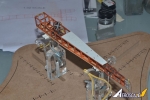
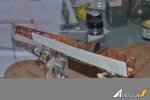
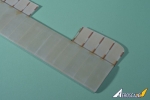
The wing halves and tailplane were marked from plans to the styrene sheet and cut to shape. Then I added the ribs to the lower half of the wing, which served also for the wing to retain the correct angle and curvature (profile). After that the upper half of the wing was glued with minute glue and after sanding the wings were painted with light grey primer.
All the fabric surfaces of wings, tail and fuselage were painted by using various techniques to achieve the correct shading between ribs and the fabric texture was simulated by careful painting with flat brush and very diluted light brown-grey paint.
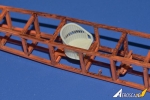
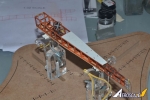
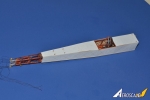
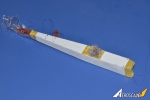
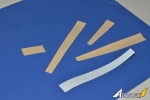
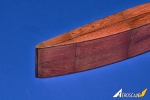
Central float and side floats were constructed from styrene sheet, and painted reddish brown, after which a wood texture was sprayed over the surfaces by using the RB Production photo etched wood stencil. This worked very well.
After connecting the lower wing with the fuselage, I installed all the inter-wing struts and then the upper wing was glued in place taking care to align everything properly.
The nose with engine mount was also added at that time and the entire model was sprayed with semi-gloss transparent coat.
After that all the remaining rigging was done with as much as 165 turnbuckles and equal number of anchoring points.
As a final touch I added the scratch-built wooden trolley and supports for side floats, so the model was ready to be photographed.
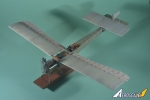
Finally this extraordinary machine was finished. After the photo session it was mounted on a suitable display with the pilot figure from excellent Wings Cockpit range and ready for display.
Comments
Bravo Bravo Bravo. I think I've seen nothing like this before. Simply beautiful.
Only 10% of the calendar year 2017 is enough to get a winner for the Model of the Year.
Kind regards,
Robert Jan
FEB 05, 2017 - 03:02 PM
In summary, this look like fairly impossible to me. I am stunned!!!
FEB 06, 2017 - 12:11 AM
Danijel - Absolutly beautiful ! You, sir, are an extremely talented artist-
FEB 06, 2017 - 02:48 AM
Thank you all for your appraisals! I plan to start severl similar exciting projects in the future!
FEB 07, 2017 - 01:50 PM
Danijel, this is one of the best models I`ve ever seen. Every single aspect of your work makes me green with envy
Chapeu bas monsieur!
FEB 08, 2017 - 03:48 PM
Thank you again! I was tired of assembling aircraft kits that everybody can have so I decided to go a bit off-road... and I enjoyed every minute of it!!!
FEB 23, 2017 - 03:37 PM
Hi Danijel
I don't know how I missed this! For want of better excuses, blame it on all the excitement of vacating the hot seat on Aeroscale - but this is seriously one of the best builds we've ever been lucky enough to have on our Frontpage! Simply incredible!
All the best
Rowan
MAR 25, 2017 - 01:41 AM
Wow! I agree with the previous comments, as well as, "How did I miss this?" Fantastic work all around!
MAR 27, 2017 - 07:19 AM
Copyright ©2021 by DANIJEL FRKA. Images also by copyright holder unless otherwise noted. The views and opinions expressed herein are solely the views and opinions of the authors and/or contributors to this Web site and do not necessarily represent the views and/or opinions of AeroScale, KitMaker Network, or Silver Star Enterrpises. Images also by copyright holder unless otherwise noted. Opinions expressed are those of the author(s) and not necessarily those of AeroScale. All rights reserved. Originally published on: 2017-02-03 18:20:44. Unique Reads: 7376


