1⁄48Egyptian Chinook 'C'
4
Comments
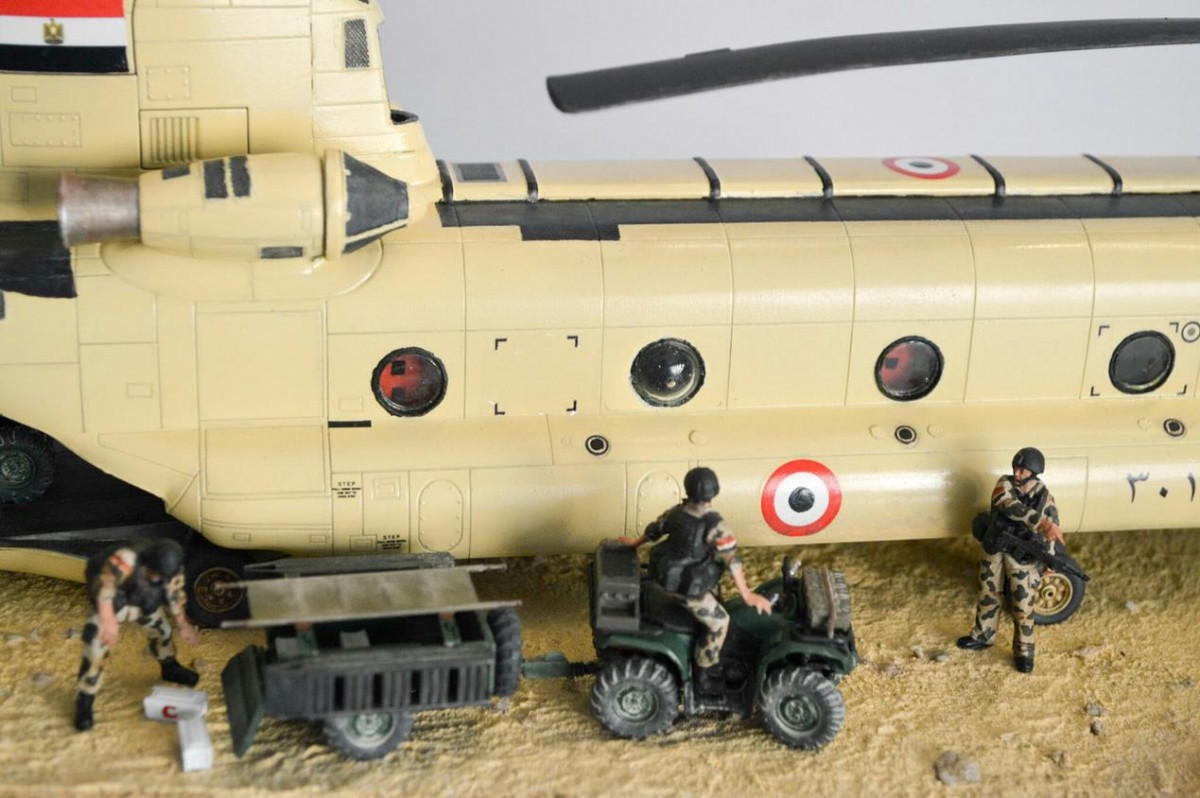
A few years ago our club was offered this kit as a gift during a show. The Italeri 1/48 Fighting Chinook A, I planned to convert it to Chinook C and make it in Egyptian markings which proved to be not such an easy job, windows had to be modified and recreated. I used old milk bottle silicon nipples to create the spherical dome windows. Then the interior had to be modified and seats scratch built. For the turbine sand filters they had to be 3d printed among many other things.
The exterior markings and decals had to be completely reprinted. The kit itself is not bad but features a lot of fitting problems within the exterior and interior main body parts. I used an airfix kit for the crew and quad bikes, the blades sagging was also quite difficult using heat as they can easily snap broken. Overall it was huge challenge that took nearly 4 months but I think it was worth the result.
The exterior markings and decals had to be completely reprinted. The kit itself is not bad but features a lot of fitting problems within the exterior and interior main body parts. I used an airfix kit for the crew and quad bikes, the blades sagging was also quite difficult using heat as they can easily snap broken. Overall it was huge challenge that took nearly 4 months but I think it was worth the result.
Comments
It came out really nicely. The finish and setting are great. I like the quad-bikes and crewmen as well. Great job overall.
A couple small corrections. First, on the sides of the aircraft near the rear, you have the "L" shaped outline decals on a flat panel. These should be around a window, as you have near the front. They denote a removable escape window for the crew in the event of a crash. Also, on the rotor blade roots you have a yellow band and corresopnding yellow dot on each one. Each of these should be a different color so the crew can tell which blade goes where since they are each balanced and have to be put back on in the same place if/when removed. You can see the different blade color stripes below.


NOV 12, 2017 - 08:50 PM
Thanks Gino, for the useful info.
Indeed such technical information is a bliss. I learn more every day.
Cheers
Hussein
NOV 13, 2017 - 06:39 PM
Copyright ©2021 by Hussein El Kaissy. Images also by copyright holder unless otherwise noted. The views and opinions expressed herein are solely the views and opinions of the authors and/or contributors to this Web site and do not necessarily represent the views and/or opinions of AeroScale, KitMaker Network, or Silver Star Enterrpises. Images also by copyright holder unless otherwise noted. Opinions expressed are those of the author(s) and not necessarily those of AeroScale. All rights reserved. Originally published on: 2017-11-12 00:00:00. Unique Reads: 9495


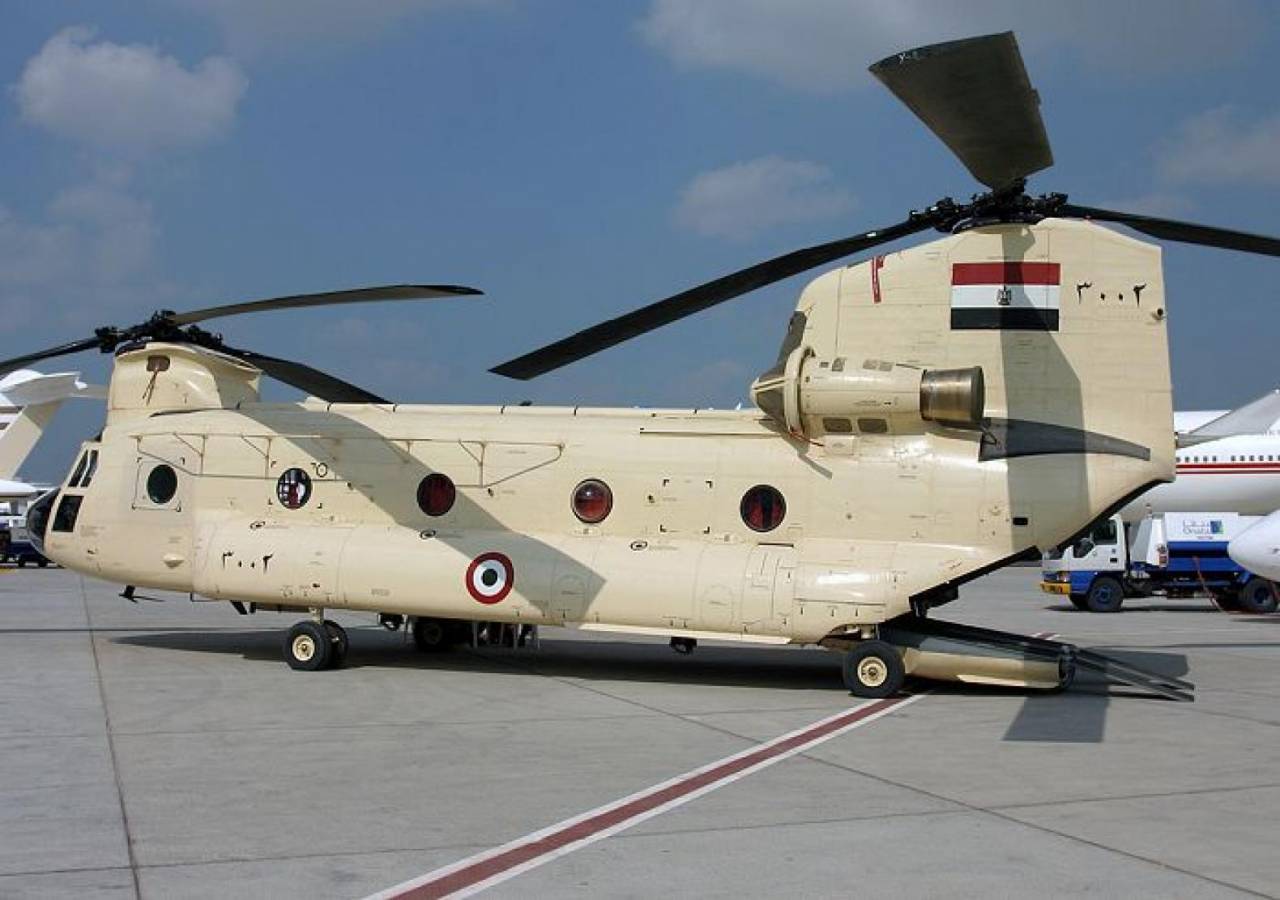
 It shows the markings

