

1⁄35To Preshade or Not Preshade - Part deux
8
Comments
How to do part deux.
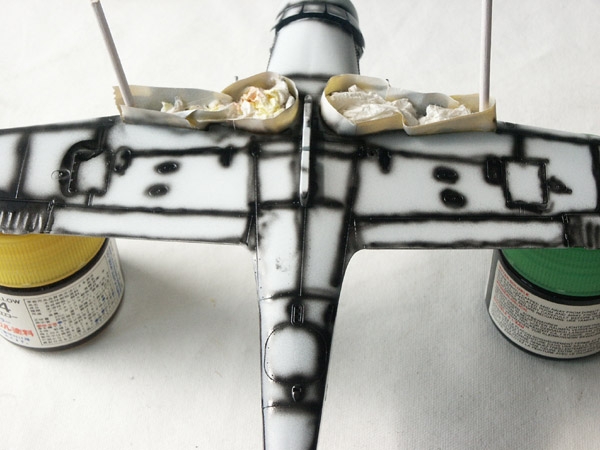
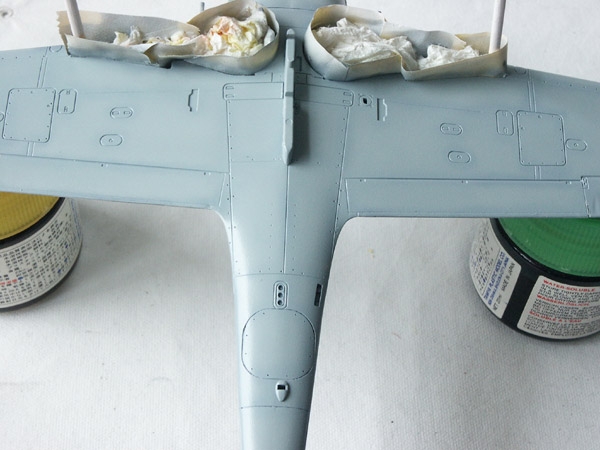
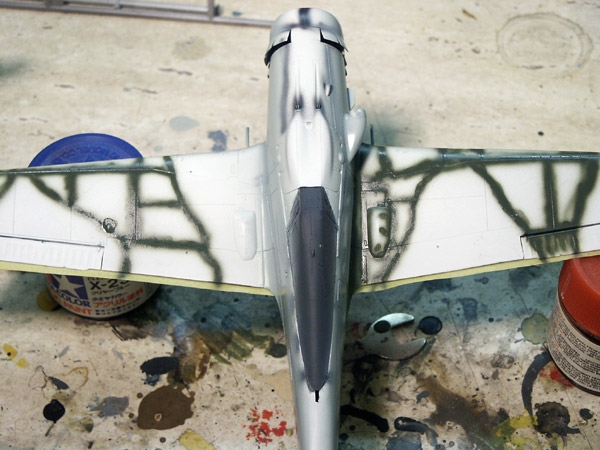
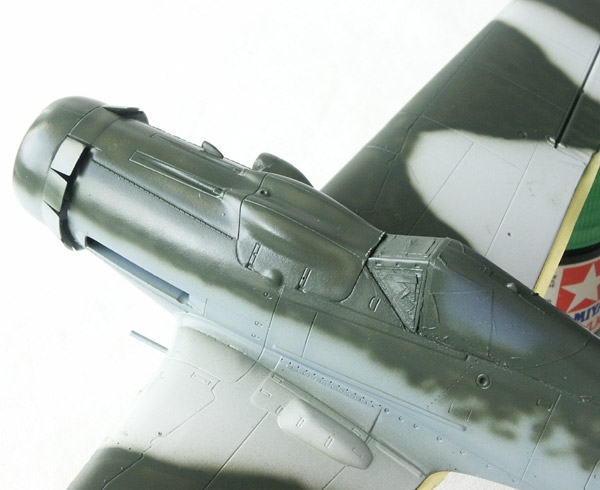
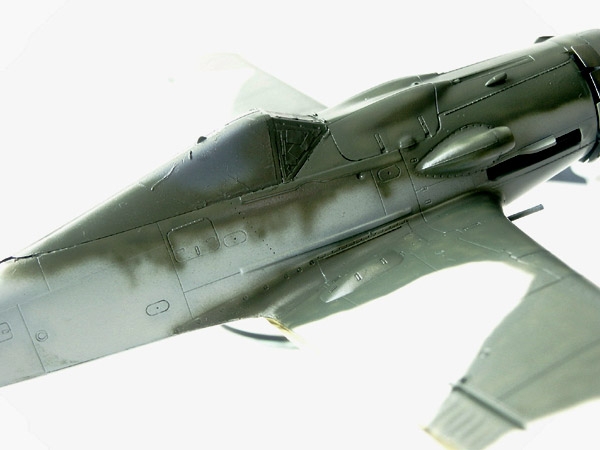
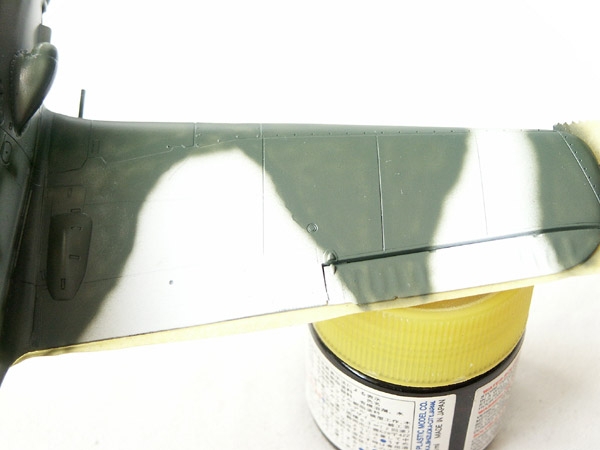
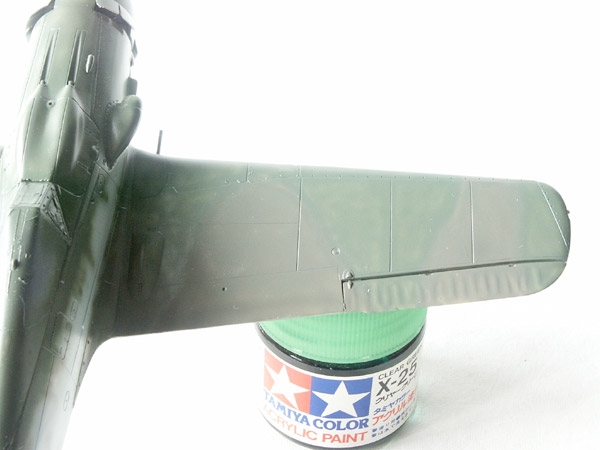
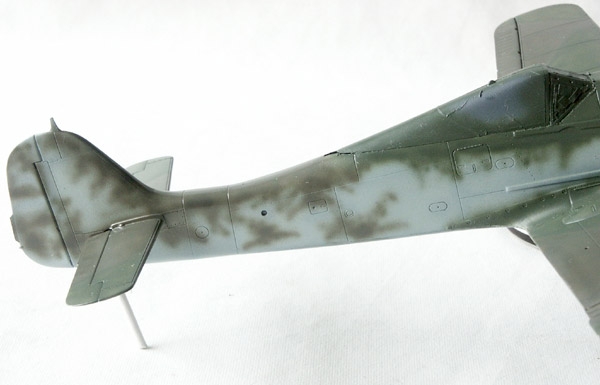
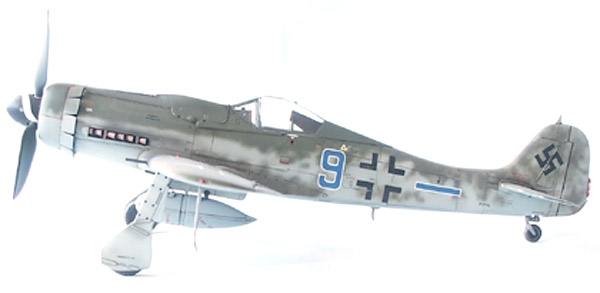
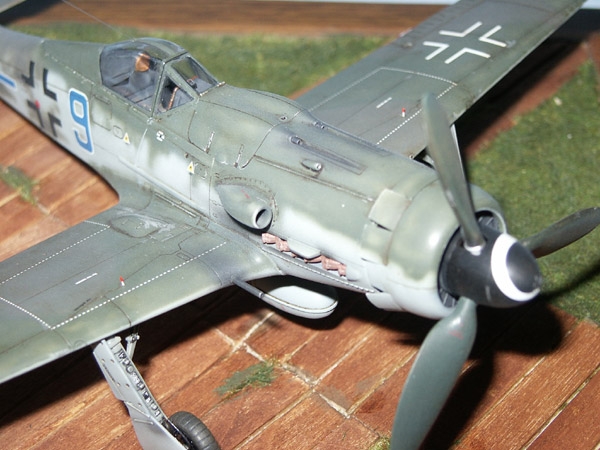
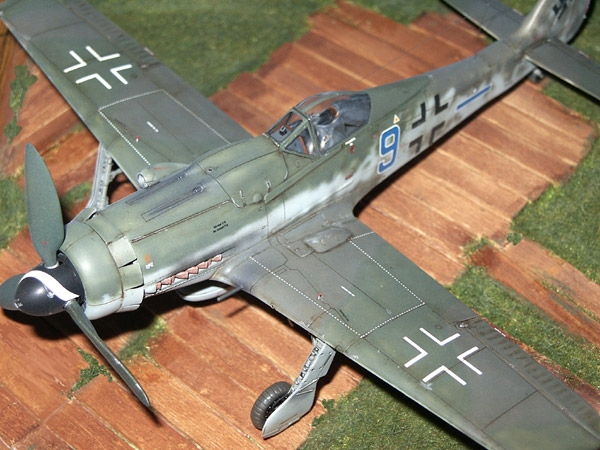
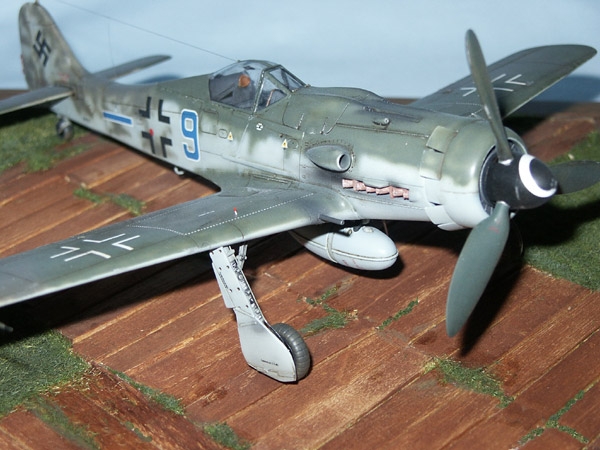
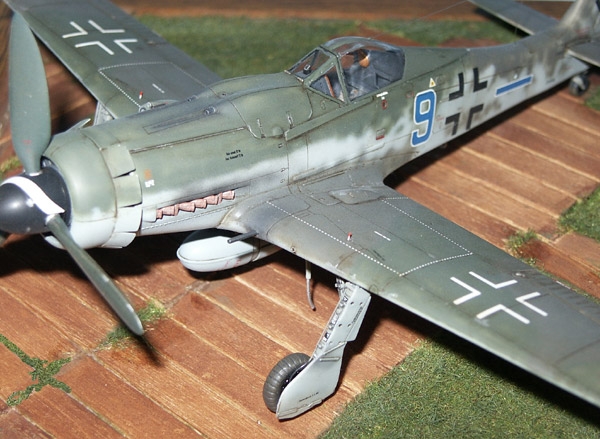
Apply the white primer, let dry and rub down with 0000 grade wire wool. This will give a really nice smooth surface without the danger of removing detail that emery paper might. Pre-shade the undersurfaces with black and paint as normal. This new method has no advantages when using light colours, so I still use black. Mask off the undersurfaces and draw on the camo pattern with a soft pencil. Mix the lightest of the uppersurface colours, using the normal paint thinner ratio. Spray this mix along panel lines and around detail, similarly to how you would spray black for pre-shading, but confine the paint to its own colour area, as previously drawn. Now add more thinner to the mix, it should be about the same now as for when spraying mottle, so you will also need to turn the pressure down. Spray this new mix to fill in, take your time, the paint is thin and watery so it wont cover quickly but it allows you to take control of your progress. I have found it best to do sections at a time and, for this first colour it doesnt matter too much if you overlap the second colour areas. What you are looking for is that the panel lines and areas around detail are just a tad darker than the main areas of paint. Done correctly this should be a nice subtle effect, but you can control the paint in such a way that higher areas are lighter, or it can be used to help to give a faded effect. All you need to do now is the same thing with the other colour/s of the uppersurface. Dont forget that while you have the paint mixed as for mottling to do the mottle, if any, that requires that colour. One of the reasons that I do pre-shading is to add interest to single colour camouflage. This method should enhance the look of single colour camouflage without making it look like a patchwork quilt, if done in a subtle way.You will see from some the pictures that it all looks a bit patchy, but this is partly because I had to use extreme lighting effects in PhotoShop, to actually show it, and partly due to the fact that Im still learning this technique. Because of the way that I did this, basically a panel at a time, then I think a blending spray is the way to finish off. This is something that I did, but because I only realised it needed doing a little late in the process I defeated some of the effect.
To summarise
- 1. Use white primer and pre-shade and paint the undersurfaces as normal, then mask off the undersurfaces.
- 2. Draw the camouflage pattern, in soft pencil, on the uppersurface.
- 3. Mix the first camouflage colour (lightest) using the normal paint/thinner ratio you would, if spraying black pre-shading, and spray along panel lines and around detail as you would when pre-shading with black. The difference here is that you confine the colour to the areas of that colour only. Also spray along the camouflage division.
- 4. Thin the paint and lower the pressure, as if you were doing mottle, fill in the areas of the first camouflage colour a panel at a time, and then blend in by overspraying all of the first colour areas. Before this blending overspray the lighter areas would still be too light. The idea of the blending spray is to get the final subtle effect.
- 5. Spray any mottle in the first colour.
- 6. Follow the same procedure for subsequent camouflage colours.
In conclusion
There is no doubt in my mind that this technique works; I just have to master it. Also note that I have not lightened the colours as I suggested might be an idea, (in the paragraph from the previous article). Using white primer and this technique effectively eliminates the need to, although there is nothing to stop you, of course. The real benefits may well be when doing a single colour, as this pre-shading will lend a certain interest to what might be a plain scheme. I will add more pictures as I do more models using this technique.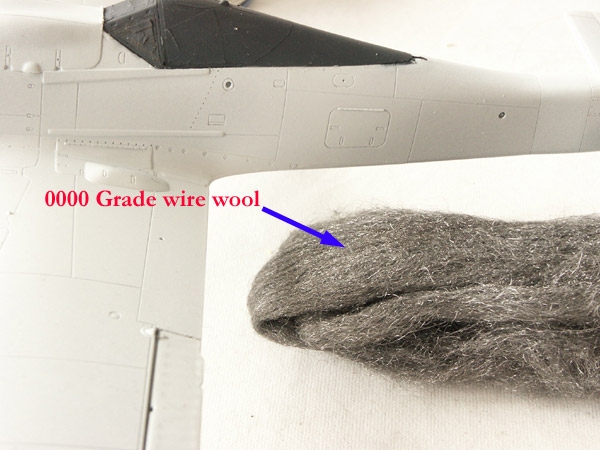


About the Author


FROM: ENGLAND - SOUTH WEST, UNITED KINGDOM
Hi, my name is Mal Mayfield and I have been modelling seriously for about 25 years. My main interest is 1/48 scale second world war. I build all types and all combatants. I have built 1/35 scale "targets" and 1/72 scale modern aircraft, plus a couple of cars. I have also dabbled with figure painting...
Comments


Nice one Mal.
I have been using white primer on my Jap planes for a while, and with the black pre-shading most of my planes look like chessboards.
I put a coat of future over the pre-shade, then shoot Alclad metal, then the top coat and then do the paint chipping. Seems to work but you still have to be a bit careful when taking the paint off .
Andy (++)
MAR 02, 2006 - 03:58 AM

Great article Mal. I'm I big fan of pre-shading, I've been using this method for sometime. I also like to post-shade. Will you have an article on that.
Joe
MAR 02, 2006 - 04:14 AM

This is a very instructive article. I love the look of a pre-shaded aircraft, but have been reluctant to try it...just not confident in my airbrushing skills I guess. But, you may just have me convinced to give it a go.
Cheers,
Mike
MAR 02, 2006 - 04:21 AM

Just wondering, with all this talk of pre-shading, would it be vaible to take each color, mix it with a drop of black, and then spray that over the panel line sof each camo color? It seems to me this would achive a nicer and more subtle effect with more control as well.
MAR 02, 2006 - 05:05 AM
Joe
I don't use post shading so I'm not the guy for an article on that, any volunteers..............Joe
Mike
Thanks Mike, I too like the look that pre-shading can give, but it is easily overdone, making a model look all wrong (IMHO) the trick is to be subtle. The beuty of using the actual colour, rather than black, is that you don't need nearly as much paint to cover and therefor it is easier to control. If you like what pre-shading can do then you must give it a go, just don't parctice on your latest masterpiece
Gautam
Well each to their own, but I think adding black would kinda defeat the object (of what I am trying to do). Give it a try though and let me know how you get on. If you can't get on with using the camo colour as is then lightening it for the layering might be a better way to go. Although in the article I do say that there is no need, but doin so might help achieve the aim.
If you haven't already done so it might help to read my first article. Remember though this is only my way of doing this.
Mal
MAR 02, 2006 - 10:21 PM

Someones been a busy lad...
...and well worth the effort.
Another excellent article by our Mal.
I'm relearning the little I know with new eyes now....and picking up so much new stuff...great.
Cheers
Peter
:-)
MAR 03, 2006 - 02:41 PM

What you describe is post shading, best done by diluting this mix with about 70% thinner, in misty coats.
and, yes you can do both on the same surface.
Frank
MAR 03, 2006 - 02:47 PM
Copyright ©2021 by Mal Mayfield. Images also by copyright holder unless otherwise noted. The views and opinions expressed herein are solely the views and opinions of the authors and/or contributors to this Web site and do not necessarily represent the views and/or opinions of AeroScale, KitMaker Network, or Silver Star Enterrpises. Images also by copyright holder unless otherwise noted. Opinions expressed are those of the author(s) and not necessarily those of AeroScale. All rights reserved. Originally published on: 2006-03-02 00:00:00. Unique Reads: 22508

WEB HOSTING BY


Copyright ©2021 AeroScale and Kitmaker Network, a subsidiary of Silver Star Enterprises
All Rights Reserved. Please read our Conditions of Use and Privacy Policy.
All Rights Reserved. Please read our Conditions of Use and Privacy Policy.