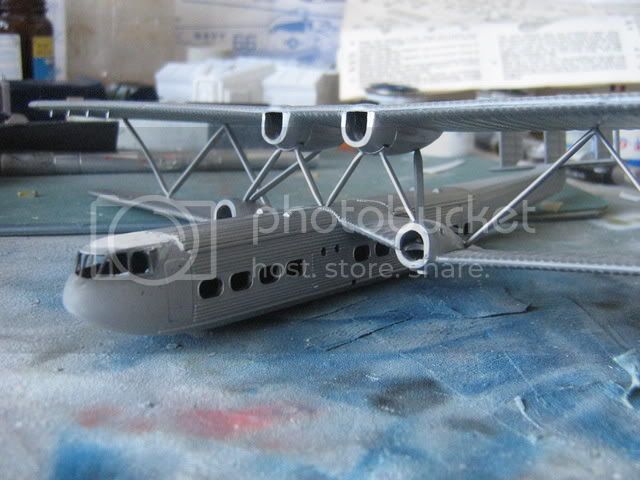
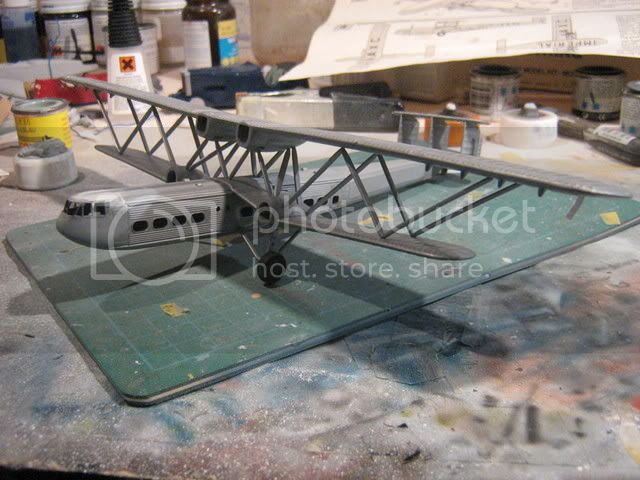
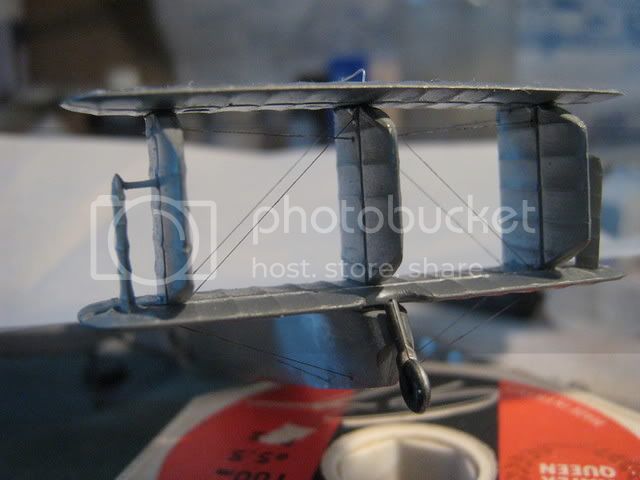
hi all! i made a start on this about a week and a half ago, but its been a bit of a busy week and a half so i've only got around to posting up what i've been up to today (monday off work-yayy!) i picked this up from ebay it was minus the decals but thanks to a member of the classic british kits sig who sent me a set over so i was ready to go on this. BUT... on opening the box, yes it was started (which was how it was described) but there were no transparencies, not a problem for the passenger windows, i would have replaced these with clearfix anyway, but the cockpit transparency also forms part of the cockpit roof. nothing for it then i cut out a peice of plasticard to the shape of the roof, then used slivers of plasticard to make window frames. hopefully after its all painted i can use clearfix to put in the windows on this too.
heres some pics-
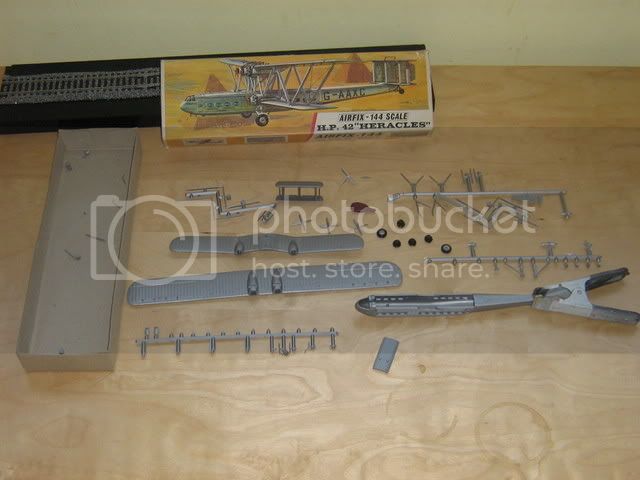
the box and contents as i got them
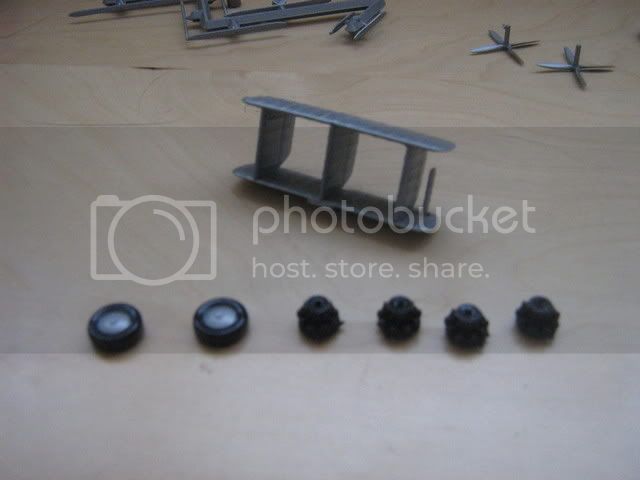
the previously built sections
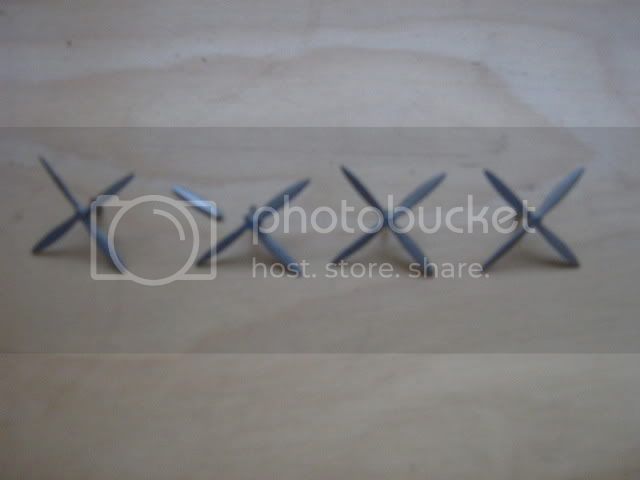
broken prop blade, boo! but easily repairable, yayy!
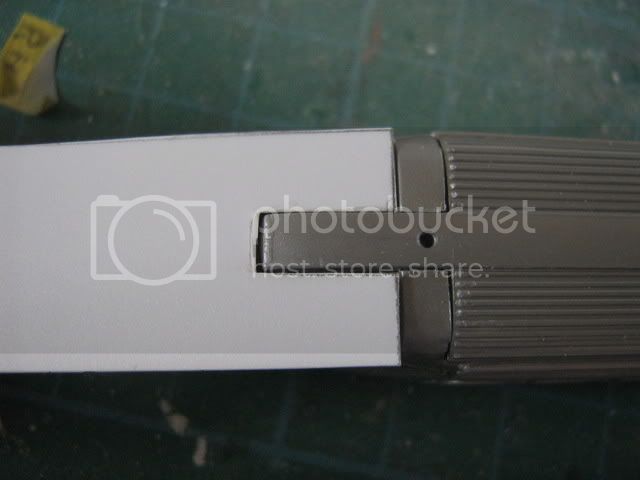
test fit of new roof section
beginning of shaping, and thickening up with another layer
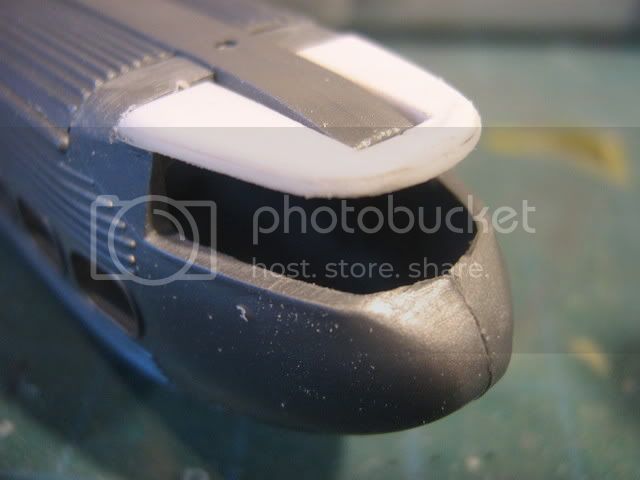
looking about right!
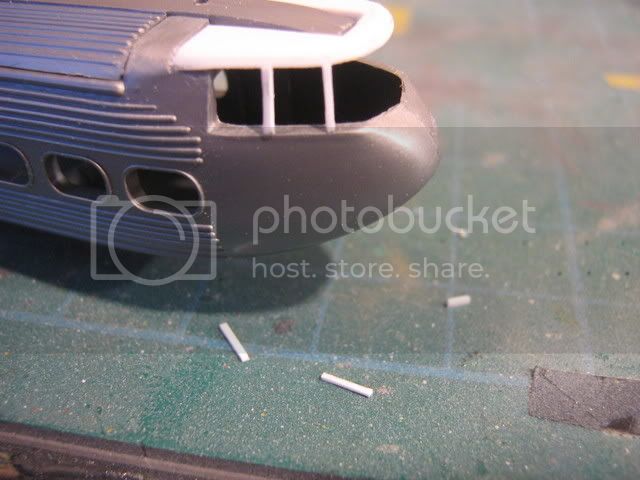
frames going in
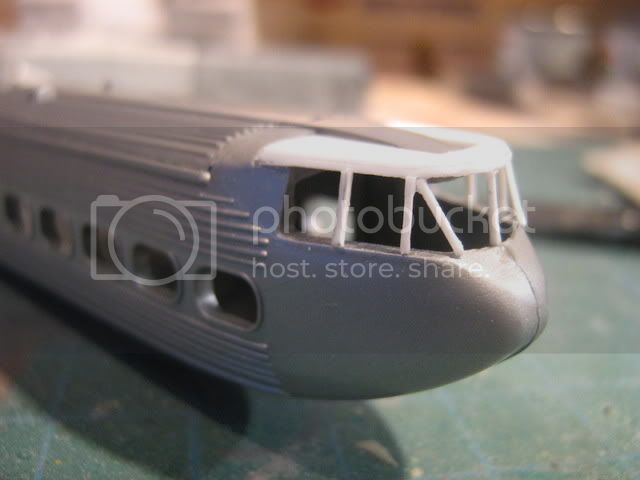
nice job! if i say so myself
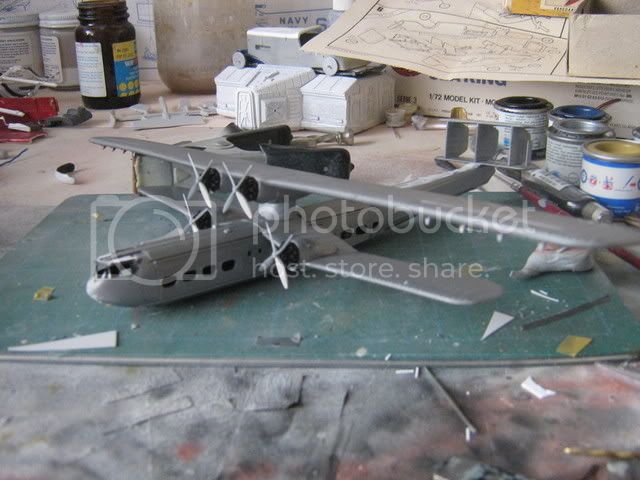
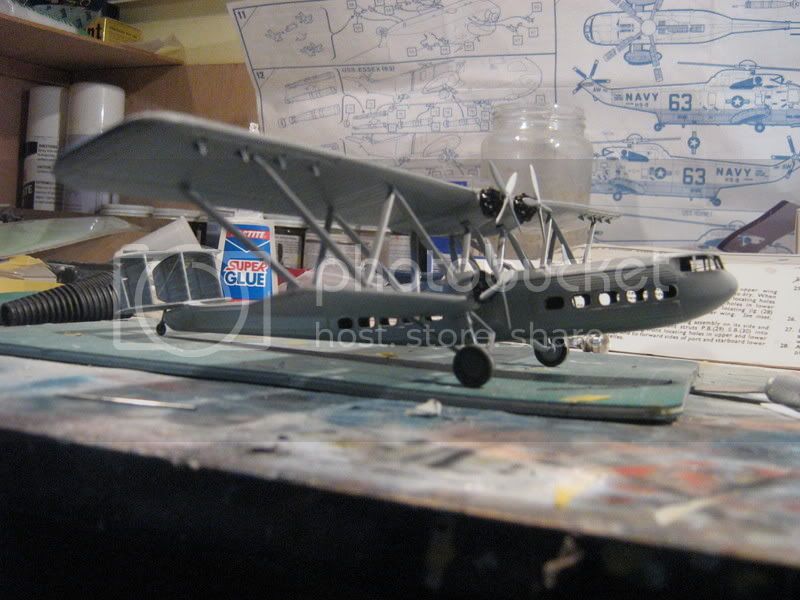
loosely put together to see what she looks like!
Early Aviation
Discuss World War I and the early years of aviation thru 1934.
Hosted by Jim Starkweather
handley page HP 42 vintage kit!
Posted: Sunday, July 01, 2007 - 11:49 PM UTC
Posted: Monday, July 02, 2007 - 12:09 AM UTC
Way to go Phil!
I really admire your perseverence with these old Airfix kits. I feel your pain!
Im still hacking away at the old Tiger Moth trying to clean up the mass of bumps and sink marks to make it look presentable and ready for assembly.
Good effort diving in and scratchbuilding the cockpit roof and framing.Way past anything I feel confident in attempting. There again though,,,its been said on more than one occasion in the forums that your quite quite mad
Nige
Posted: Monday, July 02, 2007 - 12:59 AM UTC
Hi Baron!
Nice one! Now that will make an interesting change from the military stuff!
If you want some reference pictures, the "Heracles" G-AAXF is the "hero" of one of the Biggles comic books I have where it is briefly attacked by a Polikarpov!
How do you plan to do the glazings? With the kit parts? Transparent plastic? ClearFix?
Jean-Luc
Posted: Monday, July 02, 2007 - 02:06 AM UTC
nigel- theres no pain with these kits for me, its a labour of love!
jean-luc- aircraft AAXF will be the one i'll build because the decals i've got are pretty yellowed, they're on a window sill until they bleach out a bit, the other option, AAXC would be a bit more tricky to cut away all the decal film. i intend to glaze the windows using clearfix, which also should save me a masking job.
i've been working on the easy part of these kits today-NOT!
Posted: Monday, July 02, 2007 - 06:48 AM UTC
Hi Phil.
What a great looking aeroplane! It has a real look of class about it.
Just a quickie. What is "clearfix"?
Edit: Almost as soon as I posted this I decided to do a site search for "Clearfix". One thread even lead to a picture of the bottle. Brain kicks instantly onto gear.. "Arf a mo Guv! I've seen that somewhere"!
Turned the house upside down (much to SWMBO delight) and found it!! Woohoooo!
Now what do I do with it? Any writing is in French..
I’ll be very interested to see how you make windows with it.
JackFlash
Colorado, United States
Joined: January 25, 2004
KitMaker: 11,669 posts
AeroScale: 11,011 posts
Joined: January 25, 2004
KitMaker: 11,669 posts
AeroScale: 11,011 posts
Posted: Monday, July 02, 2007 - 07:16 AM UTC
Wow Phil! Another beauty inprogress!
Posted: Monday, July 02, 2007 - 08:22 AM UTC
nothing to it murdo,simply get a glob on a cocktail stick or pin, put it in the hole and wobble your stick about a bit until surface tension makes the clearfix form a skin across the window hole. obviously this will only work up to a certain size gap though
Posted: Monday, July 02, 2007 - 11:00 AM UTC
one last update for today, i have to say that this is the easiest struts/wings i have ever put together, thanks in part to the fact there is actually a jig to hold the wings in position while you put the struts on.
TreadHead
Colorado, United States
Joined: January 12, 2002
KitMaker: 5,000 posts
AeroScale: 370 posts
Joined: January 12, 2002
KitMaker: 5,000 posts
AeroScale: 370 posts
Posted: Tuesday, July 03, 2007 - 12:52 PM UTC
Howdy Phil,
Wow......very cool aircraft. All I can say is, I want one!.....in 1/35th scale that is!.......
I just love aircraft like this...it reminds me of some of the Italian monstrosities {of which I've spent many a minute or two 'mentally' scratchbuilding......
Tread.
Wow......very cool aircraft. All I can say is, I want one!.....in 1/35th scale that is!.......
I just love aircraft like this...it reminds me of some of the Italian monstrosities {of which I've spent many a minute or two 'mentally' scratchbuilding......
Tread.
Posted: Saturday, July 07, 2007 - 11:58 PM UTC
two steps forward one step back.
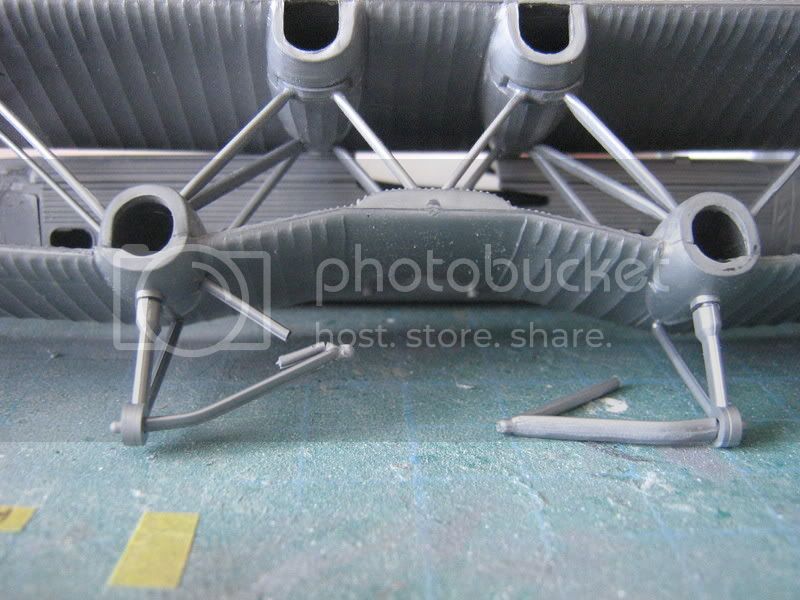
in putting on the wheel struts you connect the wings to the fusalage, which is fine if you've glued the wings on at the point where they join the fusalage. or you can do it my way, forget to glue them, put on the u/c struts, realise theres a big step on the back of the fusalage and think to yourself "no problem, i'll just spring loose the u/c struts......"
alright its minor damage and easily repairable but i do feel a bit of an herbert for falling into this trap of course, i'll be laughing about this later on
JackFlash
Colorado, United States
Joined: January 25, 2004
KitMaker: 11,669 posts
AeroScale: 11,011 posts
Joined: January 25, 2004
KitMaker: 11,669 posts
AeroScale: 11,011 posts
Posted: Sunday, July 08, 2007 - 07:00 AM UTC
I remember a similar experience with my first Eduard Hanriot. I glued the trestle but only on the back post - to the top wing. I wedged the other struts inplace and then was called away on the phone. After about an hour I went back thinking it was ok and the glue should have dried. It was (on the one post.) I picked it up by the top wing just long enough for me to hold it up to the light. I glanced back at my desk thinking I had left something off. Sure enough one interplane strut was laying there. The sick feeling came when I realized too late that I had not glued all of the struts. I looked back to see only the top wing in my hand. As I rolled back my chair to get a look at the damaged kit on the floor. . . and heard a crunch! Not a stellar day.
Posted: Friday, July 27, 2007 - 07:07 PM UTC
bit more progress-
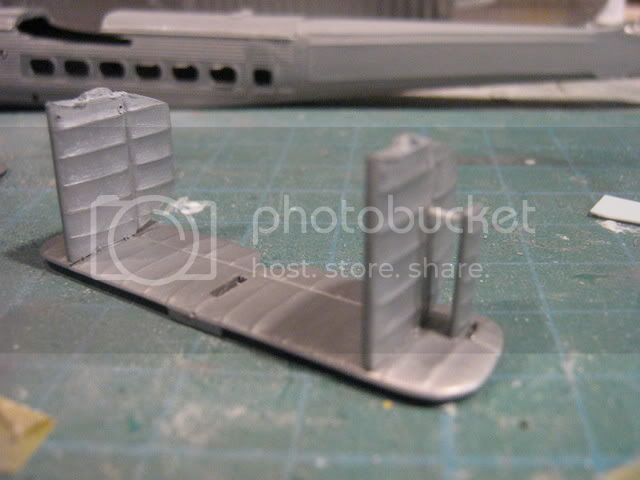
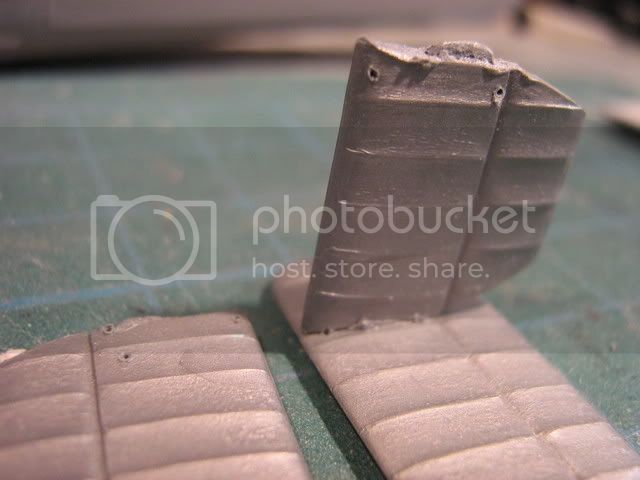
i was'nt going to add any rigging on this, but this is me so i decided to go for it, i used the same fishing line i use for 1/72 but its turned out not looking over scale. my only guide for this was the box artwork and what ever pics i could find, but it does seem that when these planes were flying no-one ever took photos of the tail, so its a best guess
and here she is ready for painting