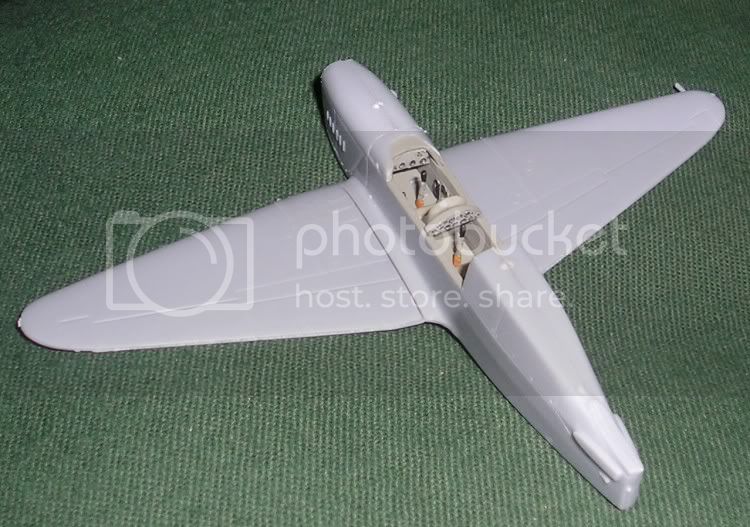
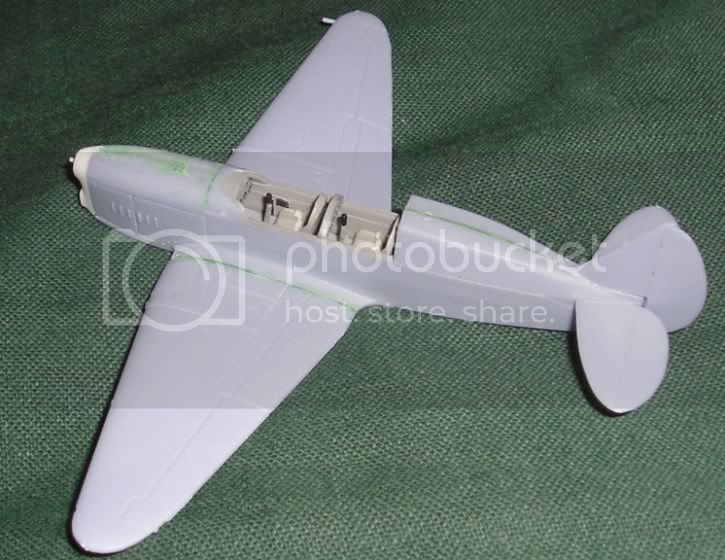
The cockpit is a relatively simple affair, just a floor, two seats, two sticks, and two instrument panels. This is my first time using photoetch and resin, and the enhanced detail is notable compared to my previous efforts, SPAD XIII excluded. (Don't worry, I wore a dust mask when sanding down the resin parts.)
I used the Future technique to create a glass effect on the instrument dials, and used white glue to sandwich the acetate film behind them. I might try looking into other glues though because white glue is messy and hard to work with, and not sticky enough to my tastes.

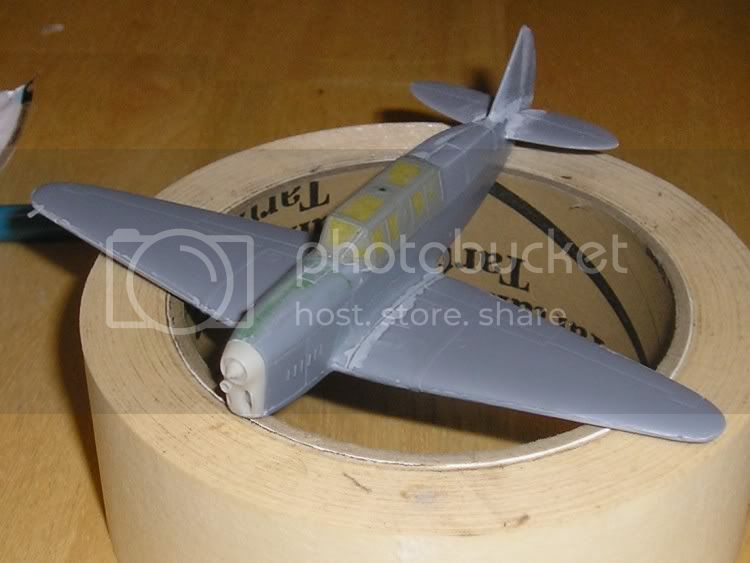
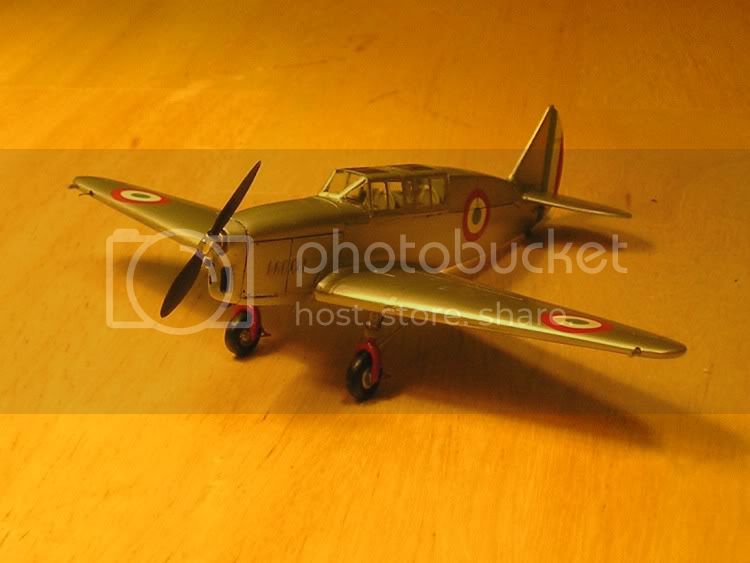
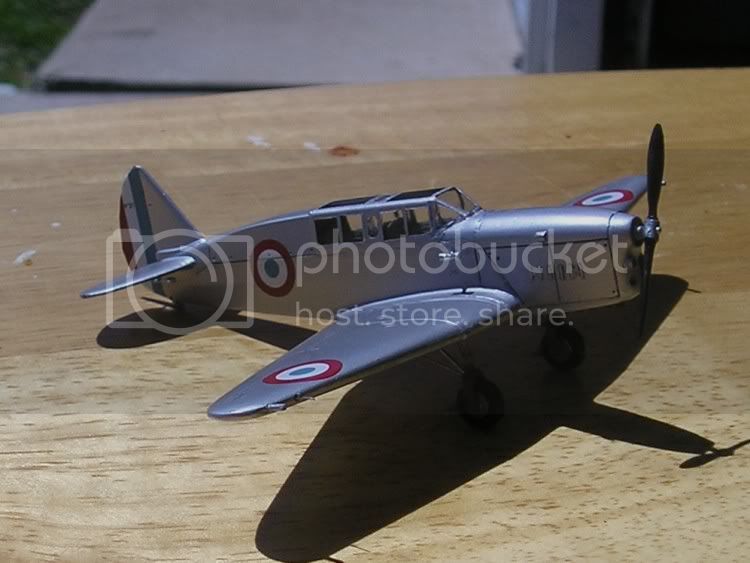
For a limited run kit, AZUR makes really good quality parts. No major fit issues were discovered, just some seams at the wing roots and a minor step on the underside of the nose where the fuselage meets the resin intake.
Any suggestions or comments are always welcome.