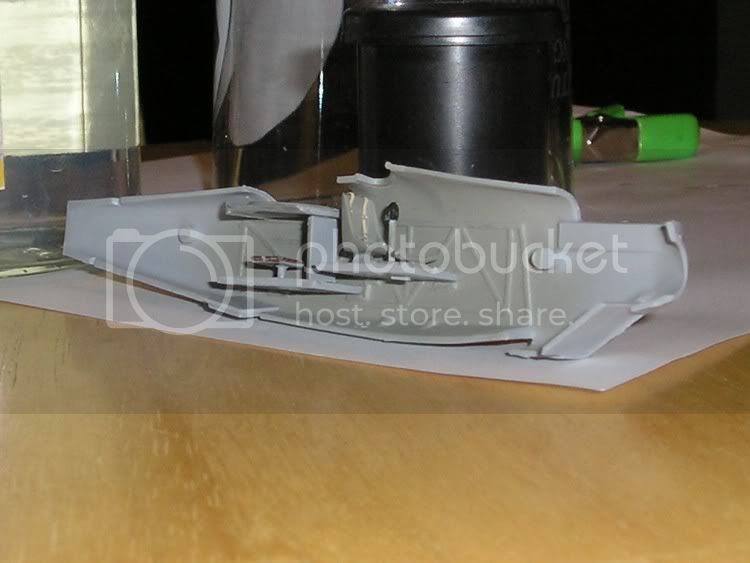
Once the fuselage is closed up, the beautiful instrument panel provided with the kit is nowhere to be found. Such is life...
Despite this, the alignment tabs on the fuselage managed to get in the way of the invisible instrument panel. If this had not been removed, I would have been forced to place the instrument panel so far forward that it would have gotten in the way of the control stick.

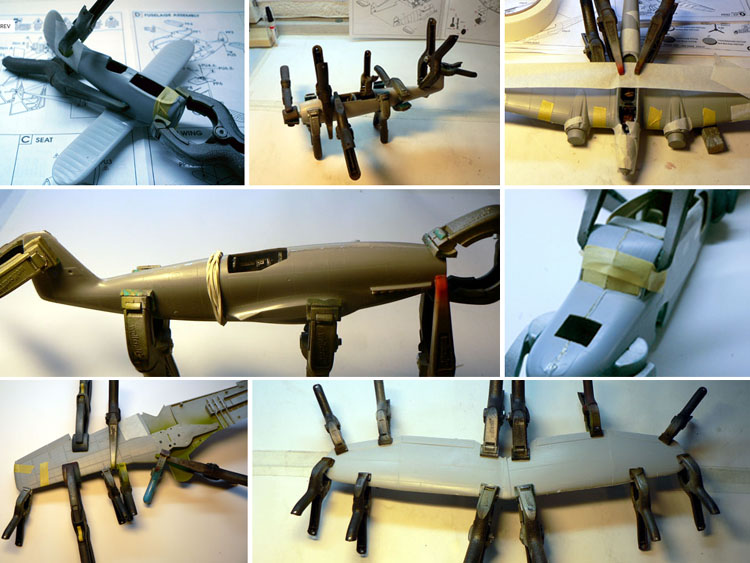
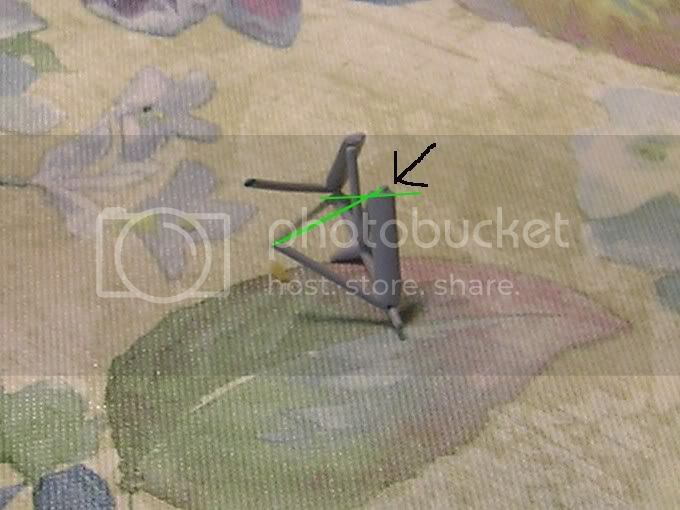
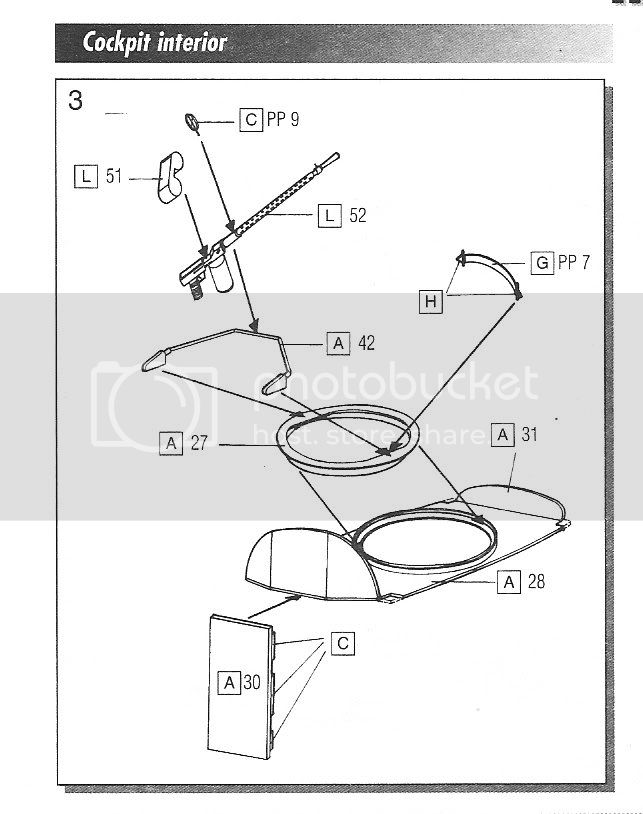
The fit of the cockpit floors, both front and rear, was also horrible, and had to be laboriously trimmed down, as did the front radiator grille. Even worse, each corner of the upper decking of the gunner's seat had to be trimmed off and filed down, just so it would sit down flush with the fuselage. Why AML didn't think to mold these notches in the first place baffles me. The instructions only provide a tiny drawing with no arrows or text to show where the notches need to be.
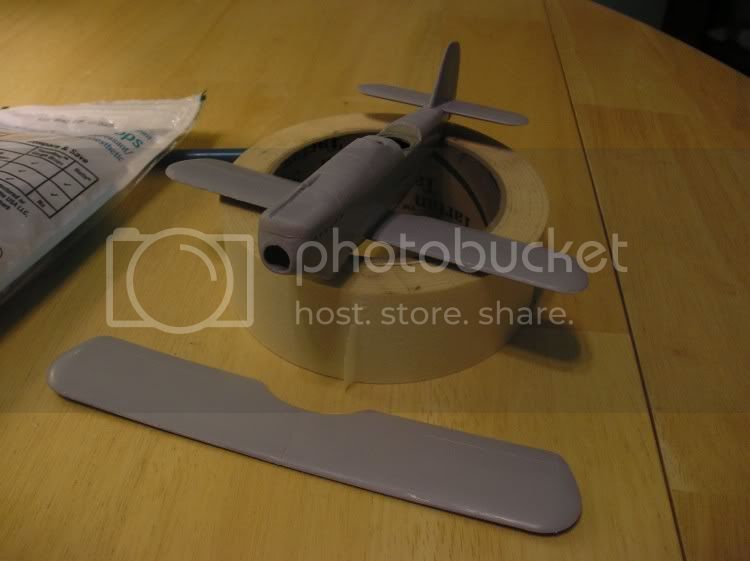
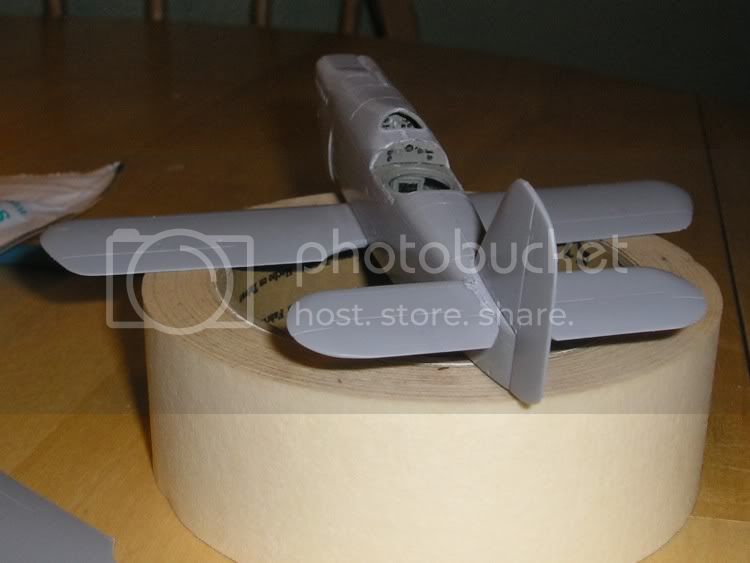
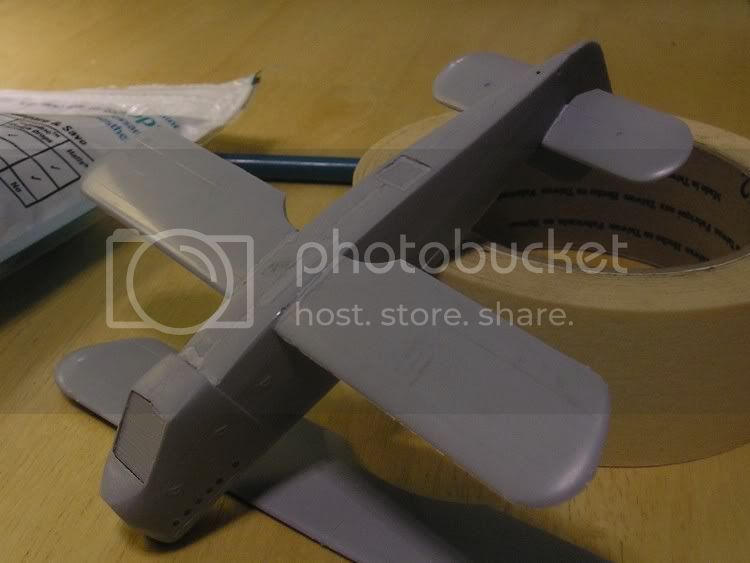
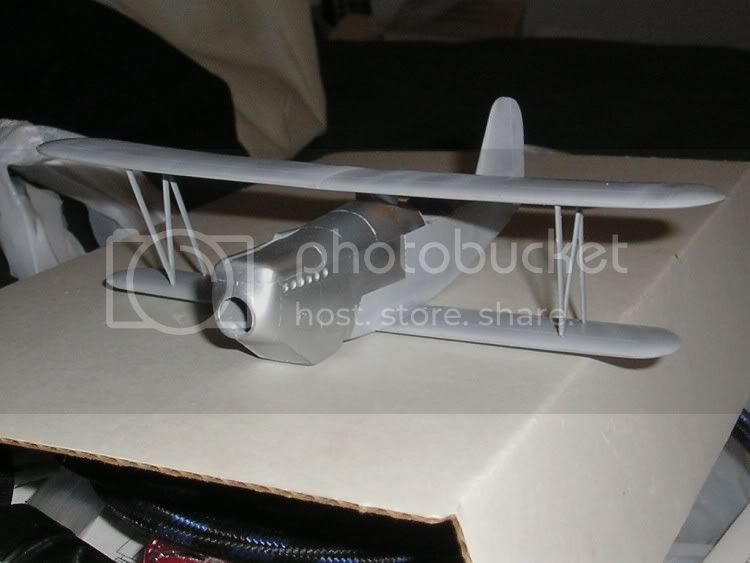
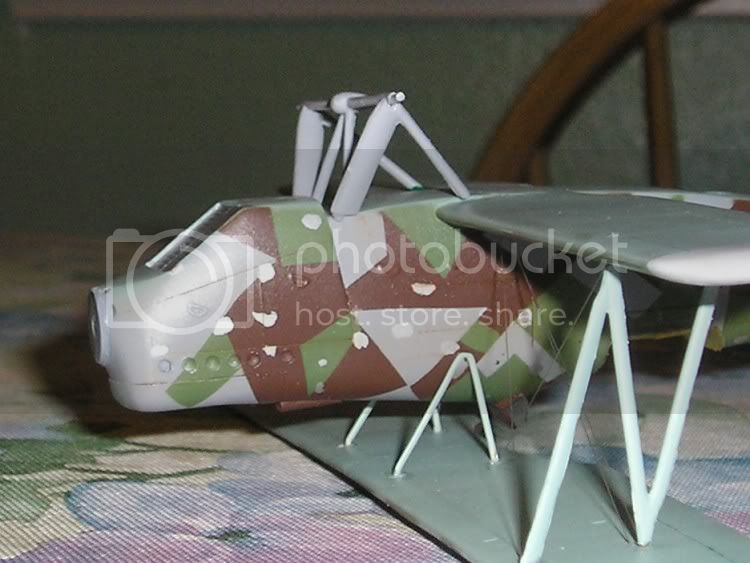
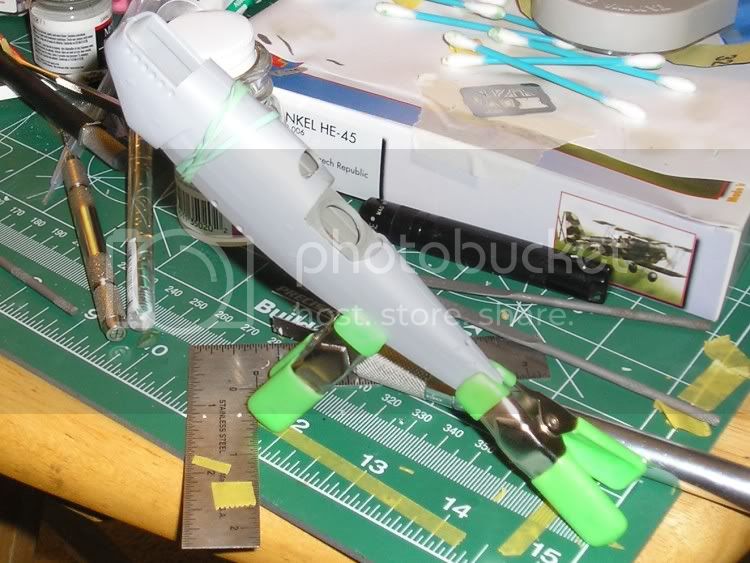
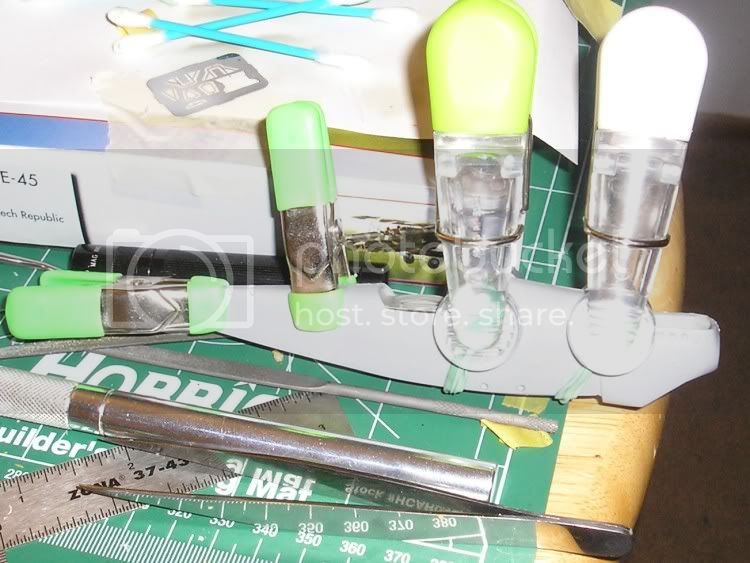
Still, the fuselage is almost completely closed up, and then I can go on to the relatively easy task of getting the wings and fins to properly mate to the fuselage.
I am saving the gun ring and photoetch for the finishing touches, as with all the manhandling I will likely have to do I don't want to risk breaking any delicate stuff...

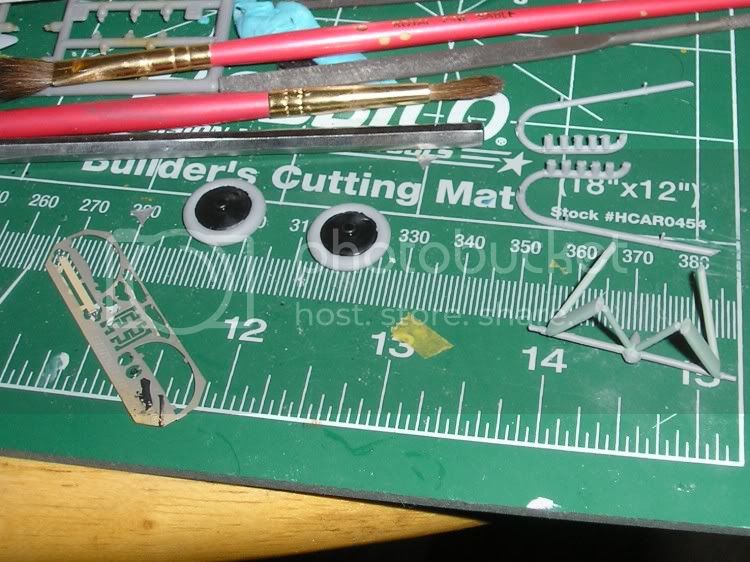
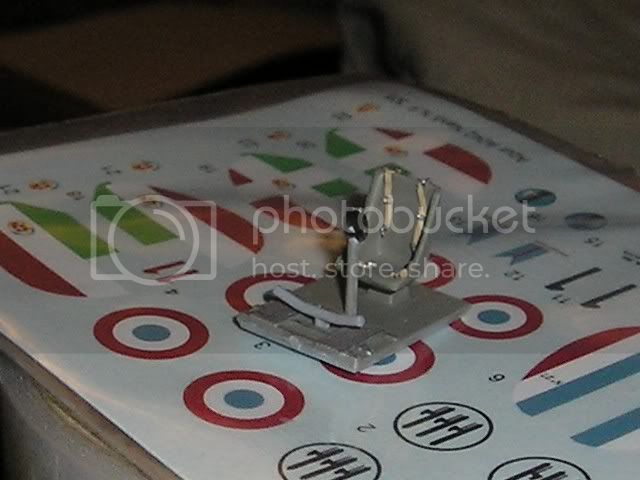
On a positive note, I CAN see the nice photoetched seatbelts provided with the kit, which made my whole day.