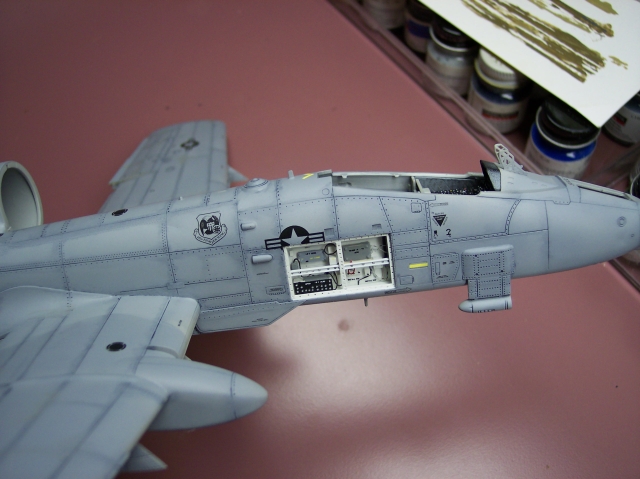
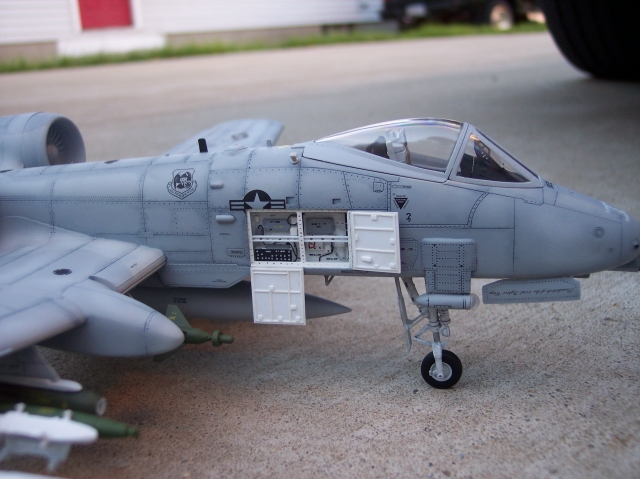
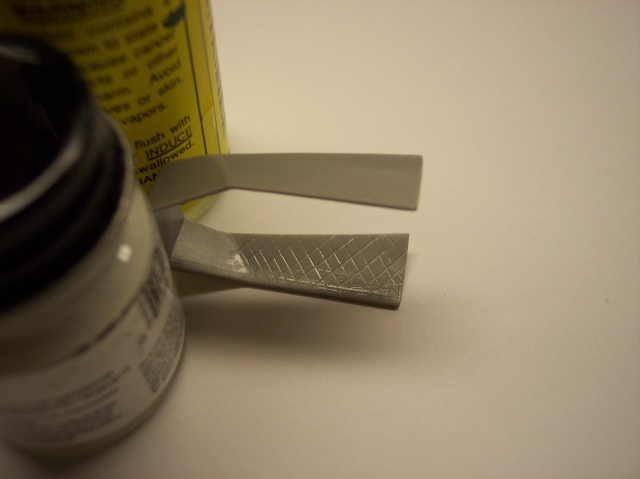
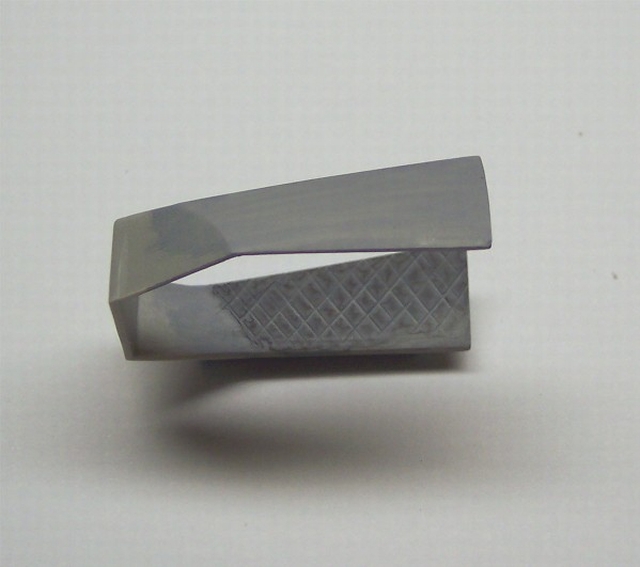
As with most aircraft kits you start with the cockpit which is where I stared. The instrument panel is right and its detail isnt that bad. As for the ACES ejection seat, it to is pretty good, only thing missing was the lap belts. Ill make mine from masking tape.
The cockpit was painted in light ghost gray while the panels were painted in matt black. After the black dried I used my hobby knife and lightly scraped of the black from the knobs to bring out the grays, and scribed in the nicks and marking in the dials. After that Future floor wax was applied in to the dials to represent the glass.
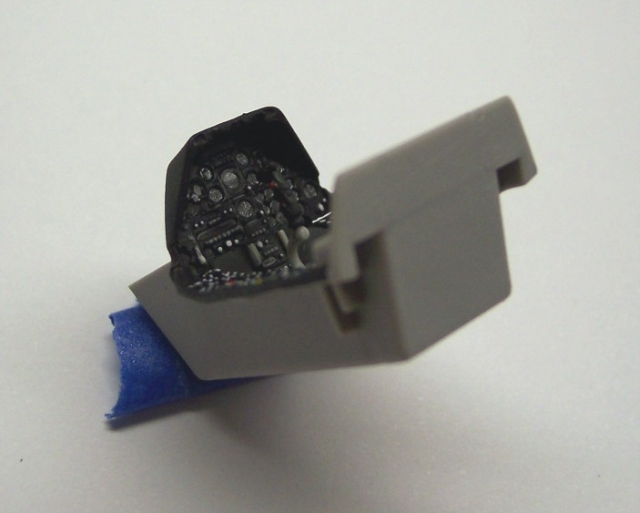
I then scribed in the padding along the cockpit walls and wiped Ten-X to soften the lines up. It was then washed to make the stand out and dirty.
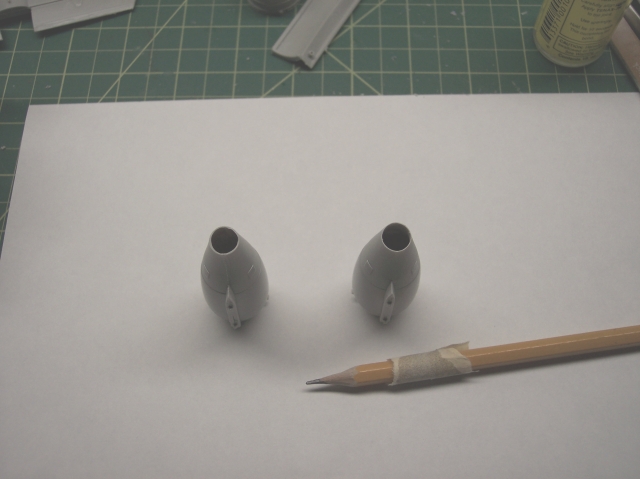
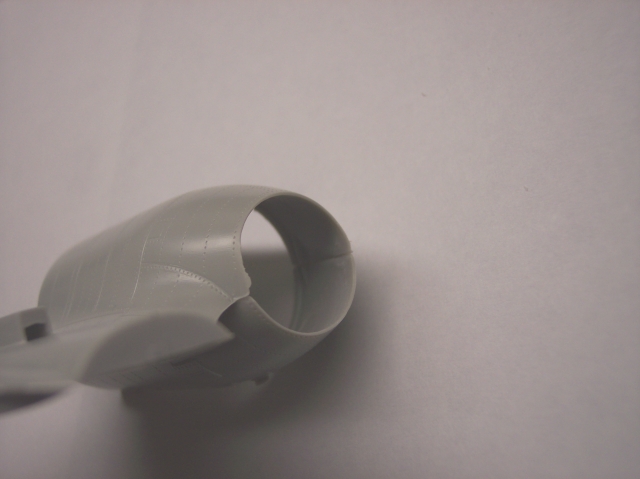
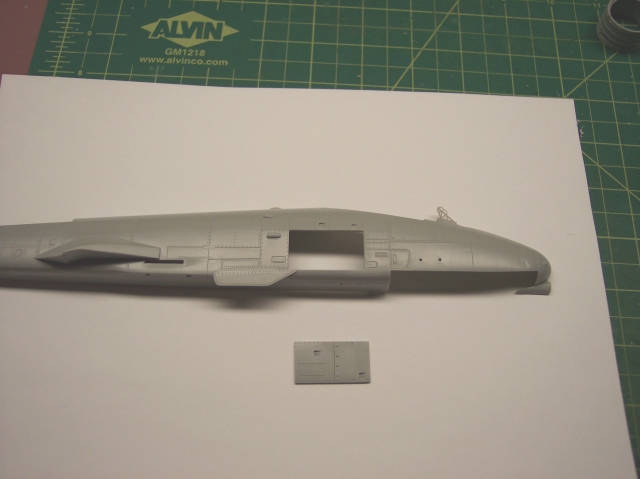
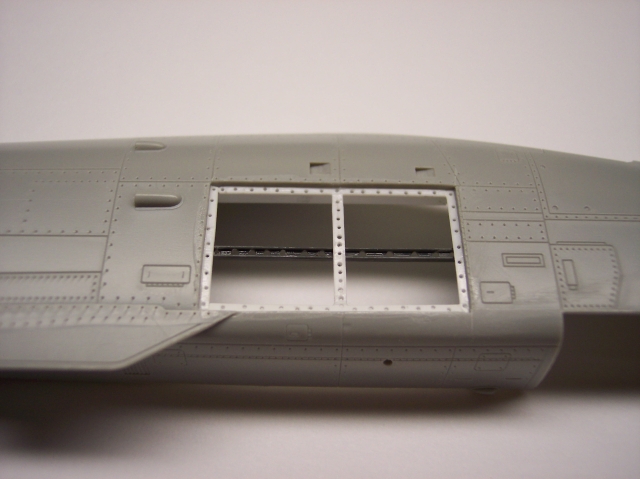
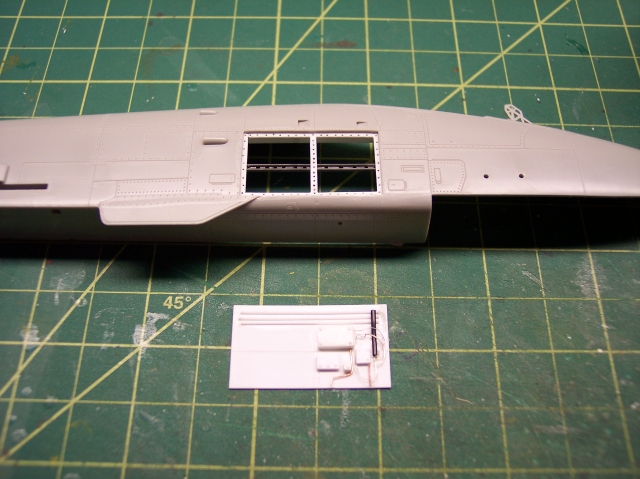
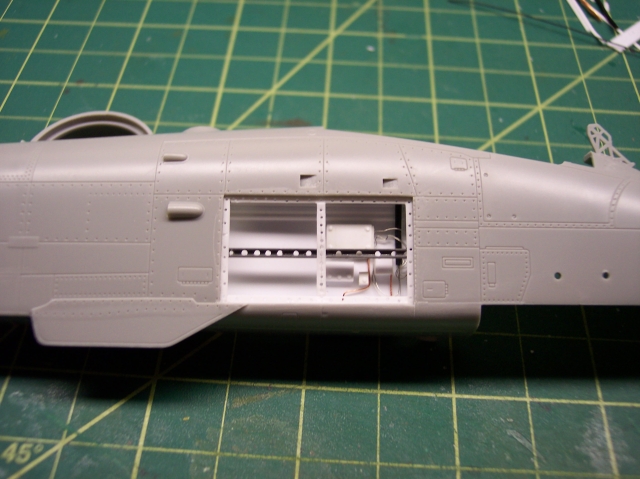
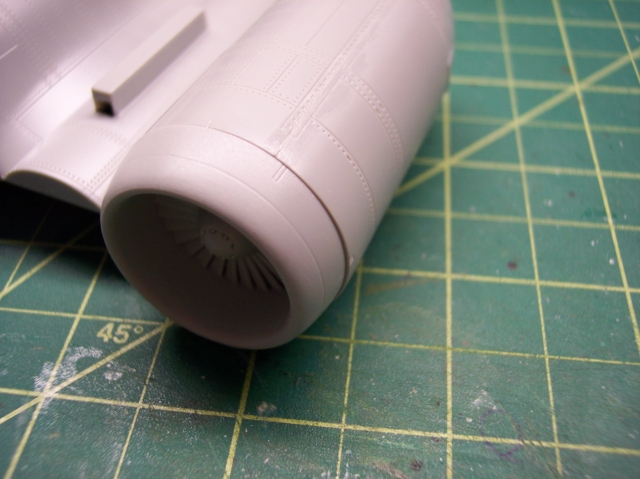
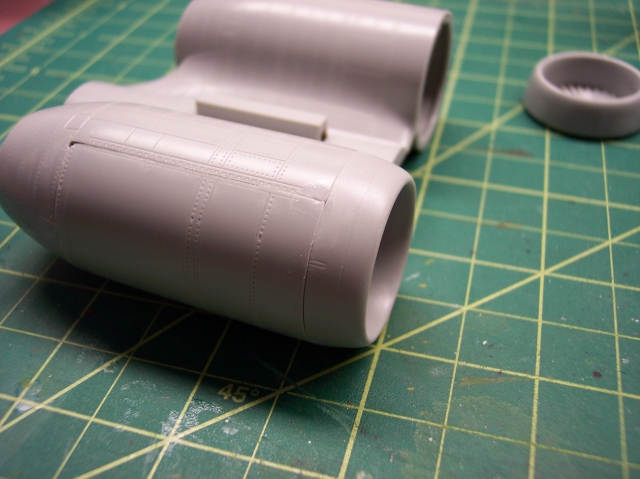
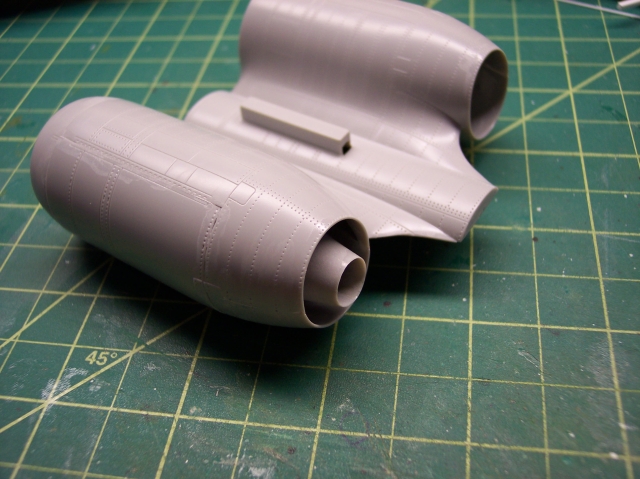
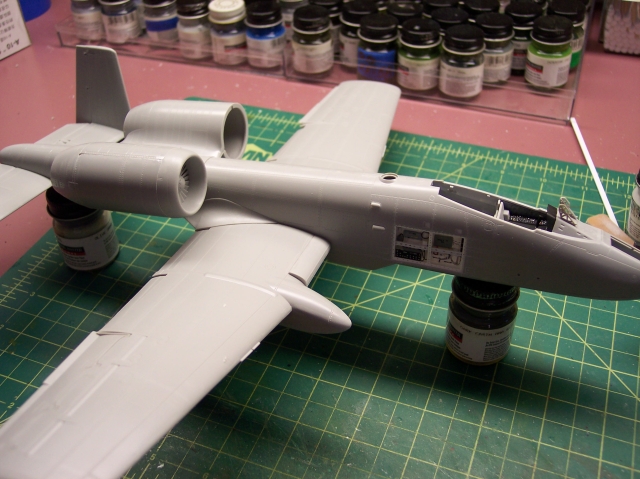
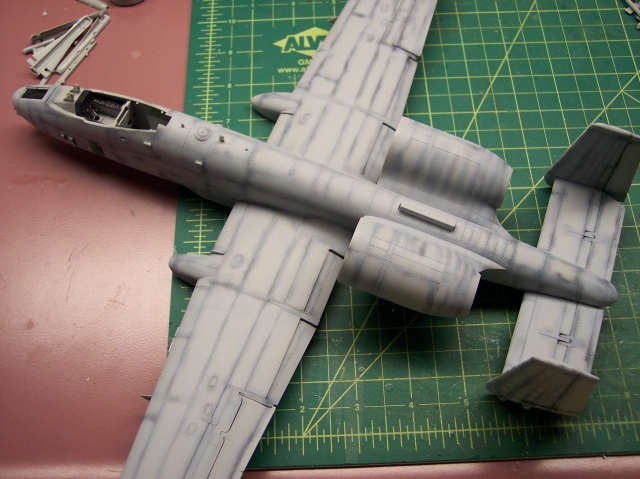
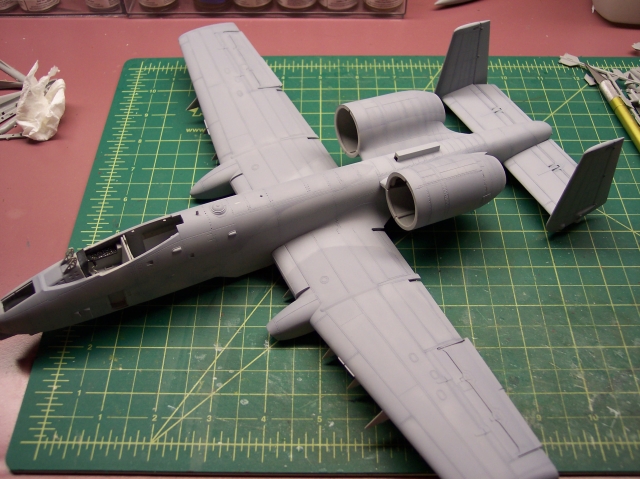
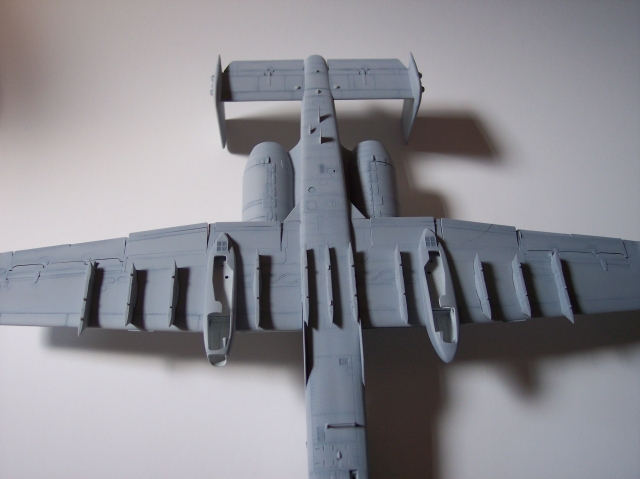
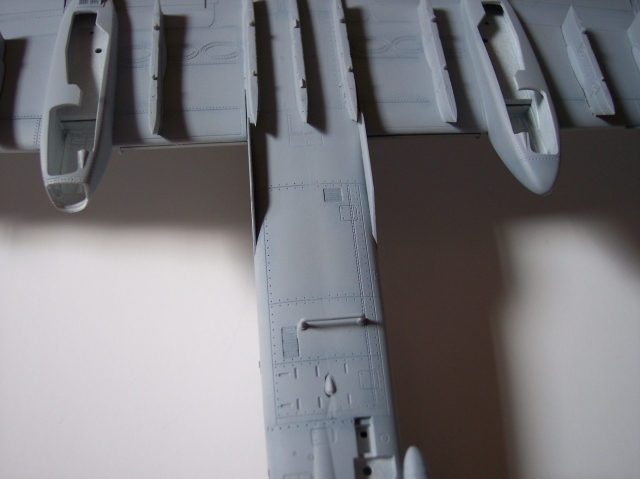
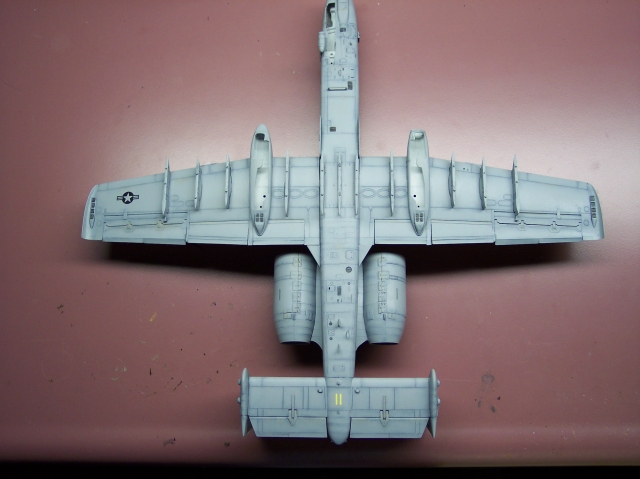
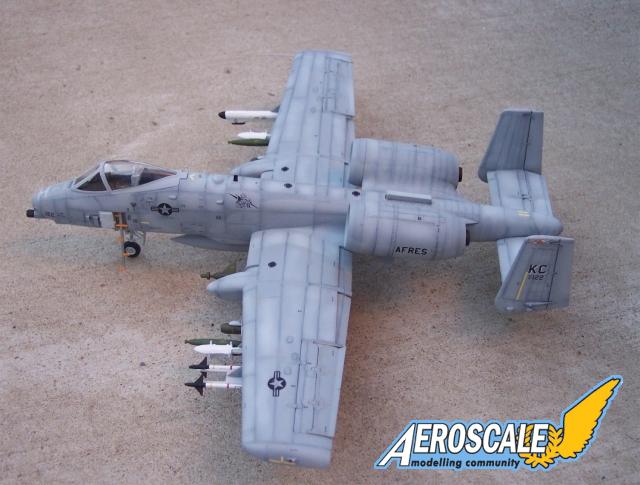
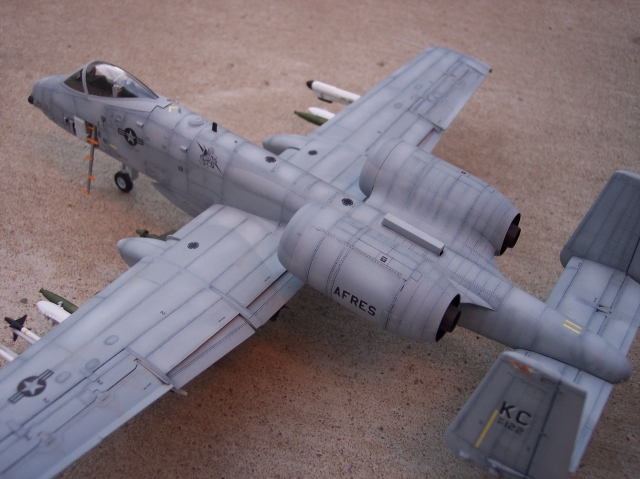
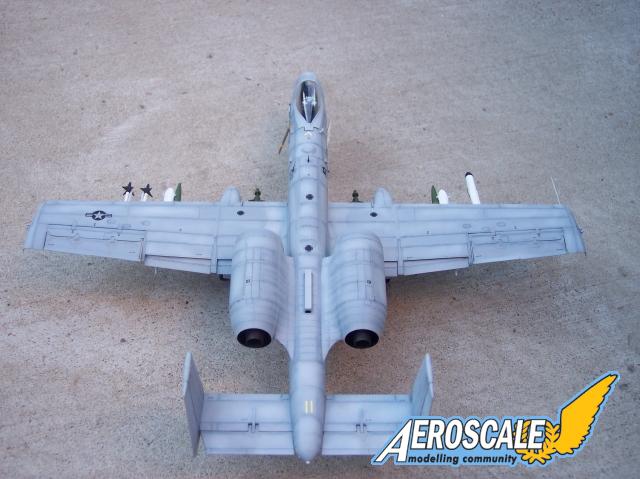
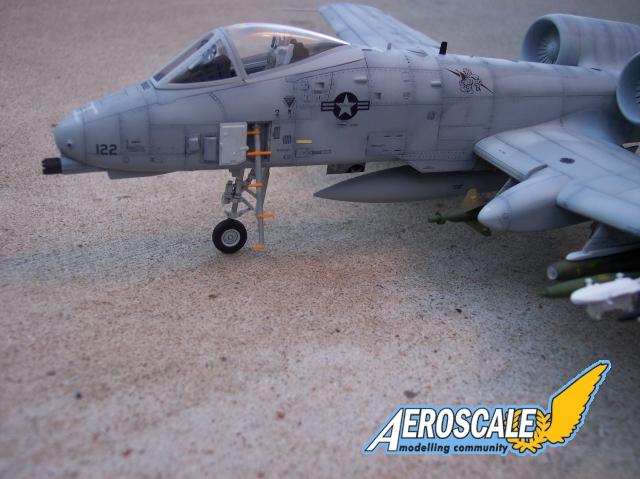
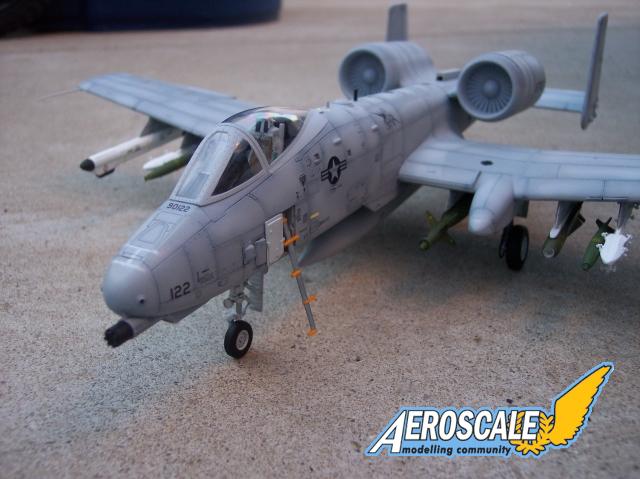
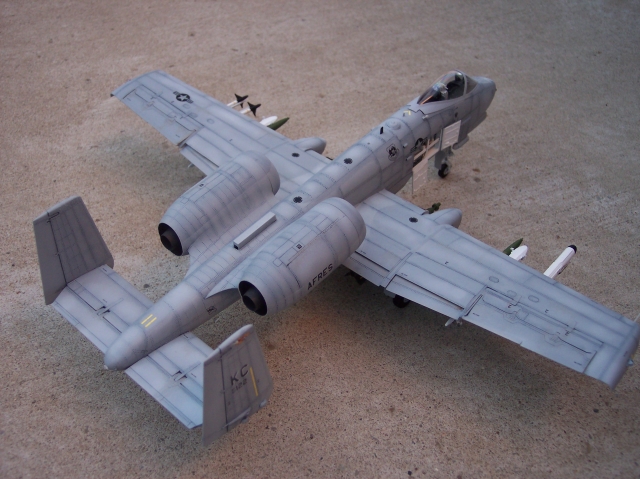
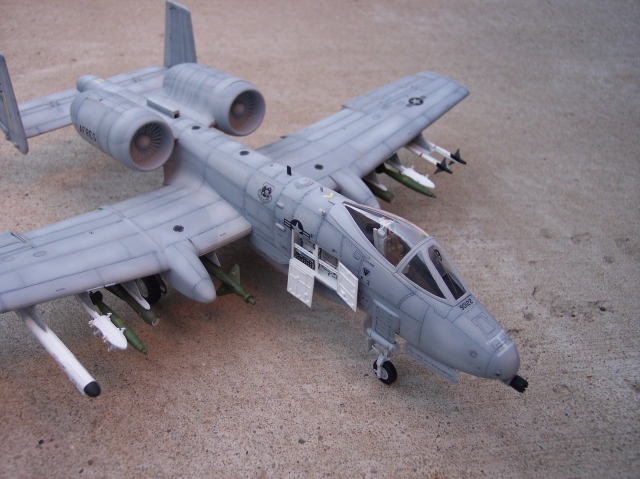
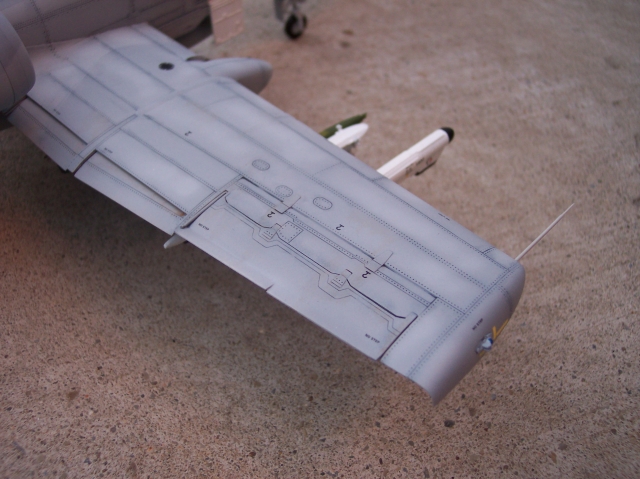
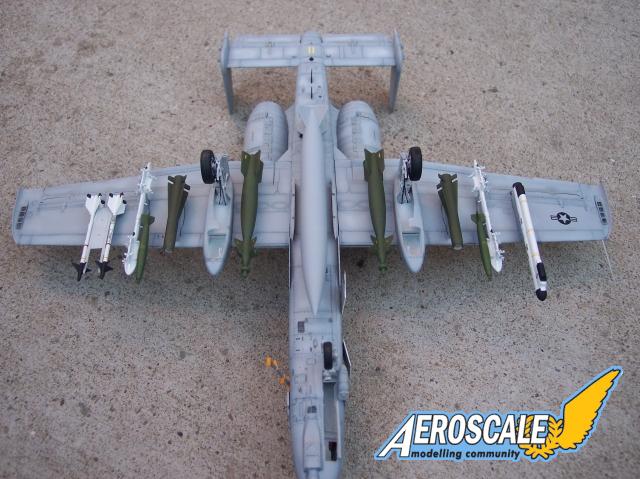
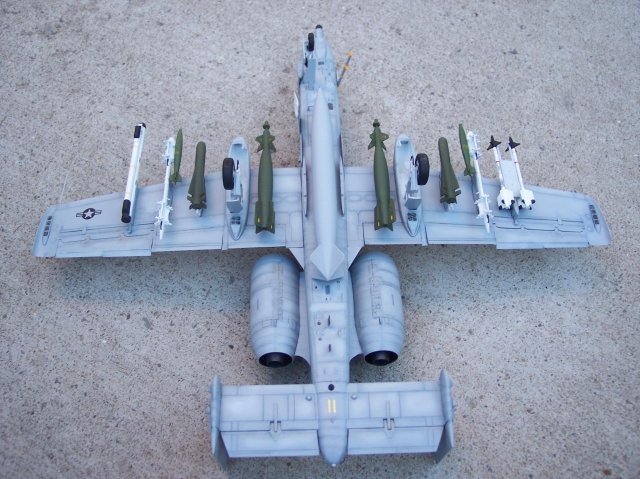
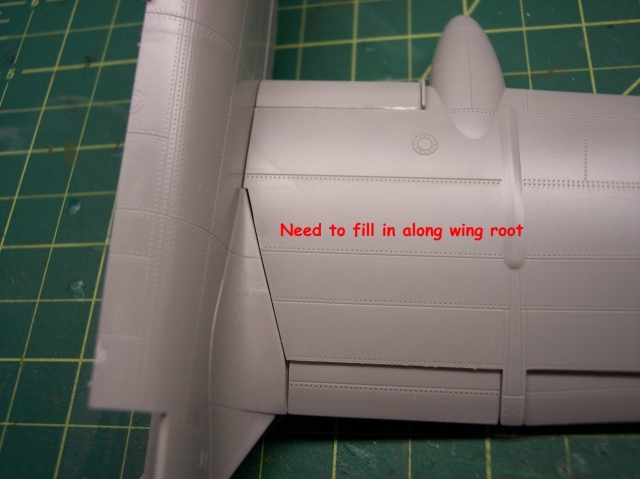
The wings were built pretty straight forward, you will need to dry fit. I knew I would have to fill the wings to the fuselage, but its a bit more than I expected.
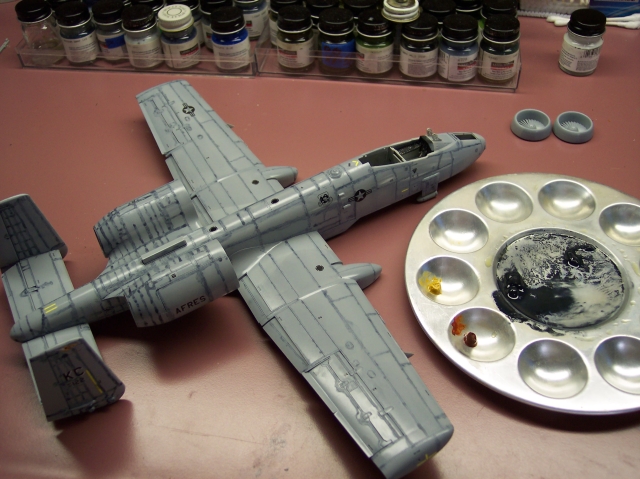
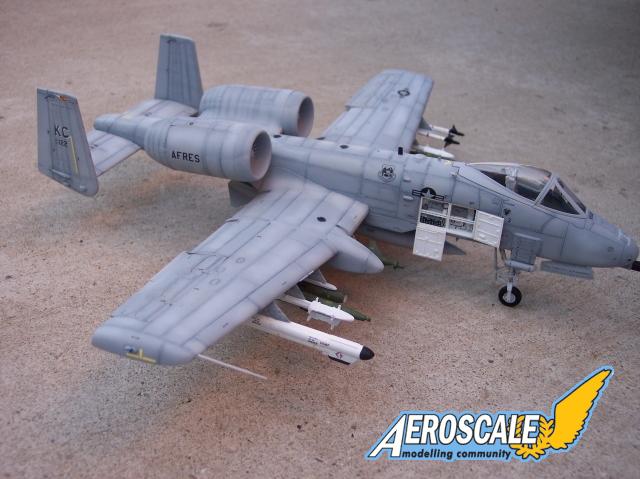
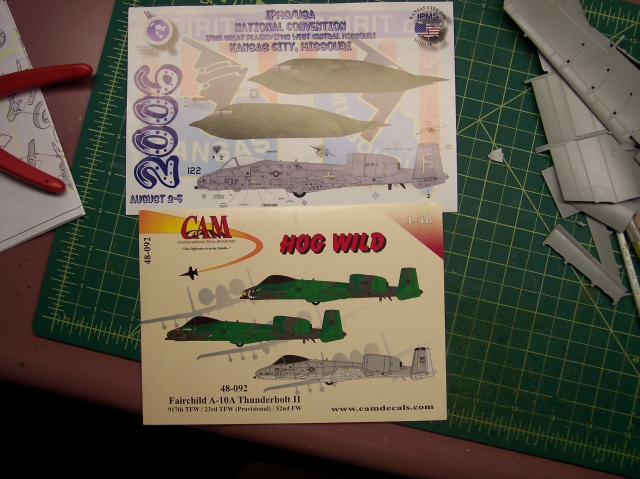
At this moment Im not sure which decals Im going with, but here is my choices.
More in the next day or two.
Joe