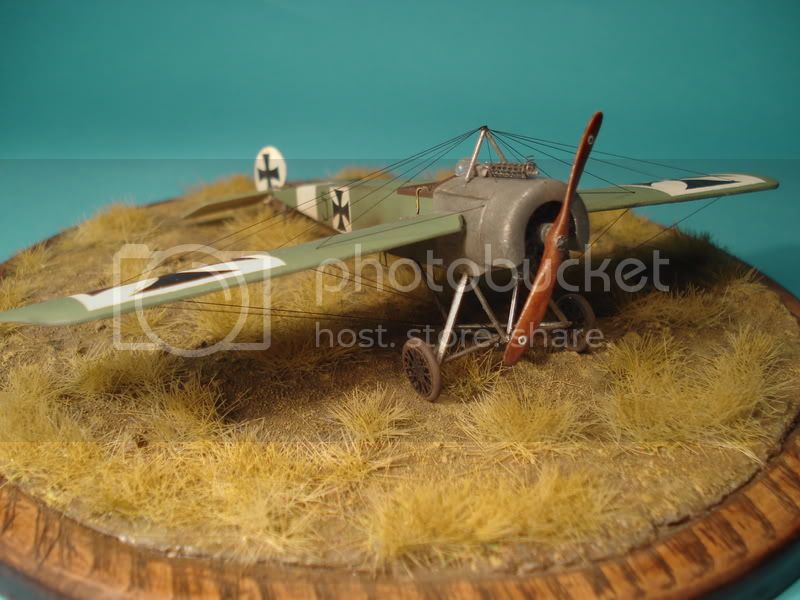
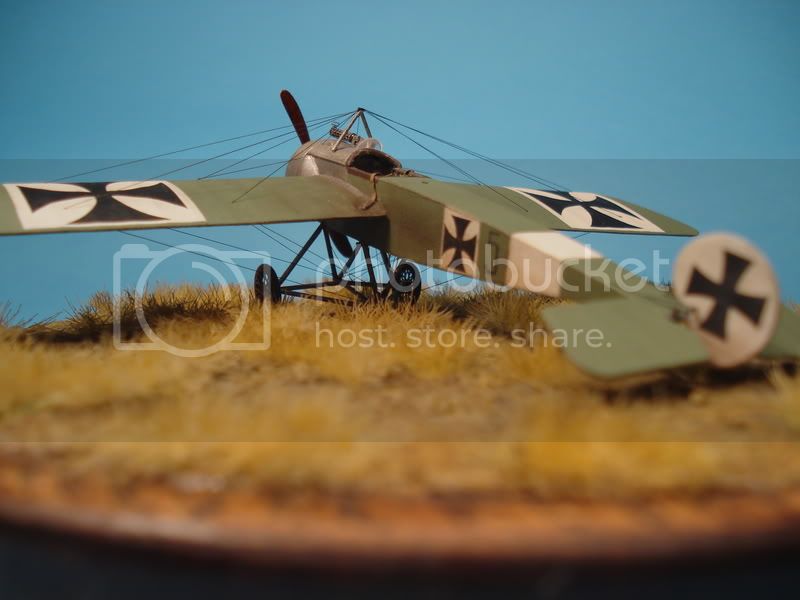
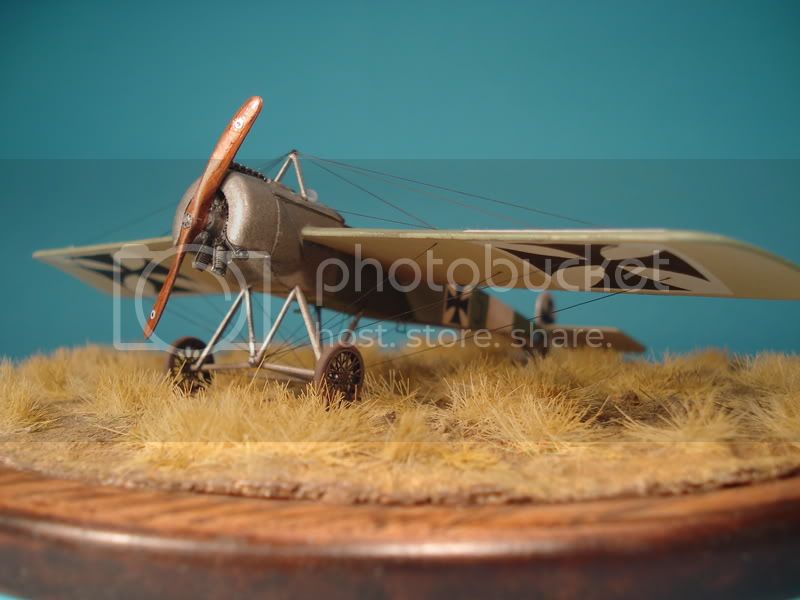
This is my 1:72 Fokker E.III.
The kit is from eduard and includes very good decals, PE parts, masks,... I found the profil on the internet and a picture of the real aircraft in a book. So all I`ll needed was a windshild, homemade decals (the 5 on the side of the model) and the right mix of colour.
Early Aviation
Discuss World War I and the early years of aviation thru 1934.
Hosted by Jim Starkweather
Fokker E.III (Black 5)
TheZOX
Slovenia
Joined: August 23, 2007
KitMaker: 86 posts
AeroScale: 75 posts
Joined: August 23, 2007
KitMaker: 86 posts
AeroScale: 75 posts
Posted: Thursday, August 23, 2007 - 10:47 AM UTC
JackFlash
Colorado, United States
Joined: January 25, 2004
KitMaker: 11,669 posts
AeroScale: 11,011 posts
Joined: January 25, 2004
KitMaker: 11,669 posts
AeroScale: 11,011 posts
Posted: Thursday, August 23, 2007 - 12:57 PM UTC
Greetings TheZOX; Nicely done build! Tell us more about your build. Any thoughts about the kit you used? Tell us more.
TheZOX
Slovenia
Joined: August 23, 2007
KitMaker: 86 posts
AeroScale: 75 posts
Joined: August 23, 2007
KitMaker: 86 posts
AeroScale: 75 posts
Posted: Friday, August 24, 2007 - 08:13 AM UTC
Quoted Text
Greetings TheZOX; Nicely done build! Tell us more about your build. Any thoughts about the kit you used? Tell us more.
Well eduard did a great work. The kit is accurate and there were no problems building it because the parts just fit together perfectly. I used revell emails to mix the main green colour, the underside of the wings was painted in "linen" 312. The rigging was showen perfectly in the instructions, I made the "wires" from melted plastic and glued them on the model with super glue. I made the custom decal from a bigger decal that I didn`t needed and painted it in the main green colour. The second step was to print the 5 on the decal and sprey it with hair spray to protect the ink. And the final step was to cut it out and put it on the model.