_GOTOBOTTOM
Modern (1975-today)
Discuss the modern aircraft age from 1975 thru today.
WIP S-3A Viking
mother
_VISITCOMMUNITY
New York, United States
Joined: January 29, 2004
KitMaker: 3,836 posts
AeroScale: 1,036 posts
Posted: Saturday, October 13, 2007 - 10:13 AM UTC
While looking deep into the closet I found this kit, I’m building it for the Mark Sharpe campaign. It’s a 1/48th AMT 3-3H Viking. It was originally released by ESCI and now by Italeri. The molds have to be 20 years old or better and despite its age it’s still a great kit and pretty accurate.


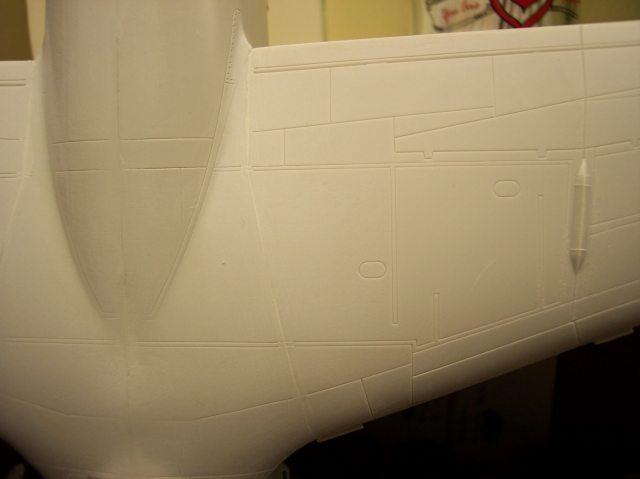
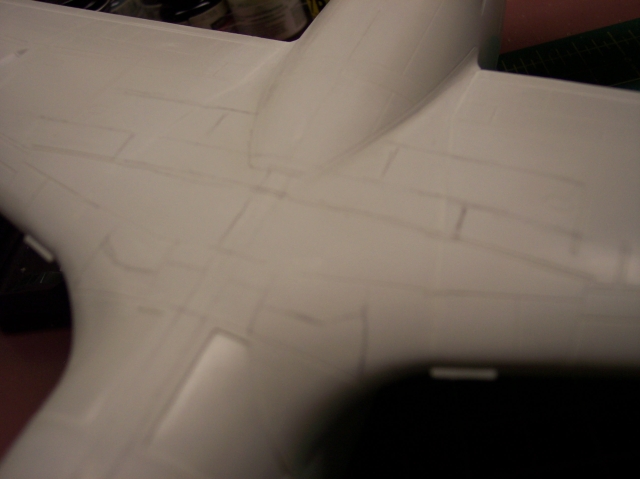
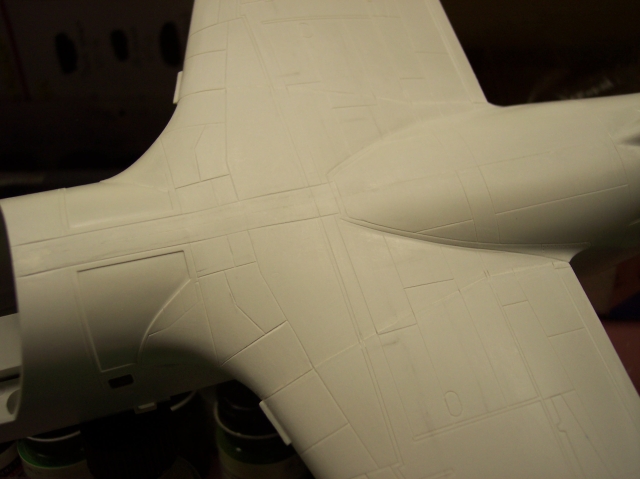
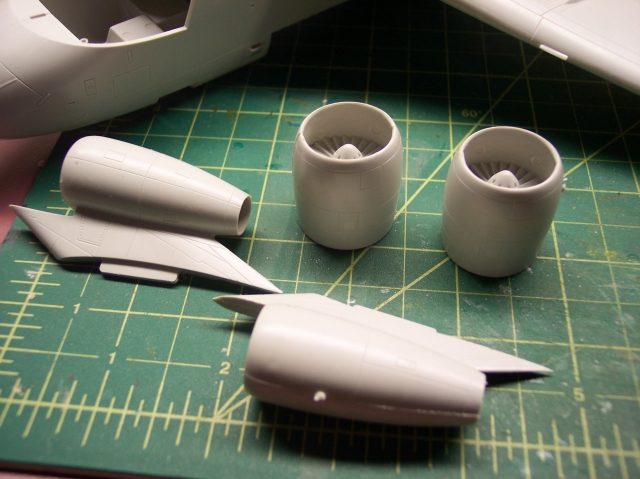
All the panel lines are engraved and looking at references they also see to be right. There are a few that need to be added in just after where the wings attach to the fuselage. There is a small hole in the vertical stabilizer (the environmental control intake) that needs taking care of. I’ll use a small tube, fill and sand to correct it.


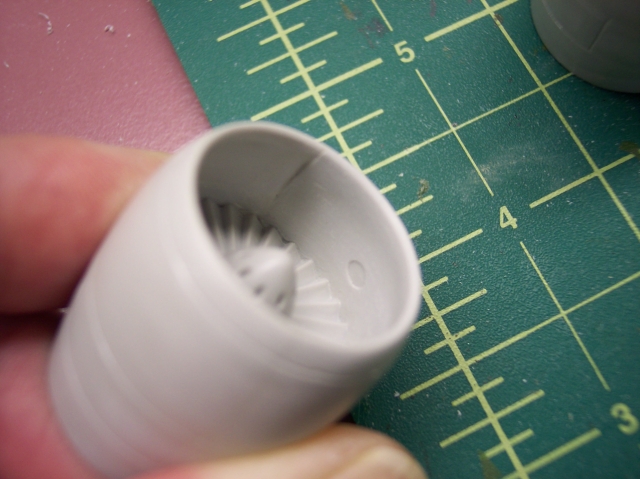
Dry fitting the bay doors revealed some small gapping so some extra filling work will be needed. The biggest area that’s needs attending is the intakes. There are two nasty seams running down through them and hard to get at. There are some aftermarket intakes (AMS Resin) out that will help out here. I’ll just scratch build mine. The cockpit area is a bit empty. But that’s no biggie as the Viking has a smoked canopy, so you’ll really won’t see much from the outside. There are aftermarket cockpits as well. I will not be using them.


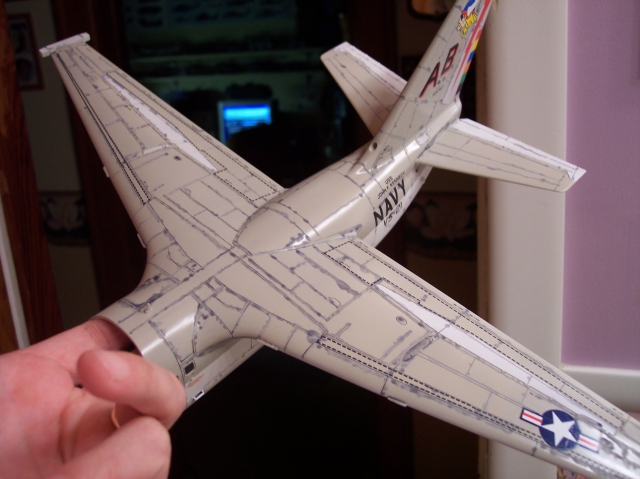
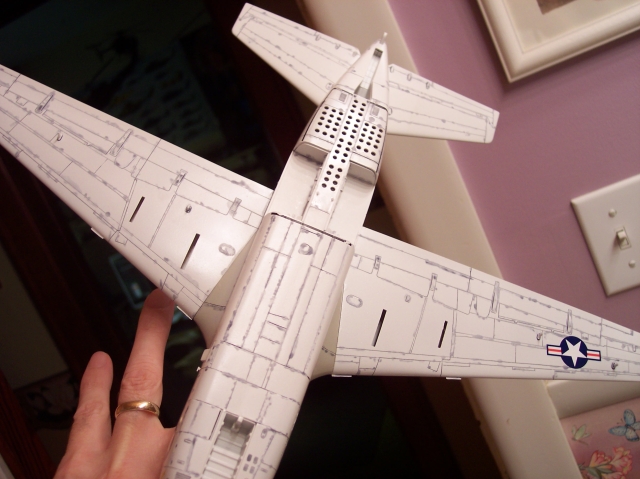
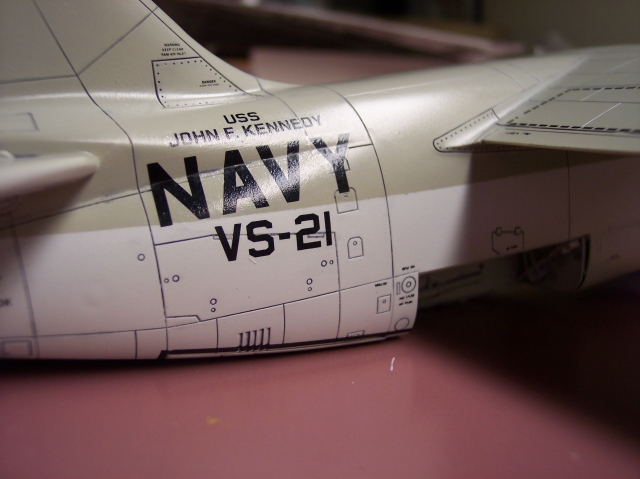
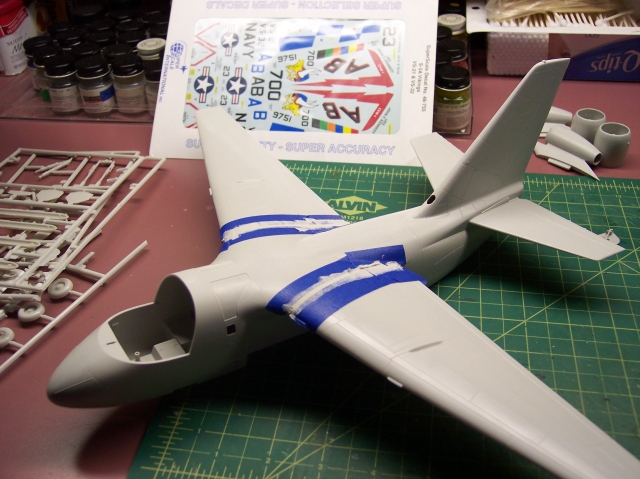
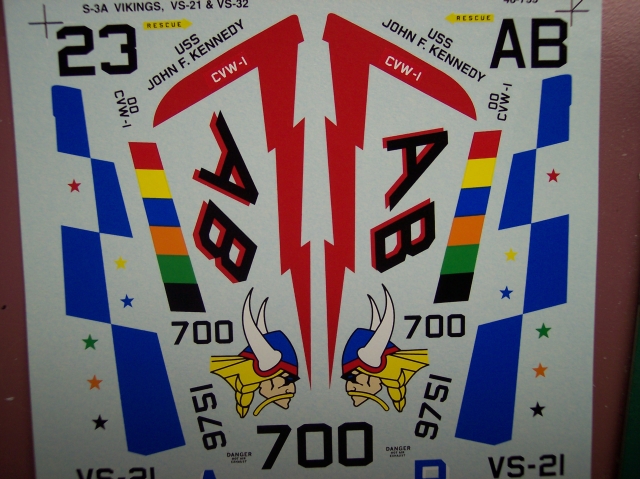
I balanced it on a pencil to see if weight was need, yes small amount. Good thing is that I can add the weight later through the opening where the cockpit goes into. The cockpit can be added later after the fuselage is painted. I’m using aftermarket decals from Super Scale. The markings are high-viz for the S-3A VS-21 CAG.


Paragon makes a resin wing and tail fold set. I thought about it, then looking at what there going for on eBay…guess not.

More to follow,
Joe
mother
_VISITCOMMUNITY
New York, United States
Joined: January 29, 2004
KitMaker: 3,836 posts
AeroScale: 1,036 posts
Posted: Saturday, October 13, 2007 - 03:34 PM UTC
While watching the NASCAR race at Lowes Motor Speedway I was able to do a bit more to the fuselage.

Here is where the wing and fuselage meet, very little putty was used. Also panel lines missing and need scribing.


Panel lines marked in pencil using reference from books.


Scribing tool and Dymo tape used to aid in scribing.


Scribing finished, after using the tool I lightly sanded the lines, then brushed out the dust and finished off by brushing over the lines with Ten-X.


More to come,
Joe
LogansDad
_VISITCOMMUNITY
North Carolina, United States
Joined: March 30, 2004
KitMaker: 938 posts
AeroScale: 109 posts
Posted: Sunday, October 14, 2007 - 12:26 AM UTC
YO JOE!
Looking like one of your classics in the making. (As Usual).
If it'll help, I'vegot a bunch of Photos of this Bird in my Albums...Not that you need help, but I was at an airshow & had the time.
Also, an interesting bit of trivia- this was the first aircraft in the US Navy with 'Autoland' Capability.
I worked w/ a former MasterChief who had to use it for the first "realtime" landing on a carrier. Seems they had a midair w/a waterfowl & both the Pilot & right-seater were blinded by blood & shattered Plexi on final approach to the Carrier. The FC Chief, a Mr. Bob Smith, heard the impact & screams from the cockpit. He hopped forward & engaged the Autoland & the bird just sailed right in. He said it was the worst landing he ever had to sit through, but also the best- No Fatalities.
jhoog59
_VISITCOMMUNITY
Florida, United States
Joined: November 13, 2005
KitMaker: 189 posts
AeroScale: 129 posts
Posted: Monday, October 15, 2007 - 06:01 AM UTC
Good work so far .I have 2 of these in my stash so I will pay attention
mother
_VISITCOMMUNITY
New York, United States
Joined: January 29, 2004
KitMaker: 3,836 posts
AeroScale: 1,036 posts
Posted: Monday, October 15, 2007 - 05:20 PM UTC
Thanks guys, and I just finished painting and spraying on the gloss coats. Tomorrow I'll decal and weather using oils. I'll take pic tommorow evening.

Rob, do you have pics of the struts and wheel bays. Thanks for the trivia also.

Joe
mother
_VISITCOMMUNITY
New York, United States
Joined: January 29, 2004
KitMaker: 3,836 posts
AeroScale: 1,036 posts
Posted: Wednesday, October 17, 2007 - 04:57 PM UTC
Update, once the gloss coat (Future Floor Wax) dried for a day I applied a gray oil wash. Now some will wait for the oils to totally dry, then use a thinner to wipe up. I only wait 4-5 hours after applying the wash for removal. I use Q-Tips for this procedure and wipe in the direction of flight. Next I'll spray on a coat of Testors Dull Coat and then finish up the rest of the construction.


Question and comments welcomed,
Joe
Samuca
_VISITCOMMUNITY
Rio Grande do Sul, Brazil
Joined: February 22, 2004
KitMaker: 65 posts
AeroScale: 6 posts
Posted: Thursday, October 18, 2007 - 12:30 AM UTC
S!
Very nice work.
Keep the good job.
LogansDad
_VISITCOMMUNITY
North Carolina, United States
Joined: March 30, 2004
KitMaker: 938 posts
AeroScale: 109 posts
Posted: Thursday, October 18, 2007 - 10:46 AM UTC
HeyJoe-looks like ive got 4 or 5 in my Gallery under "S3b Viking Walkaround" that might interest you.
Amd I know I've said this before but I'm gonna say it again:
Dude, your panel wash technicque is (censored) AWESOME!
jhoog59
_VISITCOMMUNITY
Florida, United States
Joined: November 13, 2005
KitMaker: 189 posts
AeroScale: 129 posts
Posted: Thursday, October 18, 2007 - 04:45 PM UTC
Wow you can really knock these things out fast. And do a great job to boot.
Jim
Fuji13
_VISITCOMMUNITY
Florida, United States
Joined: November 15, 2007
KitMaker: 3 posts
AeroScale: 2 posts
Posted: Thursday, November 15, 2007 - 08:30 AM UTC
Looking pretty good there Joe - Very impresive work.
 _GOTOTOP