_GOTOBOTTOM
Pre-Flight Check
Constructive critique of your finished or in-progress photos.
Mitsubishi XF-2A
RedwingNev
_VISITCOMMUNITY
England - East Midlands, United Kingdom
Joined: February 07, 2004
KitMaker: 911 posts
AeroScale: 415 posts
Posted: Thursday, November 01, 2007 - 06:10 AM UTC
I've been working away on this kit the last week or so, lots of preparation work, cutting out and cleaning up of parts etc. Finally at the stage where I can share some work.

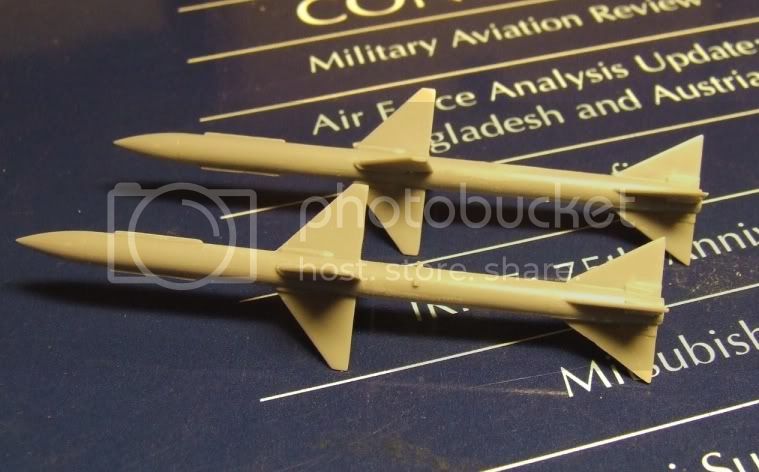
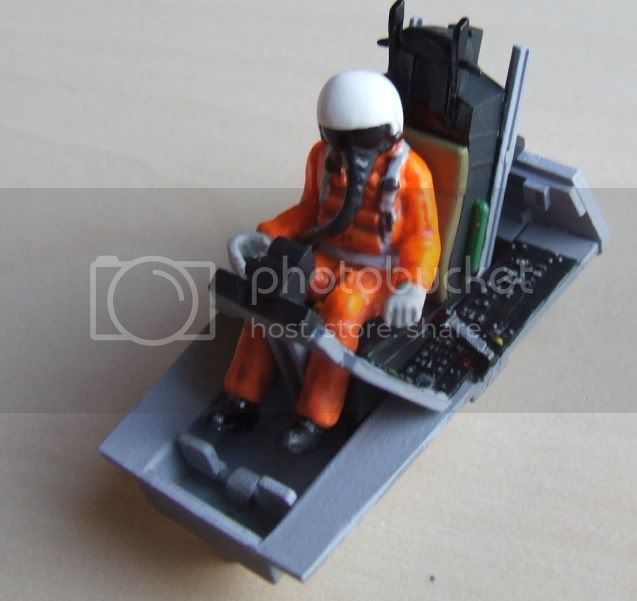
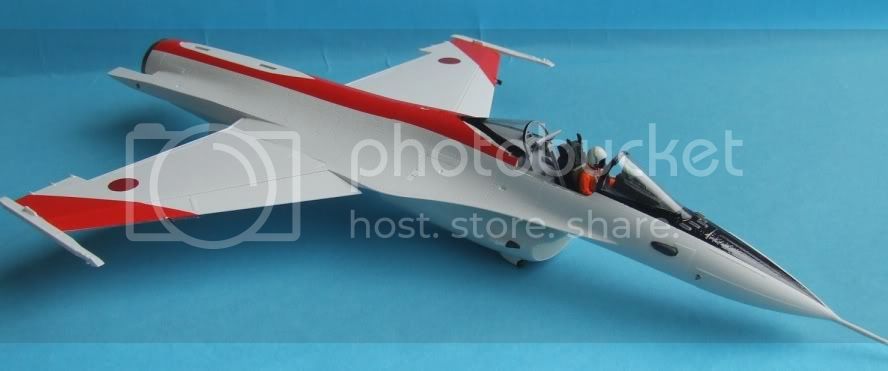
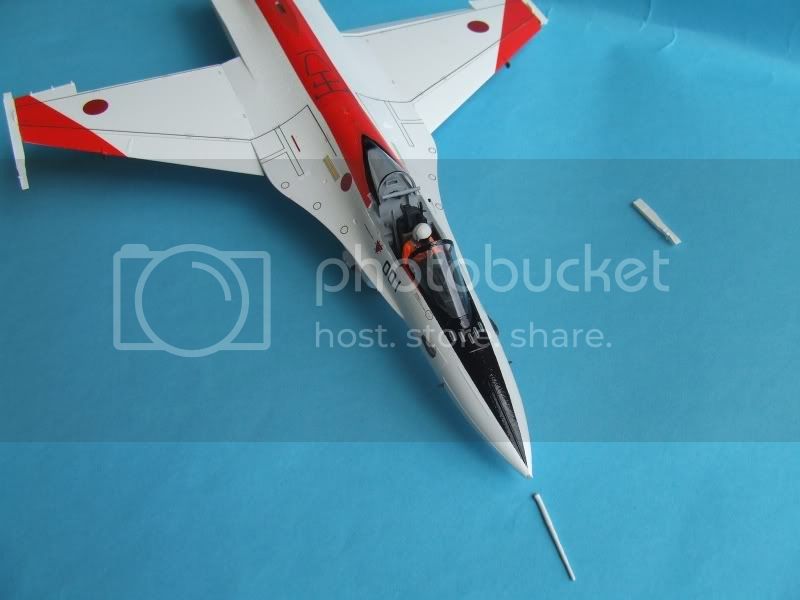
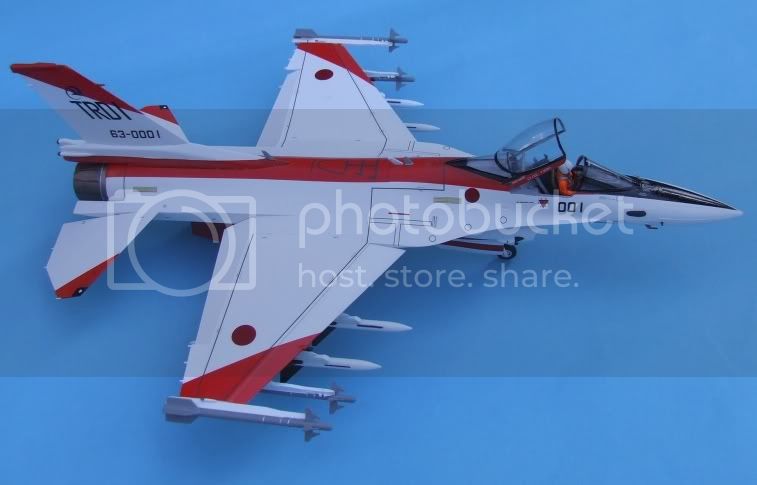
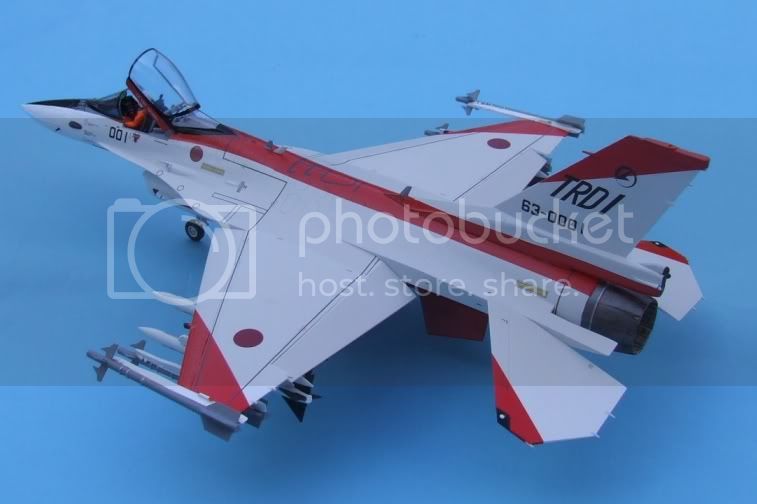
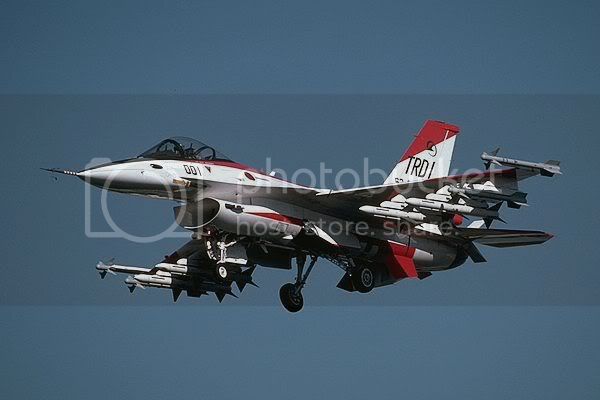
She's going to be as shown in this pic, loaded for Bear :tank:
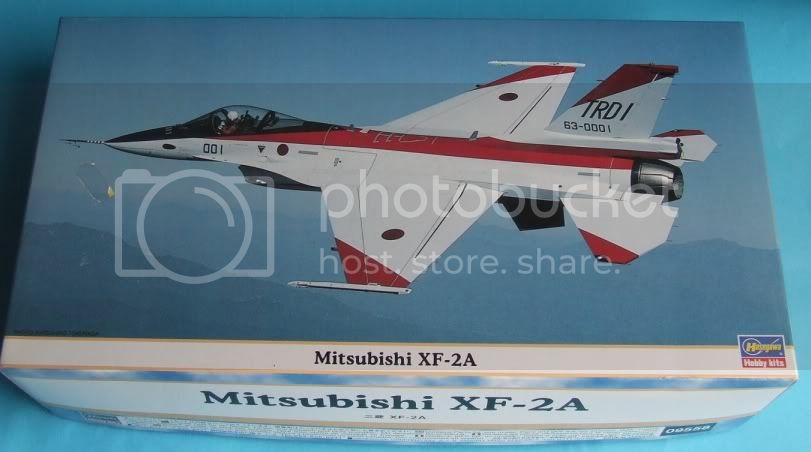


Obligatory box shot


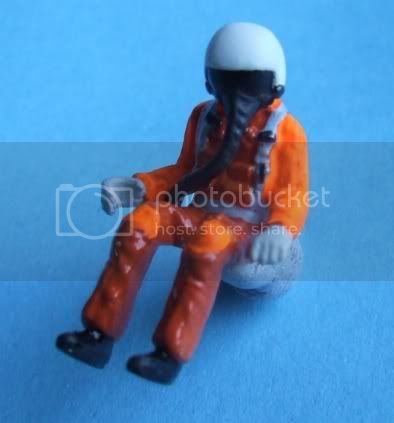
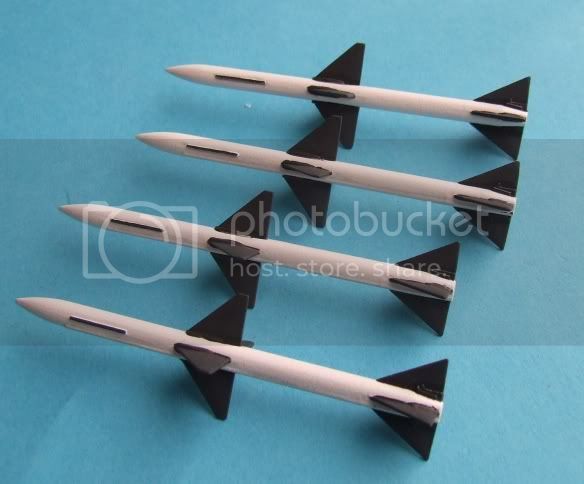
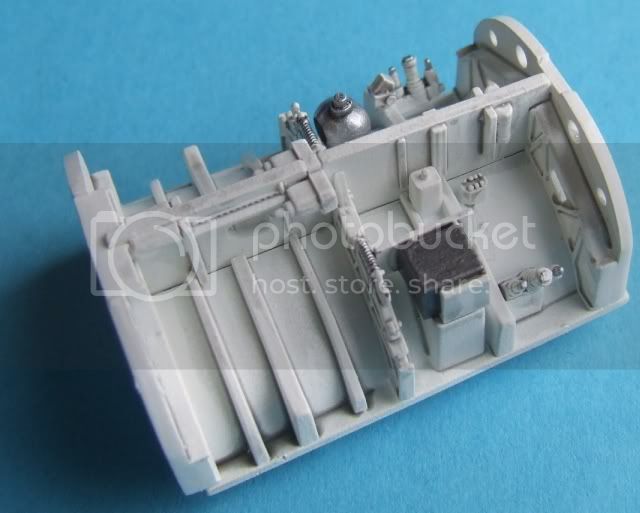
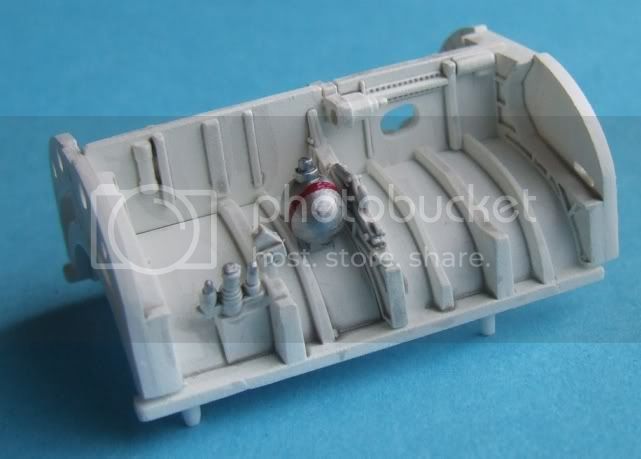
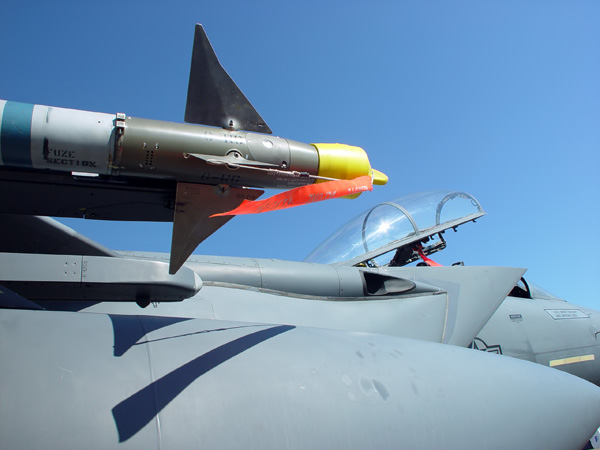
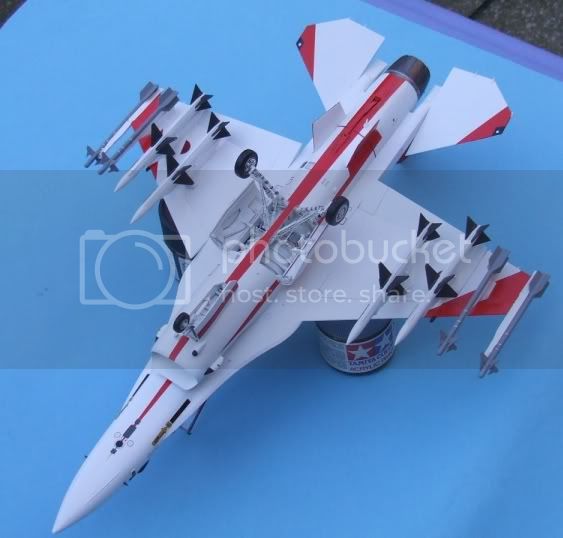
Halfords Grey Primer is very close to the grey in the Viper Zero's cockpit, as well as the colour of the AAM-3s, or at least close enough for a base coat.


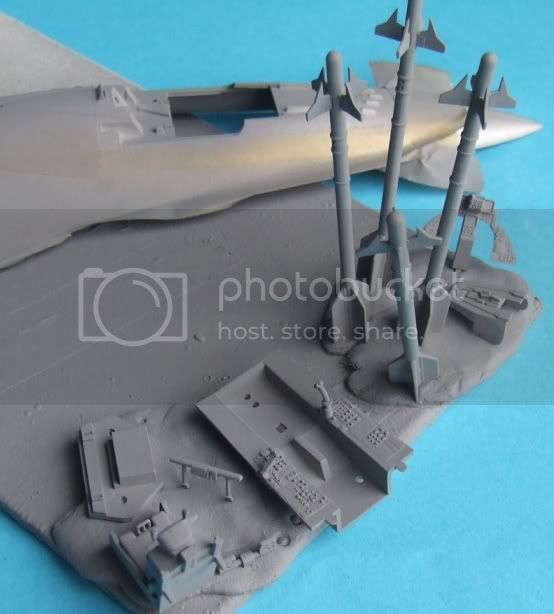
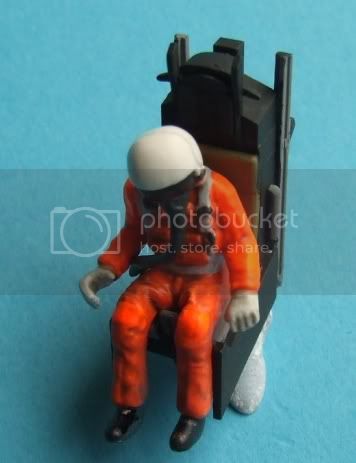
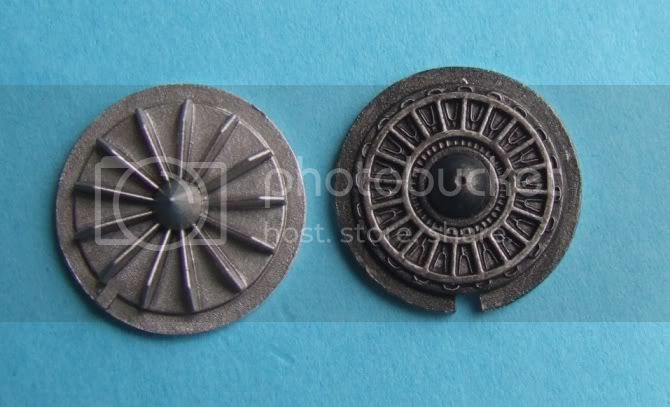
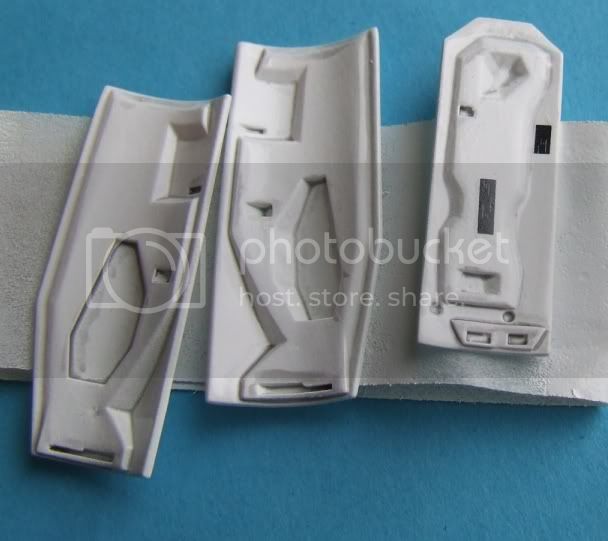
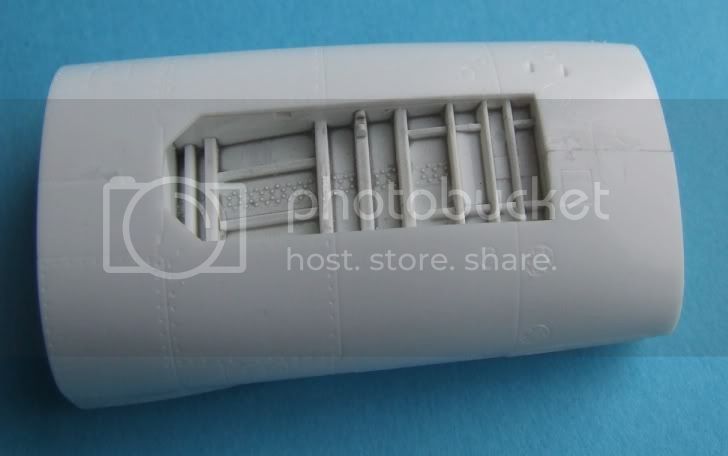
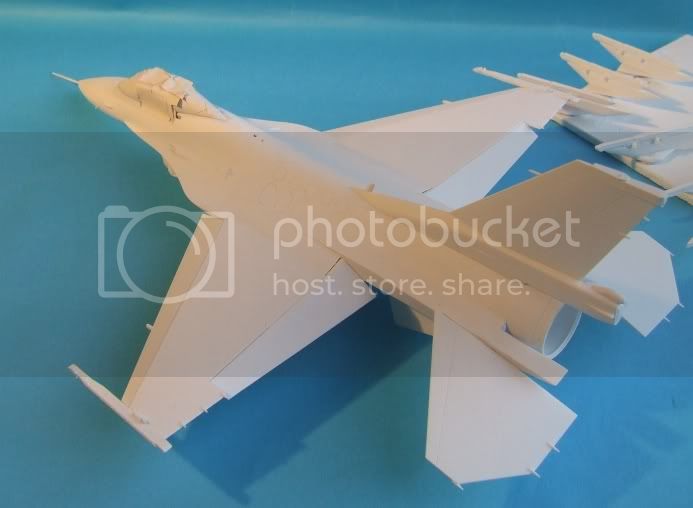
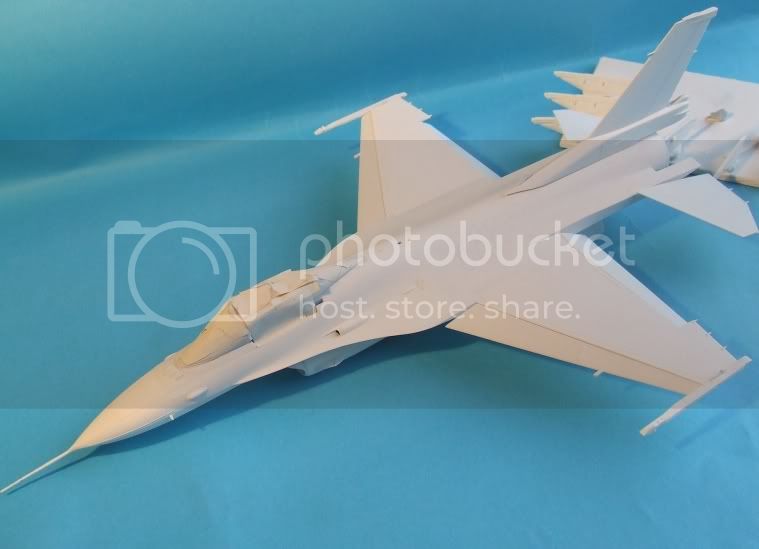
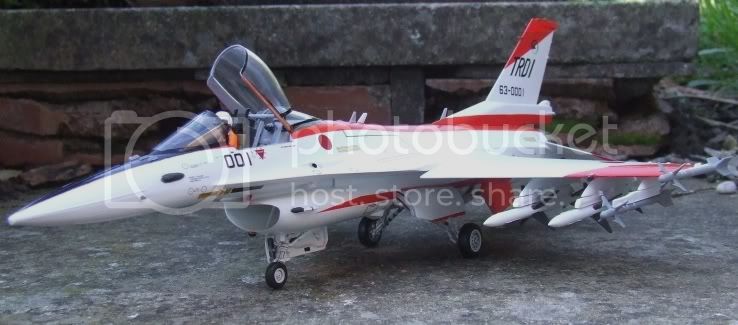
As you can see the quality of the kit is high - it really looks like one of those models that will really reward patient & thorough modelling, which has been how I've progressed so far. Really enjoying this one, but won't get it done in time to appear on the R&D SIG stand at Telford this year
RedwingNev
_VISITCOMMUNITY
England - East Midlands, United Kingdom
Joined: February 07, 2004
KitMaker: 911 posts
AeroScale: 415 posts
Posted: Thursday, January 03, 2008 - 10:30 PM UTC
Newborn baby or no newborn baby I actually got my first modelling in months done last night! um:

Got to work on the Sparrows. I used ones out of the Hasegawa weapons set and they required a lot of clean up - heavy flash, ejector pin marks etc. They also had some weird little nodules on the missile which I have no idea what they are meant to represent so I cut them off. Here is a before and after.


Also got to work cleaning up the giant sink marks in the intake trunking...
RedwingNev
_VISITCOMMUNITY
England - East Midlands, United Kingdom
Joined: February 07, 2004
KitMaker: 911 posts
AeroScale: 415 posts
Posted: Friday, January 11, 2008 - 09:46 PM UTC
I've been getting a lot of progress done on this the last week, but a lot of it is prepatory work and not worth showing - but the next week I expect to make real fast progress *crosses fingers* Also its been raining pretty much non-stop the last few days so the light has been no good for taking pictures worth a damn (see above).

I've finished the basic colours on the pilot - just a couple of touch ups to do, eg round the knee pads - the 2 oranges I used for the flight suit and g-suit are MUCH more obvious in daylight than artificial light Then a wash and a flat-coat and he's done

RedwingNev
_VISITCOMMUNITY
England - East Midlands, United Kingdom
Joined: February 07, 2004
KitMaker: 911 posts
AeroScale: 415 posts
Posted: Thursday, January 17, 2008 - 06:34 AM UTC
OK, lots to update. Pilot figure is finished, but the dayglo orange is proving real hard to photograph. It looks a lot better in real life (honest!) The bang seat is only just started


engine in and out bits


Wheels - I added a couple of tiny strips of red decal. Don't know what they're supposed to be on the real thing, but I can see them in photos


Exhaust - a bit of experimentation both inside and out to try and replicate the real thing. I think I've done a better job of the metallic out than the ceramic in. I think I'll give that a couple more washes.


Gear doors. To replicate the placard on the nose gear door I used some drop-tank stencils for the Airfix 1/48, and used the same for the MLG placards


The AIM-7s were a nightmare to paint - 8 fins per missile, 4 missiles....32 fins :o, both sides makes 64.....I was going blind by the end. They still need a few fine details adding.


Gear bays


The whole kit is very finely engineered, to the point where even a coat of primer on the mating surfaces will cause 2 parts to not fit. I'm sure the intake is meant to fit better than this...


TedMamere
_VISITCOMMUNITY
Moselle, France
Joined: May 15, 2005
KitMaker: 5,653 posts
AeroScale: 4,347 posts
Posted: Thursday, January 17, 2008 - 11:17 AM UTC
Hi Neil!

Looks very good so far!

Do you plan to enter this bird in the Mark Sharp Campaign? I would be very pleased and you wouldn't feel so lonely...

Jean-Luc
RedwingNev
_VISITCOMMUNITY
England - East Midlands, United Kingdom
Joined: February 07, 2004
KitMaker: 911 posts
AeroScale: 415 posts
Posted: Thursday, January 17, 2008 - 10:40 PM UTC
Well, I never thought about entering, but since you asked, I shall
TedMamere
_VISITCOMMUNITY
Moselle, France
Joined: May 15, 2005
KitMaker: 5,653 posts
AeroScale: 4,347 posts
Posted: Friday, January 18, 2008 - 12:56 AM UTC
Hi Neil!

Great! I can't wait to see more progress on this colorfull bird...

Jean-Luc
RedwingNev
_VISITCOMMUNITY
England - East Midlands, United Kingdom
Joined: February 07, 2004
KitMaker: 911 posts
AeroScale: 415 posts
Posted: Monday, January 28, 2008 - 10:13 PM UTC
Update: cockpit finished! Its actually a kinda boring cockpit. So plain and black.......and being so new they're not at all weathered either


Pilot figure added (obscuring most of the cockpit detail :banghead: )


He's a bit of a Tight Fit (aaaaaaaagadoo-doo-doo) in there


Remember how I said the kit was so well engineered that even a coat of primer causes 2 parts to not fit? Well, without the cockpit in there, the 2 fuselage halves literally click together. With the cockpit in there, this is the result (and this is after 2 hours sanding, scraping, fettling and gouging to improve the fit!). I forsee much clamping and filling and sanding

RedwingNev
_VISITCOMMUNITY
England - East Midlands, United Kingdom
Joined: February 07, 2004
KitMaker: 911 posts
AeroScale: 415 posts
Posted: Thursday, February 14, 2008 - 11:13 PM UTC
Cooking with gas now. Couple of coats of white primer - needs touching up in a few areas still, then more primer, then the appliance white.

The fin and a lot of smaller bits like ariels aren't glued on yet because of the complicated decal arrangement....


stm
_VISITCOMMUNITY
Florida, United States
Joined: March 07, 2004
KitMaker: 98 posts
AeroScale: 96 posts
Posted: Tuesday, February 19, 2008 - 02:28 AM UTC
The fins on the AIM-9's need to be fixed, there is not a space like that in the canard fins. Other than that things are going along nicely

RedwingNev
_VISITCOMMUNITY
England - East Midlands, United Kingdom
Joined: February 07, 2004
KitMaker: 911 posts
AeroScale: 415 posts
Posted: Thursday, March 06, 2008 - 12:25 AM UTC
Thanks, but they're not AIM-9s, they're AAM-3s, an indiginous Japanese design.

Right, started decalling, but its proving......problematic

1) First off, the decal that joins to the canopy isn't right. There's a little nobbly bit on the spine that should be in the black trim - but is covered by the decal. This means that there is some black showing through the red.

2) Also the stripe down the spine around the rudder base isn't flush to the fin, leaving a white strip that will need touching up.

3) AND when I applied the red decal to the canopy and masked it off to apply the black (learning from (1)), the masking tape lifted off the decal....

4) Oh, and the 2 decals that make up the spine are different widths....

:_|

So I'm going to have to try and mix up a match for the red decal - and we all know how hard it is to get good coverage with red/orange paint


Having said that, and applying my mantra of "A fuzzy digicam picture hides many a modelling sin", it's looking quite pretty isn't it?
RedwingNev
_VISITCOMMUNITY
England - East Midlands, United Kingdom
Joined: February 07, 2004
KitMaker: 911 posts
AeroScale: 415 posts
Posted: Thursday, March 27, 2008 - 06:12 AM UTC
OK, the finish line is in sight now. A mix of 1 part red, 1 part orange and 1 part dayglo orange is pretty close to the decal colour, unfortunately the first mix I applied was too red and the more orange colour is so "thin" that the red base coat is showing through.......

Having said that, its certainly close enough for touch ups, and it even tones down the black showing through the decal round the canopy.


All the way through this build I've thought to myself "wow, I can't believe I've not knocked that pitot probe off" So of course I dropped the model last week, bent off the probe, snapped a wingtip rail and lost a flap The last 2 aren't a problem, but getting that probe in and faired in with filler was a real beyatch of a job. Not enjoying the thought of doing that part again (and then covering it with white again). Probly leave it till last


Underneath


Thankfully all the "extras" are all done and ready to be stuck on - only a few days to completion!
RedwingNev
_VISITCOMMUNITY
England - East Midlands, United Kingdom
Joined: February 07, 2004
KitMaker: 911 posts
AeroScale: 415 posts
Posted: Monday, March 31, 2008 - 01:05 AM UTC
OK, finally done 5 months after I started! To be fair I had a baby in the middle, and I've put a lot more effort into this than I normally do. I tried a lot of new things and I'm really happy with how the pilot, gear + bays, and jetpipe turned out. Unhappy with badly fitting decals and my attempts at touch ups.

I tried to put the broken pitot probe back on, but as well as being sheared clean off, it is also bent at almost 90 degrees at the point of the break. It would need a bit of work to get it back on and faired in, and even then it would be liable to break off at the slightest contact....so its left off for now


RedwingNev
_VISITCOMMUNITY
England - East Midlands, United Kingdom
Joined: February 07, 2004
KitMaker: 911 posts
AeroScale: 415 posts
Posted: Monday, March 31, 2008 - 01:08 AM UTC
The kit was more work to put together than a lot of people have made out - no doubt partly my incompetence, but the level of engineering is so high that even a coat of primer throws things out of whack. And with an all white plane, that's a lot of Halfords White Primer


 _GOTOTOP