

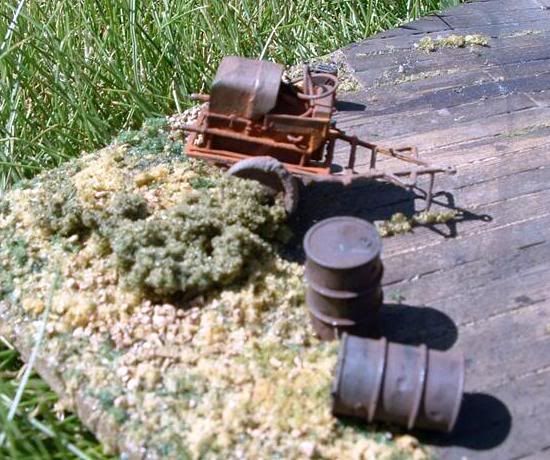
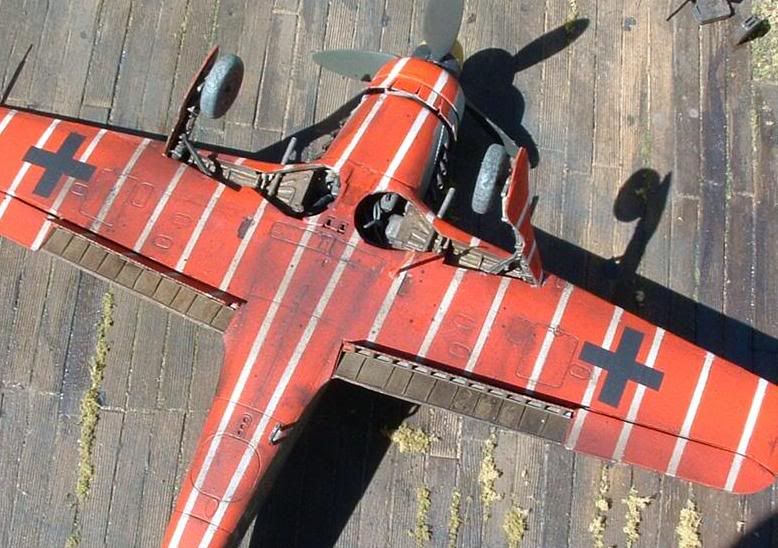
Anyway, I thought the base turned out pretty well--I believe it does look like old, weathered wood.
What do you think? Any critique is welcome...Thank you!

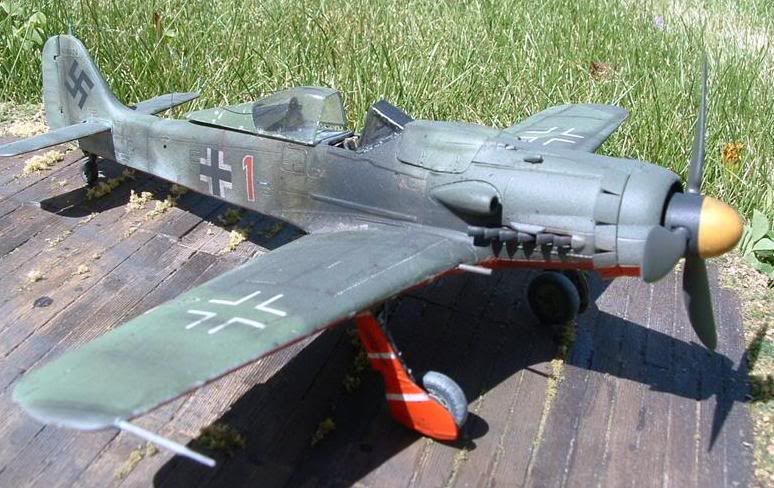
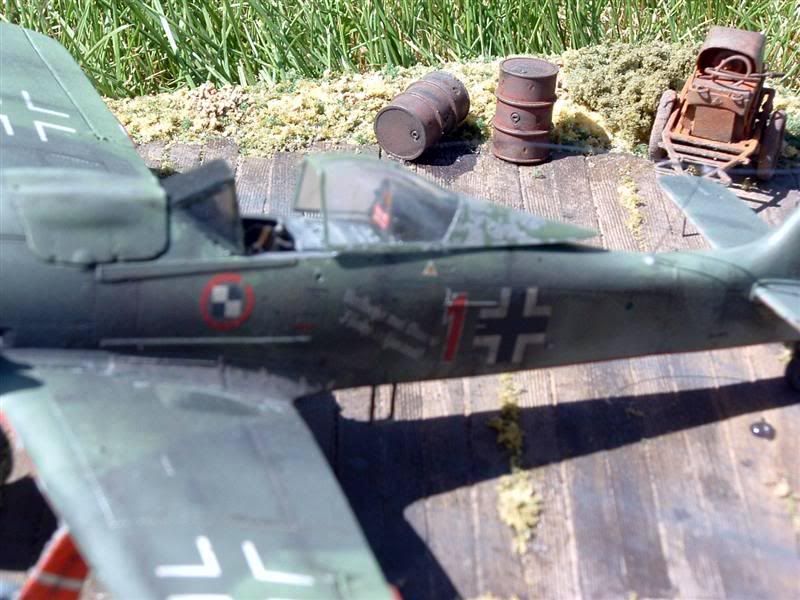


 I think you did a good job reproducing the plane ... although there is something that I do not like about the dirt .. but as I cannot nail it down, it must be something on my side ...


Hi Rory
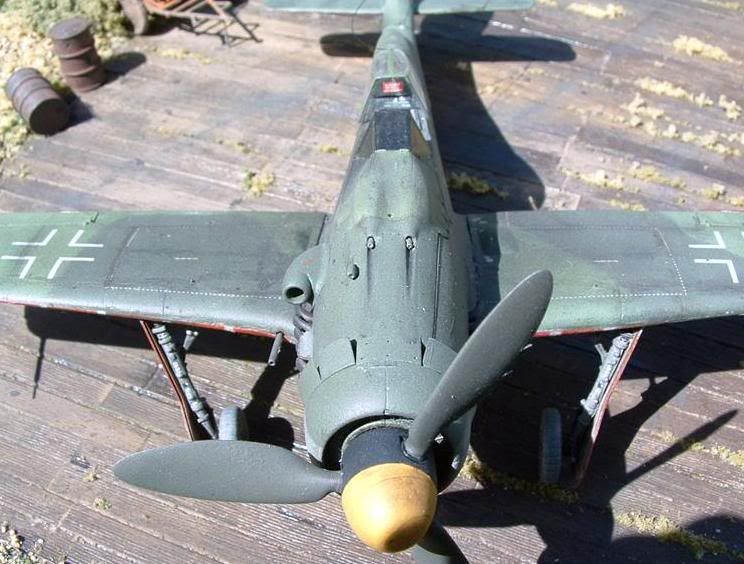
Filthy model ....
some remarks:
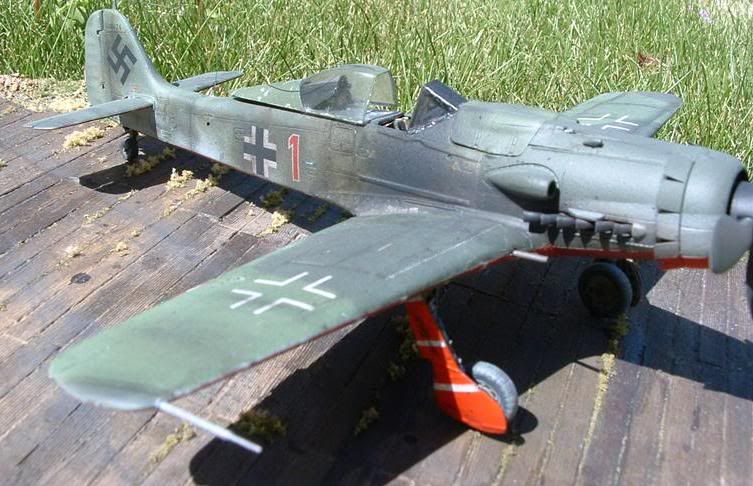
1. the canopy looks strange. it just sits wrong ...
2. the antenna wire should lay on the fuselage. The blown hood with had no retraction mechanism for the wire when in aft position
3. The wheels also look wrong .. did you change them (Tamiyas are way too small and thats how they look on your model) and the angle is also a little off, but that could be a misinterpretation on my side
... as I said all in all a good job!
best wishes
Steffen

Hi Rory
O.k. .. so my impression about the wheels must be wrong .. still it looks strange to my eye
Compared to Arseny's picture the canopy is also in the right place it just has the problem that it does not follow the fuselage like the real thing.
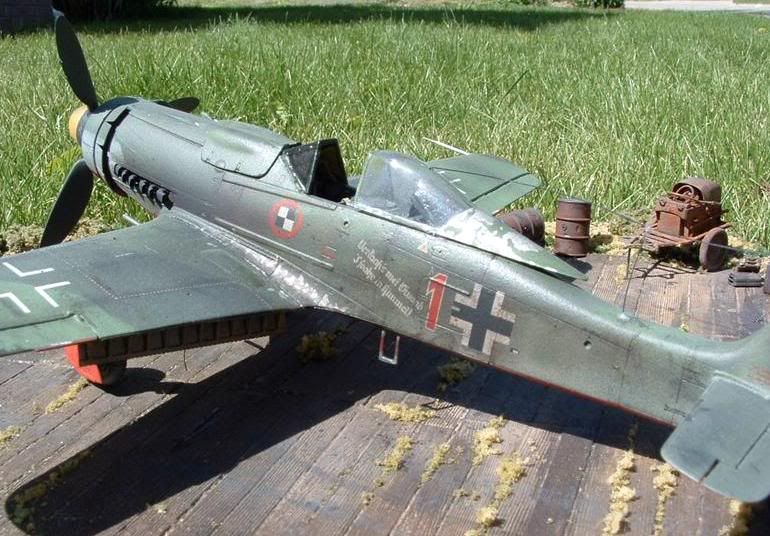
Regarding wheathering .... this depends very much on personal taste so take my comment as you wish, but I also think it is a little heavy. I suggest haveing a look in various military sites and forums. For my taste the effect is not overdone, but you used the "wrong" colours ... in particular the area around the pit looks unnatural to me... as I said no critique but my impression
best regards
Steffen


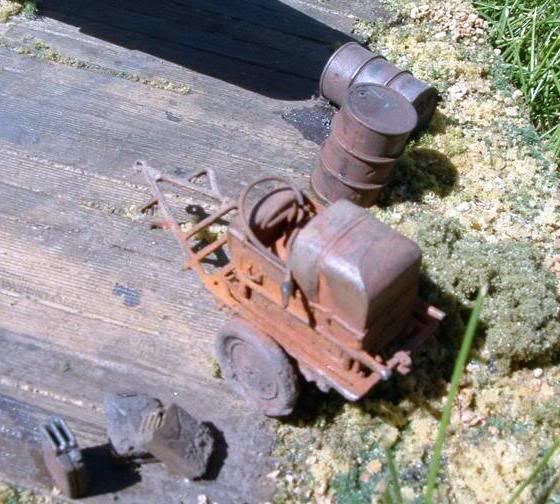
I think most builds I have seen of this plane don't really try to reproduce how it looked when it was captured, after it had been burned, incapacitated and sat around in the rain and elements, unmaintained, for a month or two. .


 |


