Quoted Text
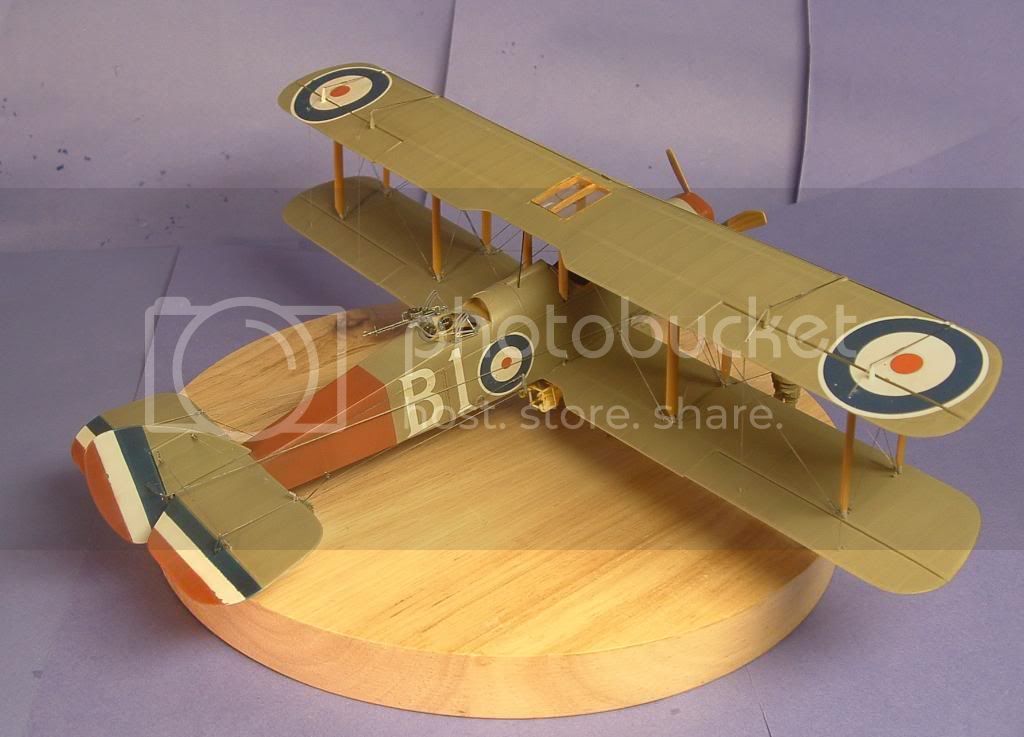
The British machines in particular seem as if they flew in one side of a dental floss factory and came out of the other side looking like they do!

Hi Dwayne, That´s a good one.
The method I use is not spaceage tech. Using a elastic thread called Gold-Zack, to make the turnbuckles I hot stretch some Q-tips. Just slide the thread thru the fine tube. And to secure the thread and buckles I´ve make some tiny loops from 0,15 mm wire. Its time-consuming work, but it pays off..

A= the Gold-Zack thread
B=the hot stretched Q-tips
C=The Q-tips cut to 2mm peices
D=I´ll use an old airbrush needle to fix the tube bac into shape
E=The thread with tiny tubes on it.
The tiny loops from wire
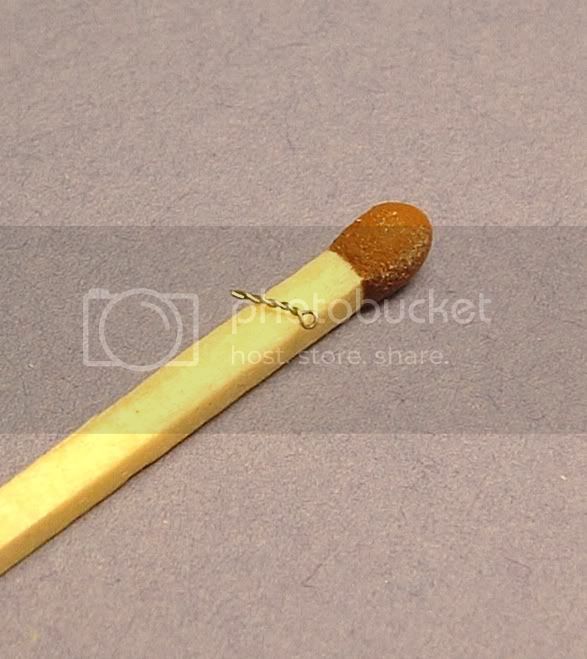
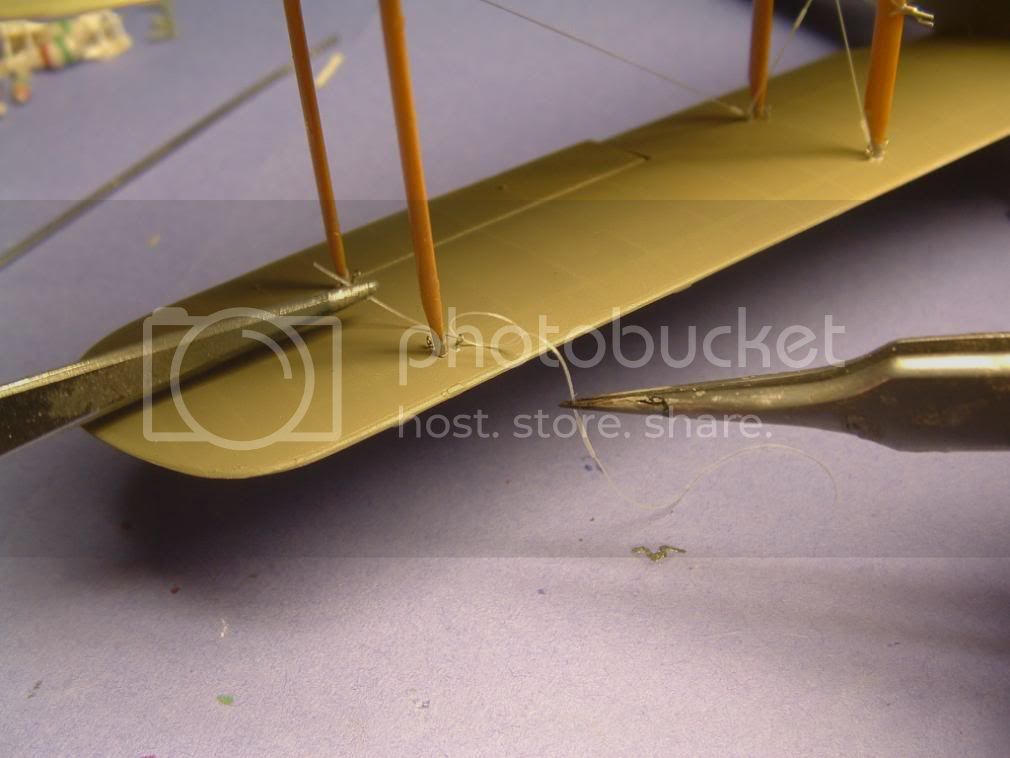
The technique then is strait forward. Drill tiny holes around each strut according to your reference. Glue a loop in place, and then start to wire the first one. Put the thread marked E thru the loop secures with a knot and a tine drop of Superglue. Stretch the thread and do the same in the other side. Last you´ glue the tubes in place.

There you have it Dwayne
cheers
Larsa