seversky p-35 academy - 1/48
Portugal
Joined: December 09, 2007
KitMaker: 168 posts
AeroScale: 159 posts
Posted: Saturday, February 09, 2008 - 03:03 AM UTC
New York, United States
Joined: April 04, 2006
KitMaker: 279 posts
AeroScale: 194 posts
Posted: Saturday, February 09, 2008 - 03:33 AM UTC
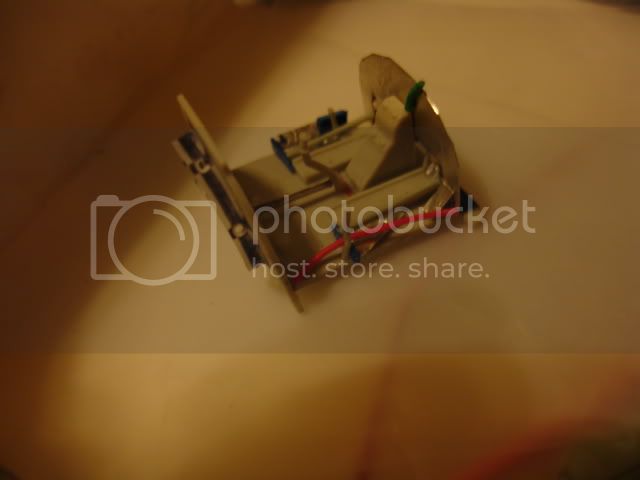
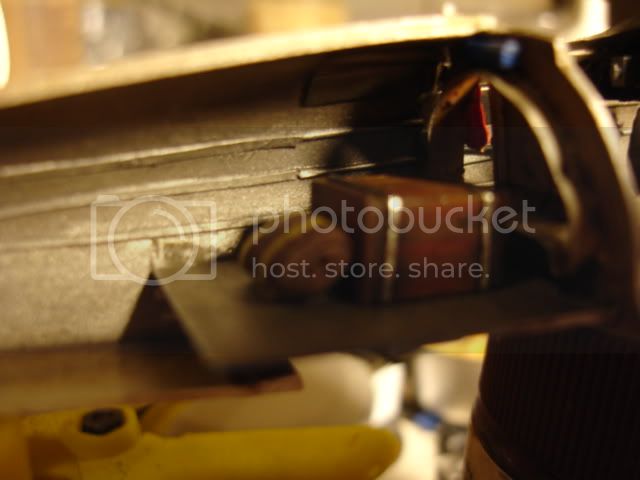
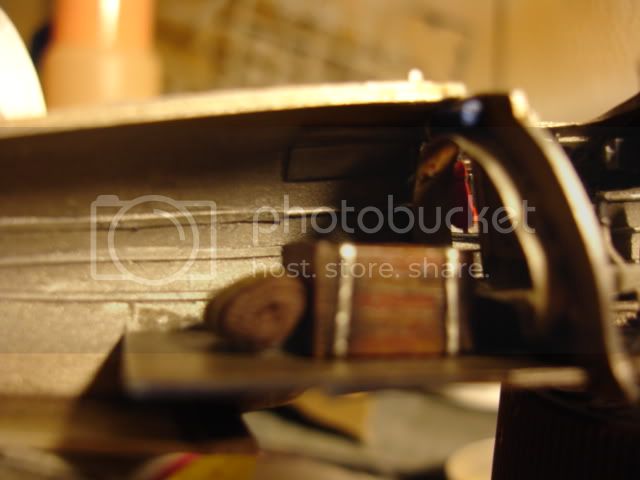
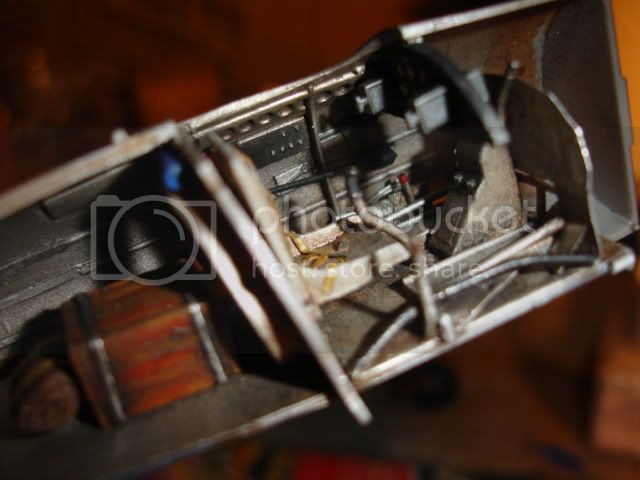
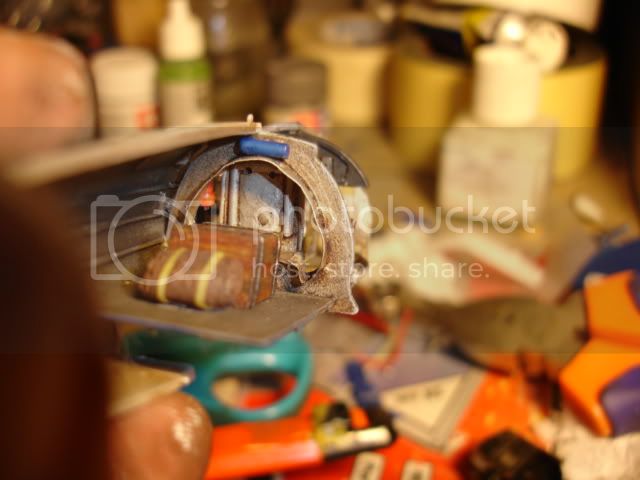
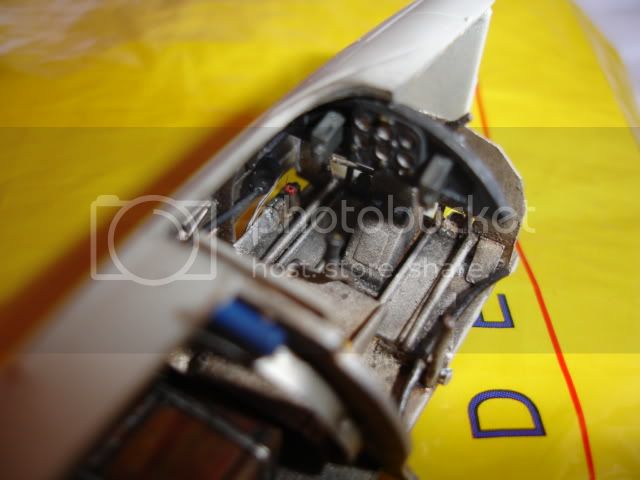
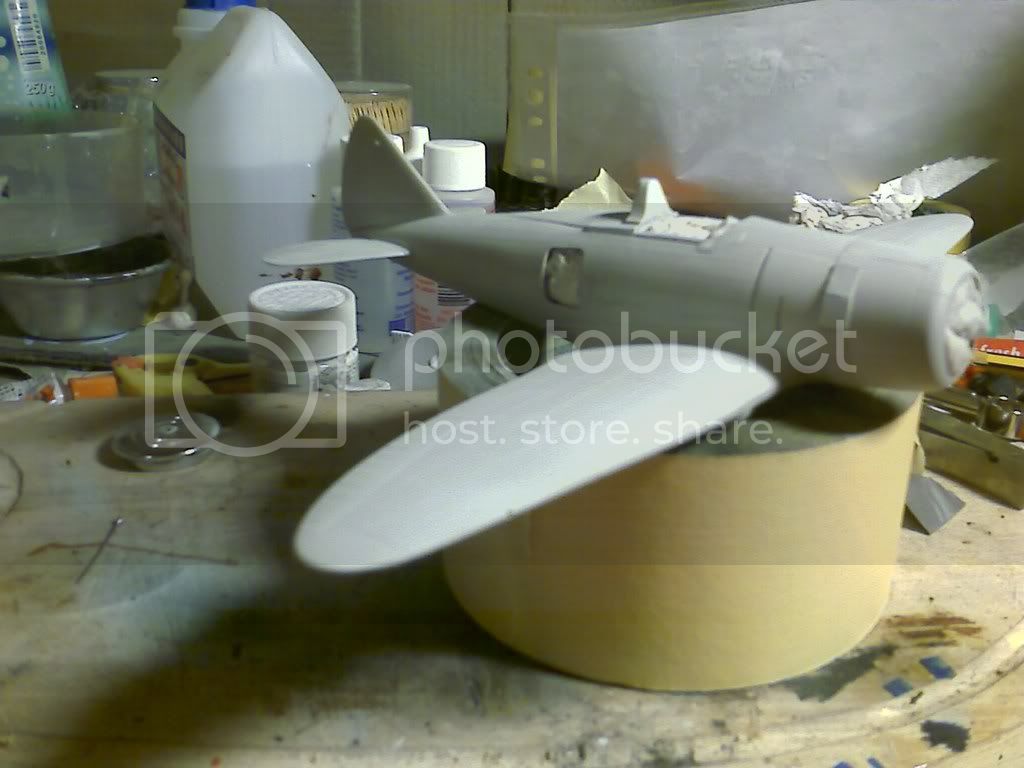
Looking good so far. What would have been in the crate?
Justen Hanna
IPMSUSA #45680
Proprietor, Section 8 Hobbies
"The distance between genius and insanity is measured only by success."
Portugal
Joined: December 09, 2007
KitMaker: 168 posts
AeroScale: 159 posts
Posted: Saturday, February 09, 2008 - 04:17 AM UTC
Quoted Text
Looking good so far. What would have been in the crate?
supplies i guess in sweden where this plane was used too, they had Skiing Equipment 2 in the luggage.
Portugal
Joined: December 09, 2007
KitMaker: 168 posts
AeroScale: 159 posts
Posted: Friday, February 22, 2008 - 06:32 AM UTC
California, United States
Joined: March 20, 2007
KitMaker: 137 posts
AeroScale: 103 posts
Posted: Sunday, February 24, 2008 - 05:16 AM UTC
Your work looks very good! Great work!
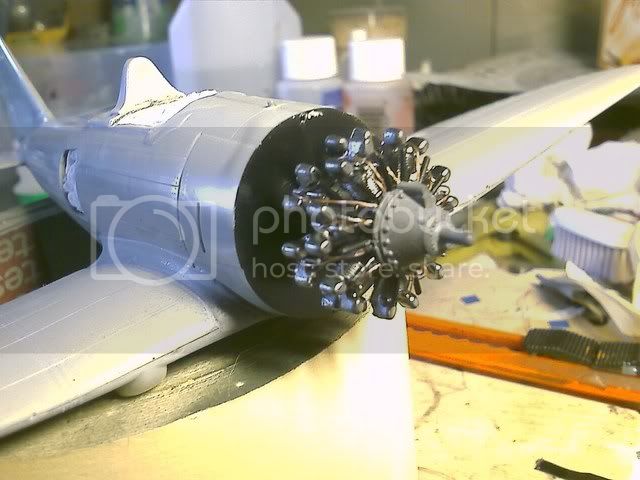
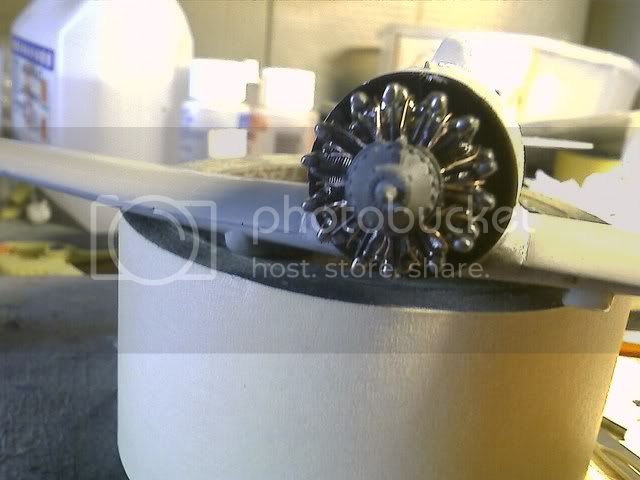
A word of caution for this kit: You might want to sand off the engine mounting lug on the front bulkhead. It is not on center. If you glue the engine to it, the engine will be located noticeably to the port side of the aircraft. I found this out the hard way!
Mark
www.flightlineengineering.com
Portugal
Joined: December 09, 2007
KitMaker: 168 posts
AeroScale: 159 posts
Posted: Sunday, February 24, 2008 - 10:48 AM UTC
thank you mark i'll be aware of that when i go to the engine part.
Merlin
 Senior Editor
#017
United Kingdom
Joined: June 11, 2003
KitMaker: 17,582 posts
AeroScale: 12,795 posts
Posted: Sunday, February 24, 2008 - 10:55 AM UTC
Hi Ricardo
It's looking superb! You should definitely submit this as a Feature when it's completed!

All the best
Rowan
BEWARE OF THE FEW...
As I grow older, I regret to say that a detestable habit of thinking seems to be getting a hold of me. - H. Rider Haggard
Portugal
Joined: December 09, 2007
KitMaker: 168 posts
AeroScale: 159 posts
Posted: Sunday, February 24, 2008 - 10:59 AM UTC
Quoted Text
Hi Ricardo
It's looking superb! You should definitely submit this as a Feature when it's completed!
All the best
Rowan
hi rowan sorry but i dont know what you mean by submit it as a Feature, i'm a little bit noob and english its not my language, so if you could explain i would be glad.
ty all
Merlin
Senior Editor #017
United Kingdom
Joined: June 11, 2003
KitMaker: 17,582 posts
AeroScale: 12,795 posts
Posted: Sunday, February 24, 2008 - 11:18 AM UTC
Hi Ricardo
Don't worry, it's just our way of saying we should add you build to our Content section to show up on the Features page:
https://aeroscale.kitmaker.net/modules.php?op=modload&name=Sections&file=index Submitting an article would highlight your build on the front page of Aeroscale and be more readily accessible in future, plus it stores the photos used in the article permanently and allows you to clear your gallery space (any pics in your forum thread would still disappear if you delete them though).
I do need to start a general drive to encourage more authors writing Features and Reviews, because we've got a lot of highly talented newcomers like yourself who aren't used to the system. I'll try to work on that, but if you've finished the build before I post a "How To..." please nag me with Private Message (PM) to talk you through submitting a Feature.
All the best
Rowan
BEWARE OF THE FEW...
As I grow older, I regret to say that a detestable habit of thinking seems to be getting a hold of me. - H. Rider Haggard
Portugal
Joined: December 09, 2007
KitMaker: 168 posts
AeroScale: 159 posts
Posted: Wednesday, April 23, 2008 - 10:30 AM UTC
Massachusetts, United States
Joined: December 30, 2006
KitMaker: 646 posts
AeroScale: 67 posts
Posted: Wednesday, April 23, 2008 - 04:50 PM UTC
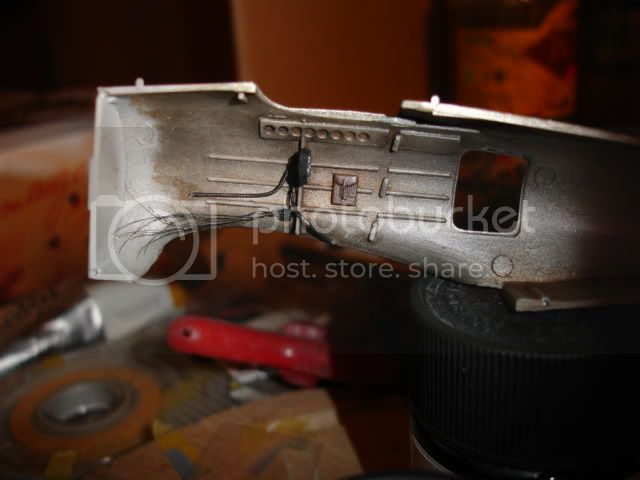
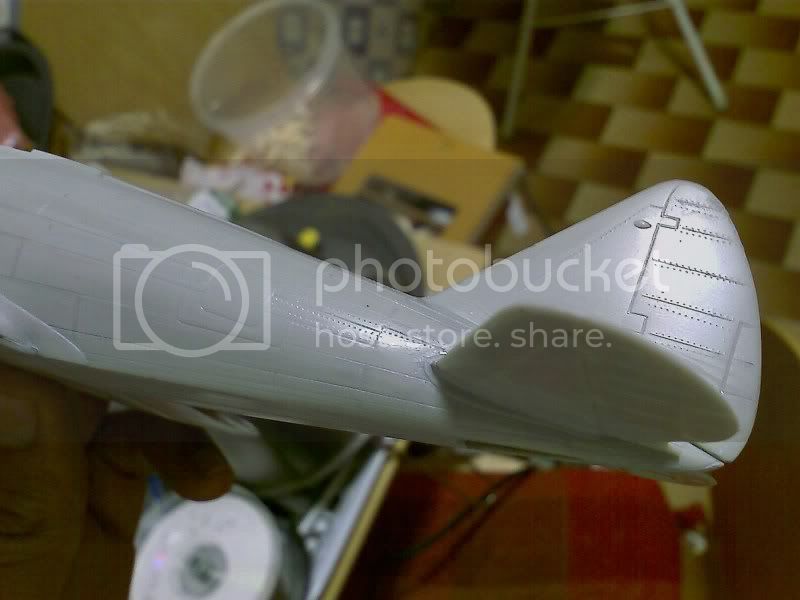
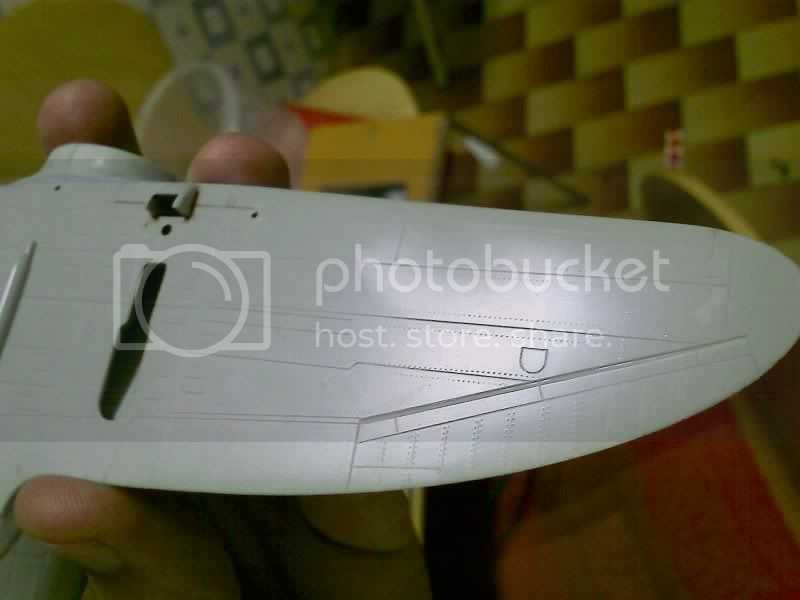
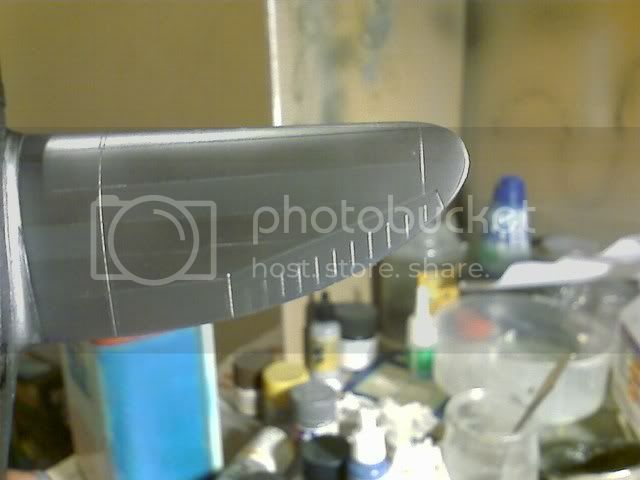
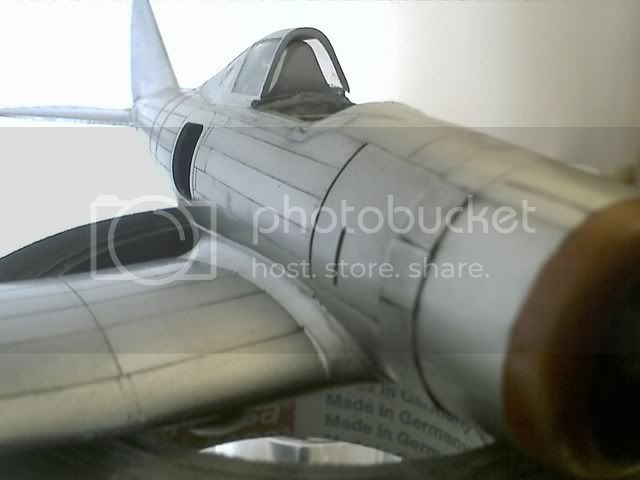
The rivets came out great . Your phone takes good pics

good luck with the build
Bob
Mom and Julie and Aunt Ruth, my dear Godmother, I miss you all and think of you everyday. I'll see you all again sometime:)
California, United States
Joined: November 28, 2007
KitMaker: 817 posts
AeroScale: 729 posts
Posted: Thursday, April 24, 2008 - 03:52 AM UTC
[url]http://chukw.blogspot.com/[/url]
Portugal
Joined: December 09, 2007
KitMaker: 168 posts
AeroScale: 159 posts
Posted: Saturday, April 26, 2008 - 07:13 AM UTC
Portugal
Joined: December 09, 2007
KitMaker: 168 posts
AeroScale: 159 posts
Posted: Sunday, April 27, 2008 - 06:42 AM UTC
Portugal
Joined: December 09, 2007
KitMaker: 168 posts
AeroScale: 159 posts
Posted: Sunday, April 27, 2008 - 01:27 PM UTC
Portugal
Joined: December 09, 2007
KitMaker: 168 posts
AeroScale: 159 posts
Posted: Monday, April 28, 2008 - 11:41 AM UTC
California, United States
Joined: July 08, 2003
KitMaker: 1,936 posts
AeroScale: 1,168 posts
Posted: Monday, April 28, 2008 - 12:12 PM UTC
Portugal
Joined: December 09, 2007
KitMaker: 168 posts
AeroScale: 159 posts
Posted: Monday, April 28, 2008 - 12:17 PM UTC
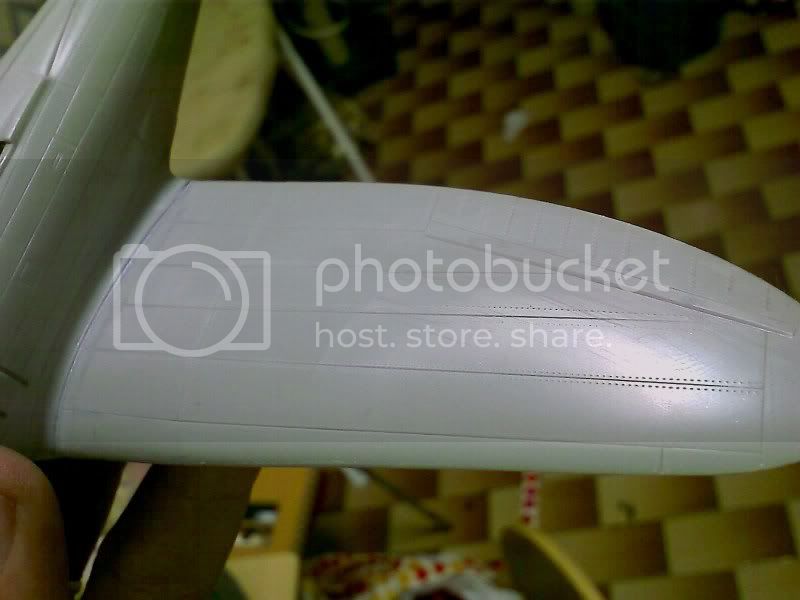
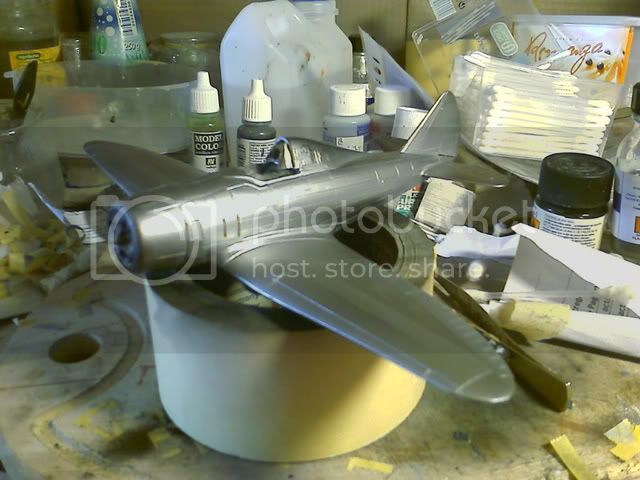
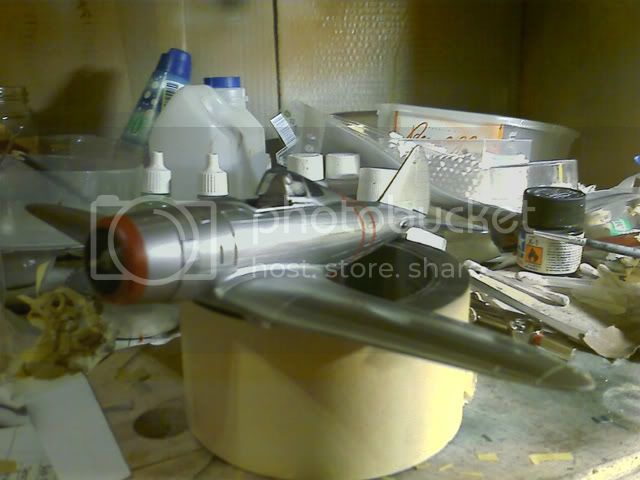
well if saw that first i would do it in chrome...lol, great polish
Ohio, United States
Joined: March 14, 2008
KitMaker: 27 posts
AeroScale: 20 posts
Posted: Monday, April 28, 2008 - 03:37 PM UTC
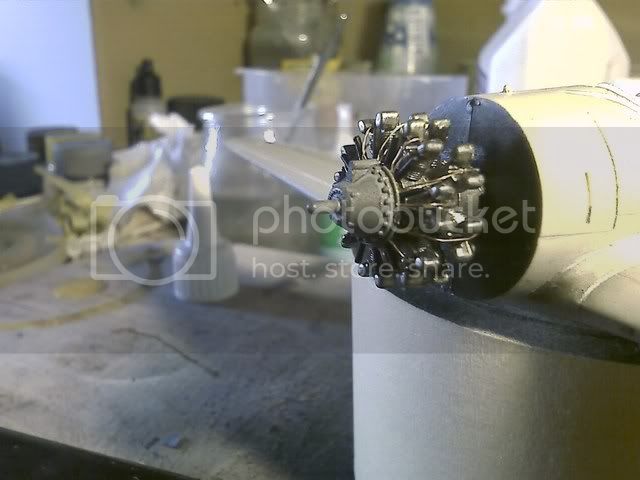
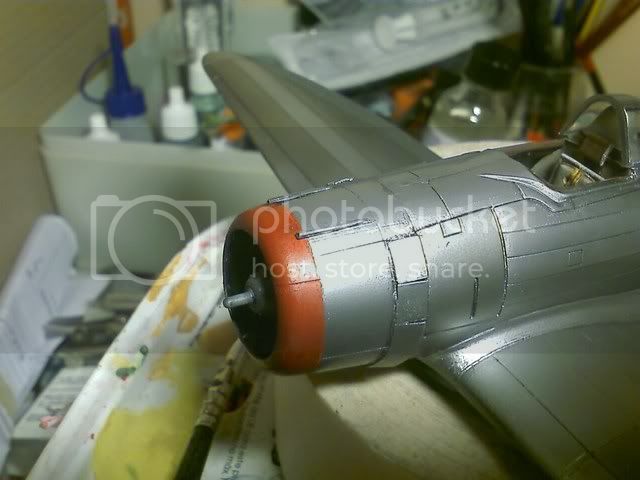
I really like what you got so far, especially the engine work, it really look's sweet.
I think you should try using aluminum powder for the natural metal finnish, you'd be amazed at how shiny it can be, and how it it reflect's light, wow! Unless you already know about it.
I just started using it and it really is awsome, I've never been able to get as close to real metal as this before. I think it would do that airplane justice to have it in the high polished look.
Portugal
Joined: December 09, 2007
KitMaker: 168 posts
AeroScale: 159 posts
Posted: Monday, April 28, 2008 - 07:42 PM UTC
Quoted Text
I I think you should try using aluminum powder for the natural metal finnish, you'd be amazed at how shiny it can be, and how it it reflect's light, wow! Unless you already know about it.
.
how do you apply it to the plane???
where can i buy it?
Ohio, United States
Joined: March 14, 2008
KitMaker: 27 posts
AeroScale: 20 posts
Posted: Tuesday, April 29, 2008 - 02:35 AM UTC
.[/quote]
how do you apply it to the plane???
where can i buy it?[/quote]
http://www.hawkeyeshobbies.com/productlist.htmAbout halfway down the page, it's the SNJ polishing powder. What I do do is spray the the with white gloss enamel, black gloss enamel can also be used but I think it's too shiny, after the paint has dried to the touch, dip a cotton swab into the powder and rub it into the paint lightly, then buff it off! I dont have any pictures of my airplanes done with it yet but this does.
http://cs.finescale.com/forums/1/928189/ShowPost.aspx#928189This is where I found about it, it is a bit of reading but worth it for the most part, and there pics in there. There are a few differant ways people are working with the powder, if you can get it, try it and see what works best for you........Check out the P-51B on page 3.
Portugal
Joined: December 09, 2007
KitMaker: 168 posts
AeroScale: 159 posts
Posted: Tuesday, April 29, 2008 - 06:53 AM UTC
California, United States
Joined: July 08, 2003
KitMaker: 1,936 posts
AeroScale: 1,168 posts
Posted: Tuesday, April 29, 2008 - 07:01 AM UTC
That is an understatement, it's looking really good


Portugal
Joined: December 09, 2007
KitMaker: 168 posts
AeroScale: 159 posts
Posted: Tuesday, April 29, 2008 - 12:35 PM UTC
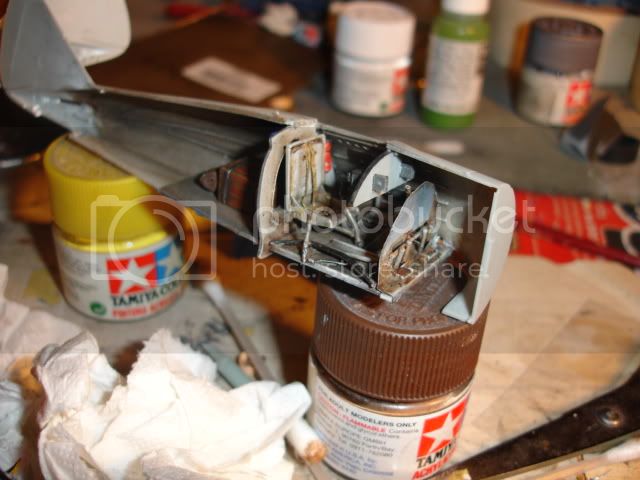
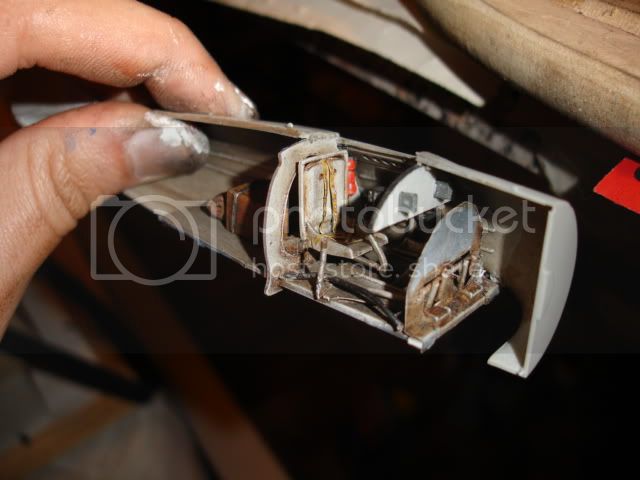
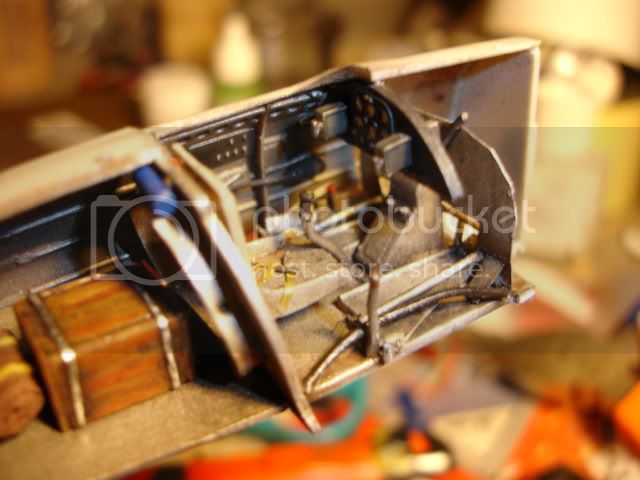
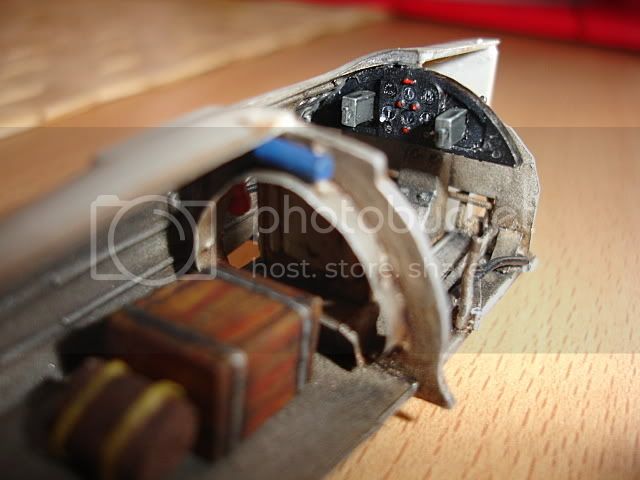
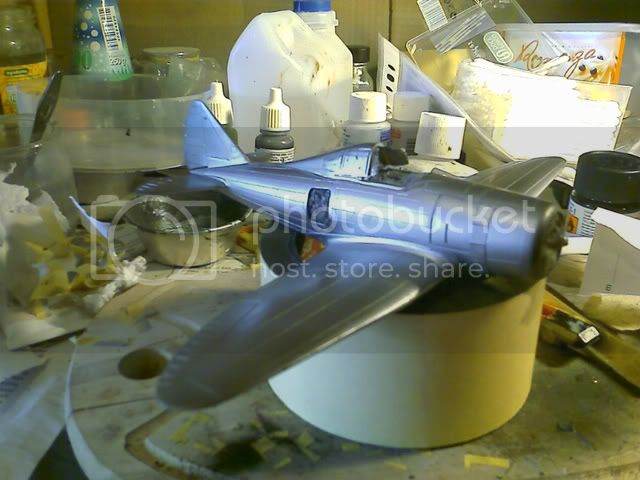
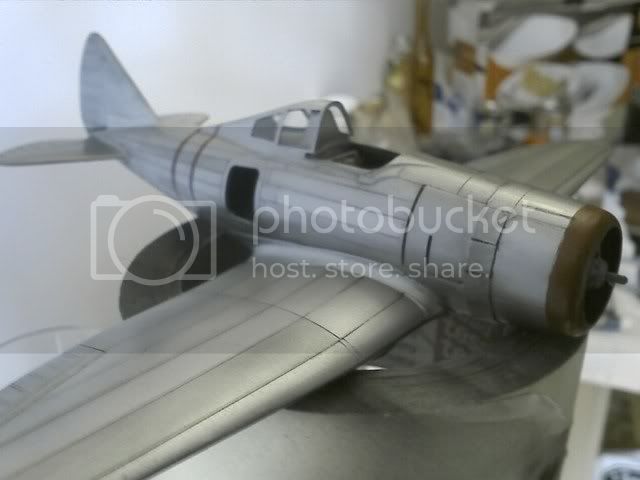
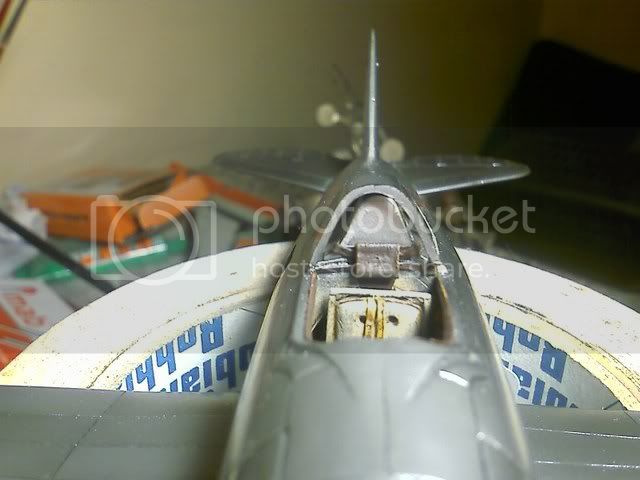
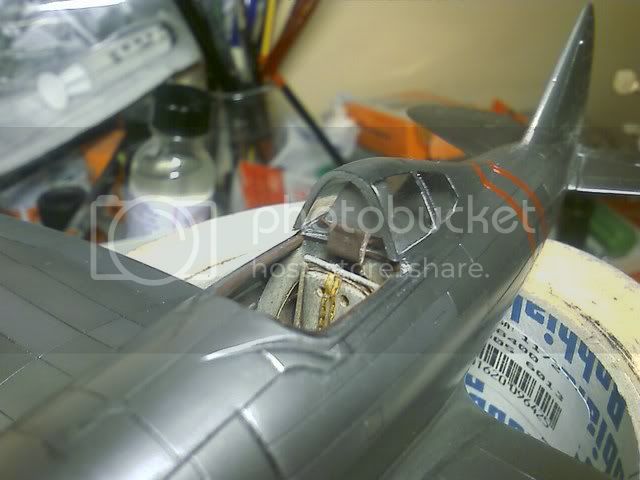
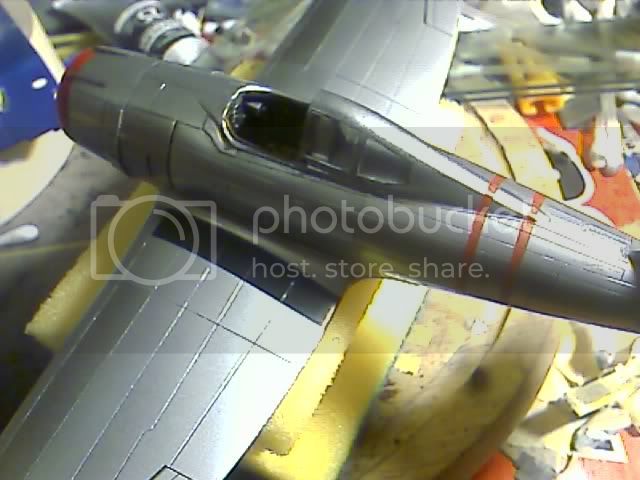
sometimes small tings 7make the difference so i take my time today to add just this 2 small bits...tooked ages to do.
machine guns made from a needle:
leather cockpit surround
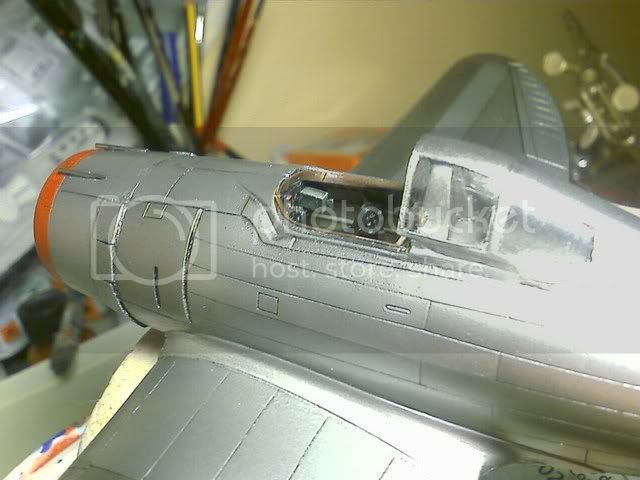
leather head protection:
Portugal
Joined: December 09, 2007
KitMaker: 168 posts
AeroScale: 159 posts
Posted: Wednesday, April 30, 2008 - 10:07 AM UTC
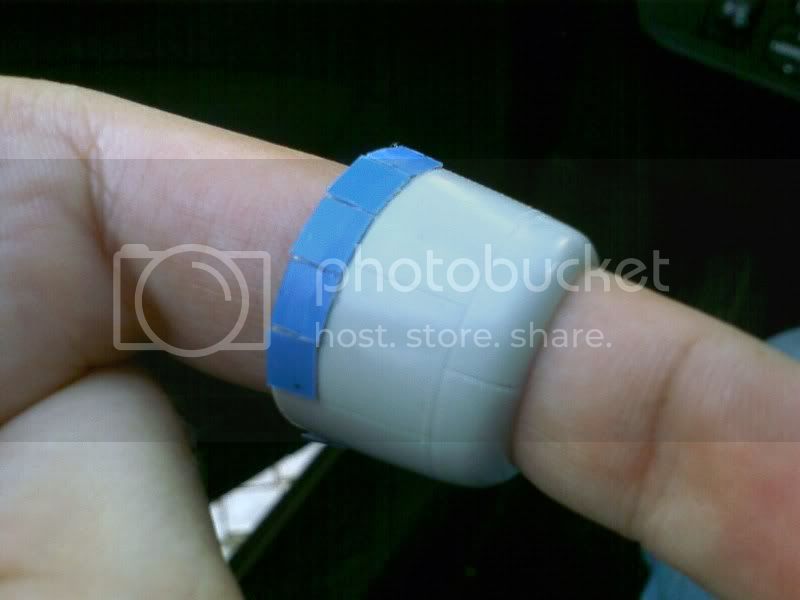
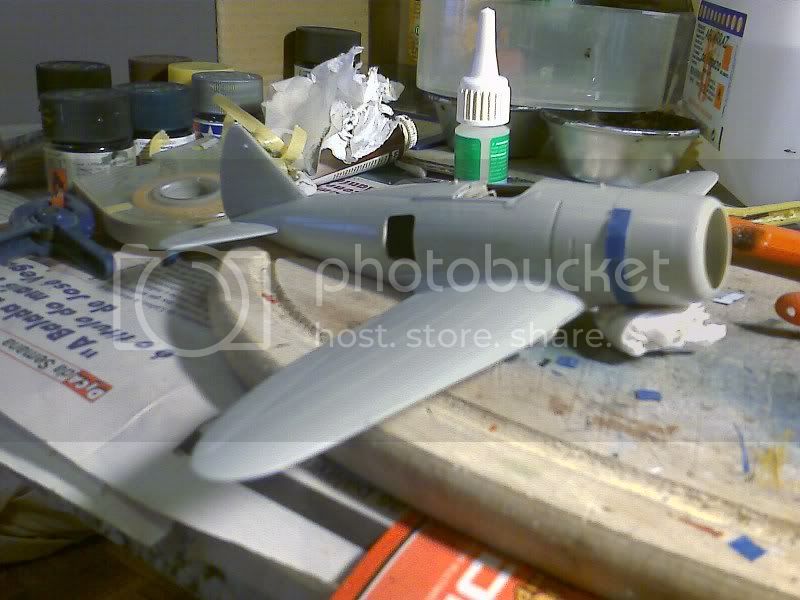
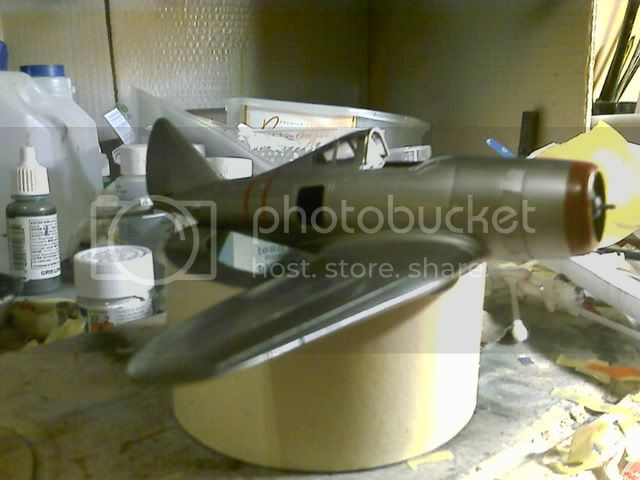
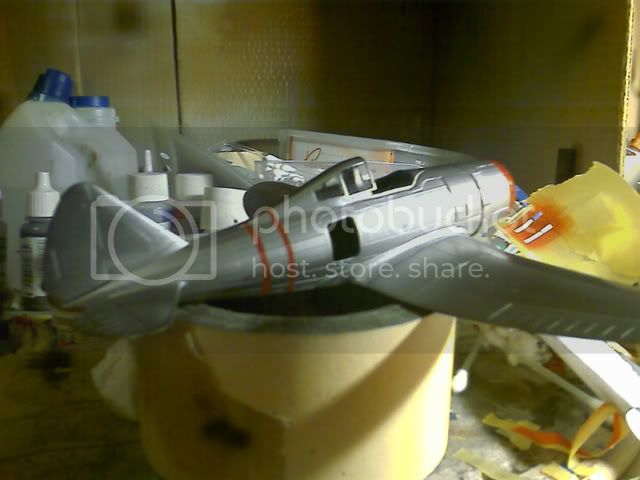
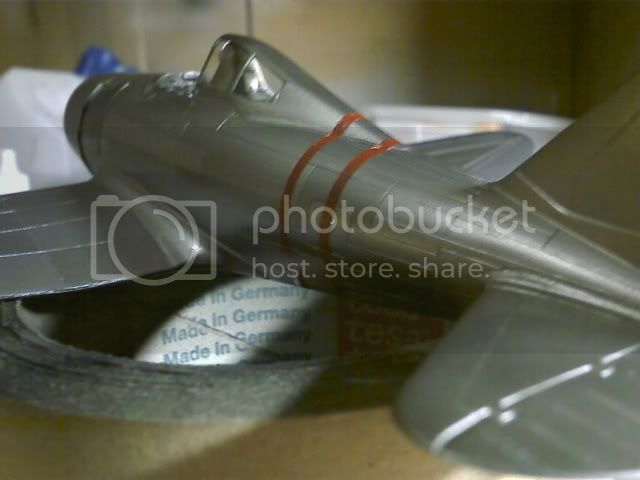
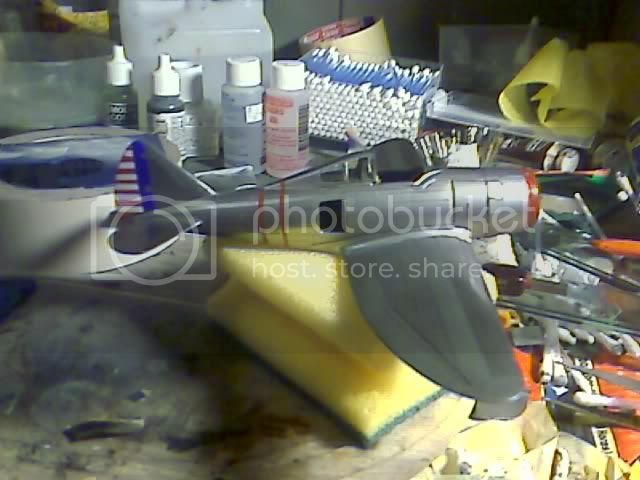
More work done:
masking to paint the decals on the ruder
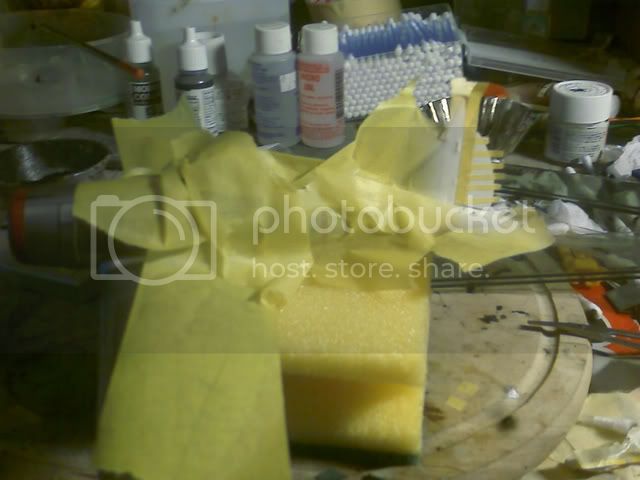
tape to do the bars
mask tape to the bar
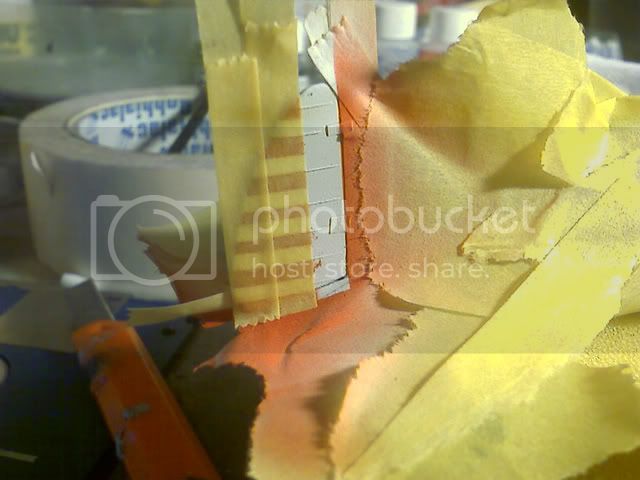
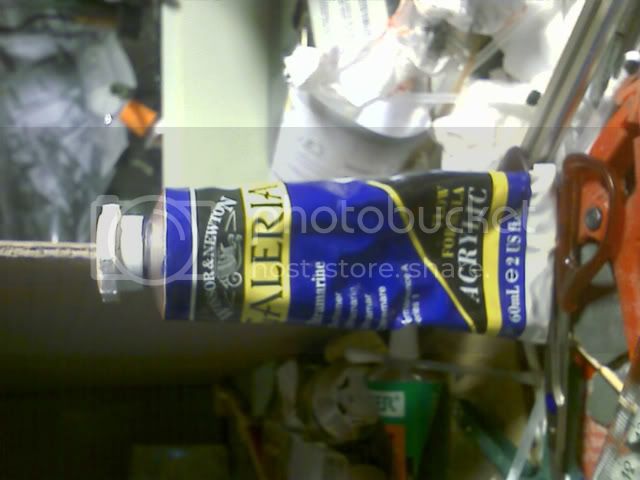
gonna be painted with artist paint
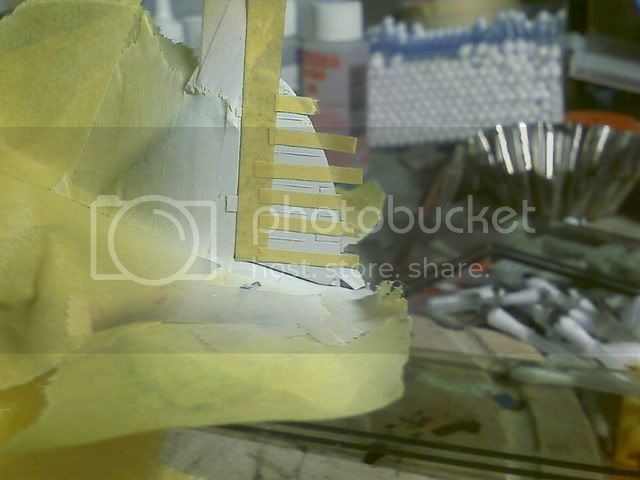
seems ok i guess
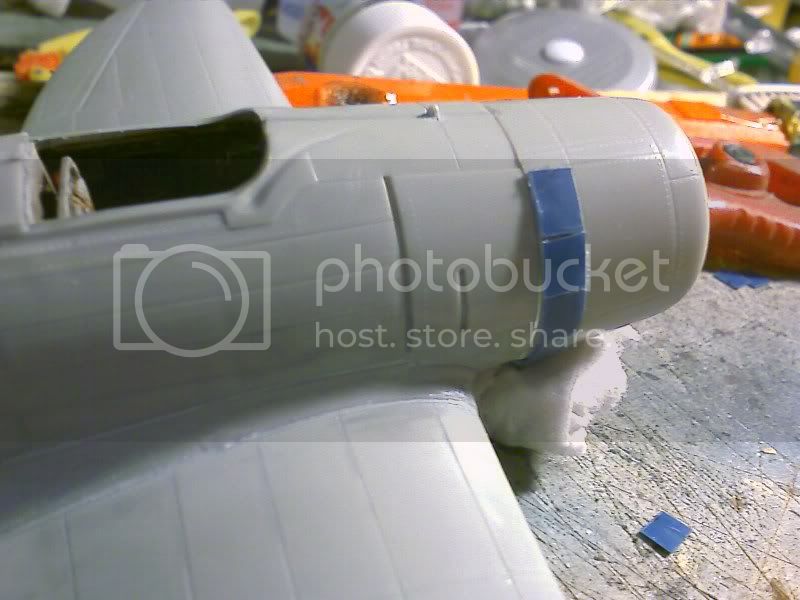
tryed the no step bars
so many tape to such small amout of paint
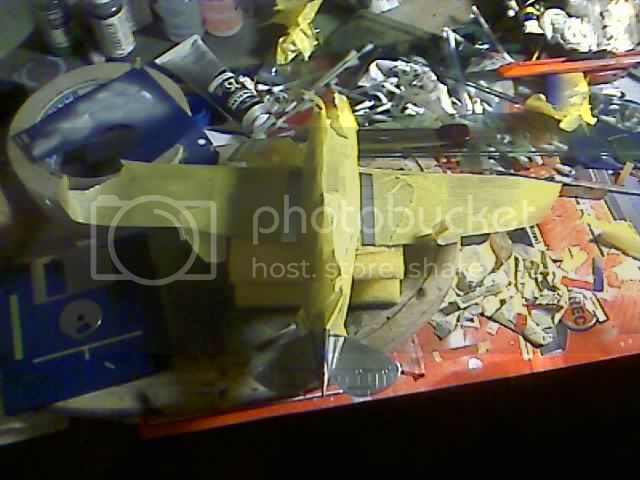
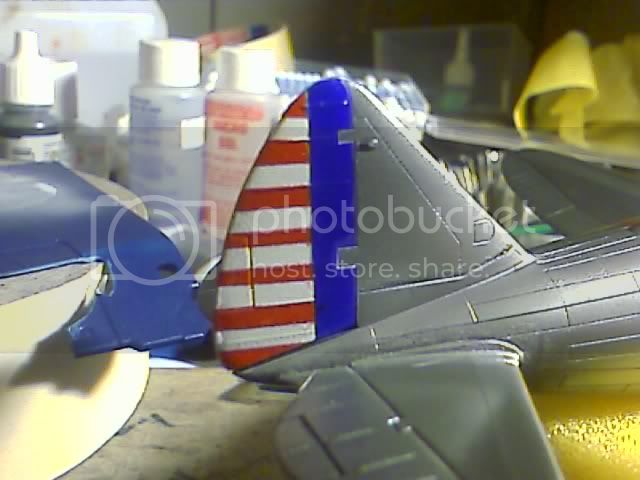
Result:
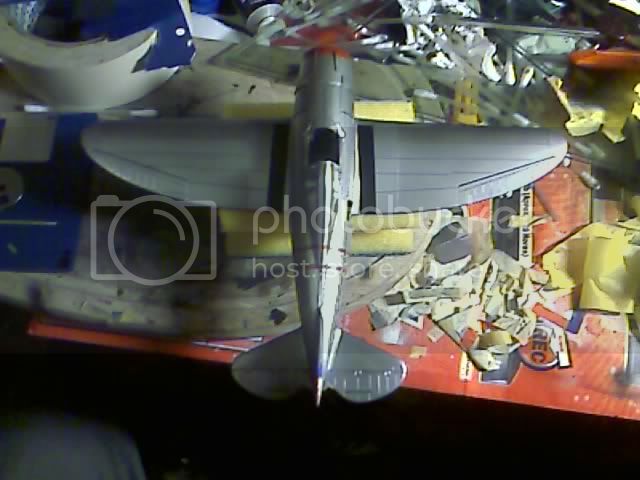

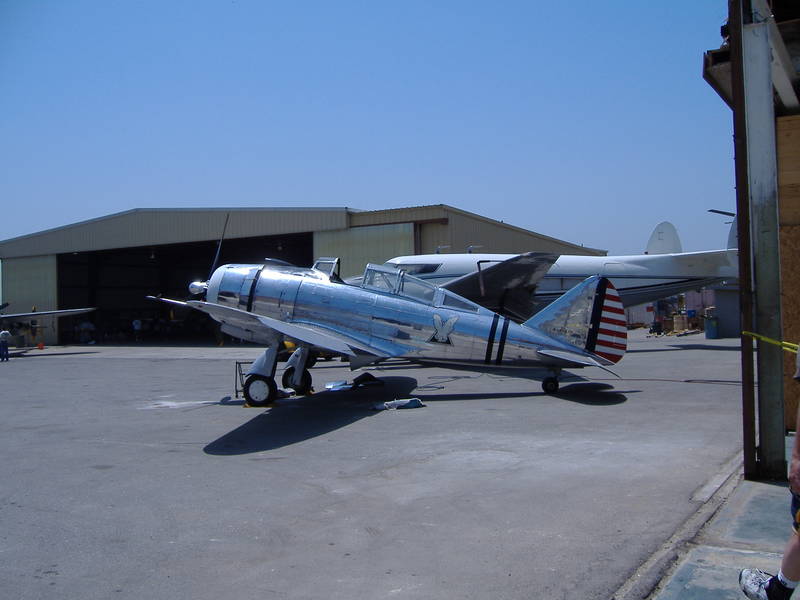
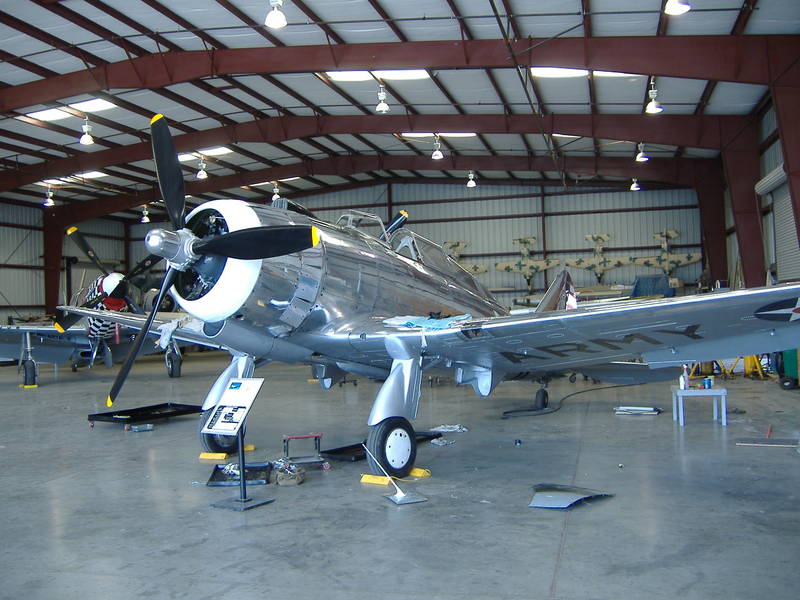
my doubt regarding this kind of plane...how should i age it?