Chris, I think your Raiden looks just fine.
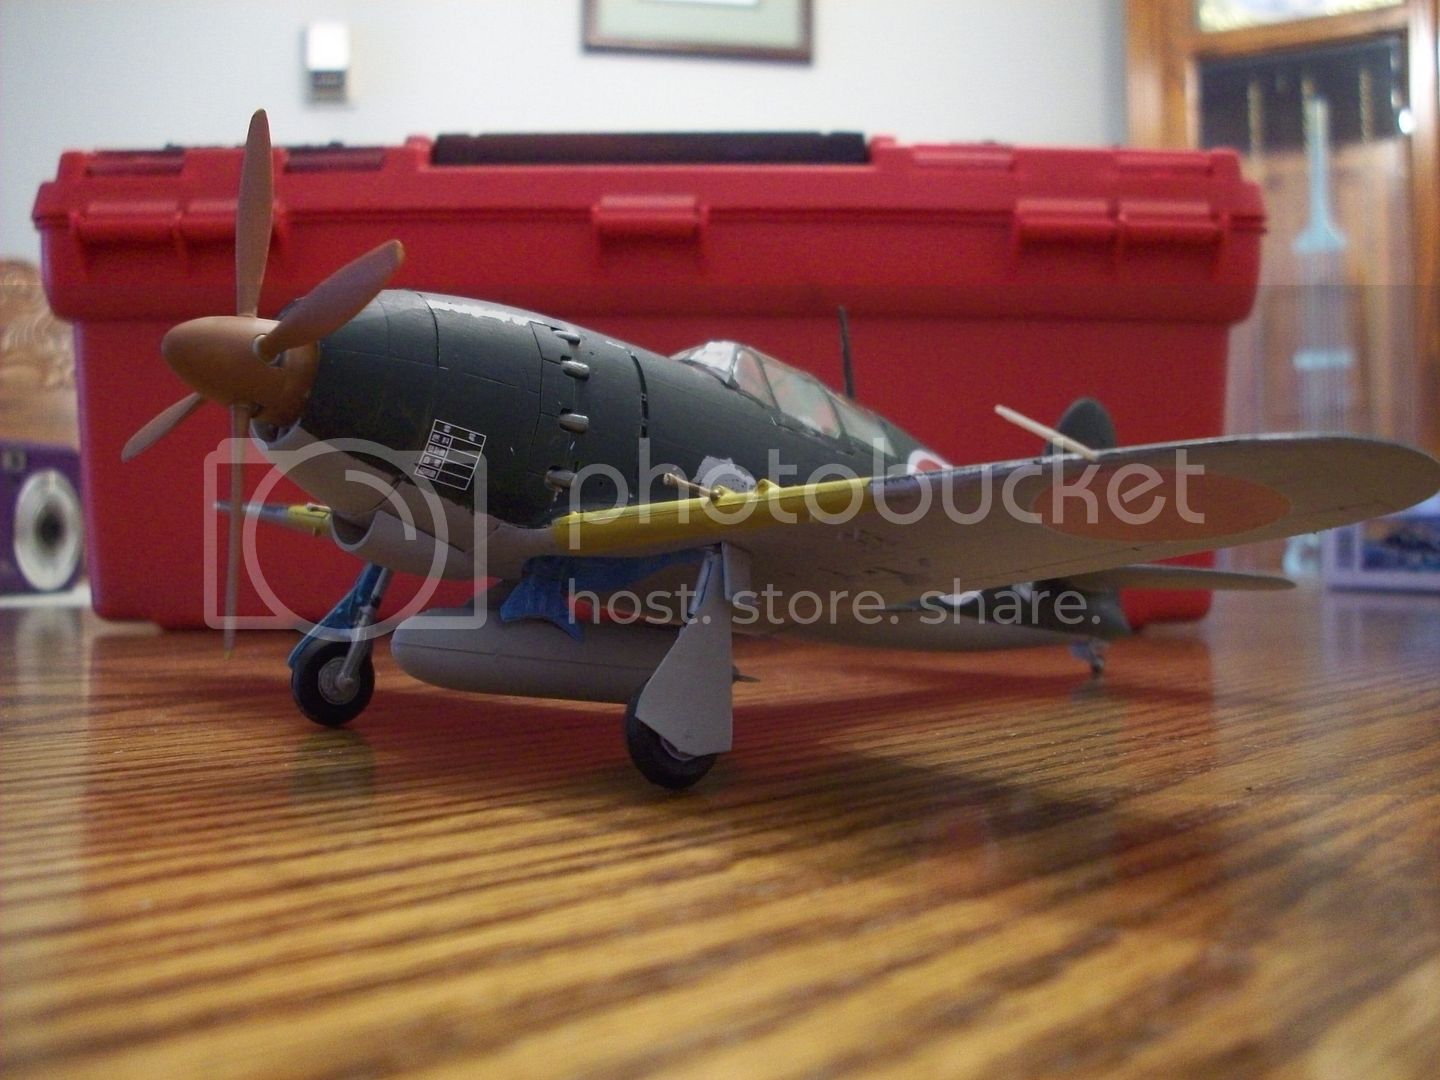
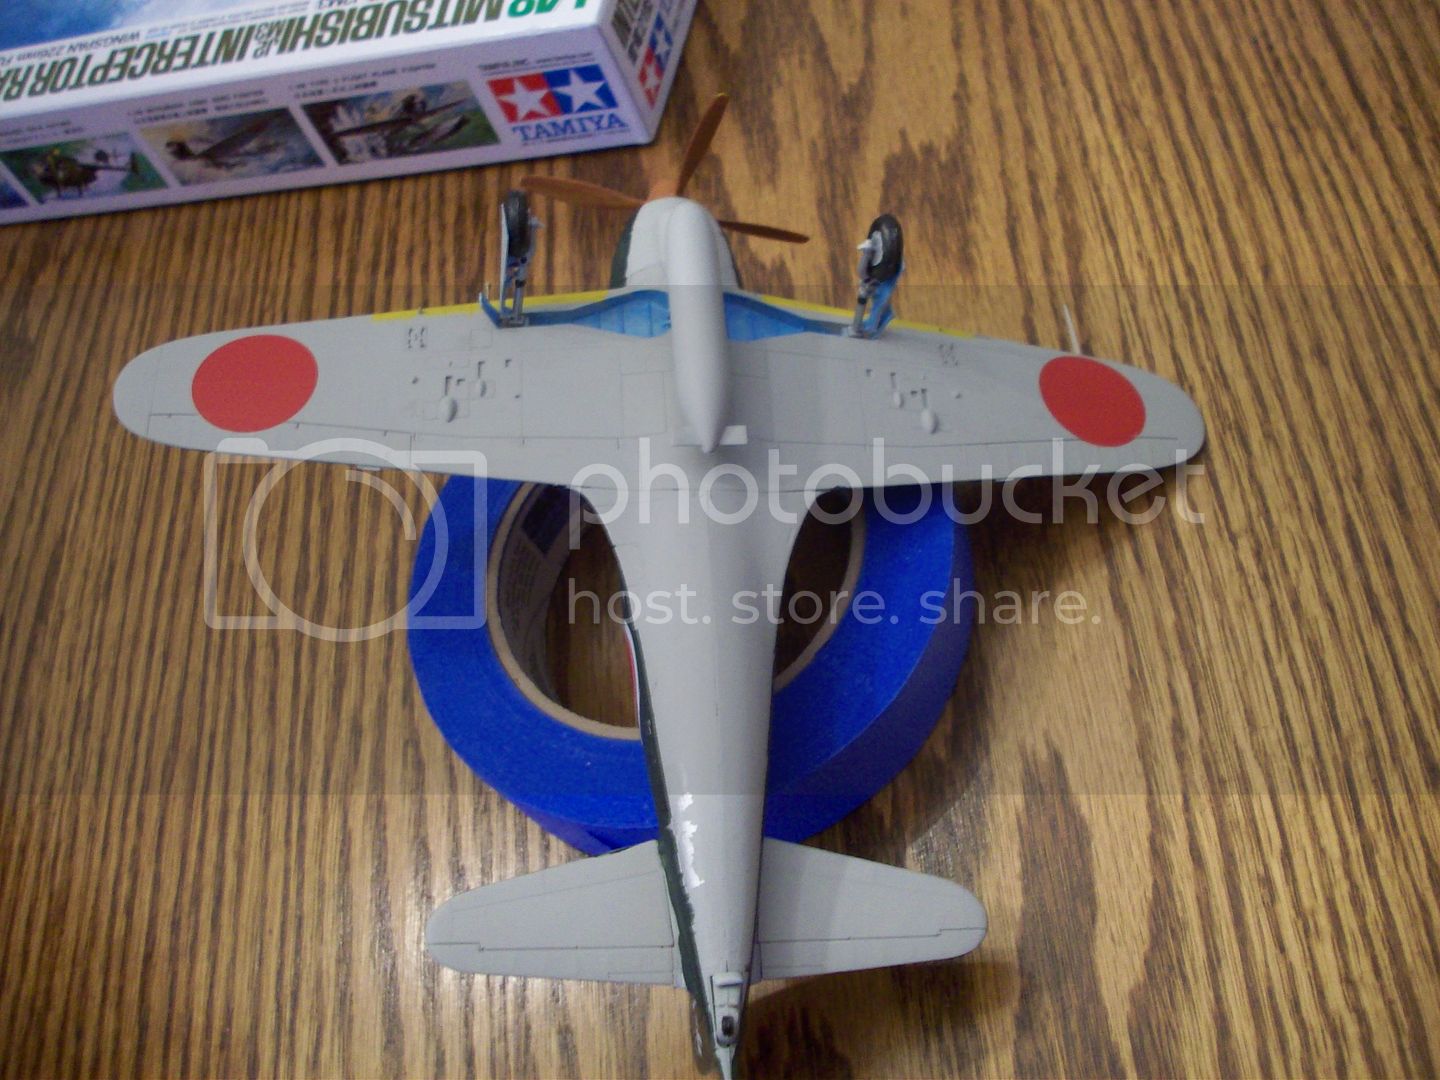
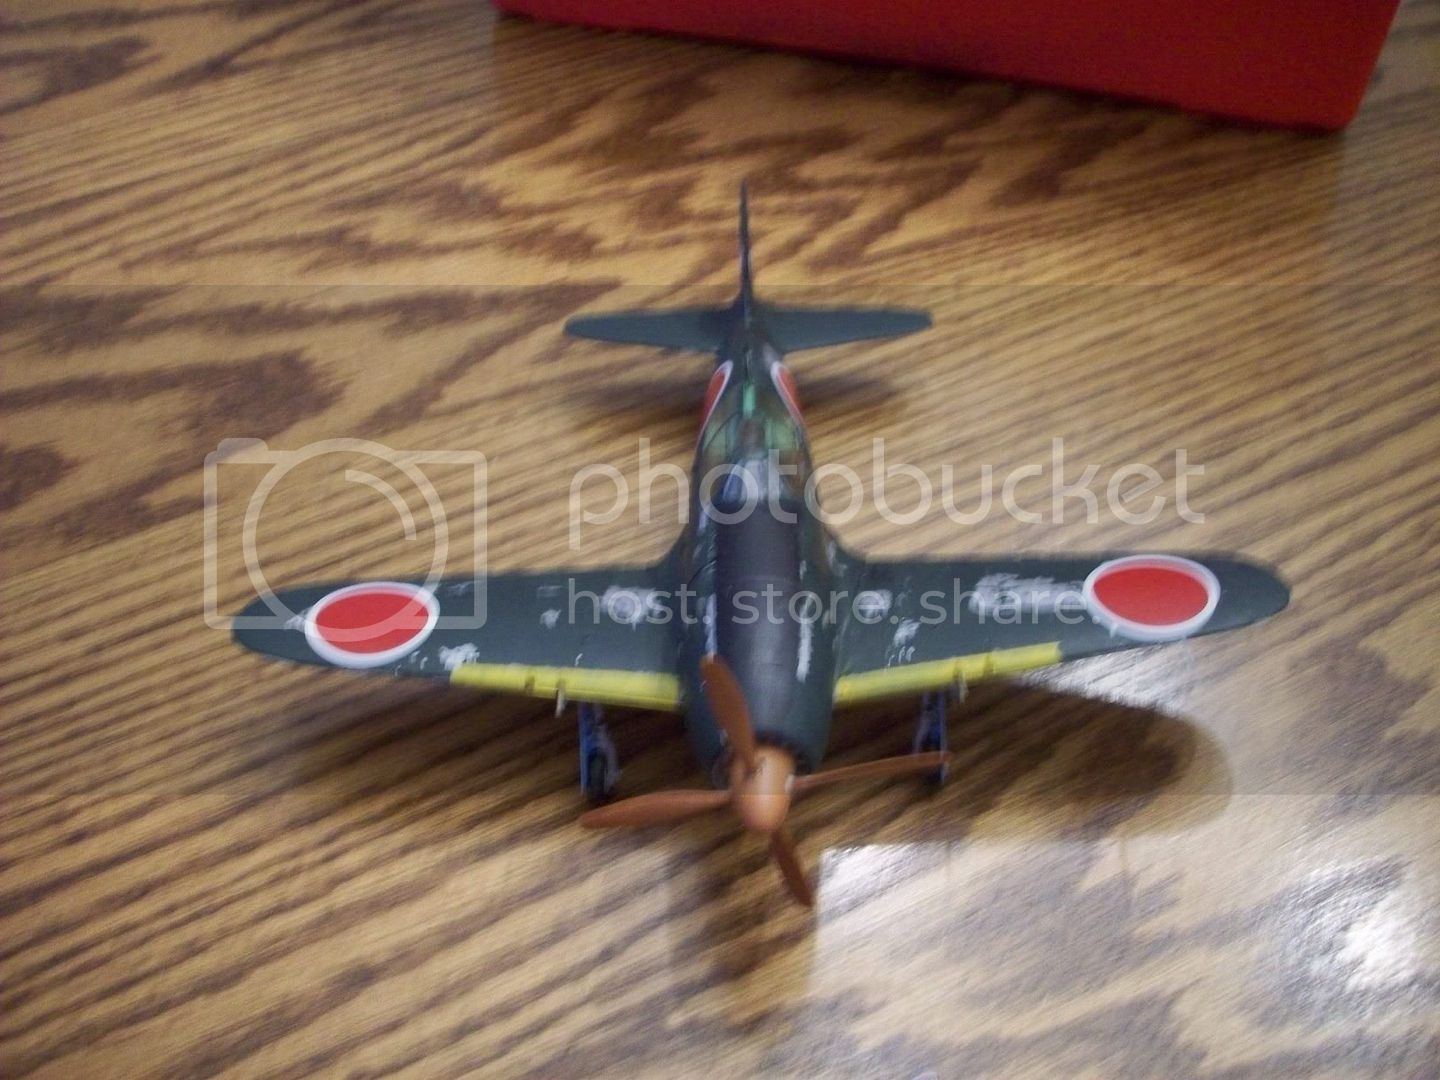
Since you asked for tips I'll oblige. Since you've got the basic construction process down, I think you should now focus on something for each new model that will improve them a little. Looking at your Raiden, I think you should tackle improving seam lines first. If you look at the leading edge of the wings in the yellow section you'll see what I'm talking about. You glued it together nicely. You can see, though, as a result of the glue melting the two wing halves together that a little bit of plastic/glue was pushed out of the joint and is showing. That's ok but you should try and get rid of it next time.
With your Raiden you have the easiest scenario to fix. Because of the way the plastic/blue has pushed out all you need to do is remove what squeezed out. That's easily accomplished with some sanding. Most of the hobby stores sale some kind of sanding stick you could use. Personally, I head to the local drug store and go to the women's makeup section and pick up fingernail sanding/buffing sticks. They make some great combination ones that are labeled step 1-smooth, step 2-buff, and step3-shine. Some even have a four-step process. You hit the problem joint with step 1, 2 and then 3 and -bam!- a smooth joint. They're very handy.
If, after joining the two wing halves together, there is a gap/depression along the seam then you would have to fill the gap/depression with some sort of filler before sanding smooth. Depending on the hardness of the filler, you might have to be a little more aggressive with the initial sanding of the joint. In my case, I use a autobody filler called Nitrostain. After filling the joint I hit it with wet sandpaper followed with the step 1, 2, and 3 process described above.
Once you can perfect those joint seams you'll see a dramatic improvement in the overall appearance of you models after you apply the paint. Kind of a 2-for-1 deal.
Hope this helps you.