

Soon that side camoflage will be behind you and you'll be wondering what you were worrying about

Wow,,that was so easy to say,,lol.
Watching with interest :
Nige


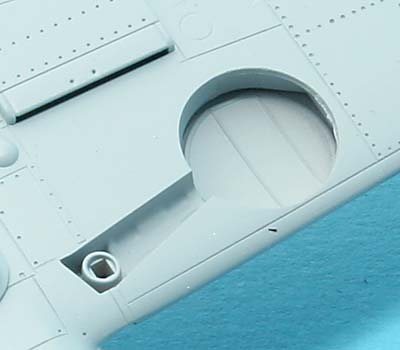
Talking 109s, how's the langing gear bay detail in the Fine Molds kit?
Academy leaves room for improvement. The bays aren't boxed-in and the roofs of the bays are quite devoid of detail. Nothing that a little styrene strip couldn't fix, though.


Quoted Text
Talking 109s, how's the langing gear bay detail in the Fine Molds kit?
Academy leaves room for improvement. The bays aren't boxed-in and the roofs of the bays are quite devoid of detail. Nothing that a little styrene strip couldn't fix, though.
...unfortunately the gear is the worst part of the Academy kit...the legs are splayed far too wide apart and the wheels are hopeless...
 A few swipes from a file would do the trick.


 !
!


 !
! . At that size I couldn't tell if it was a Mustang or a 109. Now what to do with myself that the suspense is over.
 Magnus
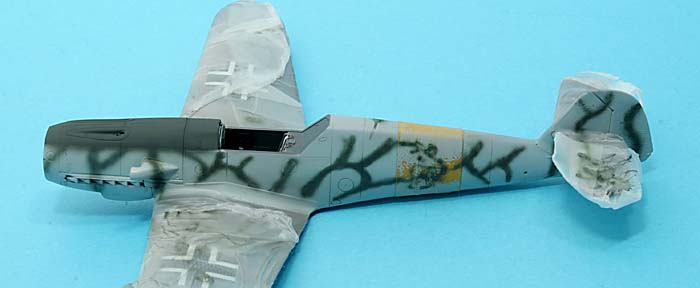
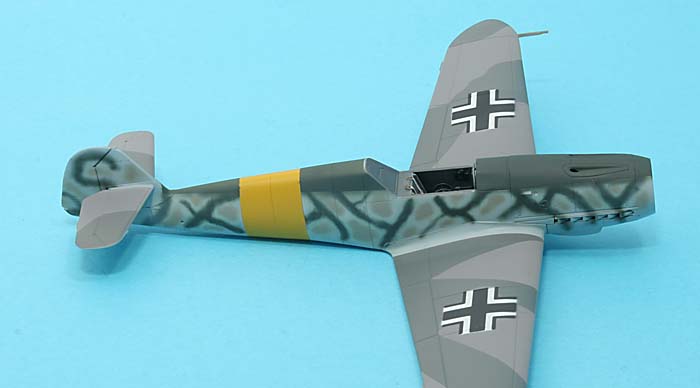
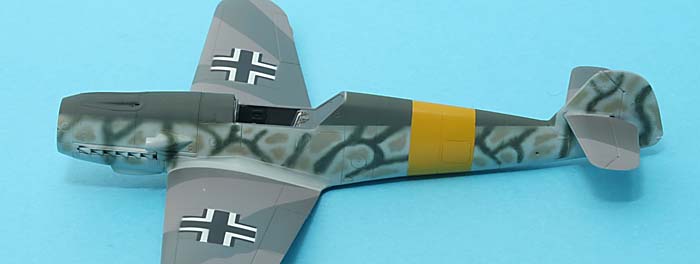
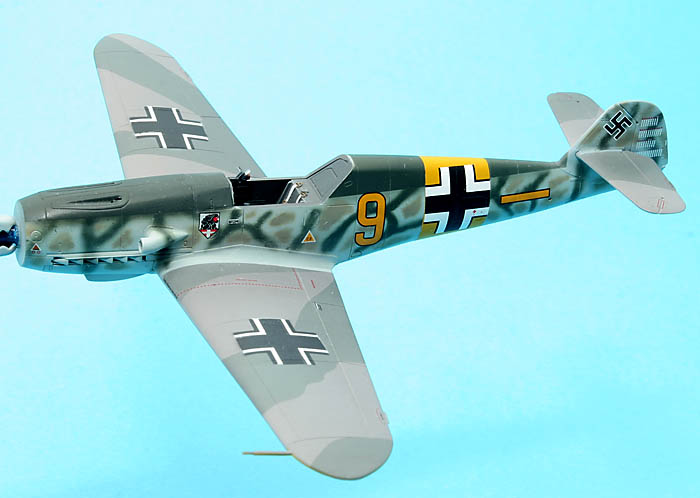
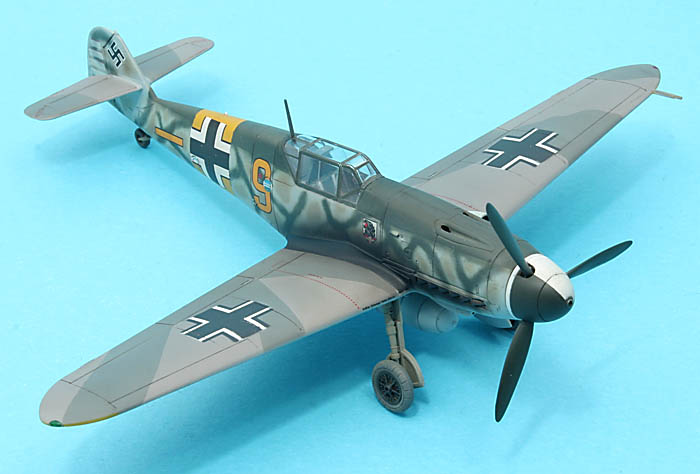
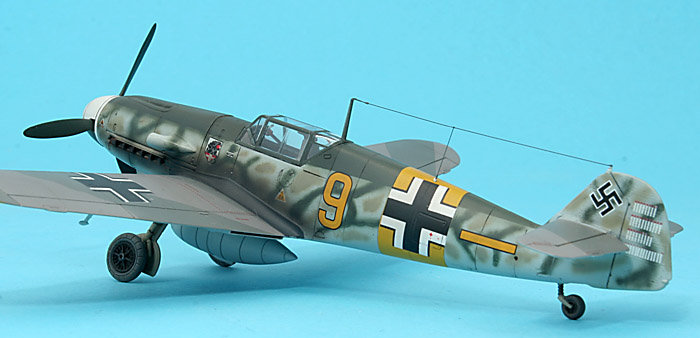
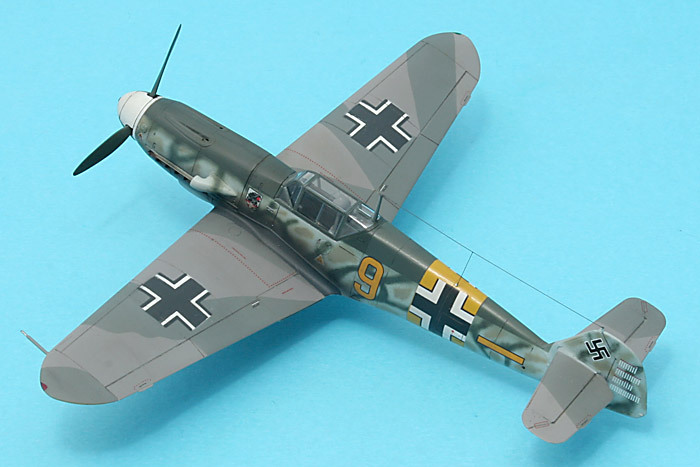
I think it looks great. I think the free hand approach gives it a more realistic look than the decals could have ever achieved. When you take in account this was a 72nd scale kit, well my hats off to you
!
Hi Magnus.
See,,I knew all along you'd be fine!
Great job!
Nige


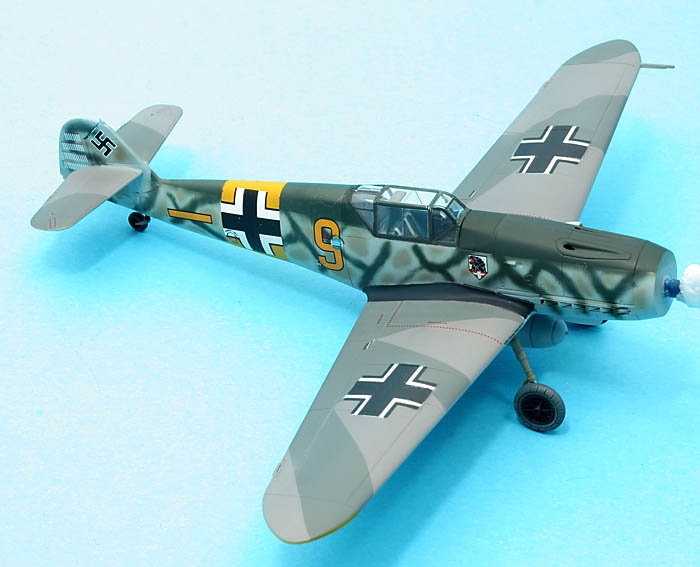
 Fortunately, I had a G6 kit in my stash with the G2 barrels included, so I got the spares.
You managed to pull off the fuselage camo then. Looks great!
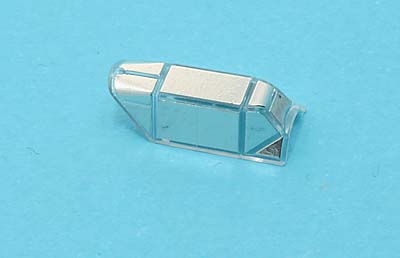
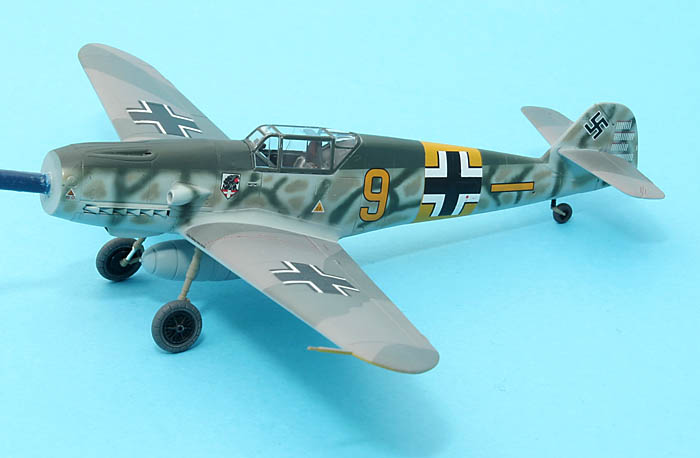
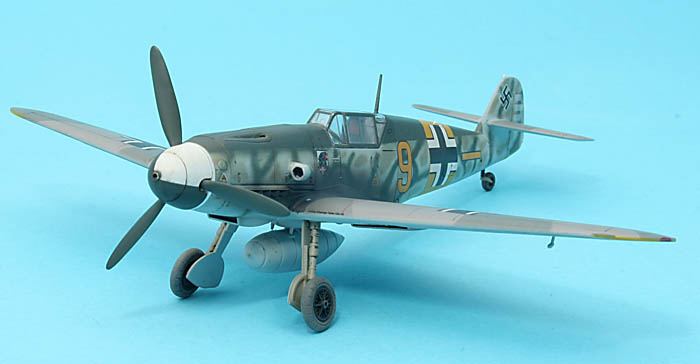
Does the kit include just a single closed canopy?
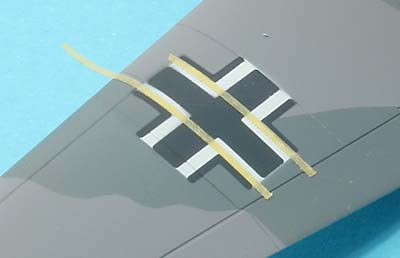
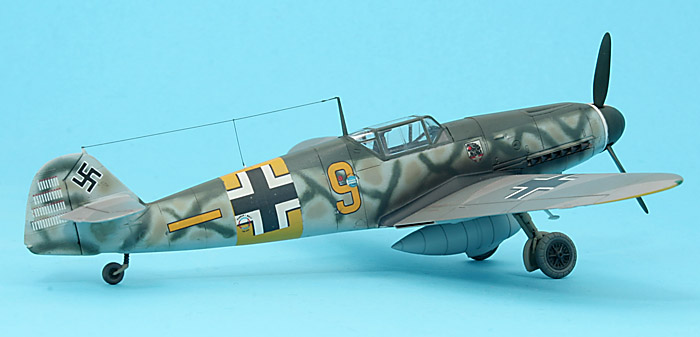
I havent tried self-adhesive metal foil for masking before. How does it come off after painting?
However, I think I'll be sicking (no pun inteded =) to masking tape. Me, tracing canopy frames freehand with a knife, on a canopy with less-than-distinct frames surely equals trouble!
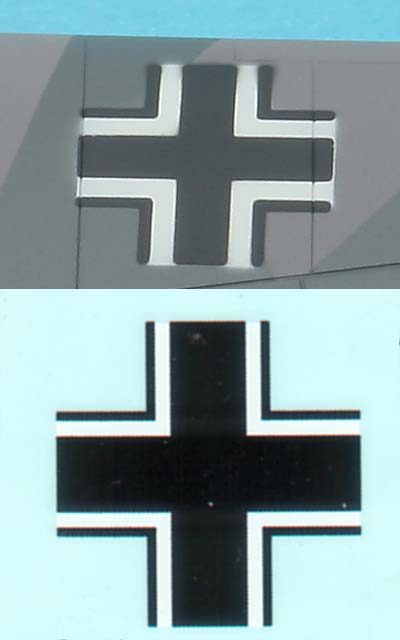
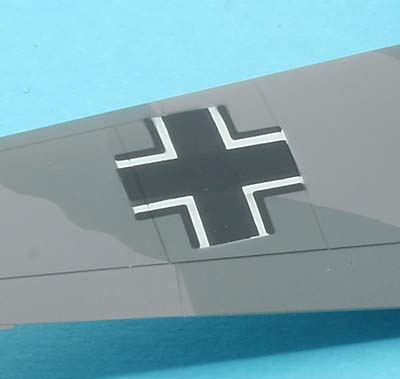
What I like with the foil is that it is very thin allowing one to see exactly where the frames are. But the risk is always there when using a scalpel in close vicinity of clear parts!Good job on the painted markings too, although I think I can see some white showing under the black in few places. A quick touch-up would make them sharper.
Btw, I noticed the machine gun barrels are separate parts in this kit. How do they mount under the cowling? Be careful gluing them on.
On my 1:48 Bf-109 G2, I cut cut off the barrels from their mount (the kit wants you to install the barrels at the same time when gluing on the cowling) and built a simple mount inside the cowling so I could attach the barrels after painting. I ended up with two MG barrels rattling inside the fuselage...
Man, I got to get that Spifire of mine finished and started on a Finnish bf-109 G6.
There was the annual Model Expo last weekend and I purchased an InScale decal sheet to go with that Academy G6 I got in my stash. It'll be Lt. Leo Ahokas' (12 victories) mount.


Well that is a truelly interesting model!
Check out the photos here - both 3rd photos in the 2nd and 3rd rows show the subject (I guess).
) but when in place they settled down nicely using Gunze Mr. Setter.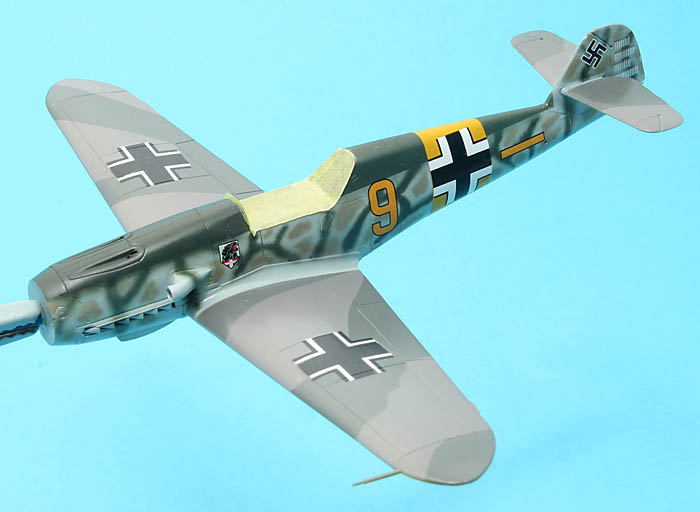


Looking good!
That canopy seems to be of superb quality, very clear and apparently thin as well. With the cockpit detailing on my Academy 109, I think I'll have to pose the canopy open, as that lid's a little thicker.
Don't forget to add the langing gear doors.
And watch out for that pitot!
...assuming that's the kit item. Having learnt from my first Academy kit, its pitot tube was sliced off as a part of my normal clean-up procedures. Being molded-in with the wing, it's really asking for trouble. A hypo needle and steel rod replacement won't suffer from my handling.


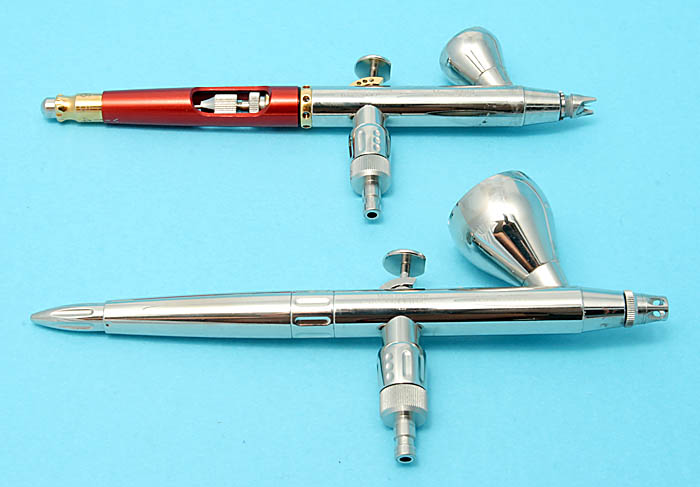
An excellent paint job, that´s wonderful. Can you tell me witch airbrush do you use.


 |


