


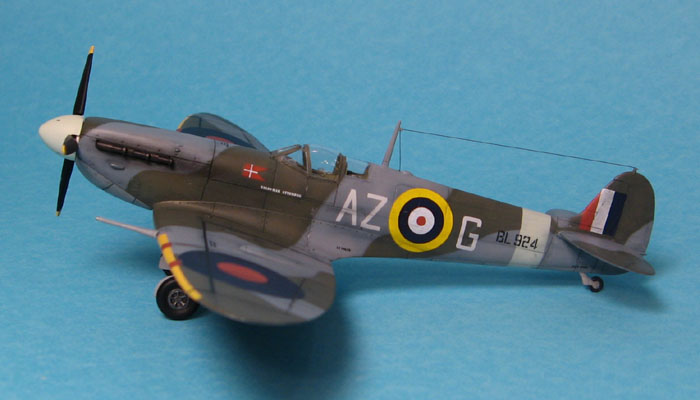
Well, here's another one of my so-called "quick builds", Revell's 1:72 scale Spitfire mk.V, built almost straight from the box, the only aftermarket addition being the PE seatbelts.

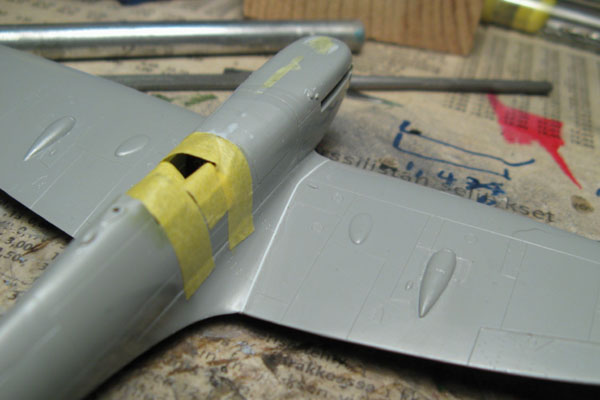
For some reason, the cockpit floor was grossly too long to fit between the front and rear bulkheads, requiring some work with clippers and a file. While I was at it, I could have made up a more accurate cockpit floor, as the kit part was just a plate, but it wouldn't have been visible in the finished kit anyway, so I went with the kit parts. (and this was a quick & easy relaxing build, remember?
 )
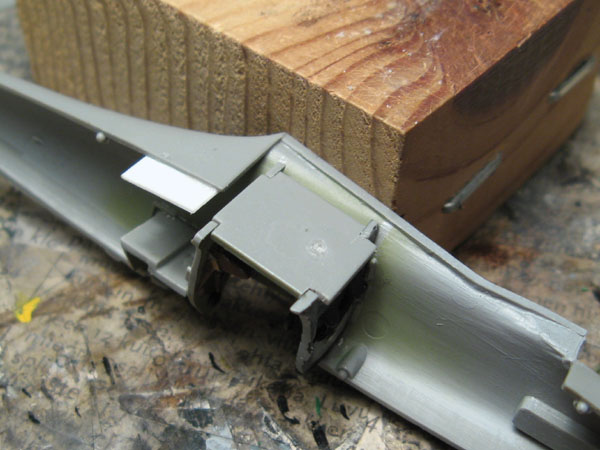
)It wasn't without slight tweaks and modifications, however. My sample was apparently from already slight worn molds, which resulted in joints needing some plastic card and putty to tidy up.


But in the end, it wasn't too bad of a job to fix. Looking much better now!
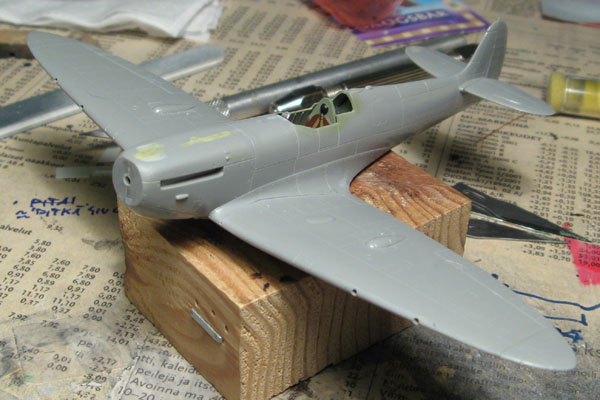
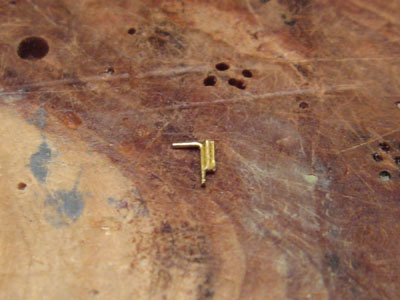
The rest of the noteworthy modified parts are the pitot tube, which I made from brass wire after losing the kit part to the carpet monster, and the radio mast. The latter I modified by making a brass wire loop for the radio wire (probably not 100% accurate, but attaching the wire was a breeze), and pinning the joint to the fuselage. Nearing the end of the build, I managed to snap the mast in two above the pin, but I got it fixed with a drop of superglue.

Not feeling comfortable with just butt joints to attach the wing cannons, I pinned the joints with thing brass rod.

At first, this was going to be just a quick, relaxing build before I started on my Blenheim for the twin spinners campaign. The usual happened and there I was building this along the Blenheim. Finally, it basically just lay on my workbench for the whole April painted, decaled and only missing the final touches. A couple of days ago I grabbed myself by the neck and sat down and finished the thing.
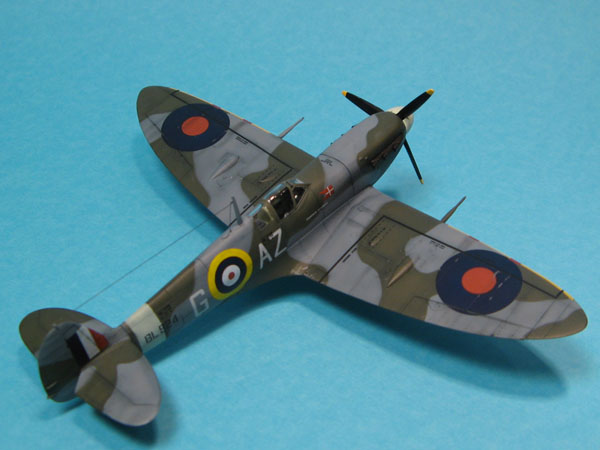
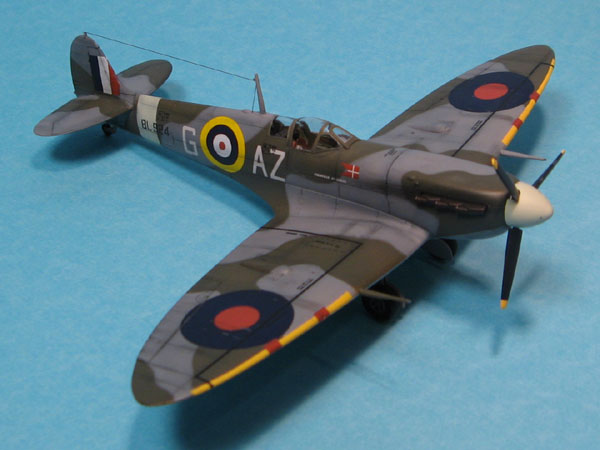
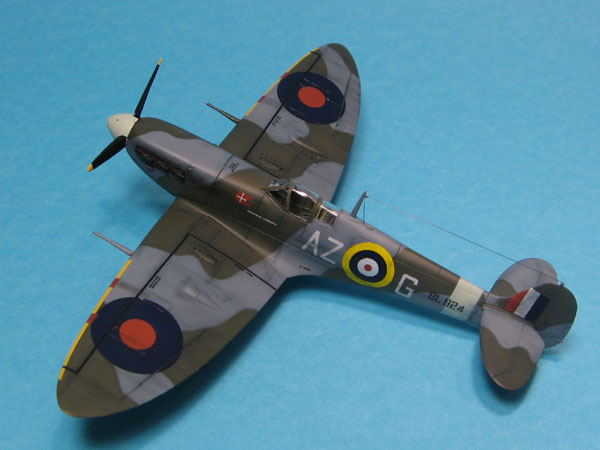
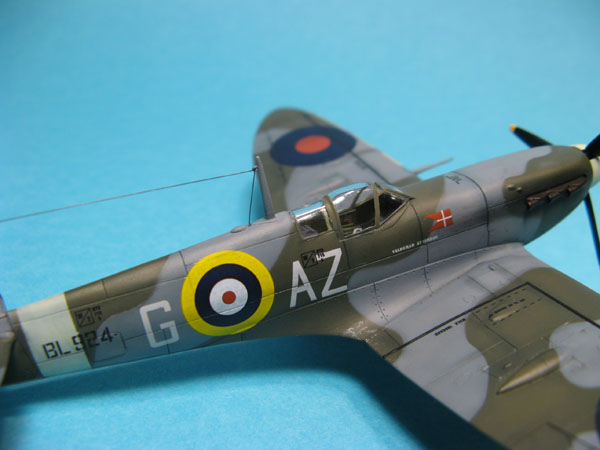
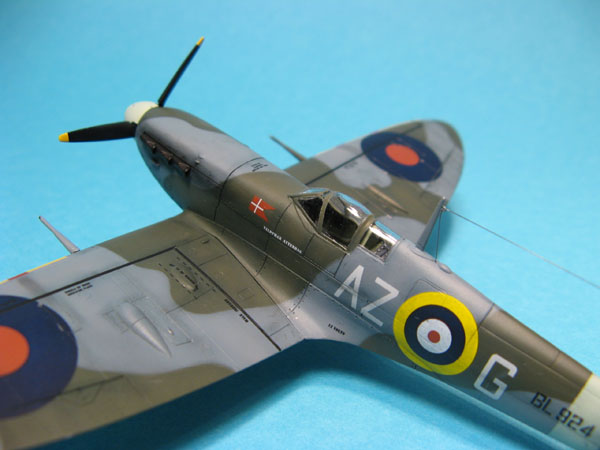
Here's the Spit all finished. Painted with xtracrylics RAF paints and weathered with ground pastels. I also painted on some chipping. Kit decals were used.
Enjoy the pics and let me know what you think.


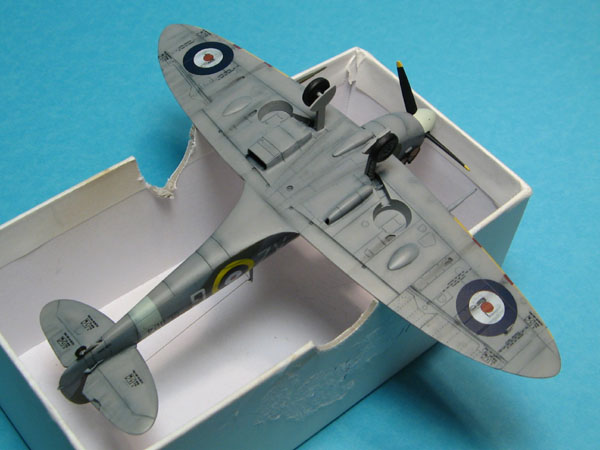
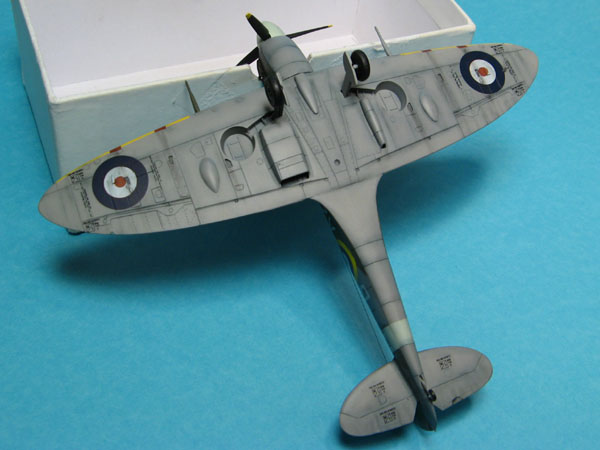
Ps. Remember this?

I was asking about those dark borders which were left on the model's surface after masking with white-tac, but they're gone now, whatever the reason. Simply time? The overall flat coat or weathering? Beats me...
Edit: July 13th 2017 - yup, another build thread fixed. Thanks a lot, PB!


