

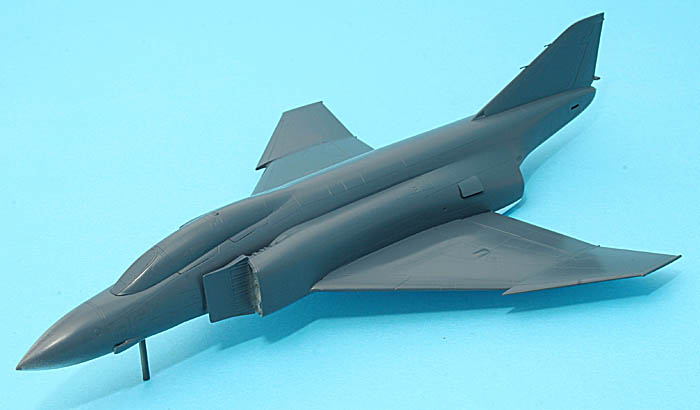
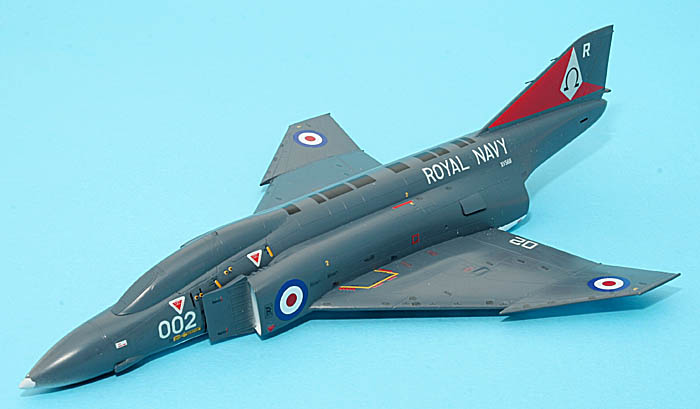
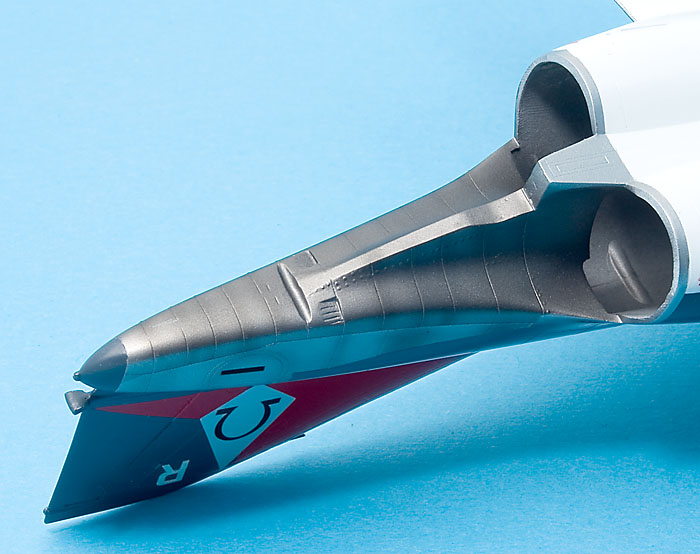
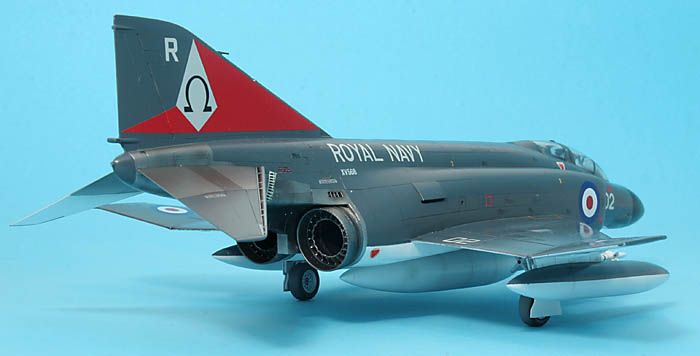
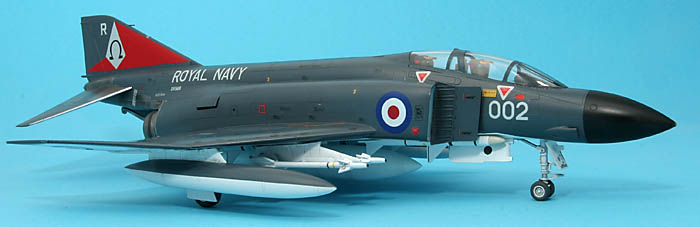
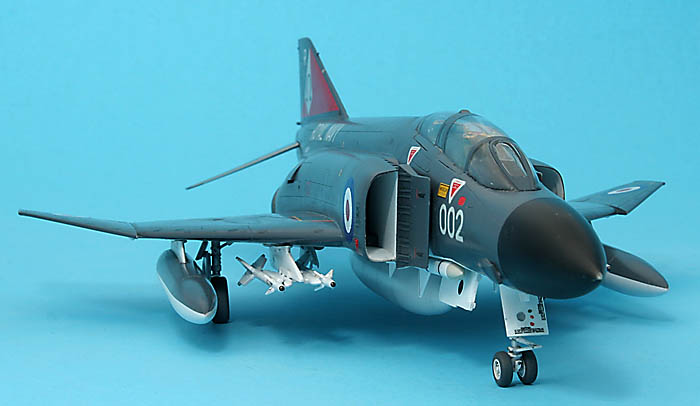
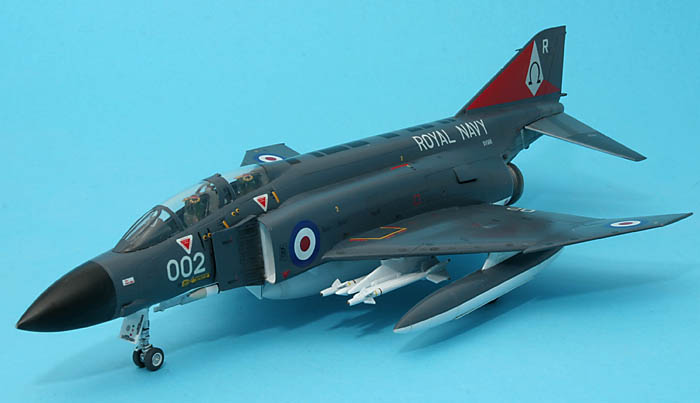
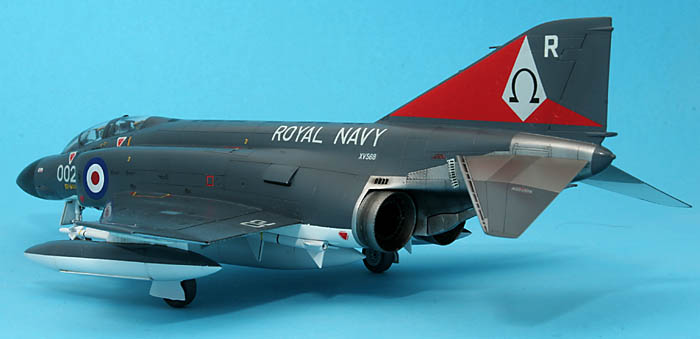
White is Tamiya gloss acrylic, EDSG is Xtracrylix.
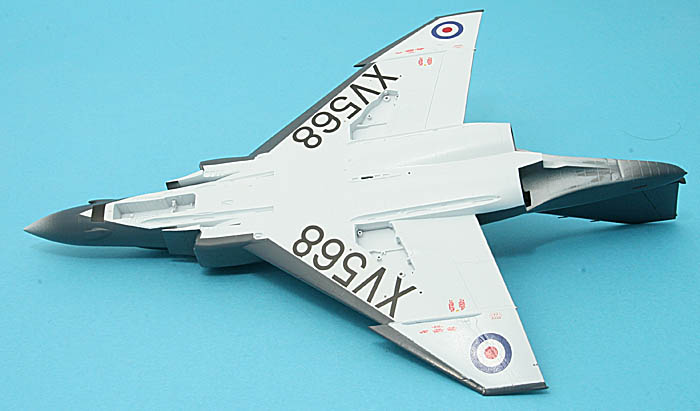
I'll spend tomorrow thinking over my choices of paint schemes, decalling starts tomorrow night!

Magnus


Magnus,
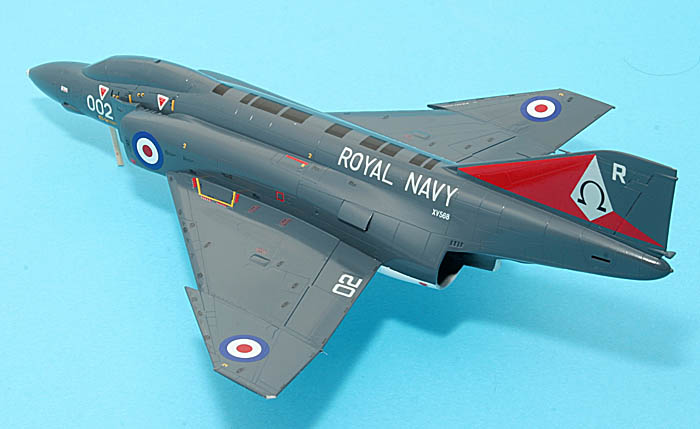
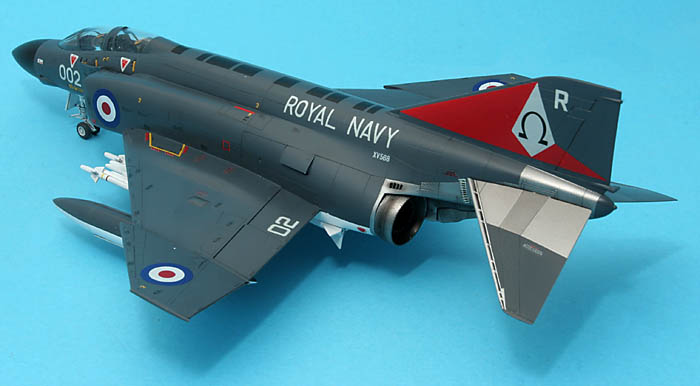
Great job on the wrap-around paint job. That much masking can really put one off of a paint job like that!
Michael


Tamiya 1/100?? That is an early model E(orEJ), you'll need a great deal of work on it.
Magnus:
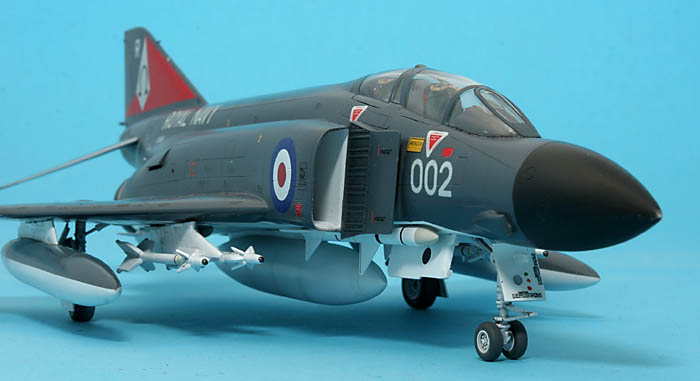
I have to admit that jets in general are not my favorite subject, but yours is looking great. The decals really catch the eye. I am looking forward to the completed machine.


Hi Magnus,
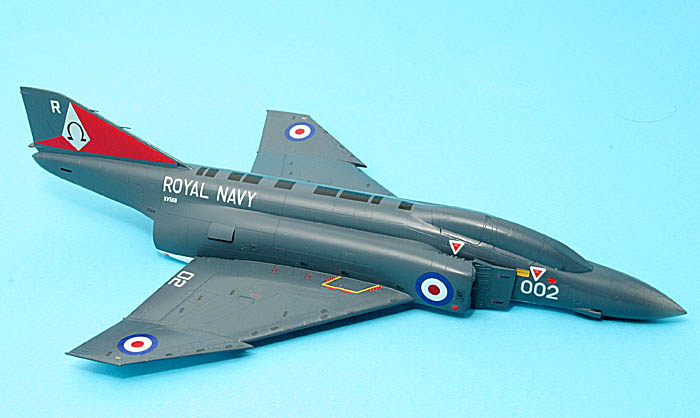
Fantastic job on the Phantom, it looks superb.
I also like the games workshop paints. I often use the chainmail for chipped paint etc. Have you ever tried their washes. I used the black wash on some armour recently and it works well.
All the best,
Mike.


Nice build Magnus, I have this aircraft to add to my collection and I'll look to your build for insperation.
Luciano
 |


