_GOTOBOTTOM
Air Campaigns
Want to start or join a group build? This is where to start.
Aces Campaign; PCM Spitfire MkIXc 1/32
Phantom2
_VISITCOMMUNITY
Östergötland, Sweden
Joined: April 18, 2006
KitMaker: 708 posts
AeroScale: 678 posts
Posted: Tuesday, June 10, 2008 - 10:57 AM UTC
Hi all!

This is my build for the "Aces High" Campaign running now.

I´ll build the new PCM Spitfire Mk.IXc in 1/32nd scale.

Here´s the evocative and beautiful boxart;


This is a limited-run kit and as a such it contains several different medias in the box.
Let´s take a look of what´s in the box;

We start with the plastic parts;


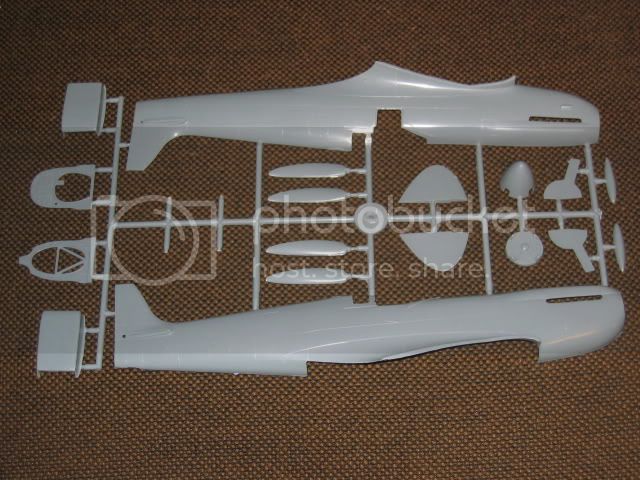
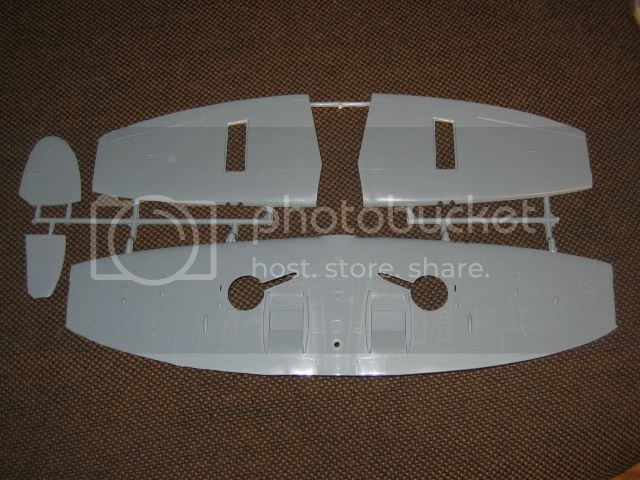
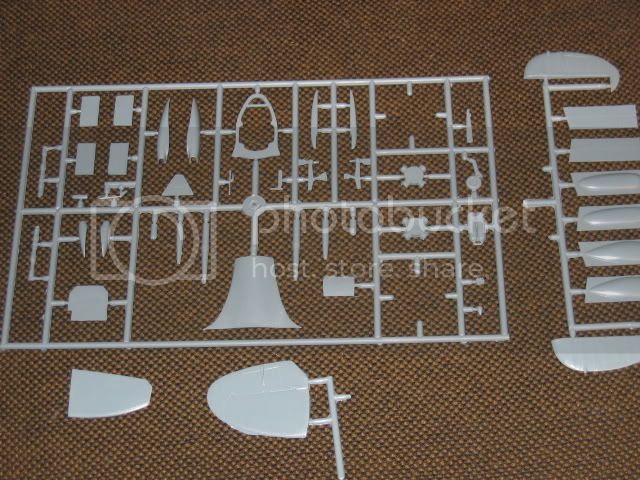
All parts are very well moulded with fine recessed details and panel lines and very little flash.

The fuselage and wings are very shiny and the plastic seems to be the hard and brittle type.
Fortunatley, this is not the case, the plastic is of good quality and are very easy to work with.

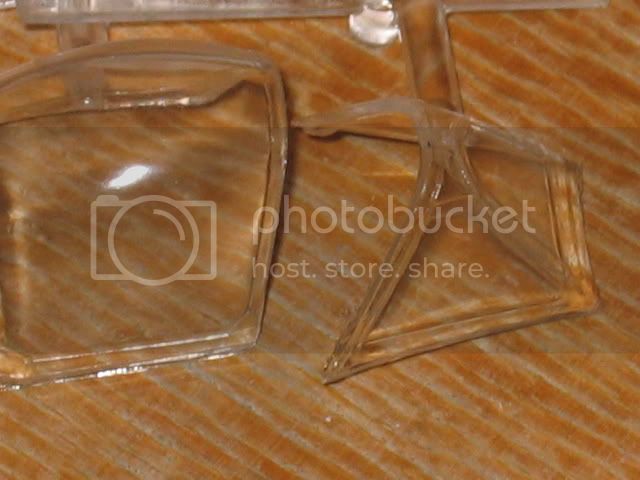
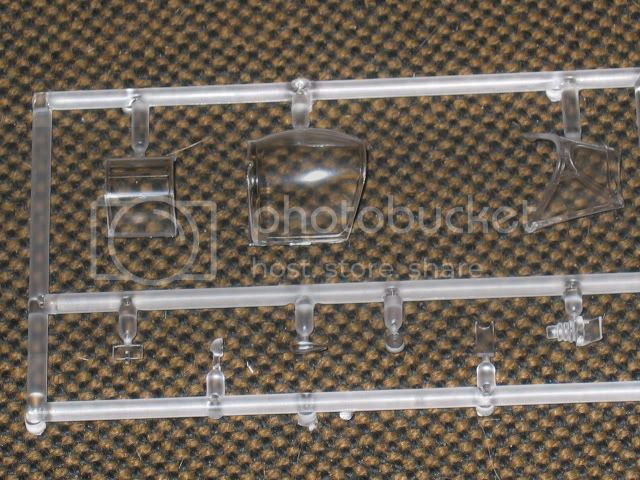
The clear parts are very clear and free from any scratches.


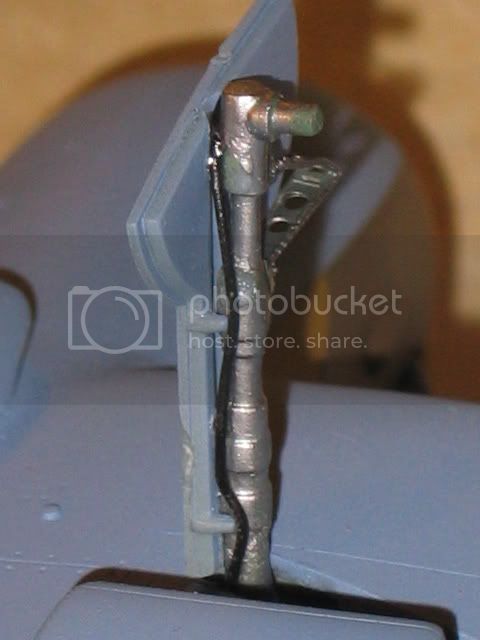
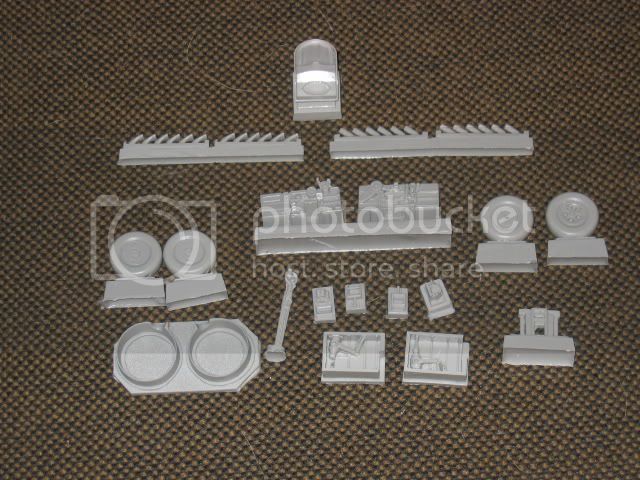
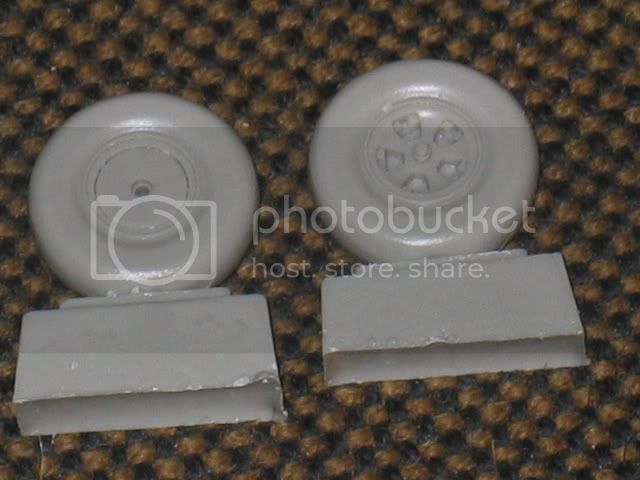
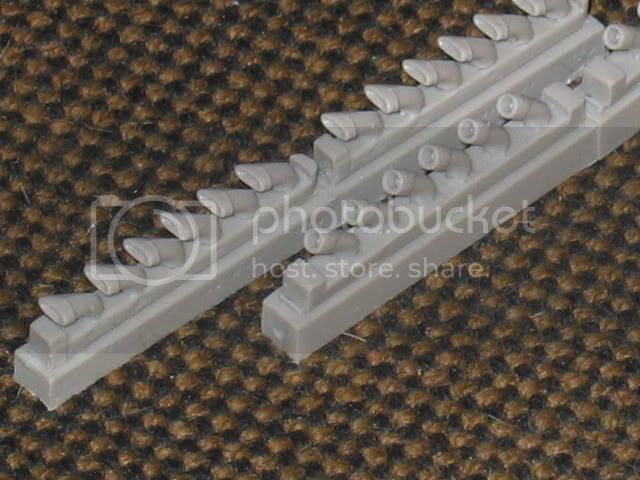
A large bag of resin parts are included with a complete cockpit plus seat, two types of exhaust stacks (fishtail and stubs), two types of wheels (spoked and coverd), complete wheel wells and some more small parts.

Everything is cast with perfection (by CMK) and detail are exquisite and razorsharp!


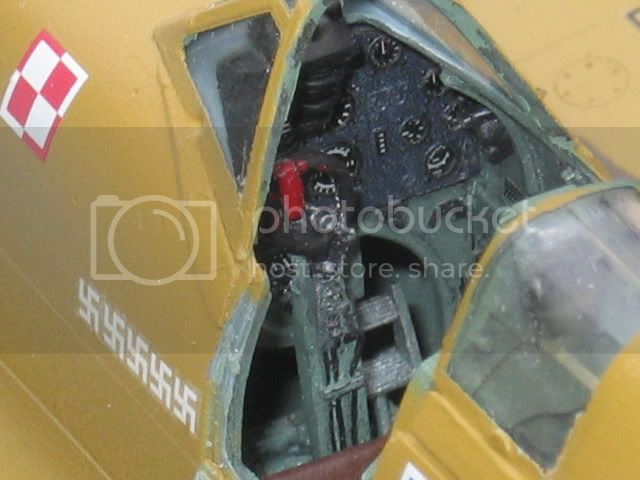
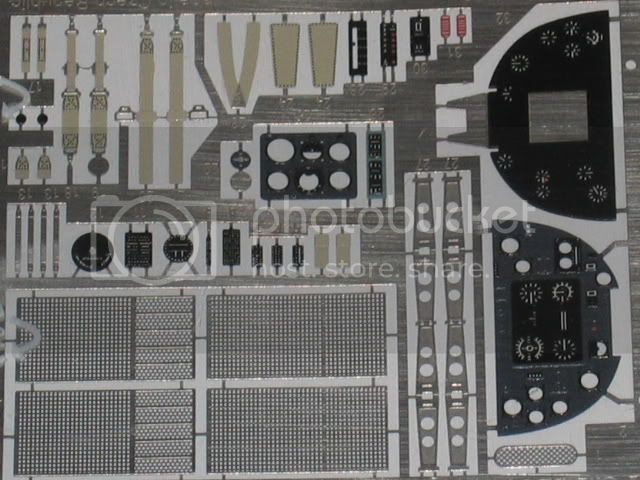
A fret of etched parts (made by Eduard) contains the instrument panel and seat belts plus some more parts.
Instrument panel and belts are pefectly painted and will look very good when assembled.


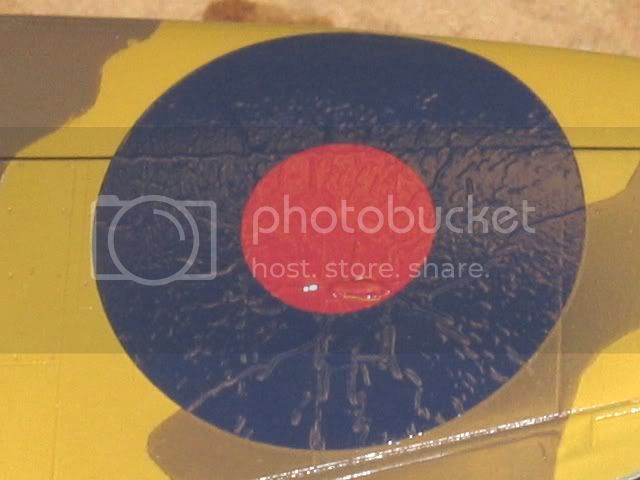
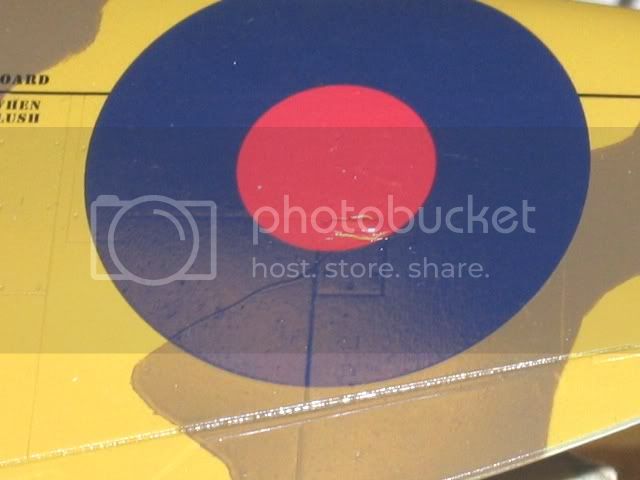
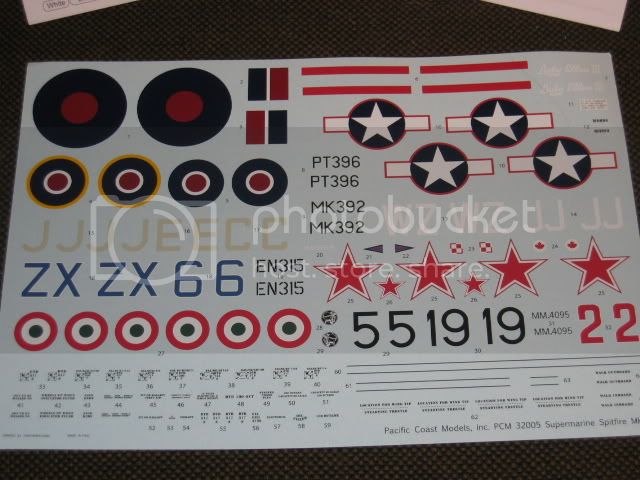
The large decal sheet gives six nice options and are beautifully printed (Designed by Skymodels and printed by Cartograf) and are perfectly in register with very good colors.


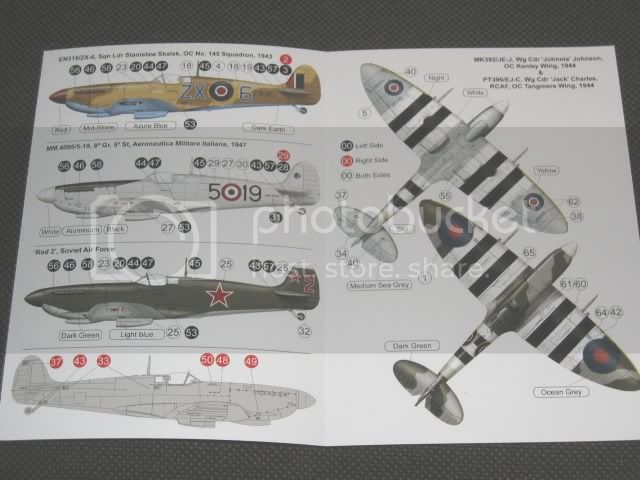
A four page leaflet, printed in full color, shows decal placement for all options.


A building instruction (in a large A-4 format) rounds off the contents.

All in all, a high quality product!

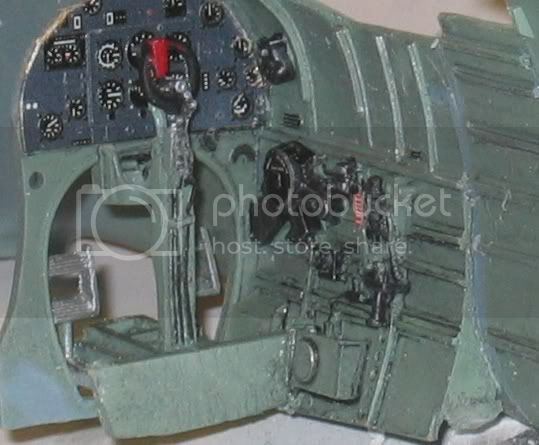
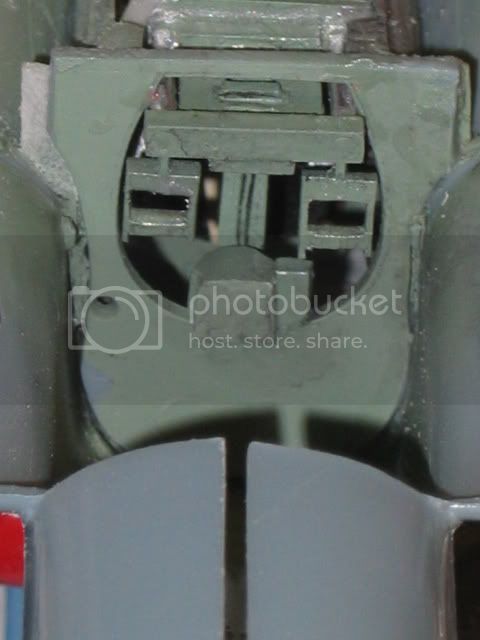
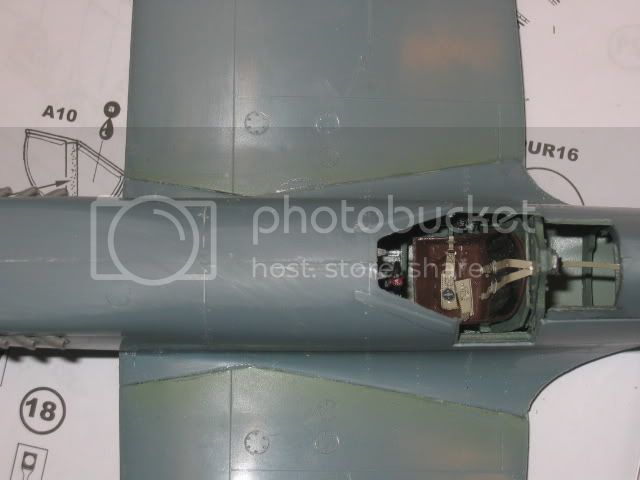
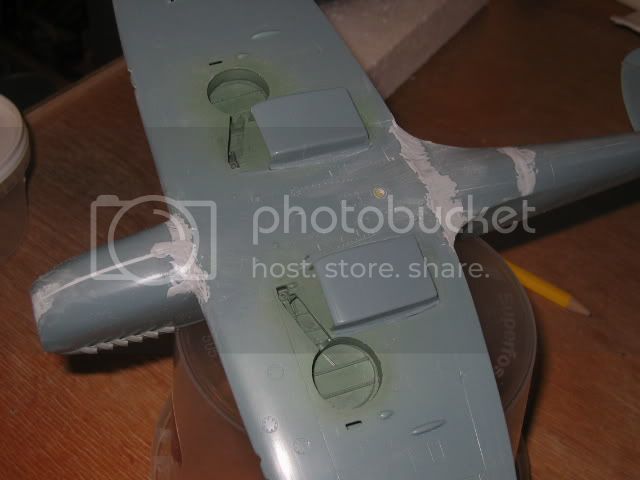
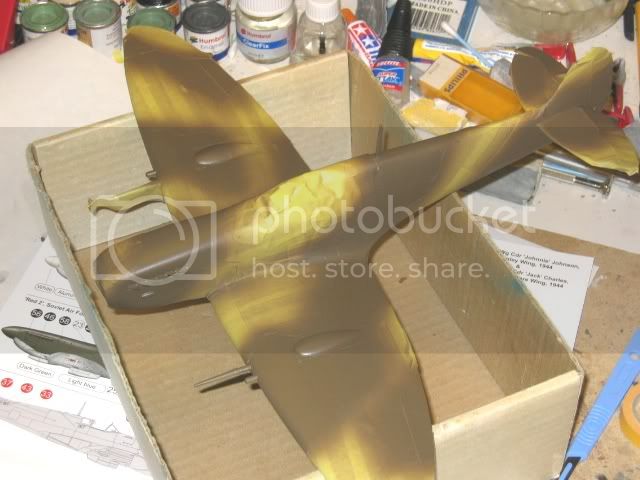
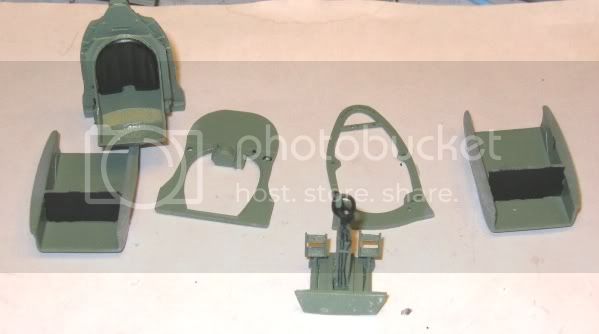
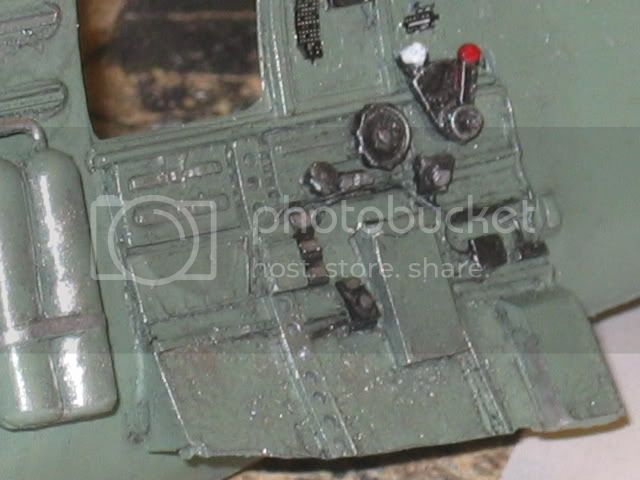
I started the build right away and in no time i had the cockpit and radiators painted;


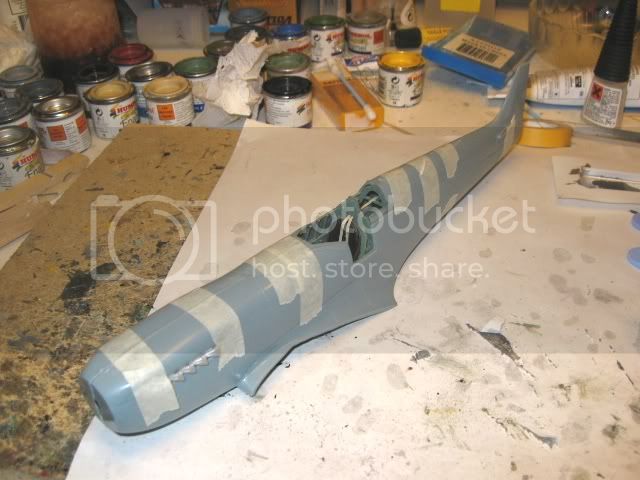
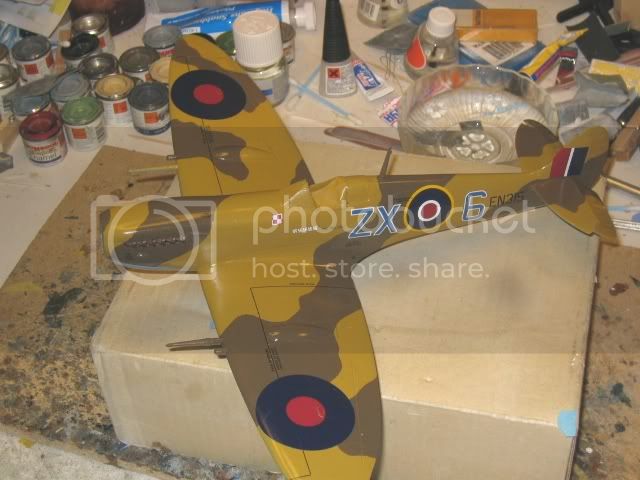
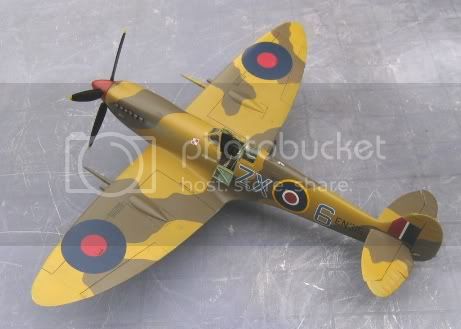
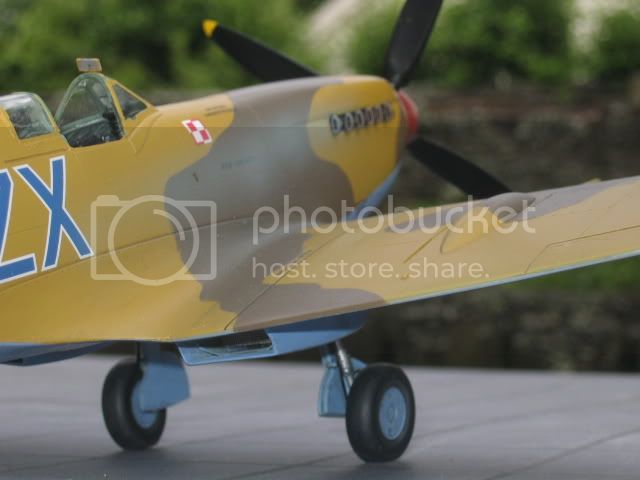
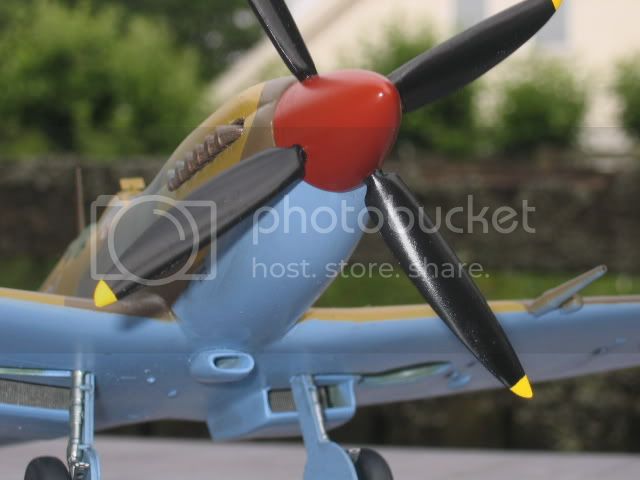
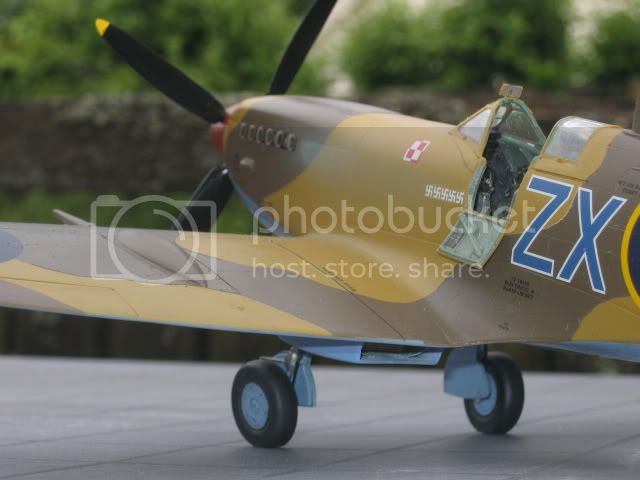
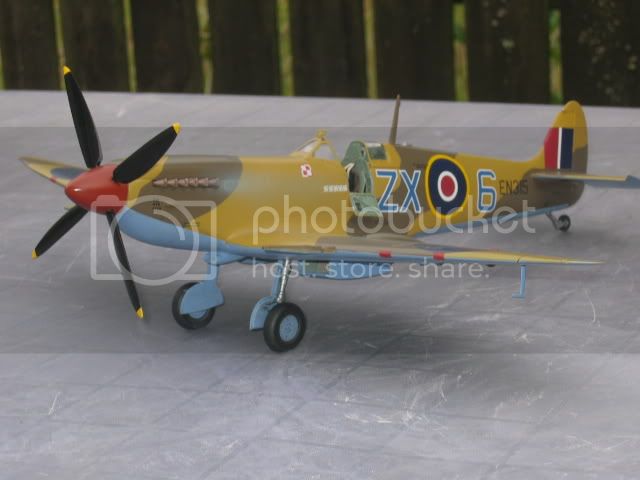
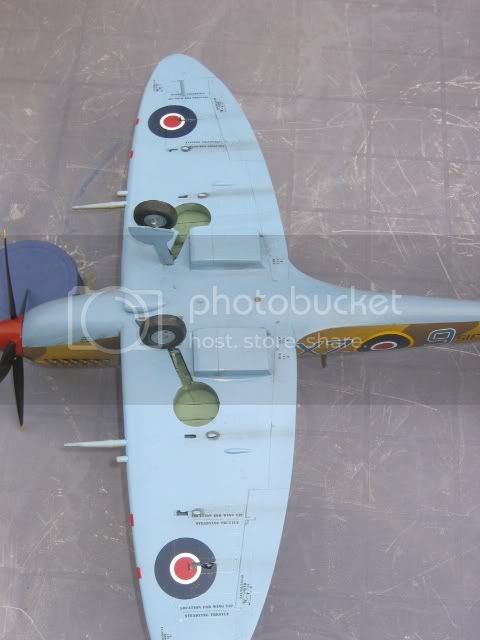
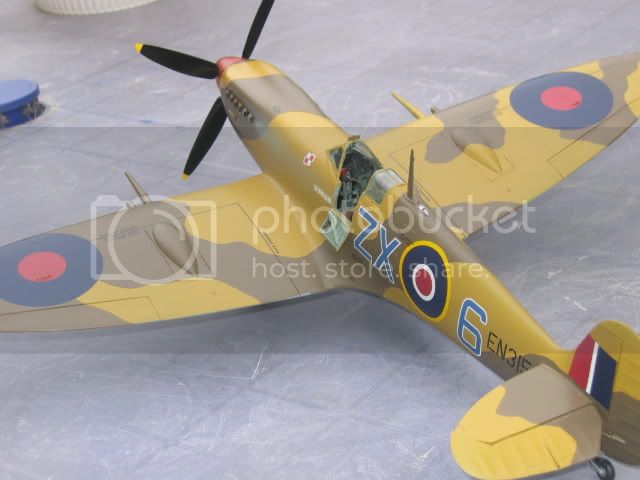
This is the option I coose for my build; the mount of Stanislaw Skalki, ZX o 6.


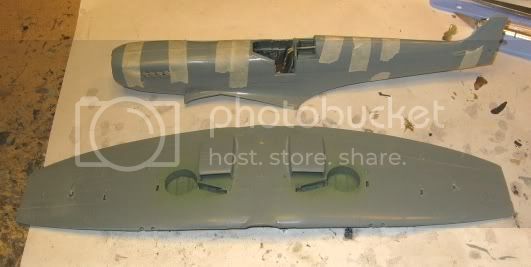
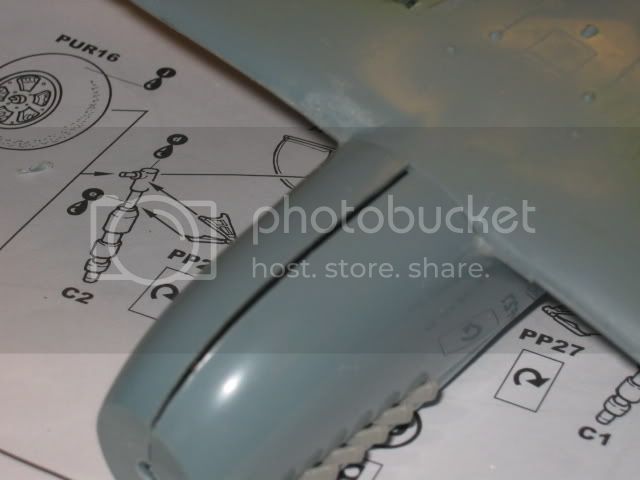
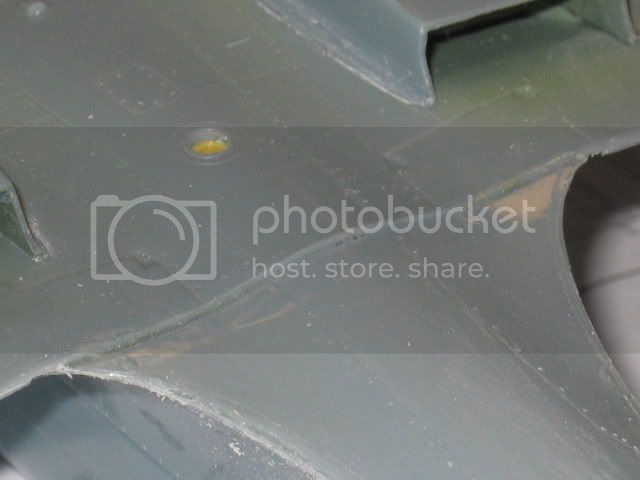
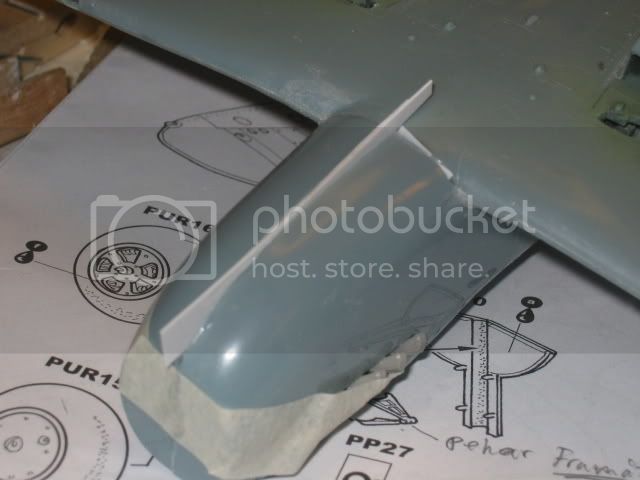
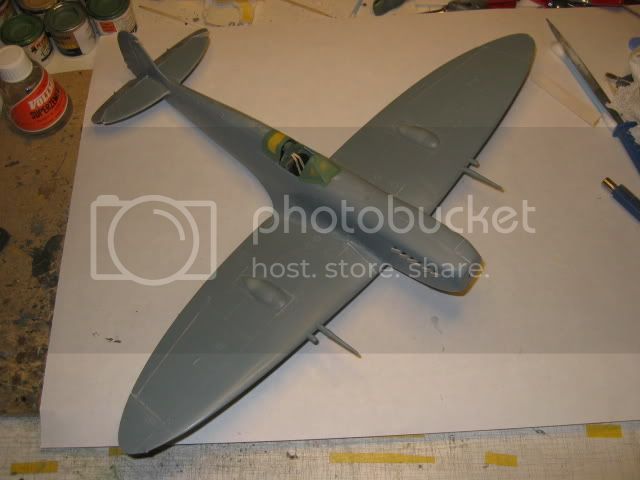
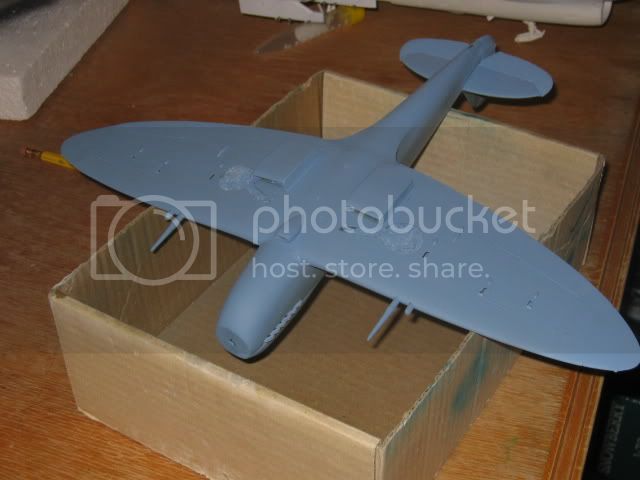
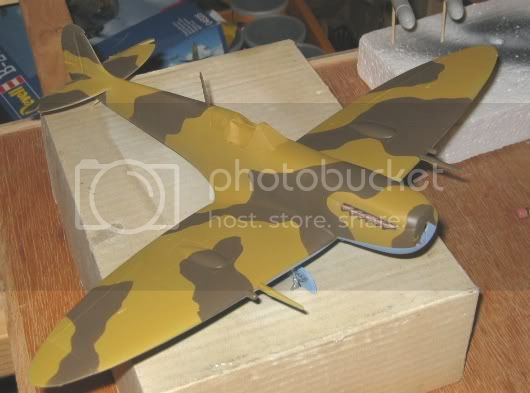
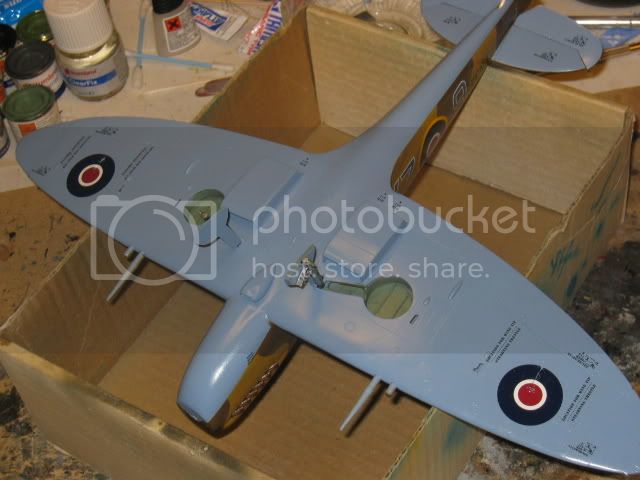
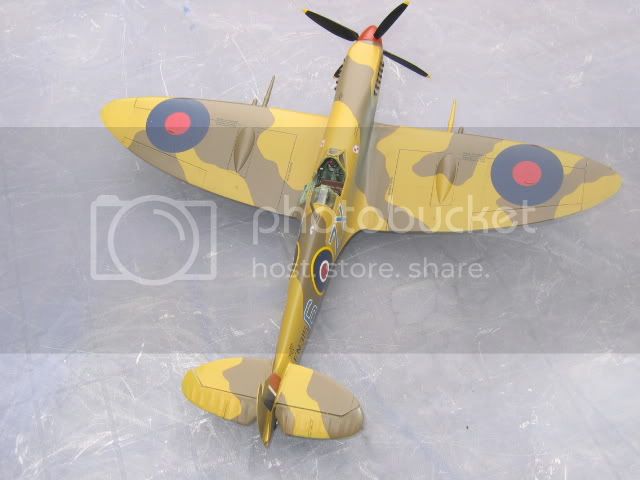
This Spitfire was an early MkIX that still had most of the MkV features like large wing bulges;


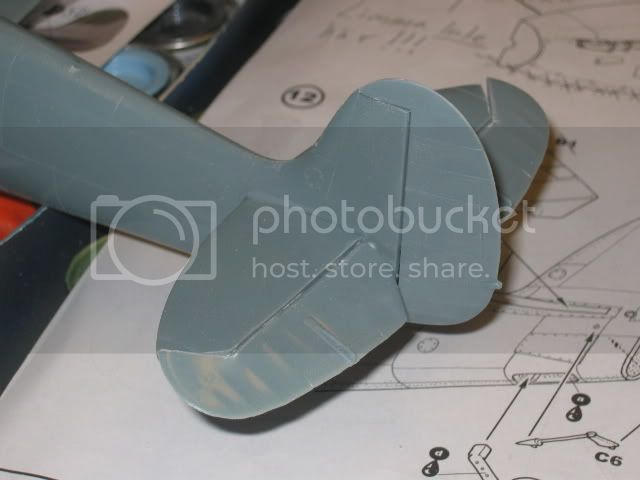
Tailplane of the MkV style;


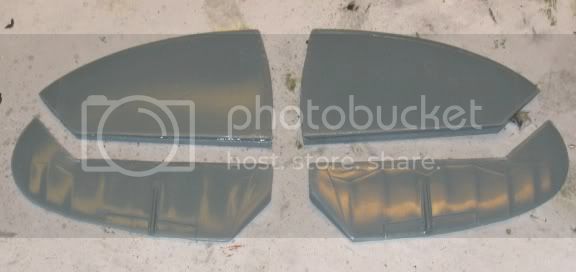
I separated the elevators from the tailplanes at the same time.

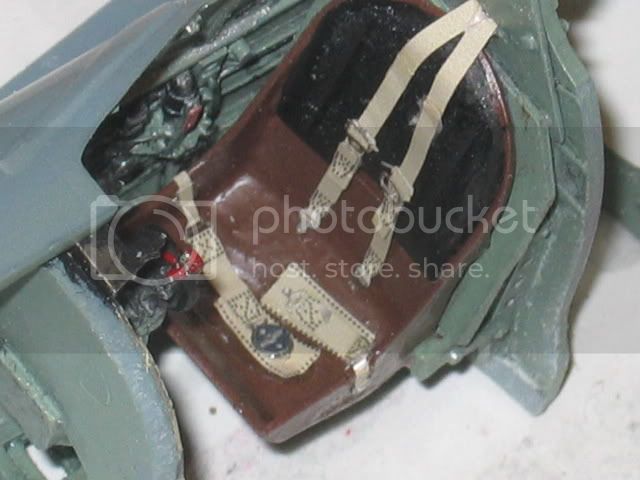
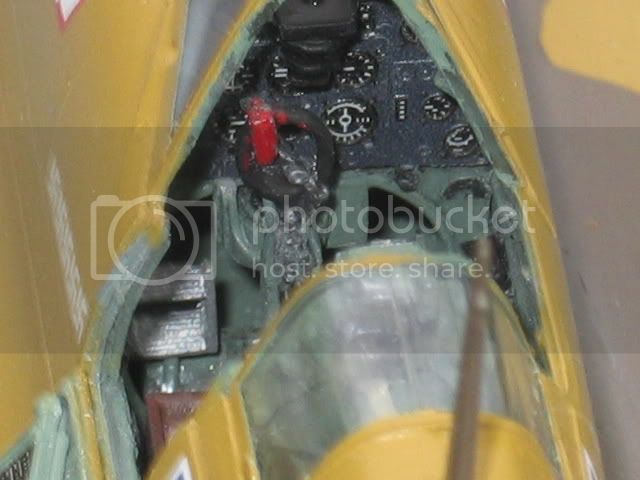
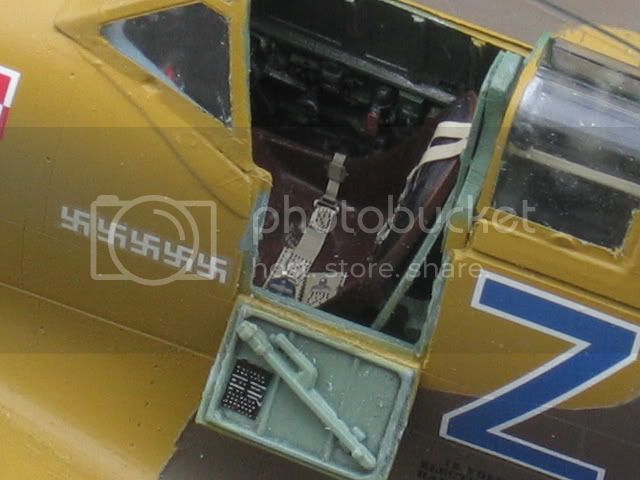
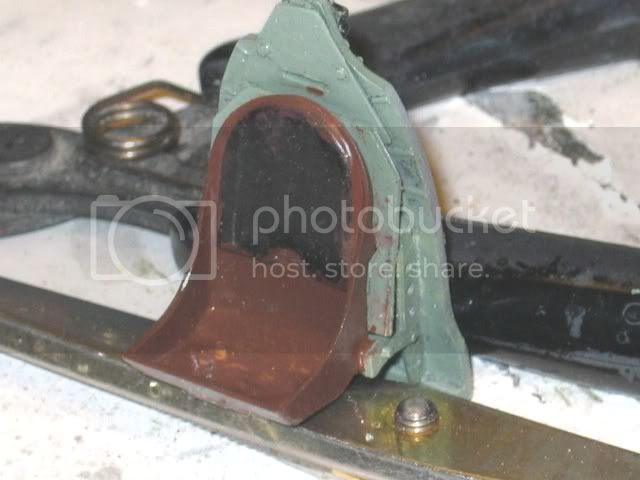
The seat was still made of a bakelite with a reddish-brown color.


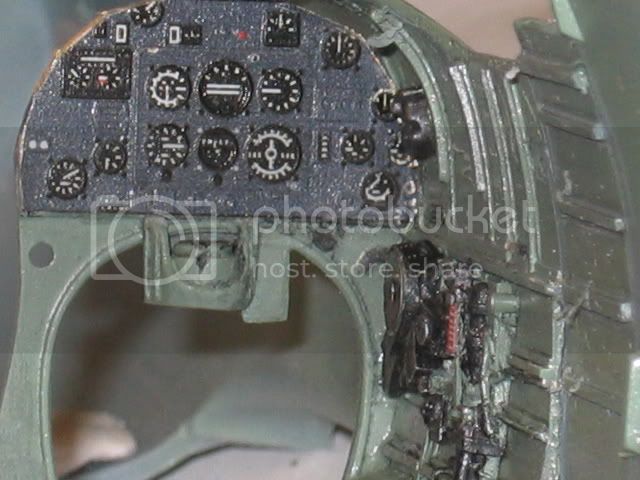
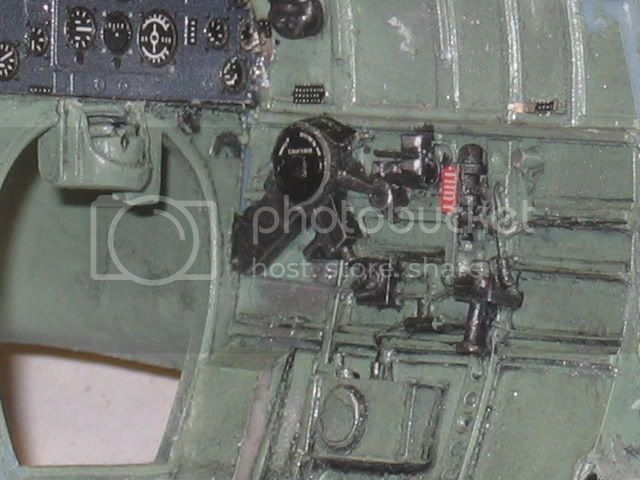
Instrument panel and cockpit side walls completed


Well, that´s all for tonight folks!

More to come...

Cheers!

Stefan E
Phantom2
_VISITCOMMUNITY
Östergötland, Sweden
Joined: April 18, 2006
KitMaker: 708 posts
AeroScale: 678 posts
Posted: Thursday, June 26, 2008 - 10:47 AM UTC
Hi all!

Now the cockpit is done;


The fuselage halves fitted perfectly well, but I had noticed there would be a gap in the wingroots if I glued the entire nose.
So, I glued the fuselage except at the under-nose joint;


I did not glue the bulkhead to the left fuselage sides, leaving it slightly moveable.
I ended up with a gap in the nose that looks worse then it really is.


Now I had the wings and fuselage assembled, ready for marriying!


Here you can see that it was a very happy marriage!


...and this was the prize I had to pay;


I filled the gap with strips of plasticard;


The tailplanes and elevators fitted perfectly well, even though it was a butt-joint.


Some filler was needed, almost only on the under-surfaces where it will not be seen.


First thing I did when I started this build was to give the canopies a dip in Johnssons (Future in Sweden), which made them sparkling clear!
Now, a few weeks later I could mask them up, glue with clear-fix to the model and then secured with some CA-glue.


After mucho sanding and polishing, she was finally looking like a Spit and ready for the paint booth!


Now the best part of the build begins!

More to come soon!

Cheers!

Stefan E
kenner
_VISITCOMMUNITY
Ontario, Canada
Joined: October 14, 2007
KitMaker: 122 posts
AeroScale: 119 posts
Posted: Thursday, June 26, 2008 - 01:52 PM UTC
Looks good so far, Stefan!

(reminds me a bit of Magnus' Mk.XII -
nice looking kit but more work than expected)

Phantom2
_VISITCOMMUNITY
Östergötland, Sweden
Joined: April 18, 2006
KitMaker: 708 posts
AeroScale: 678 posts
Posted: Friday, June 27, 2008 - 05:15 AM UTC
Hi Kenneth!

Actually, this Spitfire have given me LESS work then expected, but much more fun!

This is a short-run kit from a very small company, and I did not expect such a high quality kit!

Short-runs usually means lots of work, sanding and shaping parts that fight you all the way.
Not this one!

This kit is by all means no Tammegawa, but no worse then an old Monogram or Airfix!
All parts fit together very well, you don´t have to alter the plastic parts as long as all pouring blocks are completley removed from the resin castings and some care during construction is used.
In my opinion, this is an Ideal first try at short-run kits!

I have one more MkIXc, and will get at least one MkIXe, or two, or three.... :-)

Cheers!

Stefan E
CaptainA
_VISITCOMMUNITY
Indiana, United States
Joined: May 14, 2007
KitMaker: 3,117 posts
AeroScale: 2,270 posts
Posted: Sunday, July 06, 2008 - 12:53 PM UTC
You are making this bird come to life.
Phantom2
_VISITCOMMUNITY
Östergötland, Sweden
Joined: April 18, 2006
KitMaker: 708 posts
AeroScale: 678 posts
Posted: Saturday, July 12, 2008 - 10:45 AM UTC
Hi all!

Now I have come to the paint booth, and as usual I started with the Azure Blue underside.


I masked off the underside with tape and then it was time to paint Middle Stone;


Now we come to the interesting part when painting Spitfires, creating the cammo pattern!

On the real aircraft the workers used rubber mats to mask, and that´s exactly how I will do, using masks made of tape.

I had a drawing in 1/48 from a Tamiya Spitfire MkVc, blew it up with 150% to get a 1/32nd scale plan.
Some concerns about the scale accuracy have come up around this kit, but I can tell that the 1/32 model fitted the plans PERFECTLY!
Only exception was in the length of the nose as the MkIXc is slightly longer, and so was the model!

The camouflage is the same "A-pattern" as the Tamiya kit, but the colors are inverted and the Dark Green is replaced with Dark Earth.


So here we go, with a scalpel I cut out the sections of the camouflage I wanted to use.
Then I placed the piece of paper over some strips of tape and traced the contours with the scalpel,


Then I peeled it off the table and placed the mask on the model.


After a few hours of work I had the model completly masked and ready for the Dark Earth.


Then I left it a few days to fully cure.

With so much tape on the model, the demasking took me almost half an hour!


I had almost no creeping paint and no lift-offs in the paintjob, what a relief!
The small blemishes was easily worked out.

I fitted the landing gears, and added the braking wires from a piece of black cable from my railroad´s electrical stock.


Then it was off for a good clear coat and then I left it to dry for a couple of days.

The Decals from Cartograph was excellent and worked perfectly, no bleed trough from the camouflage beneath and they settled down with no silvering.
Using decals as this good is always a joy!

Only snag was the big top wing roundels that had to go over some raised details.

Soaking in HOT water and a liberally dose of Micro-sol made this to the decal;


NEVER touch a decal that looks like this!
Go take a coffee brake and when you return it will look like this;


Snuggled down in the recesses and over the raised details and looks as it was painted on!

Note that the roundels always goes OVER the walkway markings on all Spitfires!

All other decals settled down with only hot water and Micro-set, and they looked exactly as beautiful.


A lightly applied black wash, and then I could finish with the final satin clear coat.

Cockpit masks was removed and all small parts like the wheels and prop could now be attatched to the model.


Yup, my Spitfire Is finished!

More pics coming soon!

Cheers!

Stefan E
betheyn
Staff MemberSenior Editor
AEROSCALE
#019
_VISITCOMMUNITY
England - South East, United Kingdom
Joined: October 14, 2004
KitMaker: 4,560 posts
AeroScale: 2,225 posts
Posted: Saturday, July 12, 2008 - 10:57 AM UTC
Looks stunning Stefan.
The build looks very straight forward, apart from a little filling.
Looking forward to seeing some more pics.
Andy
Phantom2
_VISITCOMMUNITY
Östergötland, Sweden
Joined: April 18, 2006
KitMaker: 708 posts
AeroScale: 678 posts
Posted: Friday, July 18, 2008 - 10:06 AM UTC
Hi all!

@Andy;

Yes, this has been a very straight forward kit, quite easy to build (even if it doesn´t fall together by itself) and everything fits very well.

I can say that this kit is an ideal "first" for anyone who wants to build a multi-media kit, and I recommend it with all my heart.


Here´s my finished model of Skalskis Spitfire, the famous ZX o 6;


Tally-Ho Boys!

Stefan E


 _GOTOTOP