_GOTOBOTTOM
World War II: USA
Aircraft of the United States in WWII.
Hosted by Rowan Baylis
1/72 Azur Fairchild F-91 Amphibian
guitarlute101
_VISITCOMMUNITY
West Virginia, United States
Joined: December 18, 2006
KitMaker: 1,121 posts
AeroScale: 1,063 posts
Posted: Wednesday, June 11, 2008 - 01:25 AM UTC

Hello,

I've been working on several projects that have a lot of "fiddley bits", so I wanted to do a quick build for sanity's sake.

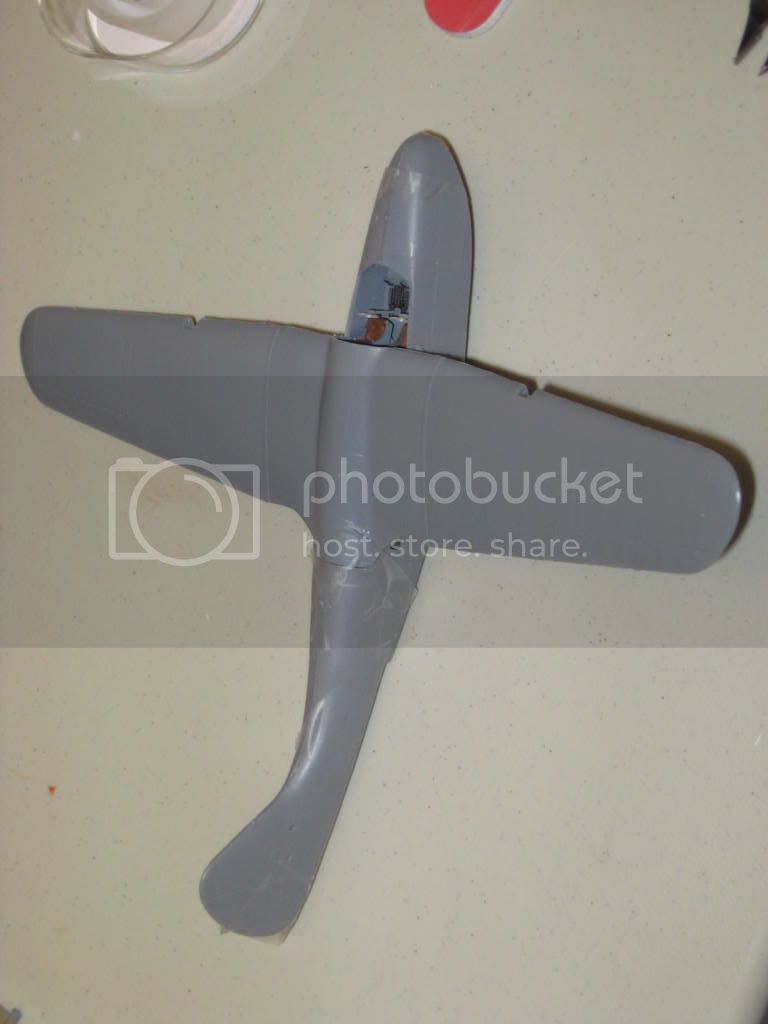
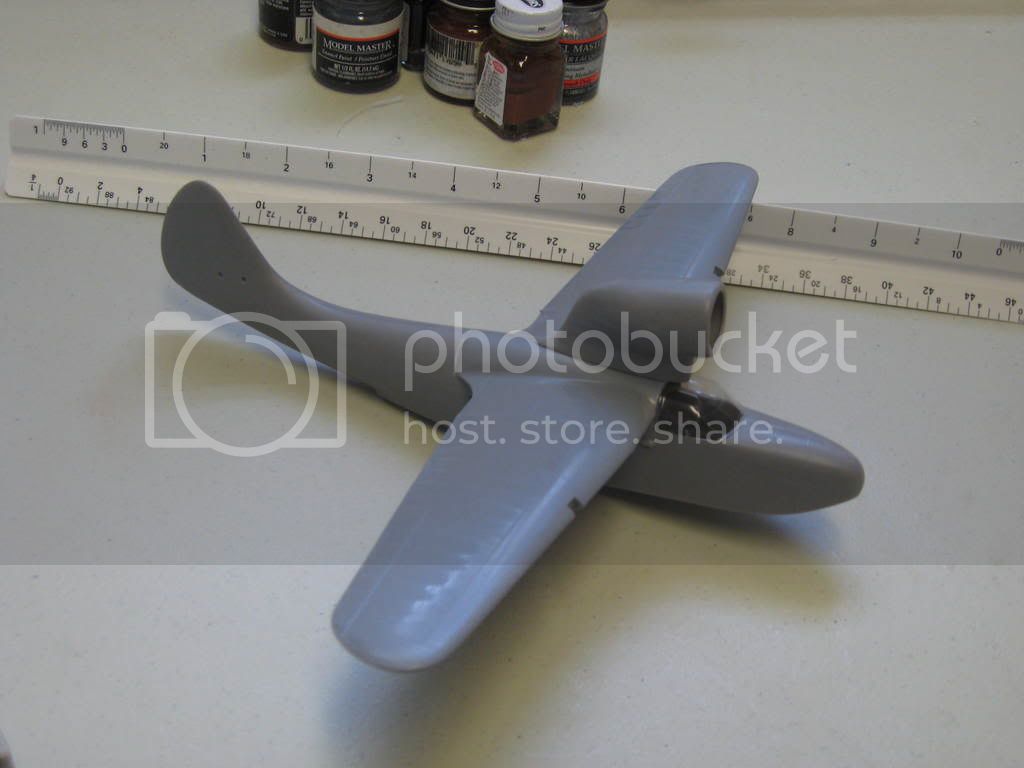
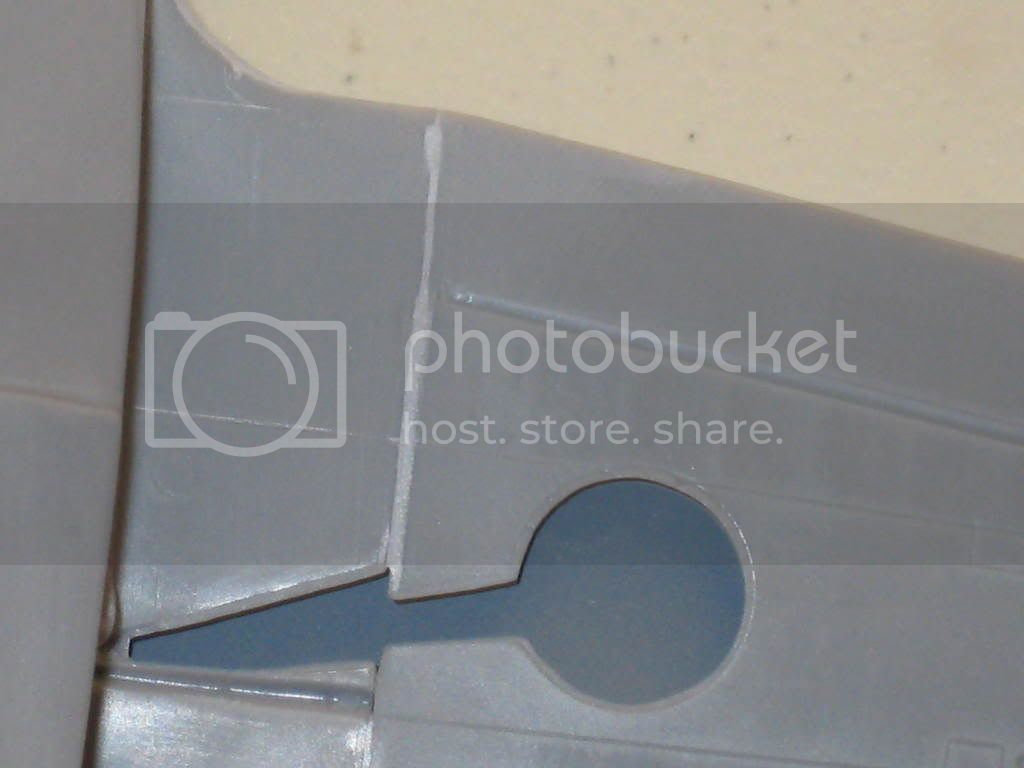
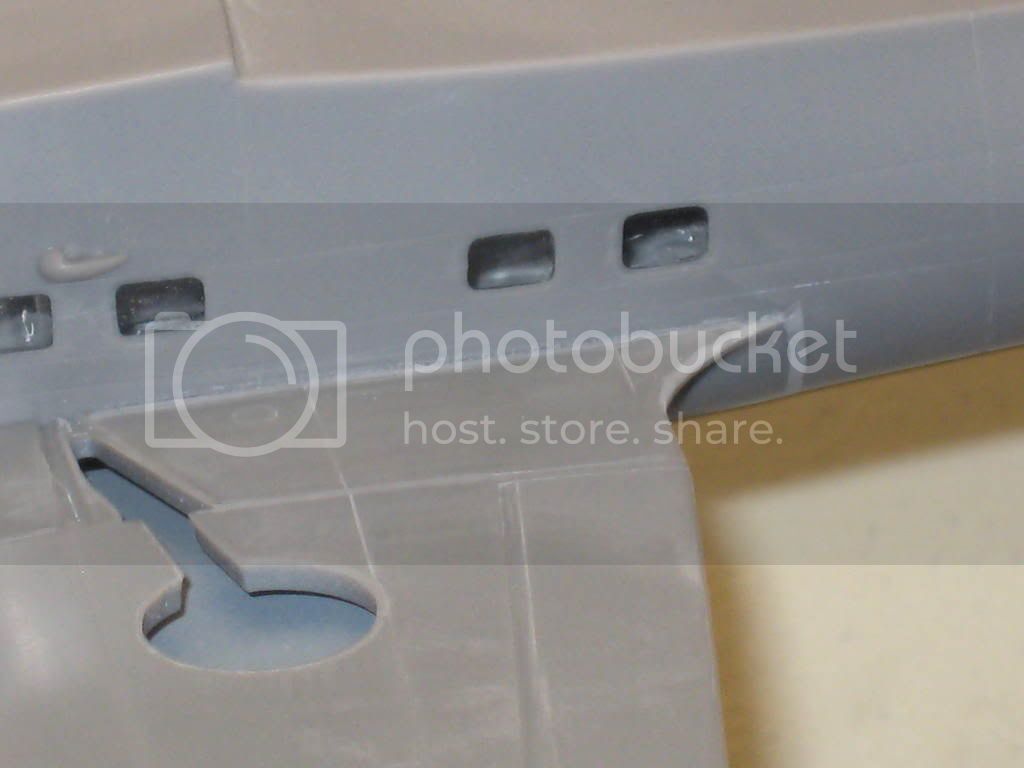
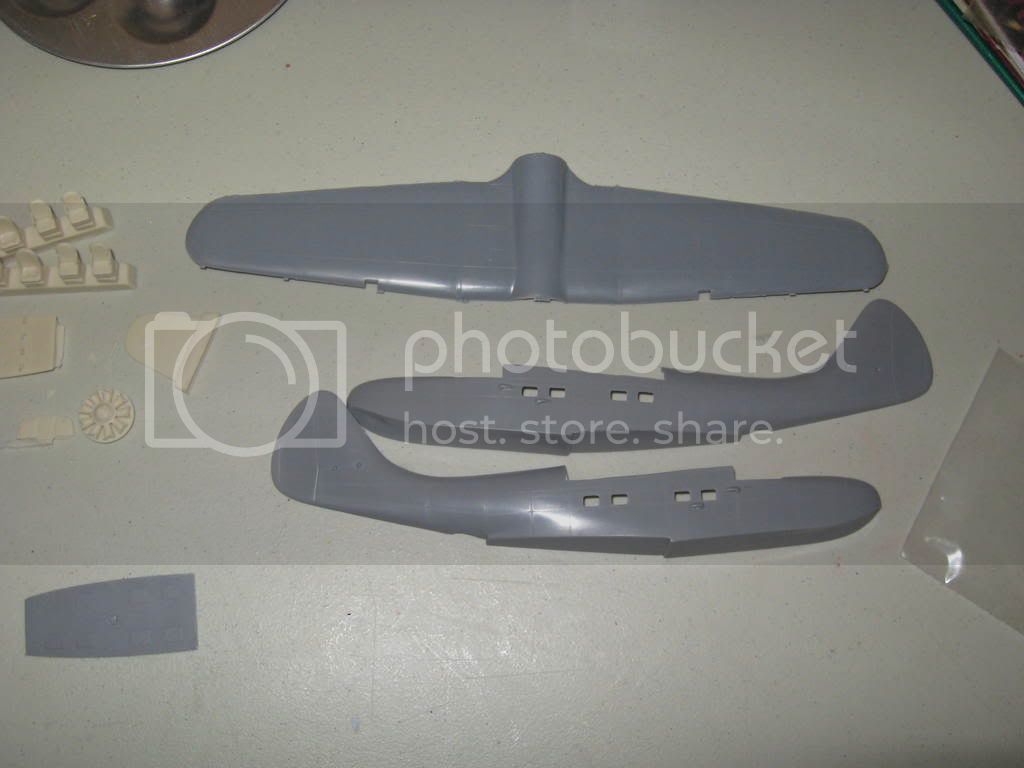
Here's the 1/72 Azur Fairchild F-91 first flown in 1935. eight were built in all.


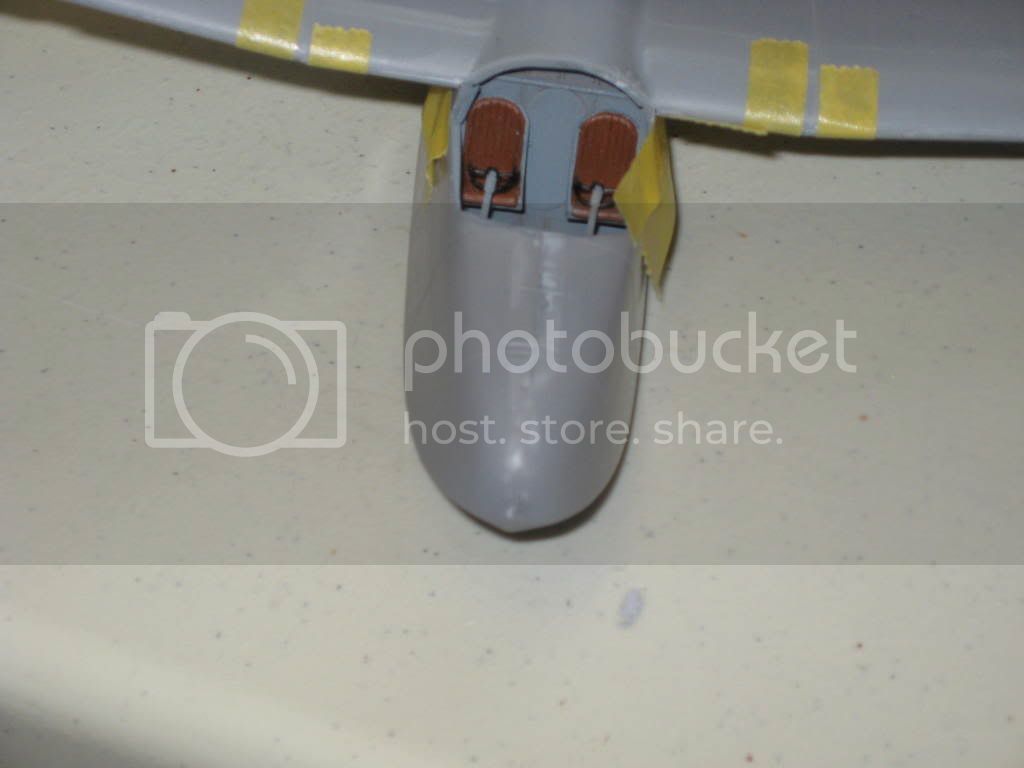
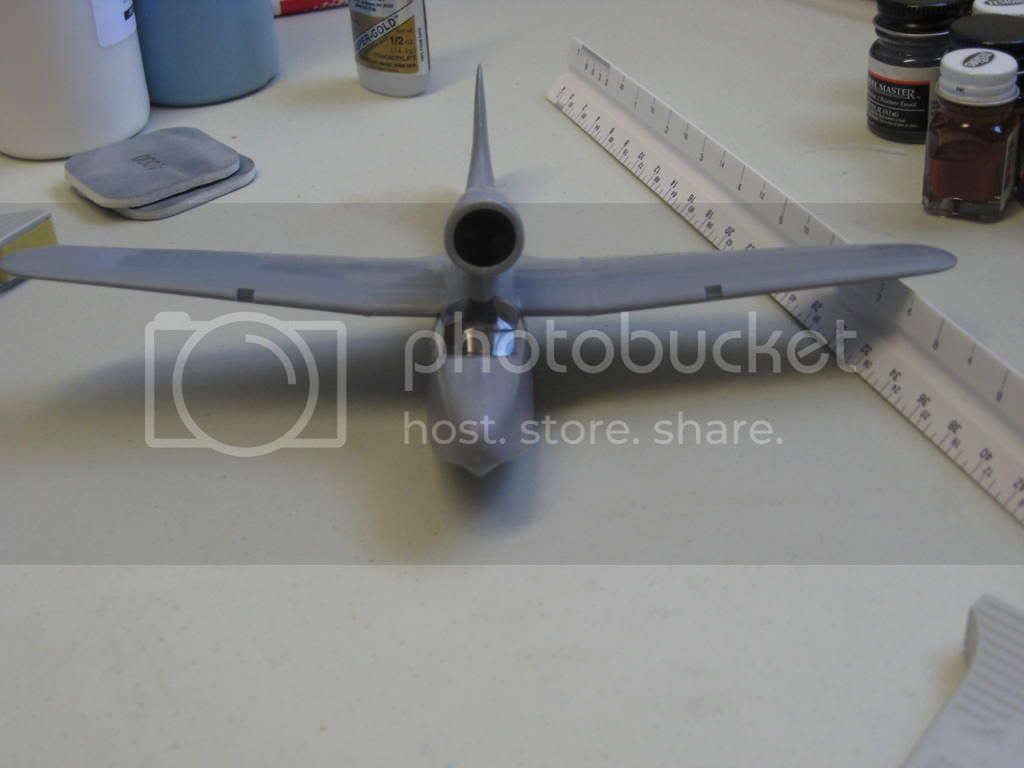
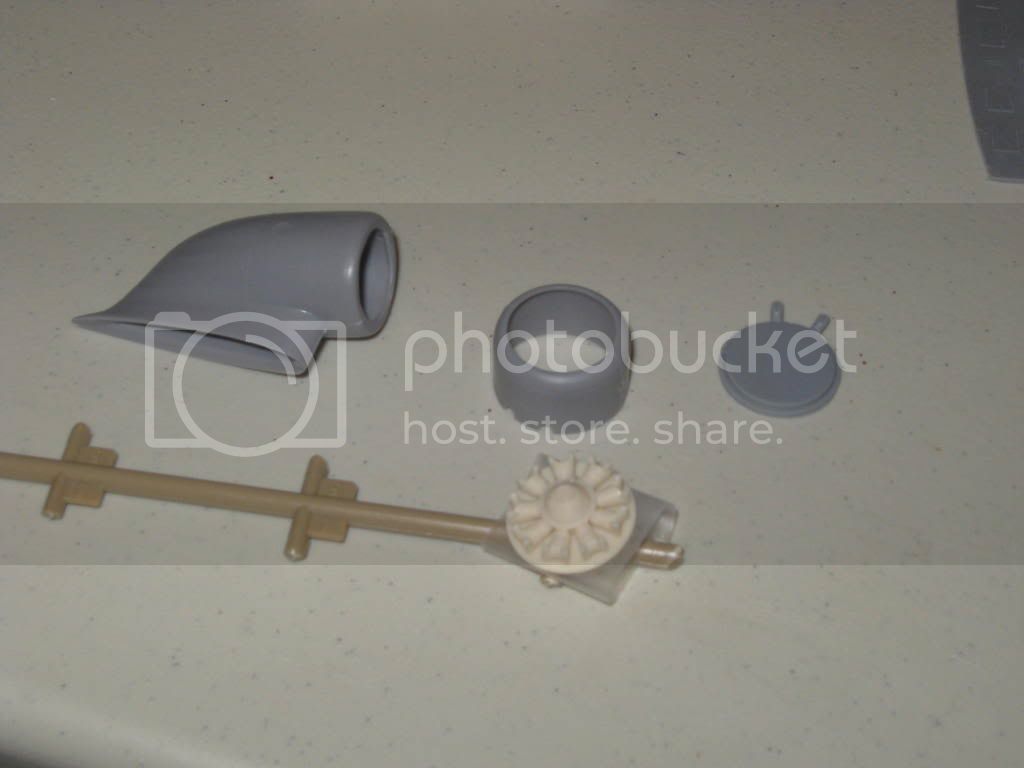
I'll tackle the engine nacelle first.........


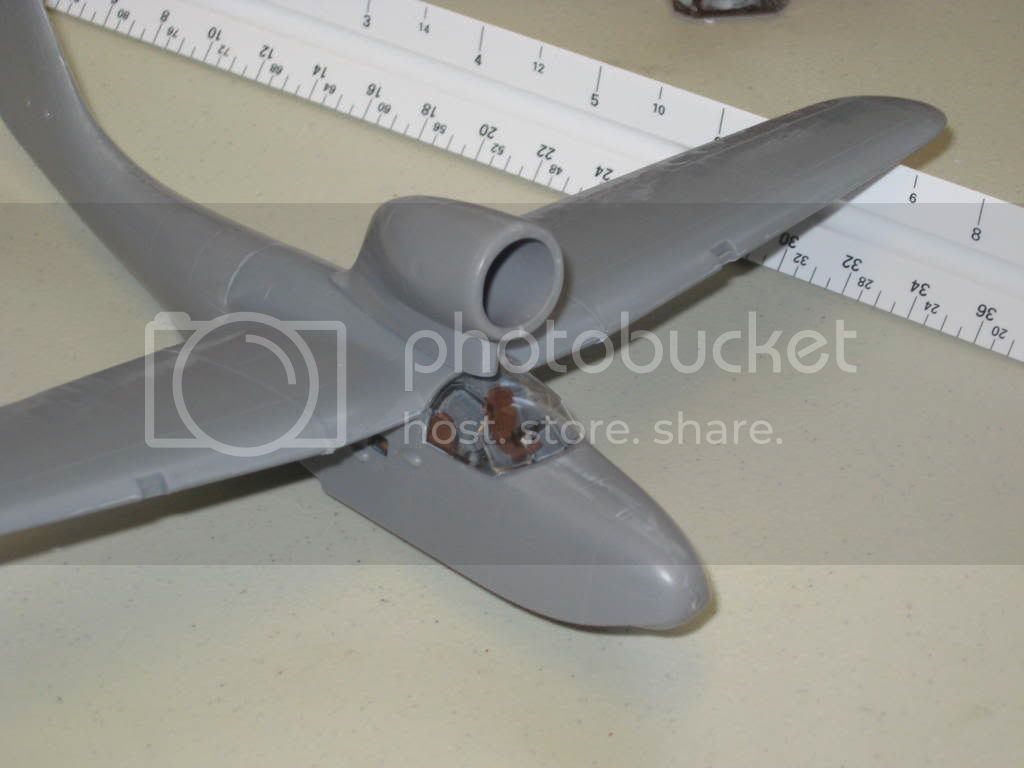
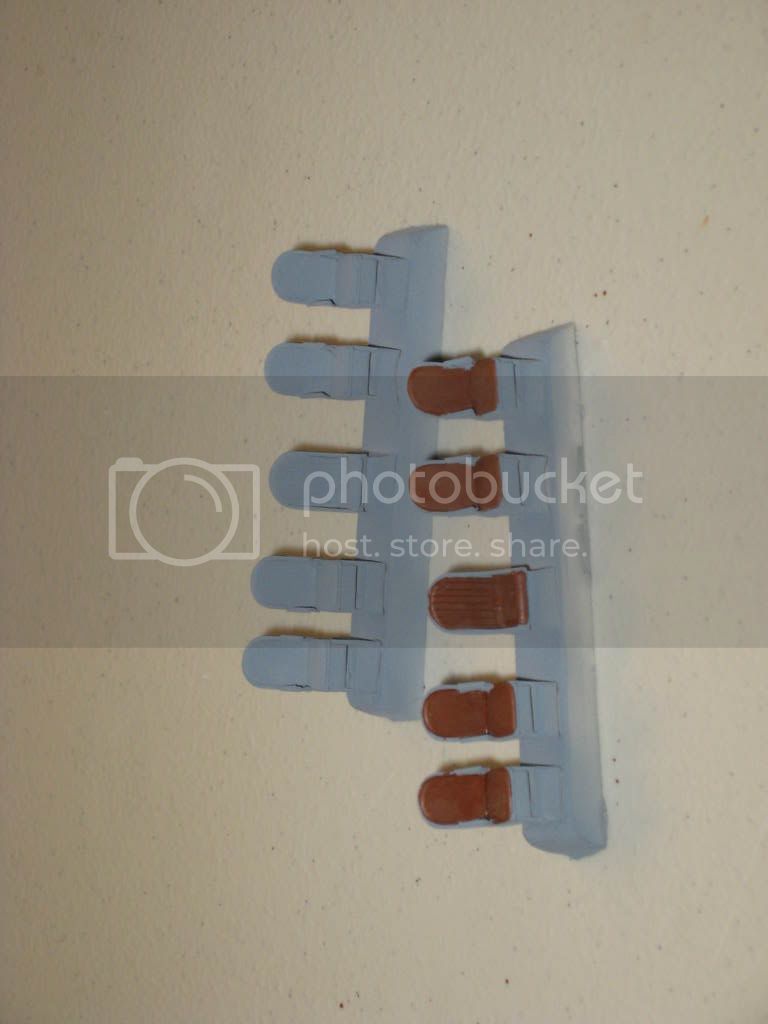
Light wash of van dyke brown................


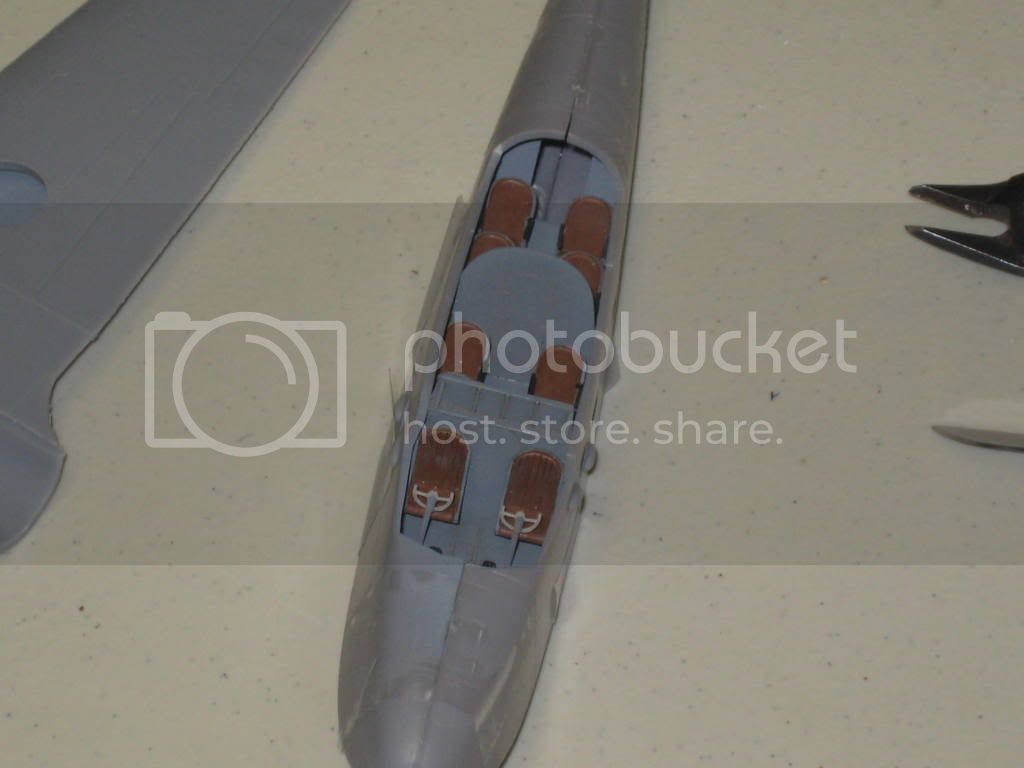
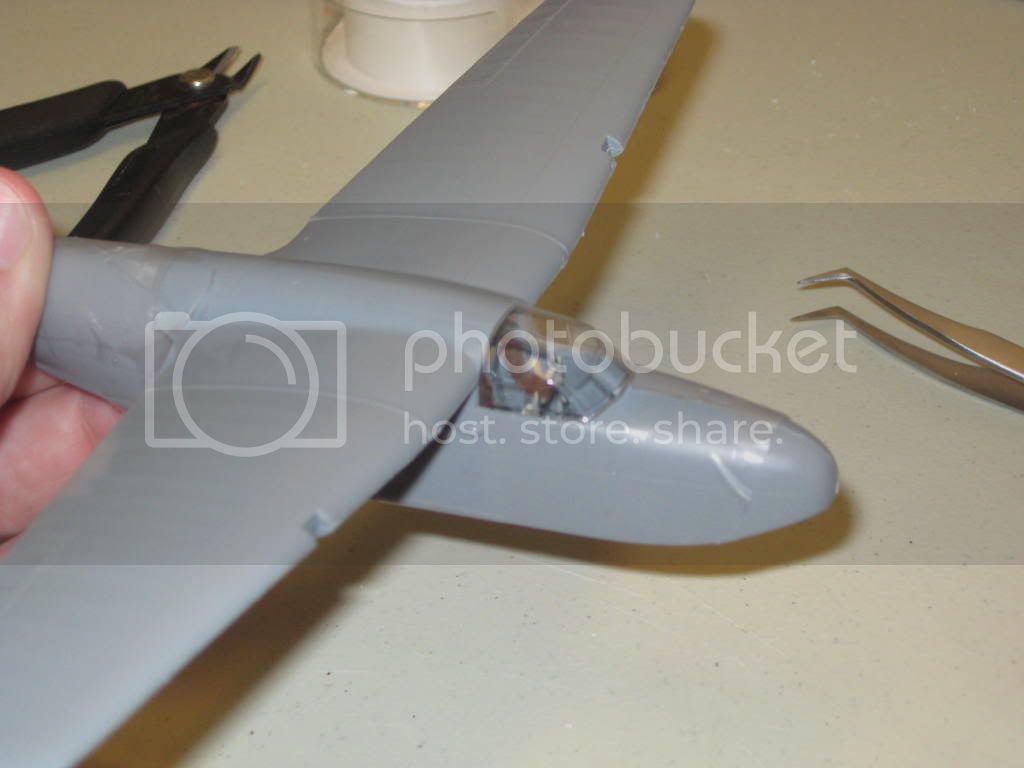
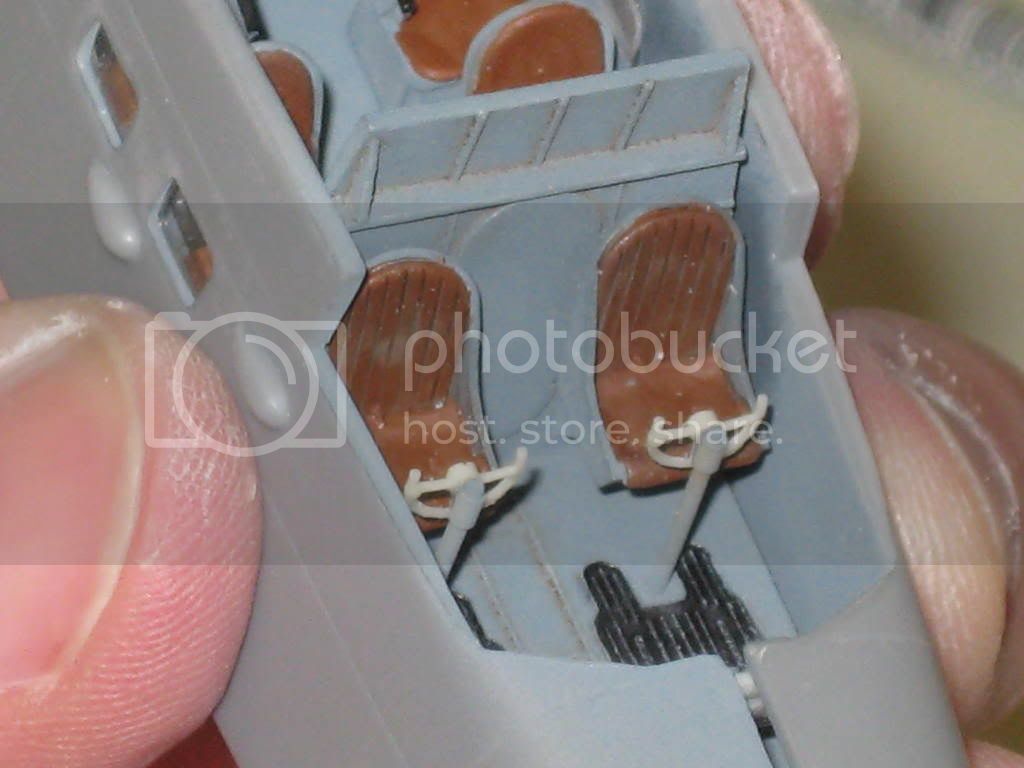
Interior............


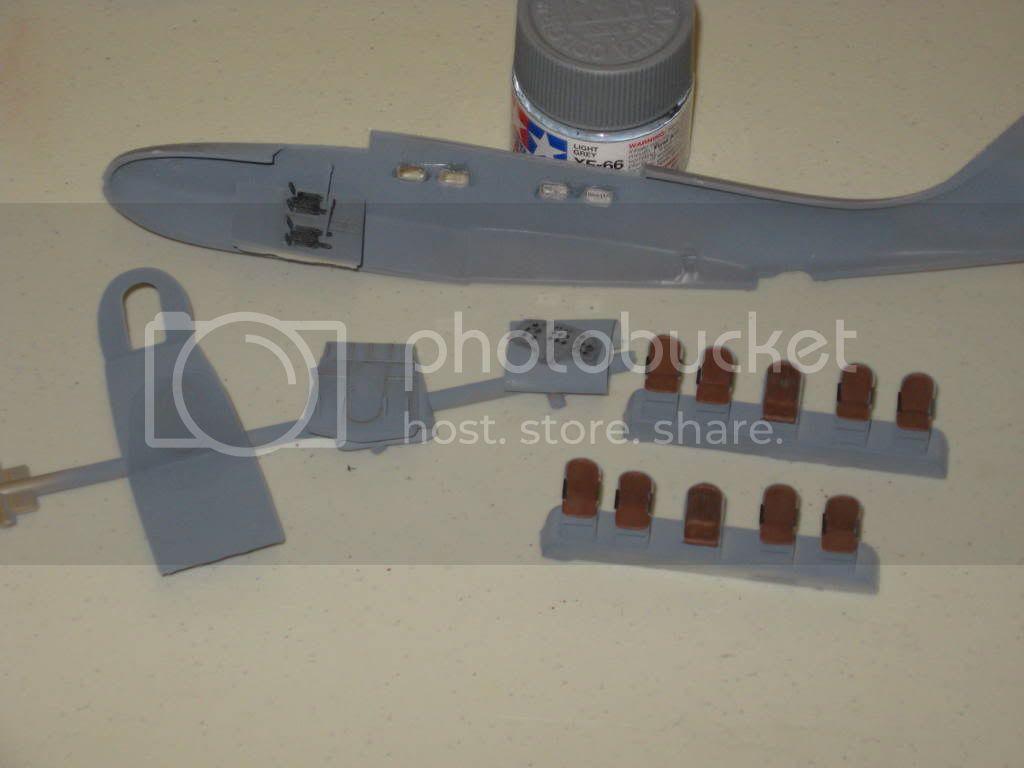
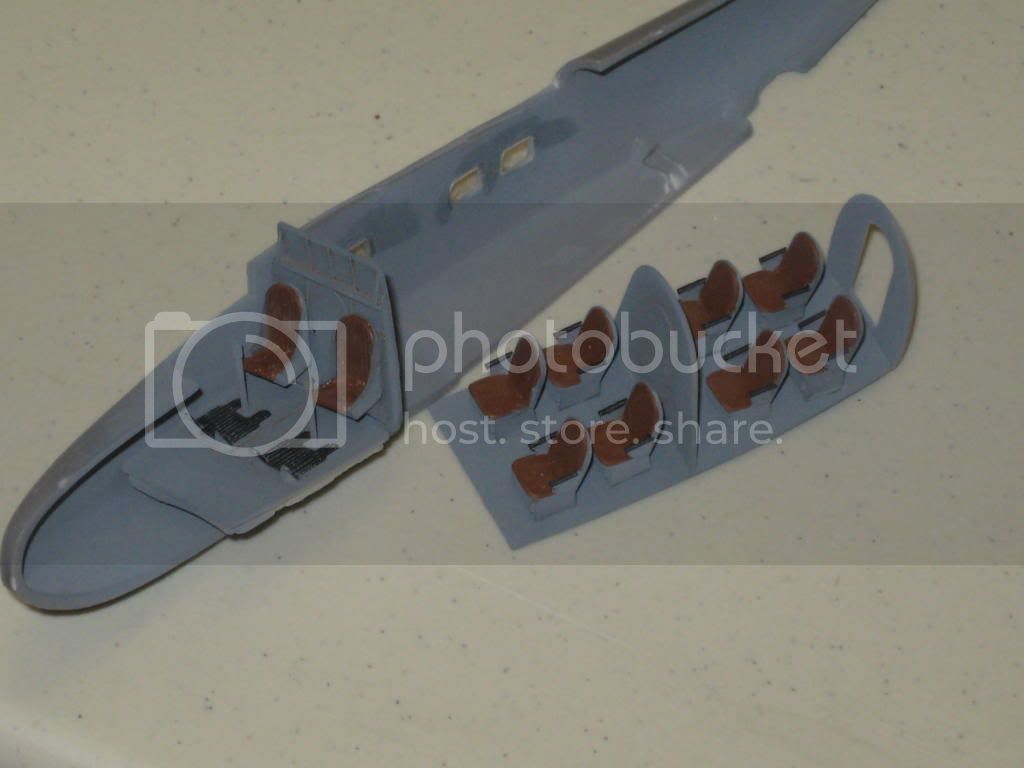
Most of this will be concealed by the fuselage.

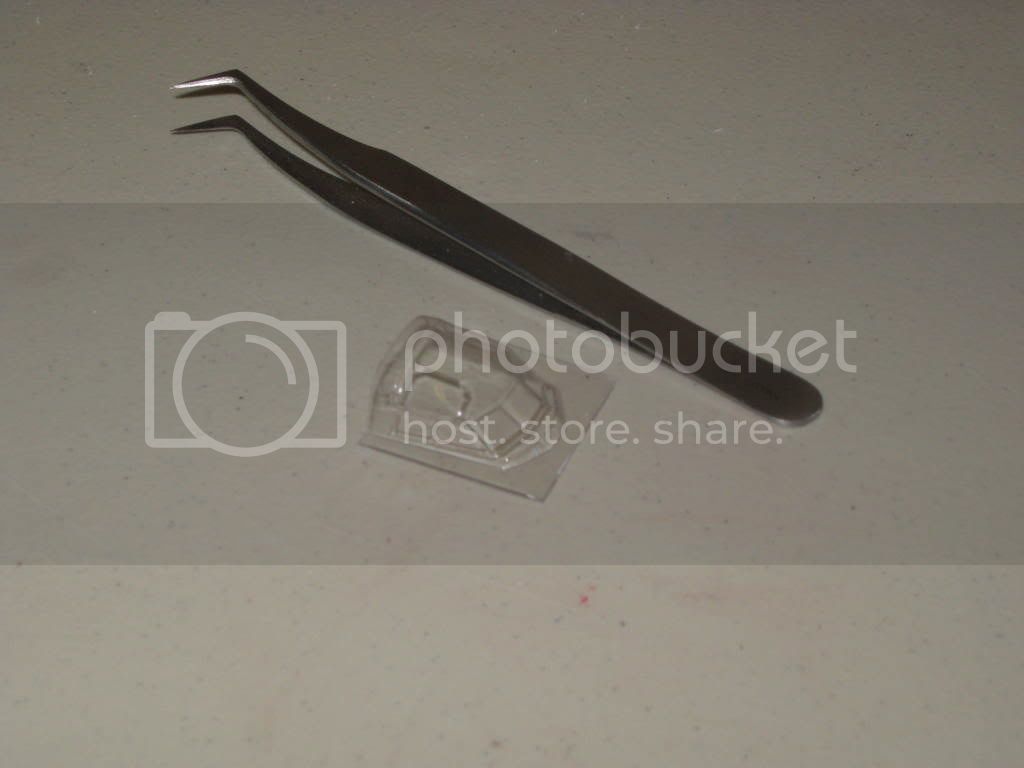
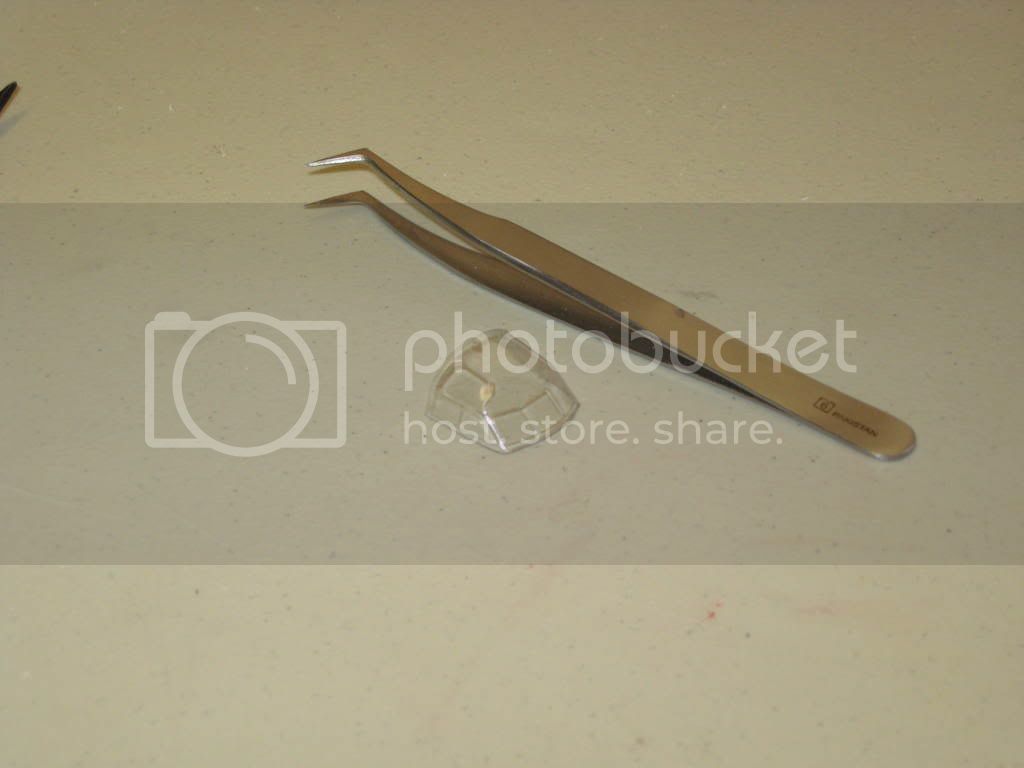
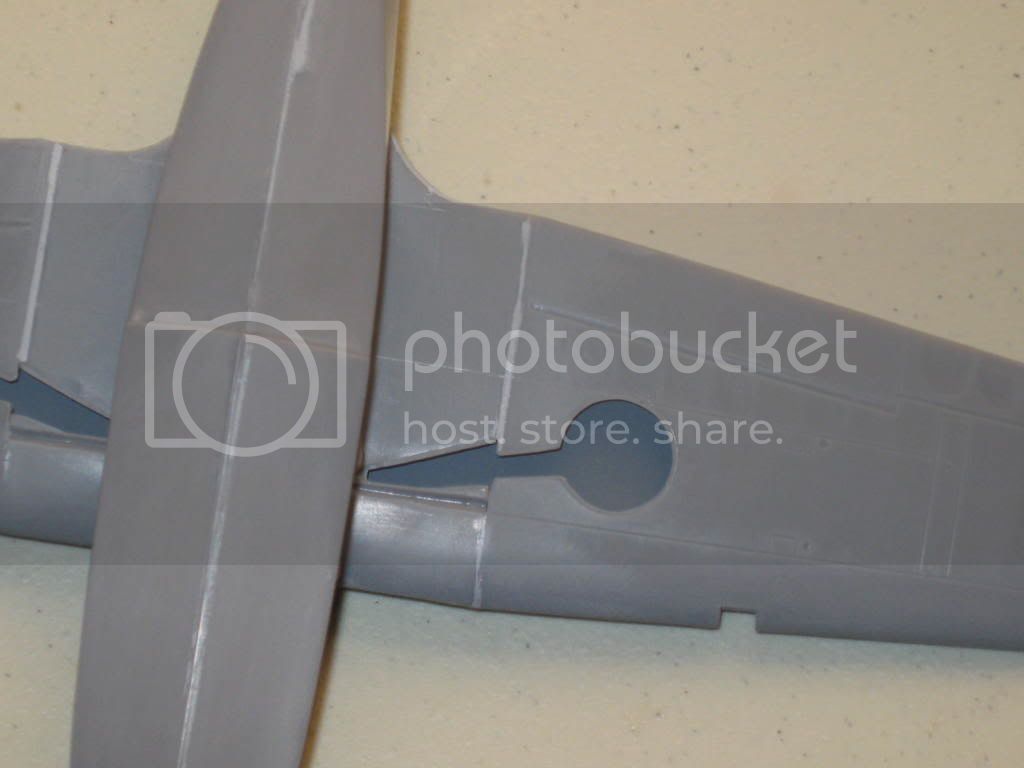
Needs some thinning..


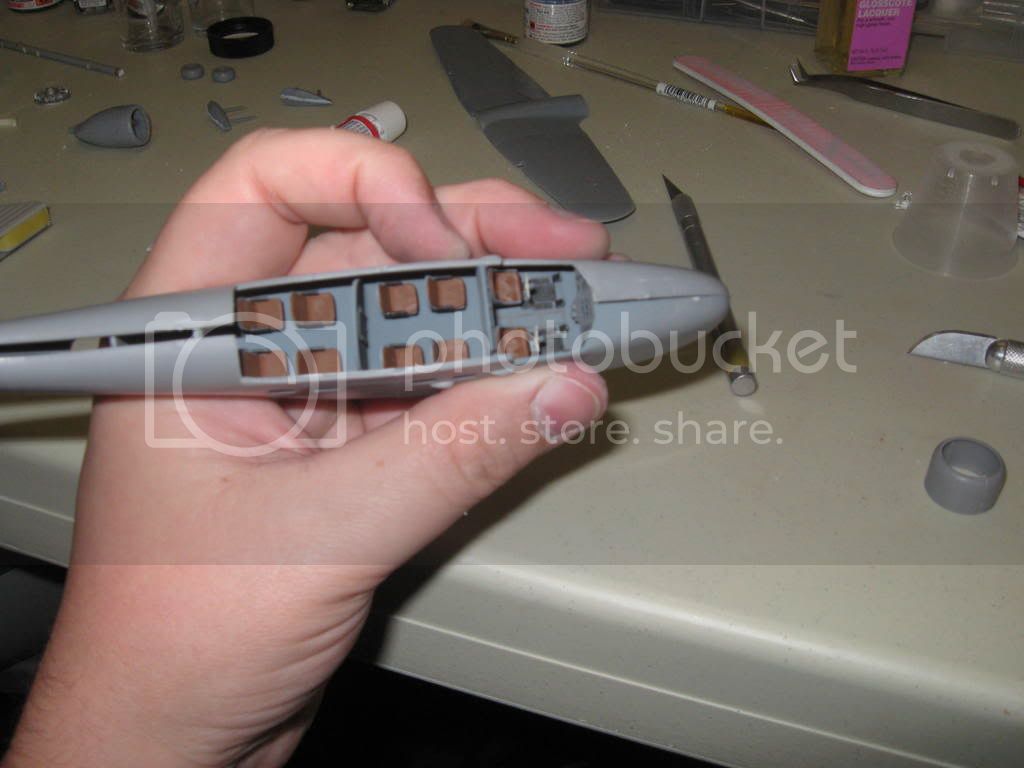
Some more thinning and a few touch-ups and then time to mate the fuselage halves. I'll probably include seat belts to the cockpit seats......


I'll have more this afternoon. Thanks for looking.

Mark
chukw1
_VISITCOMMUNITY
California, United States
Joined: November 28, 2007
KitMaker: 817 posts
AeroScale: 729 posts
Posted: Wednesday, June 11, 2008 - 04:02 AM UTC
You're good with a fiddle- cheers!

chuk
guitarlute101
_VISITCOMMUNITY
West Virginia, United States
Joined: December 18, 2006
KitMaker: 1,121 posts
AeroScale: 1,063 posts
Posted: Wednesday, June 11, 2008 - 09:08 AM UTC


Thanks Chuck,

Here's the fuselage mated together..........


Vacuformed windscreen......


More later,
Mark
guitarlute101
_VISITCOMMUNITY
West Virginia, United States
Joined: December 18, 2006
KitMaker: 1,121 posts
AeroScale: 1,063 posts
Posted: Wednesday, June 11, 2008 - 03:52 PM UTC


Upper wing glued in place....


Test fitting the winscreen..............


Good fit.

Next.............seam fillling .........tomorrow.

Mark
guitarlute101
_VISITCOMMUNITY
West Virginia, United States
Joined: December 18, 2006
KitMaker: 1,121 posts
AeroScale: 1,063 posts
Posted: Friday, June 20, 2008 - 08:29 AM UTC
Hello all,


Time for an update.....

I'm almost done with filling and sanding seams. I put tape around the seam.... then putty ....then remove the tape. It leaves a nice, small line of putty to sand (one of my least favorite tasks).


Here's a test fit of the canopy and engine nacelle.......


more later.....................

Mark
SGTJKJ
#041
_VISITCOMMUNITY
Kobenhavn, Denmark
Joined: July 20, 2006
KitMaker: 10,069 posts
AeroScale: 3,788 posts
Posted: Friday, June 20, 2008 - 09:39 AM UTC
Looks good, Mark. A very nice and simple trick with the tape. I never thought of that despite the trick being simple and straight forward. Thanks for sharing it

Looking forward to see more
Grumpyoldman
Staff Member_ADVISOR
KITMAKER NETWORK
_VISITCOMMUNITY
Florida, United States
Joined: October 17, 2003
KitMaker: 15,338 posts
AeroScale: 836 posts
Posted: Friday, June 20, 2008 - 12:52 PM UTC
Interesting looking aircraft.
Looking good so far.
guitarlute101
_VISITCOMMUNITY
West Virginia, United States
Joined: December 18, 2006
KitMaker: 1,121 posts
AeroScale: 1,063 posts
Posted: Sunday, June 22, 2008 - 01:30 AM UTC
Thanks Jesper and Dave,

This is a really fun build. Here's a few more pics after sanding the seams. Progressing well................


More later,
Mark
 _GOTOTOP