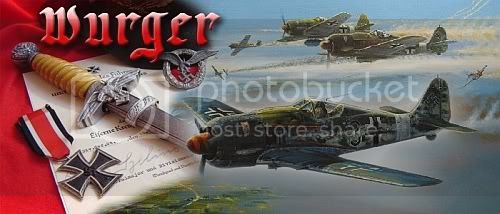
This is a complete resin kit from Antares Models.
This aircraft was designed by engineer Heinz G. Sombold of the firm Bley placed in Naumburg/Saale in January 1944. Originally conceived as a parasite escort plane, the design was altered to obtain a weapon able to break Allied bomber formations over Germany.
A specially converted bomber carried the device to the enemy lines and launched it at a height of 400 m. Then, it began a parabolic approach flight propelled by the Walter rocket to avoid the enemy fighters.
The pilot dived in at a 45 degree angle, following a collision path with the center of the enemy “box”, then released the explosive nose and maneuvered to avoid collision.
In opposition to models “Komet” and “Natter”, the So-344 kept propellant enough to escape after the attack and was fitted with machine guns for its self-defense.
It had landing skids very similar to the ones used by Heinkel in the “Julia” project. The works about the So-344 were abandoned at the beginning of 1945 when a 1/5 scale model for aerodynamic tests already existed.
Technical data: Span 5.7m ( 18ft.1½ in.) Length 7m ( 22 ft.11½ in.) Height 2.18m (7ft.1 4/5 in.) Crew 1 pilot Armament: Fighter version was fitted with two MG series machine guns and a MK gun. The attack version had a detachable charge of 500 Kg ( 400 Kg of Amatol) in the nose, was stabilized by fins, and fitted with a proximity fuse of an unknown type. It kept the two MG machine guns.
Hosted by Rowan Baylis
Sombol So 334 1/48

dcandal

Joined: September 07, 2006
KitMaker: 918 posts
AeroScale: 688 posts

Posted: Tuesday, September 09, 2008 - 08:19 AM UTC

dcandal

Joined: September 07, 2006
KitMaker: 918 posts
AeroScale: 688 posts

Posted: Tuesday, September 09, 2008 - 08:20 AM UTC
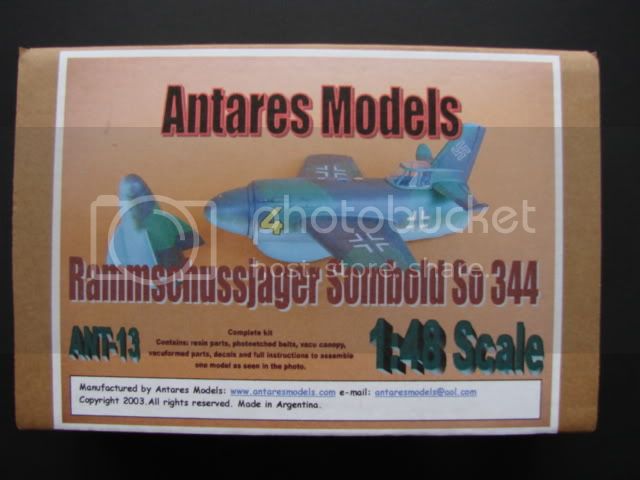
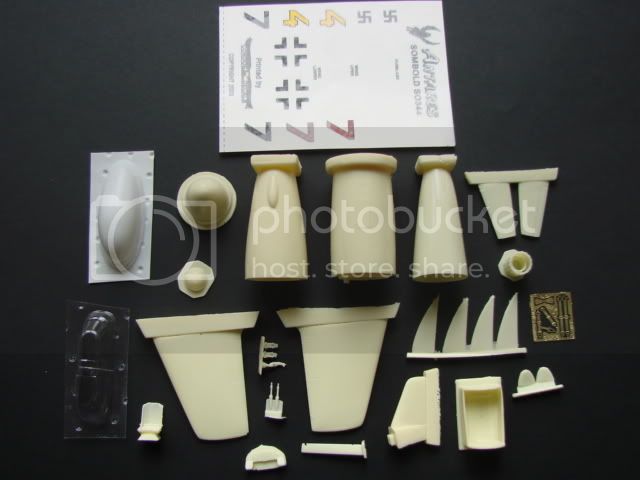
The kit contains 26 resin parts, 2 vacu canopies, 1 vacuformed landing skid, photoetched seat belts, a decal sheet and instructions.


dcandal

Joined: September 07, 2006
KitMaker: 918 posts
AeroScale: 688 posts

Posted: Wednesday, September 10, 2008 - 02:37 AM UTC
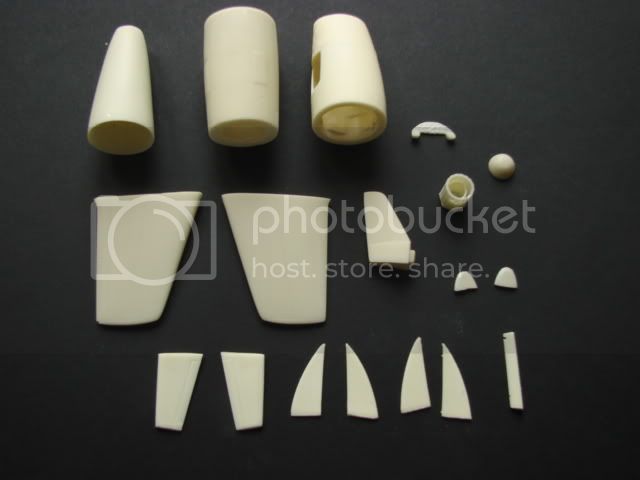
I first cut and cleaned the resin pieces,


dcandal

Joined: September 07, 2006
KitMaker: 918 posts
AeroScale: 688 posts

Posted: Wednesday, September 10, 2008 - 02:38 AM UTC
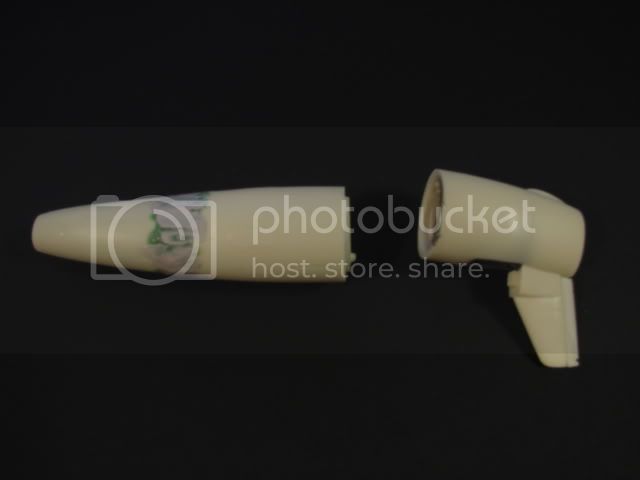
Then I began with the fuselaje, it come in three resin pieces. You can put the bomb with the fuselaje or separeted from it. I decided to do with the bomb,


dcandal

Joined: September 07, 2006
KitMaker: 918 posts
AeroScale: 688 posts

Posted: Wednesday, September 10, 2008 - 01:48 PM UTC
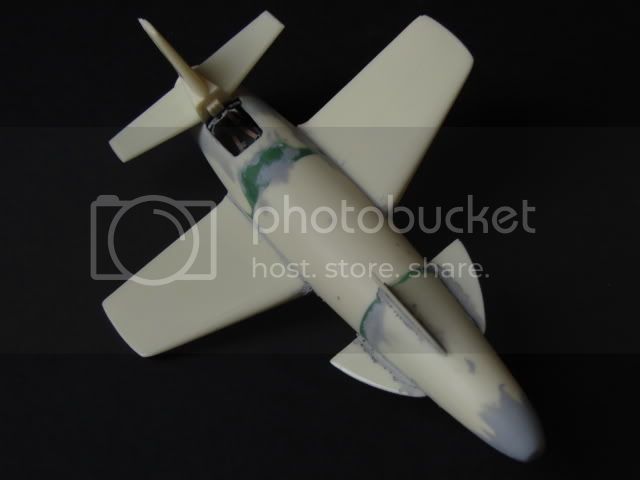
After I sanded the fuselage a put the wings and the bomb stabs,




Posted: Wednesday, September 10, 2008 - 08:18 PM UTC
Another interesting project from you, Daniel. This is one of the more bizarre projects and sounds a little like a suicide project although not so on paper.
Looking forward to see it with some paint on it.
Looking forward to see it with some paint on it.


dcandal

Joined: September 07, 2006
KitMaker: 918 posts
AeroScale: 688 posts

Posted: Thursday, September 11, 2008 - 02:50 AM UTC
Hi Jesper, I´m happy that you like this new project. And yes, it´s a very strange plane, and it was very near to be a real one.

dcandal

Joined: September 07, 2006
KitMaker: 918 posts
AeroScale: 688 posts

Posted: Thursday, September 11, 2008 - 03:01 AM UTC
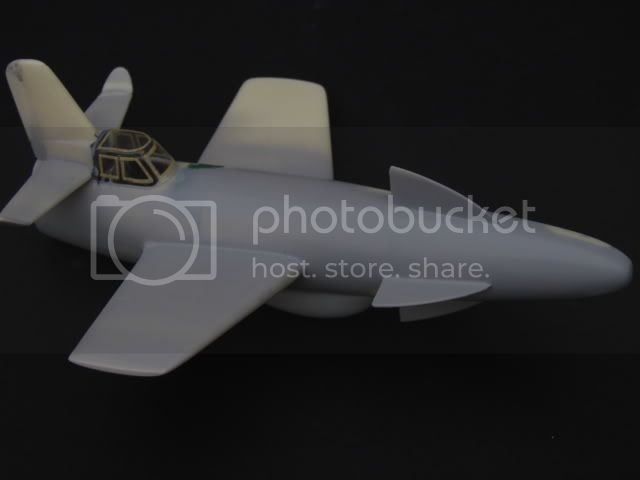
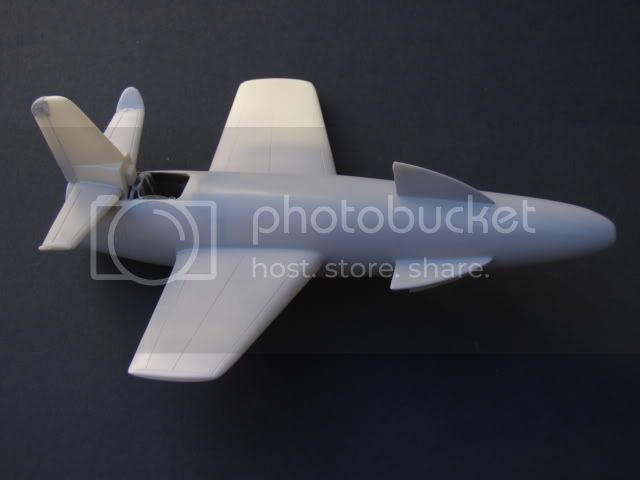
After sanding all the parts I applied Mr Surfacer 1000 to advice any detail,


dcandal

Joined: September 07, 2006
KitMaker: 918 posts
AeroScale: 688 posts

Posted: Thursday, September 11, 2008 - 11:12 AM UTC
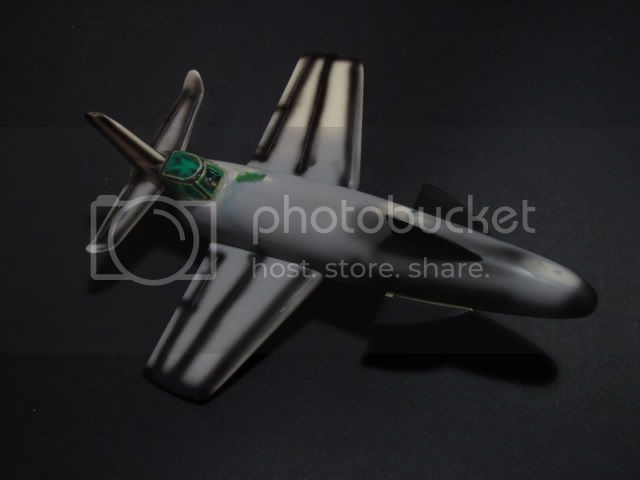
Then I airbrushed the panels lines with black to make the shadow effect after the paint.


dcandal

Joined: September 07, 2006
KitMaker: 918 posts
AeroScale: 688 posts

Posted: Friday, September 12, 2008 - 03:31 AM UTC
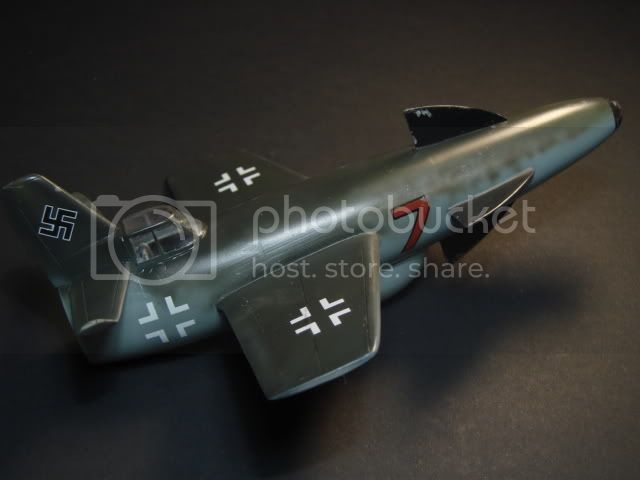
Here I show you the kit finished, any comments are welcome 




son-altesse

Joined: August 29, 2008
KitMaker: 22 posts
AeroScale: 20 posts

Posted: Friday, September 12, 2008 - 03:50 AM UTC
Welll done Daniel,
I m new on this forum and build exclusivery Luft46 project.
I m impresse by your production and the quality of your models .
Nice job, specially with some Antares Model . The resin is hard to work i think ( i have build the last Silvervogel of Marco, from Antares )
The Sombol look a little bit too...."special" for me and will not be in my futur list of kit
I m new on this forum and build exclusivery Luft46 project.
I m impresse by your production and the quality of your models .
Nice job, specially with some Antares Model . The resin is hard to work i think ( i have build the last Silvervogel of Marco, from Antares )

The Sombol look a little bit too...."special" for me
 and will not be in my futur list of kit

dcandal

Joined: September 07, 2006
KitMaker: 918 posts
AeroScale: 688 posts

Posted: Saturday, September 13, 2008 - 08:34 AM UTC
Hi Jengel,
Another Luft 46 enthusiast, that´s good
Thanks for your comments about the model
Another Luft 46 enthusiast, that´s good

Thanks for your comments about the model

 |


