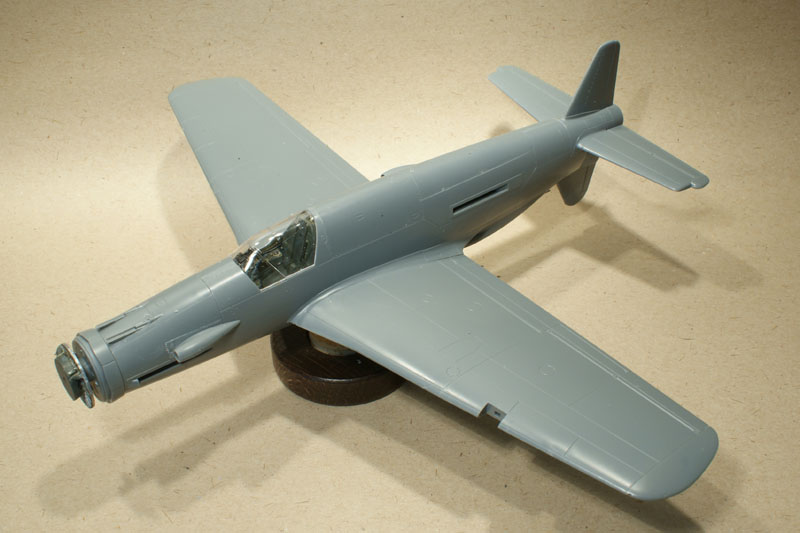
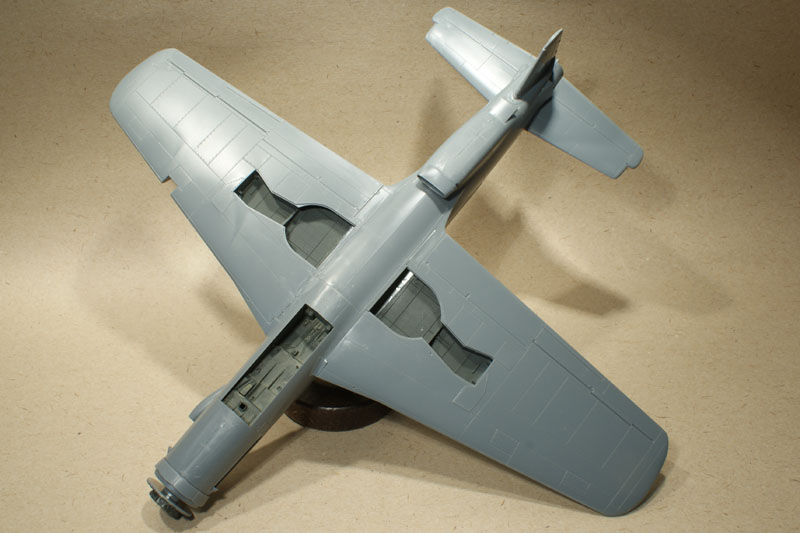
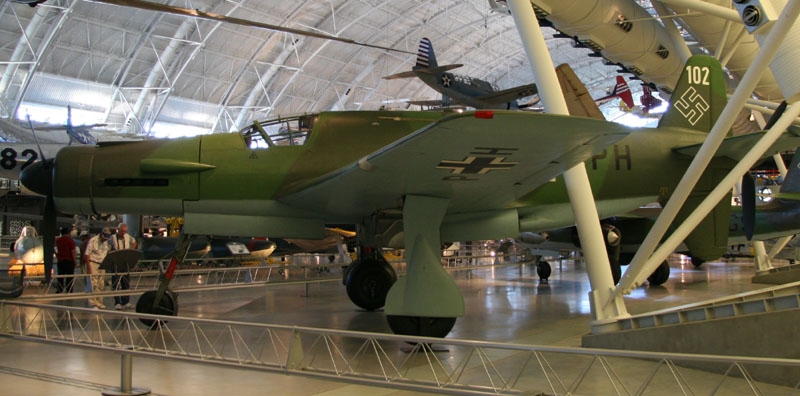
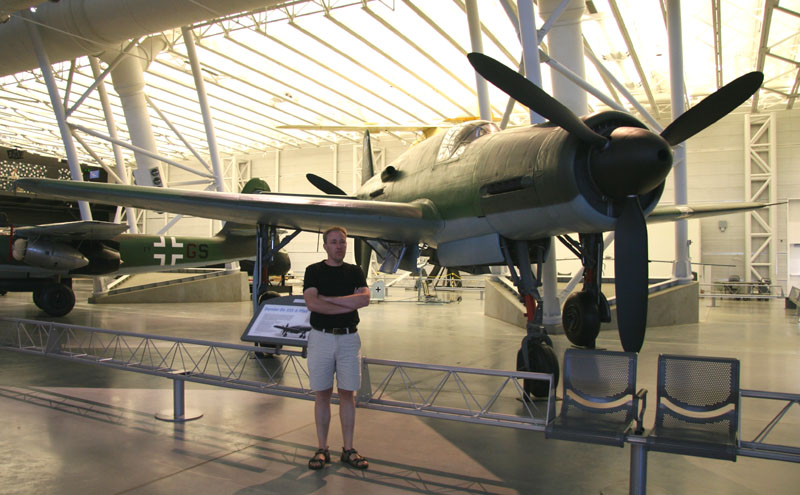
I had the great pleasure to see the sole surviving plane close-up at Steven F. Udvar-Hazy Center of the National Air & Space Museum in Dulles, its a big plane, and due to having props both front and rear the undercarriage is very high, so high that I, with my 186 cm is more or less can stand upright under the plane.
The aircraft on display was assembled at Dornier's plant in Oberpfaffenhofen i 1944, and in October 1974 it was returned to the Dornier plant in Oberpfaffenhofen for restoration.
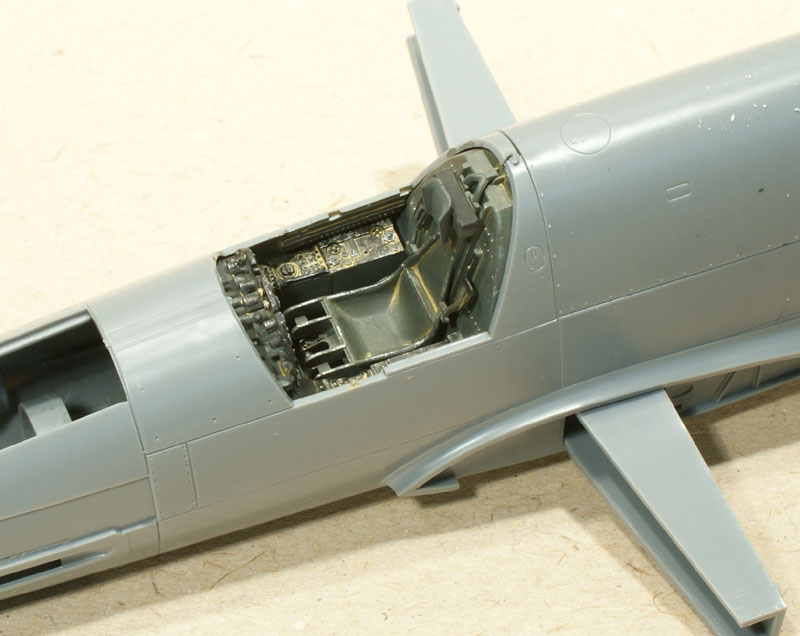
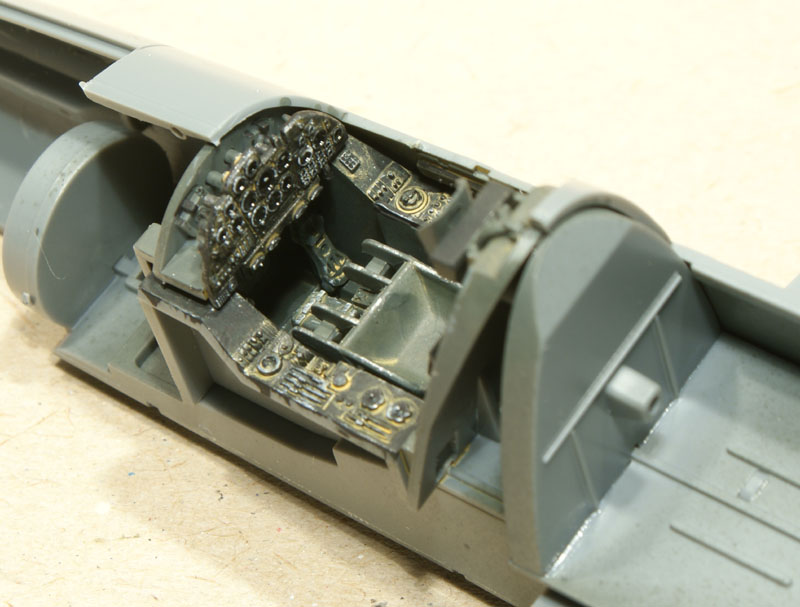
Theres a lot of photos on the net of this particular airplane, including shots of the cockpit area, not being knowable on German late war designs I have no experience on colours, but the colour used on the interior looks way too light for my taste.
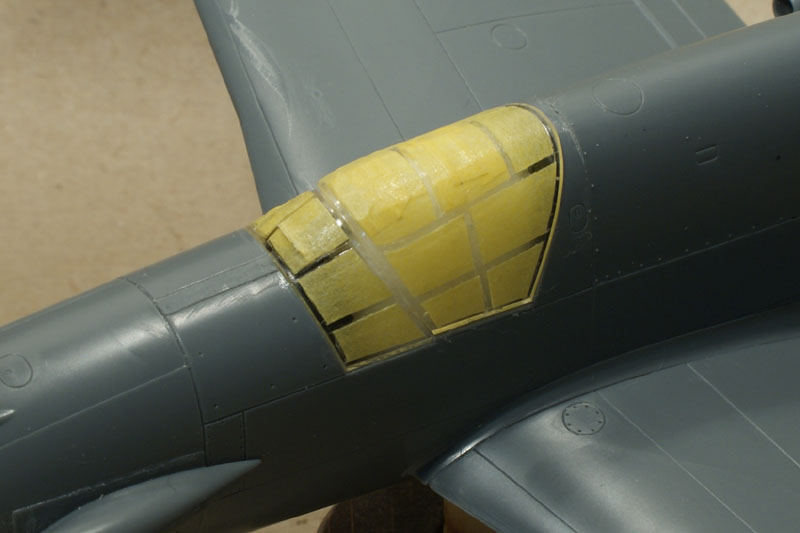
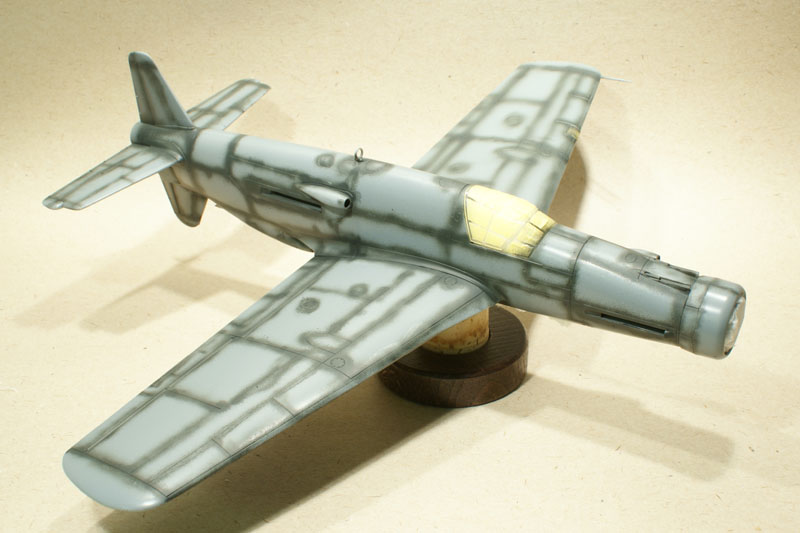
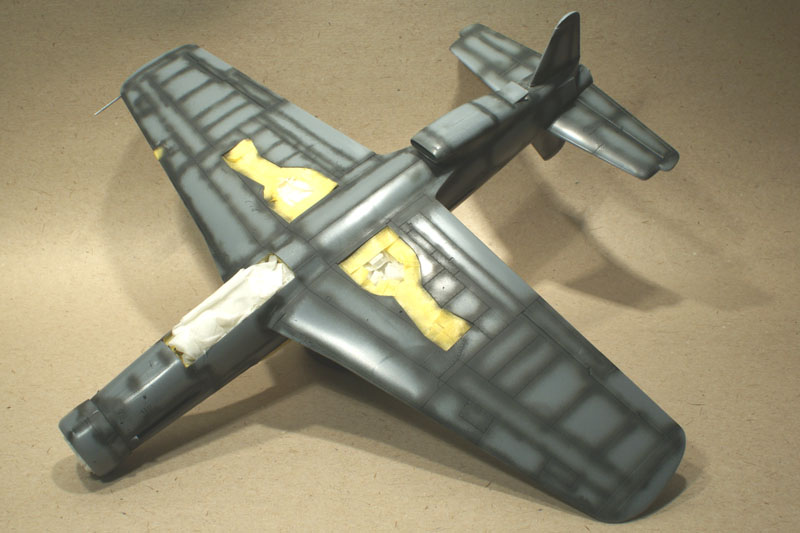
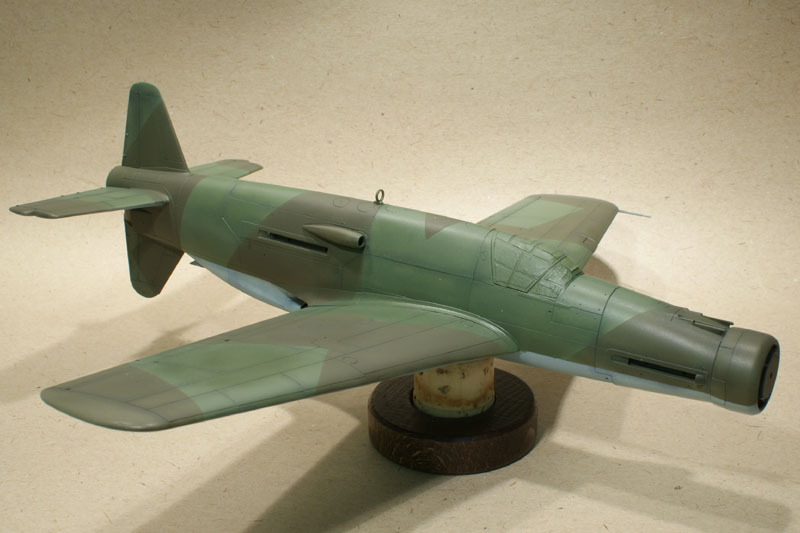
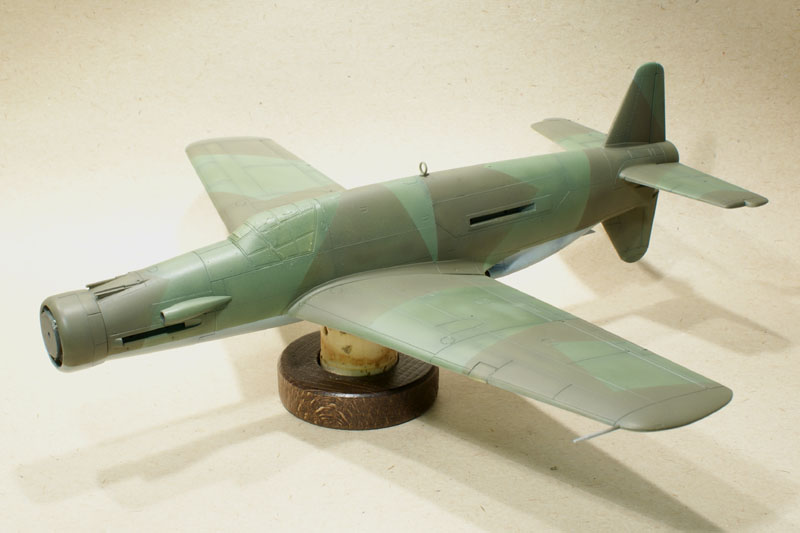
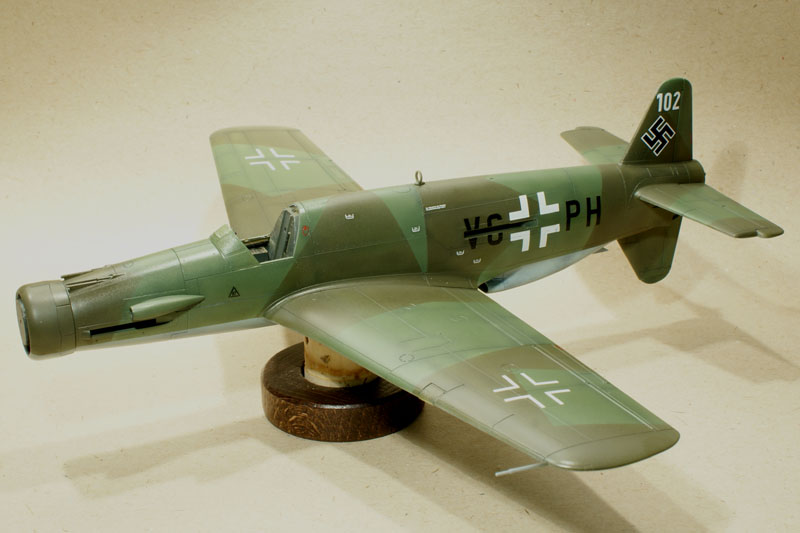
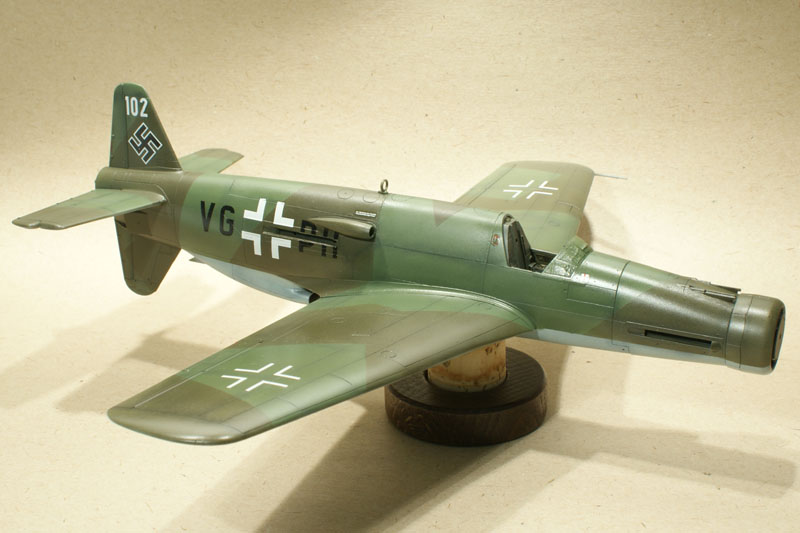
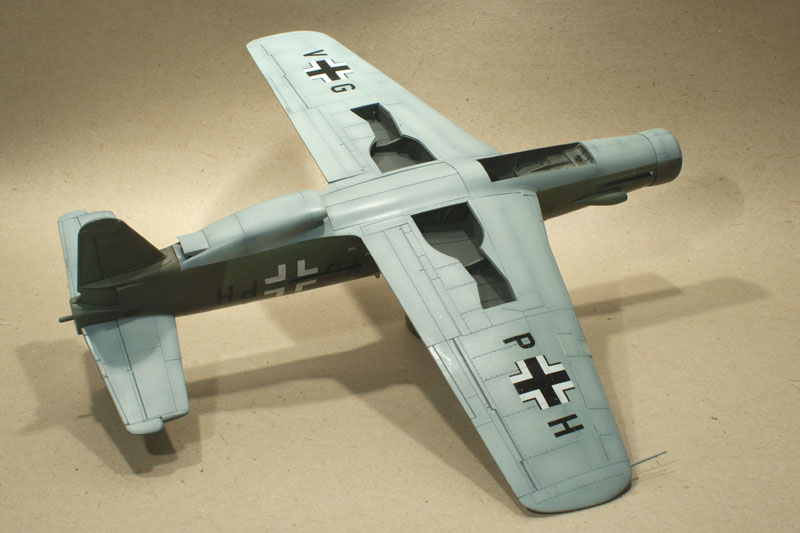
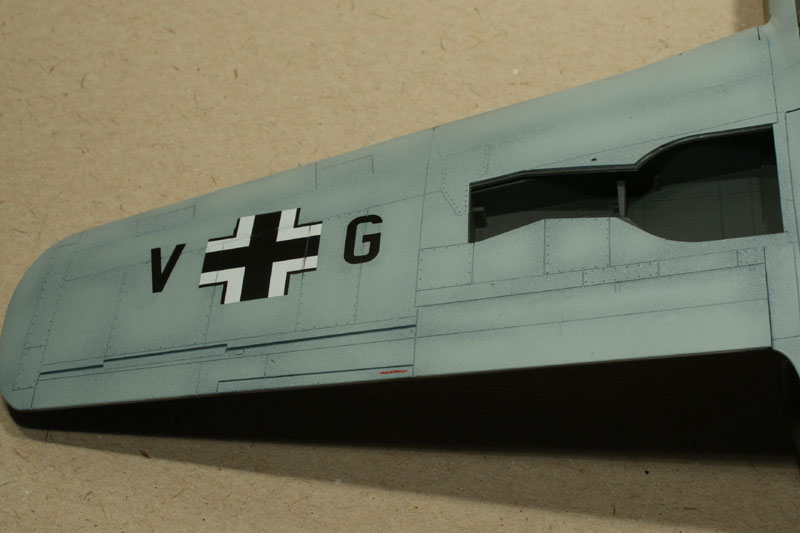
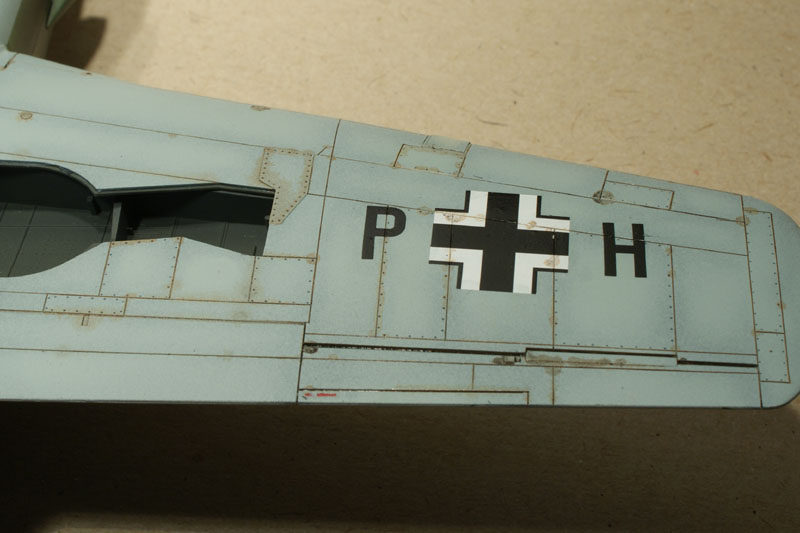
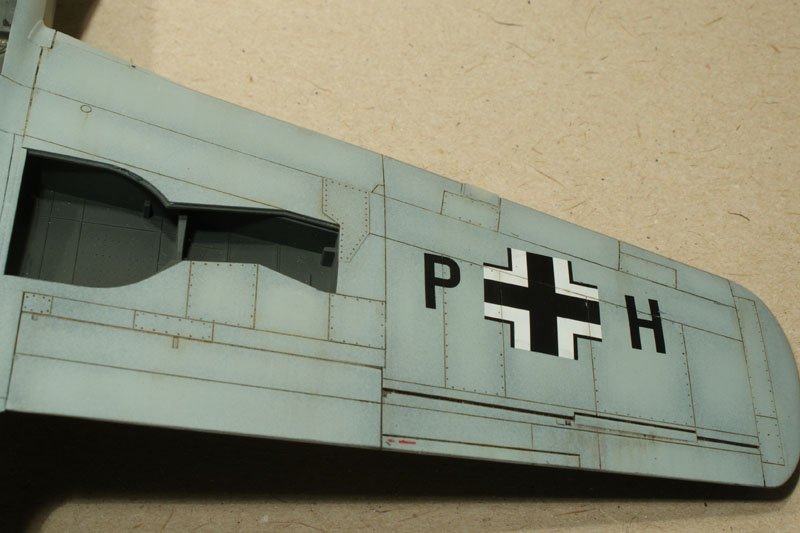
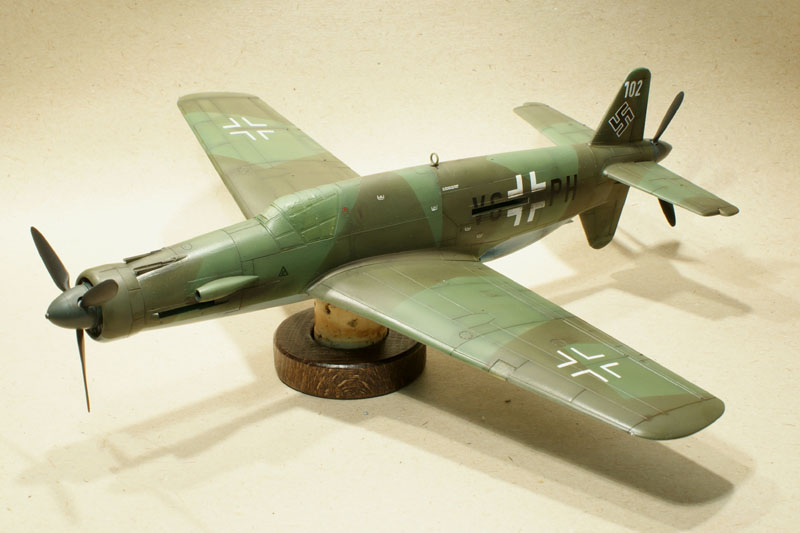
The kit is Tamiyas, and with most Tamiya kits, its a real treat with splendid details and a good fit. In 1:48 its a big kit, and it takes up a lot of space on the shelve. One of the good things about it size, is that it is a great canvas for the paintjob - and I have always found the late war hardedge splinter camouflage to be very attractive.
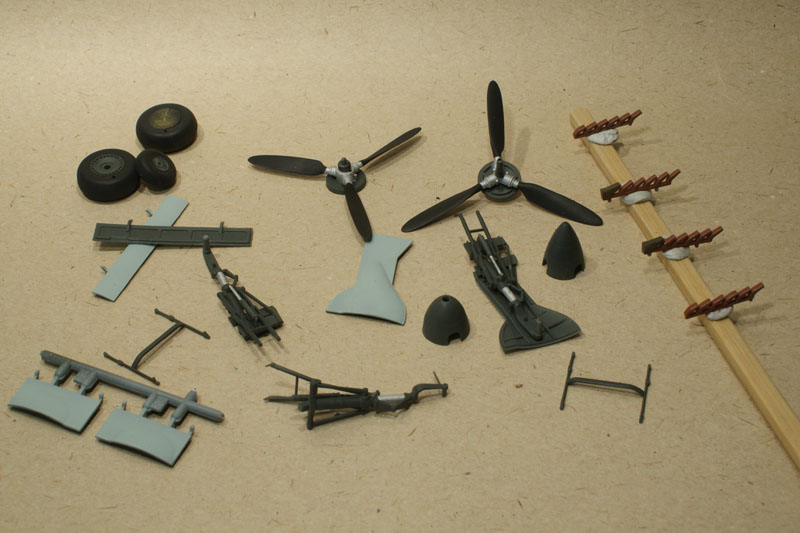
As always with planes, I will begin with the cockpit. This will be out of the box with no aftermarket stuff, but some scratchbuilding might find its place here and there. In the cockpit area I will replace the decal seatbelts with some scratched in redwine foil as they will look much more 3-dimensional than the decals.
More to follow, but first some snapshots of the real deal:
Yours Truly:
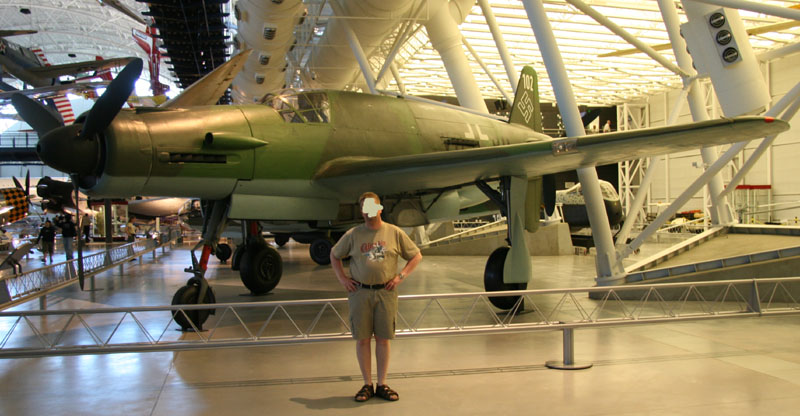
Cheers/Jan