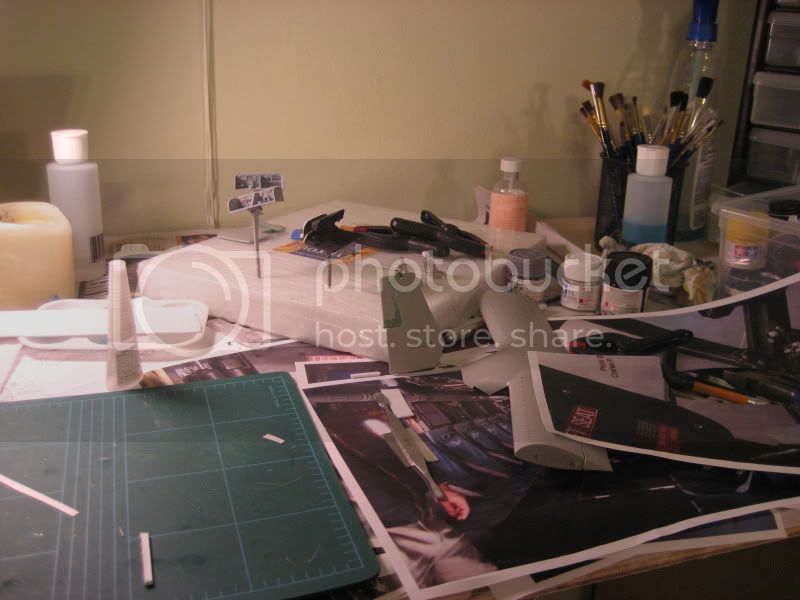
I have been building my workbench (or desk) for the past several weeks and had to give it a rest and build for a day. I have other builds currently under way but they would require sanding and paint. Since I had to relocate my tools to the dining room, I decided it would be best to tackle those things once the desk is complete. Of course, we all know that I was really dieing to just start another kit, but the reasons above are true as well.
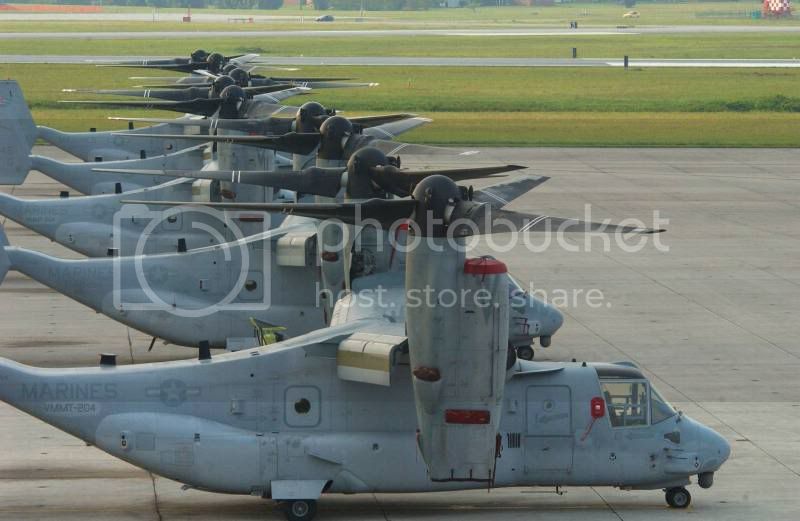
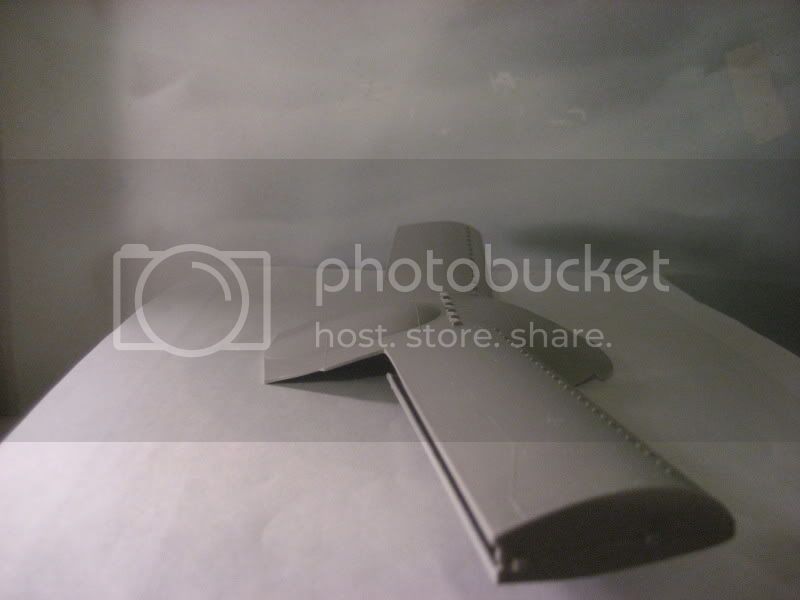
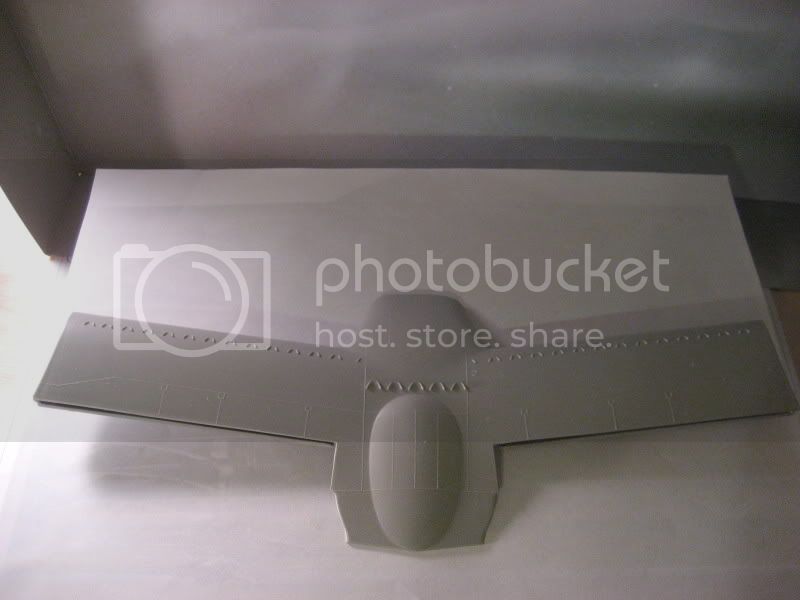
I have wanted to build the V-22 for a while and managed to get the Italeri V-22 Osprey 1:48 at the LHS. I dont remember the price but I really wanted to do it for its crazy look with the props rotated upward. It just looks like something that, if done right, will add that spunk to a collection. Albeit, it is grey, but I have always built modern so grey is just fine. I will adopt some pigmenting, etc. to try and make it pop though.

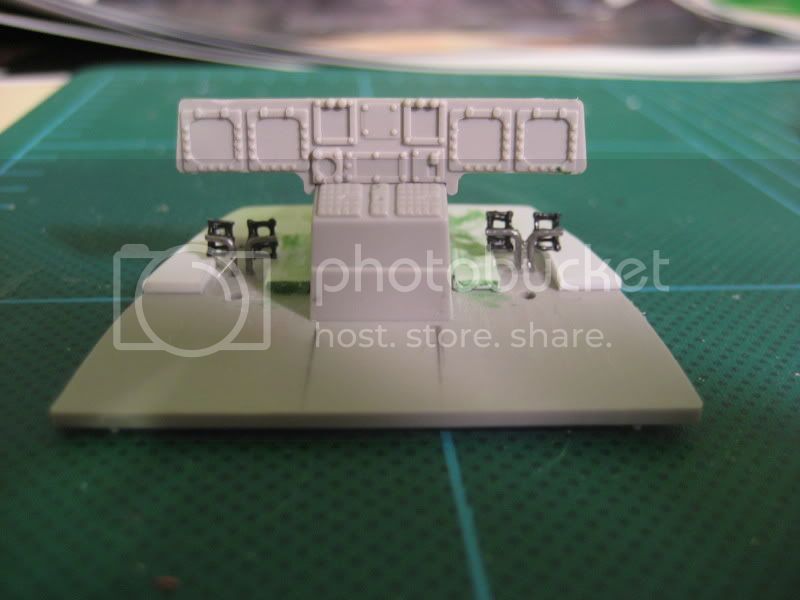
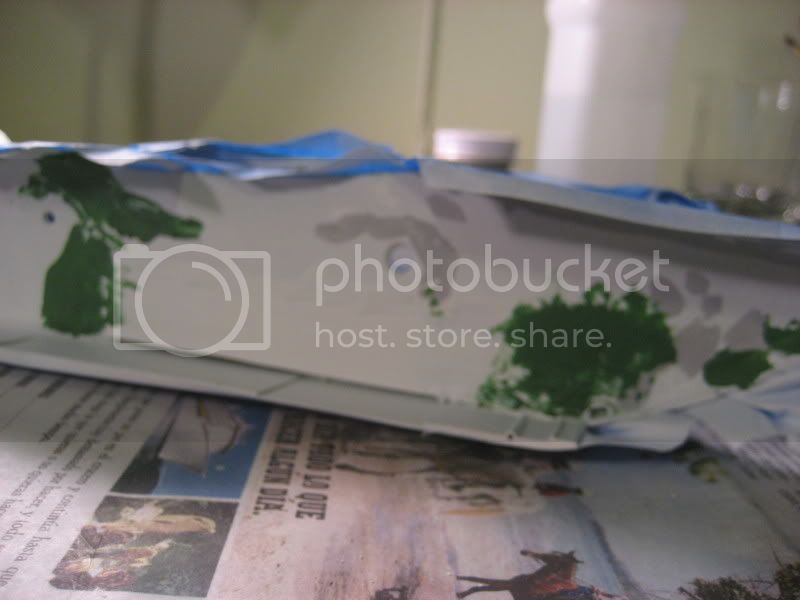
The mold lines are OK. A little light for my taste but the the detail is there. Of course, where I find areas lacking, I will take out the blade or dentist pick. Oh, forgot to mention, this build will be OOB with scratchbuilding all along the way. I cant sit here and say what I plan, as I am making things as I go. Kinda free spirited, with the exception of the wearing a pink and purple tie dye shirt and long hair. Its kinda, "well that looks plain, I bet I can.......that looks better." or, "let me do this.........oh crap, shoudnt of done that. Where my putty?!?!"
So, here we, I, us, nosotros, go....

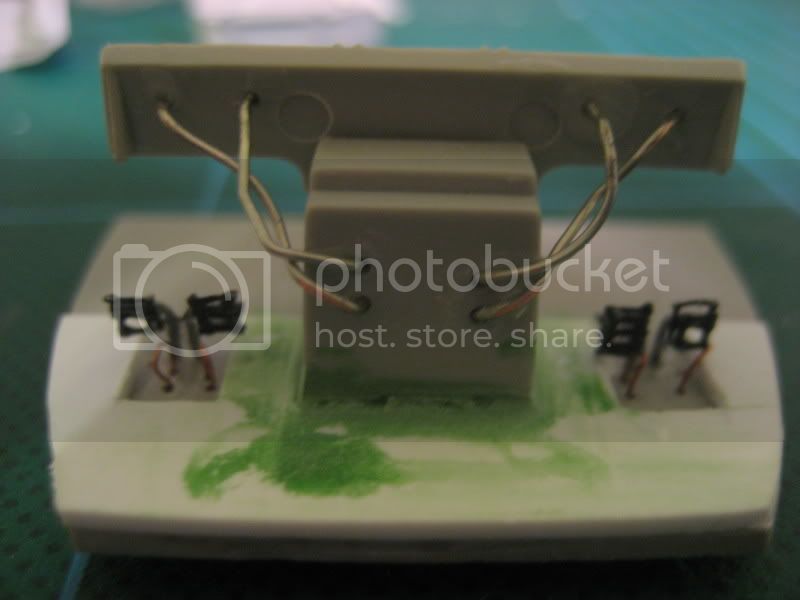
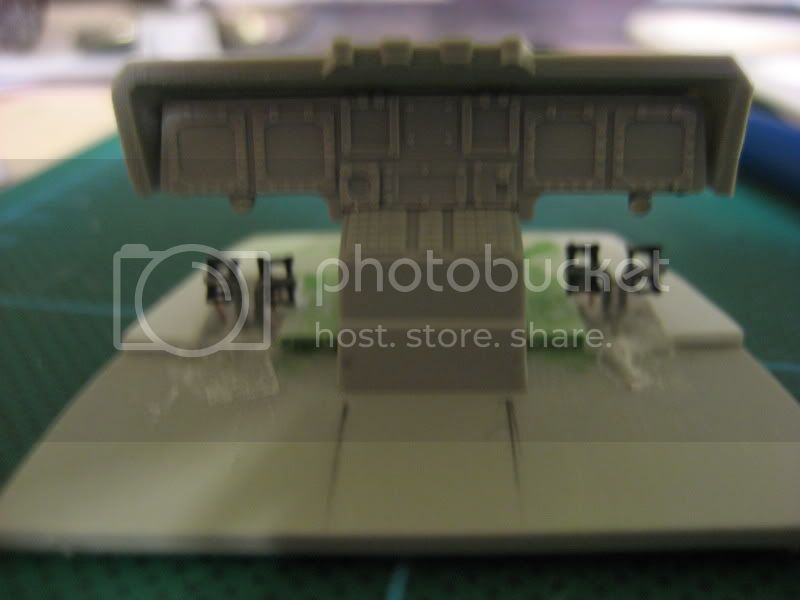
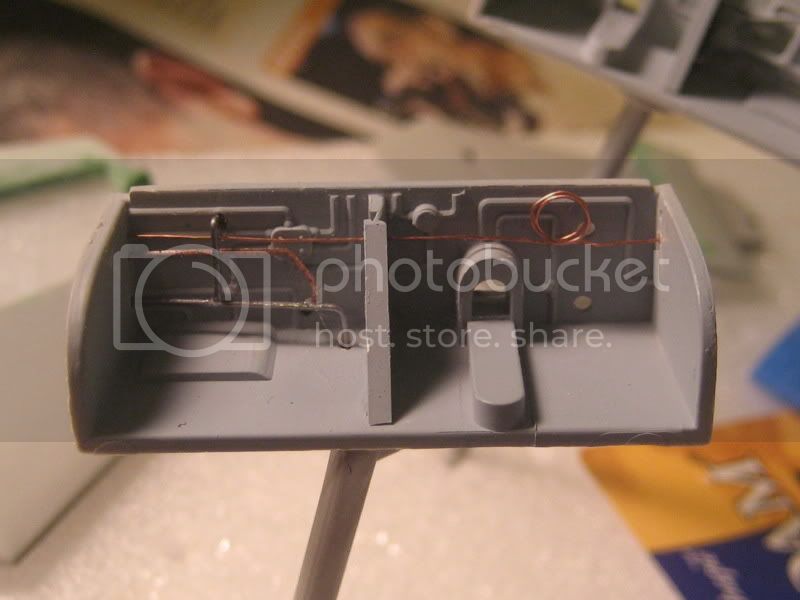
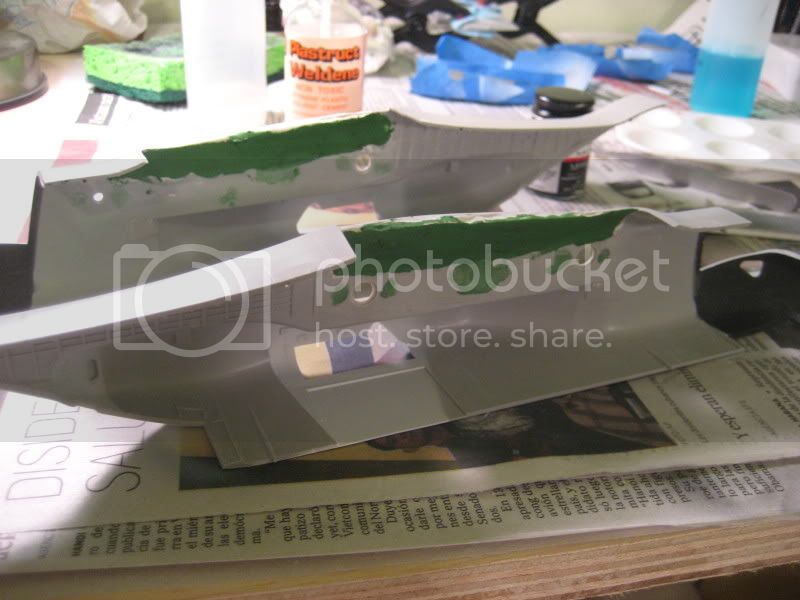
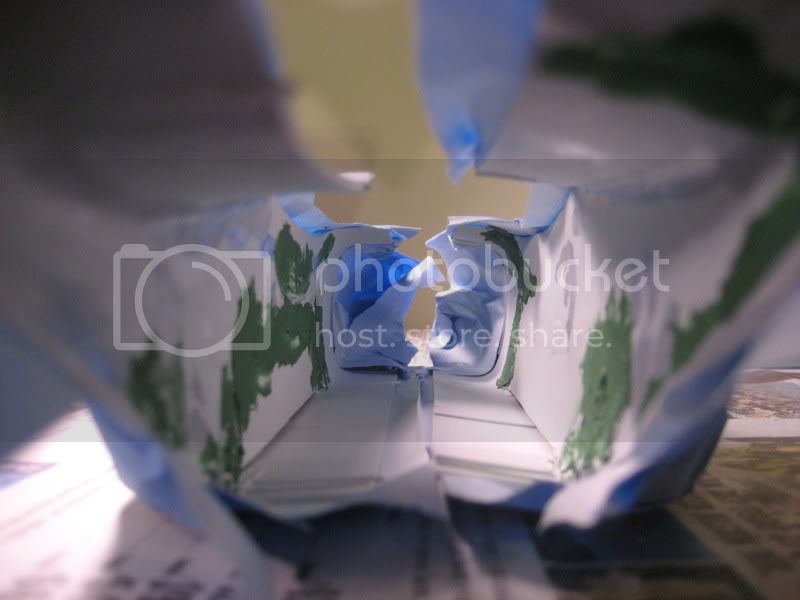
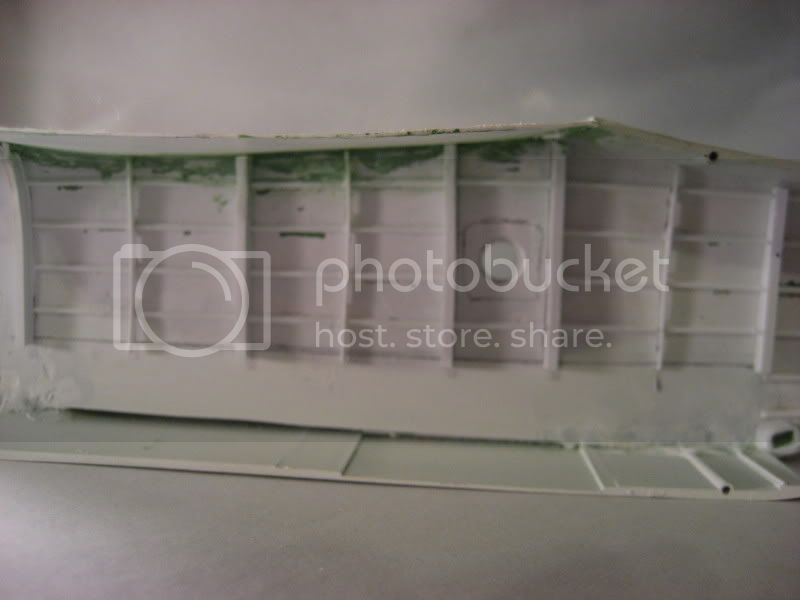
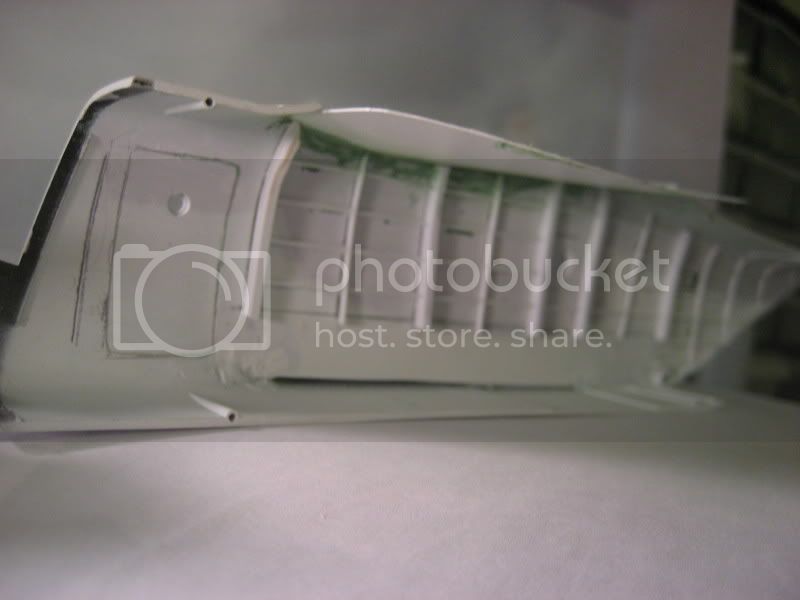
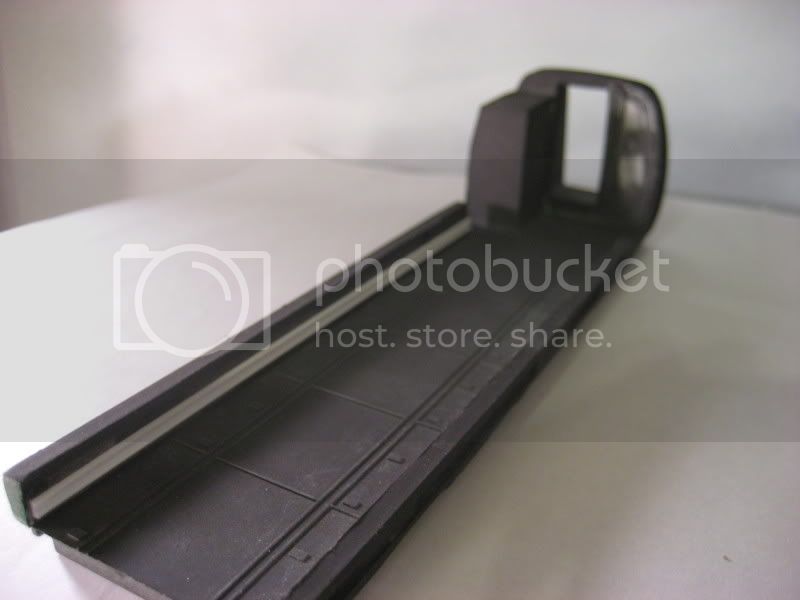
The instructions ask for just glueing the beejesus out of the thing and painting. I for one, have a weekness for cockpits. Even if you might see a millimeter of a cable or scuff or whatever. So, I decided to add some simple wiring to the back which will be visible through this little bitty hole......and that's only if you look real close and might need the aid of a flashlight.

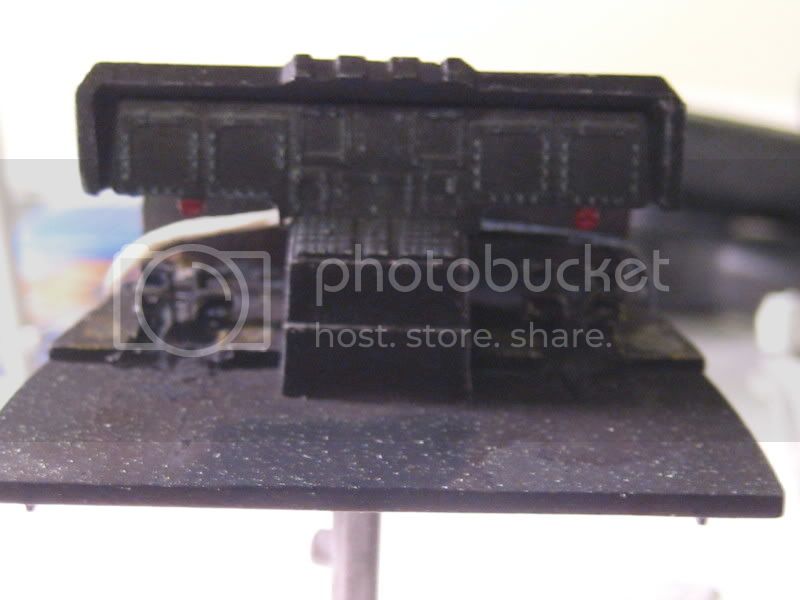
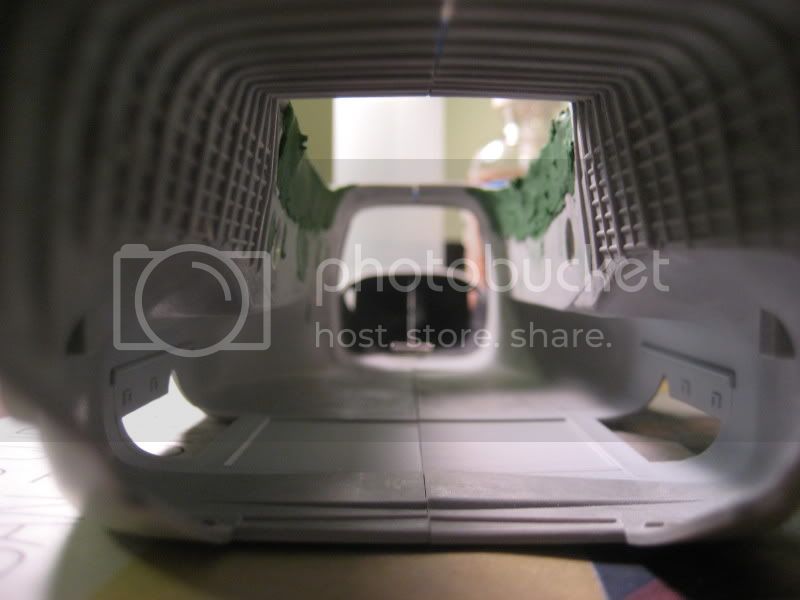
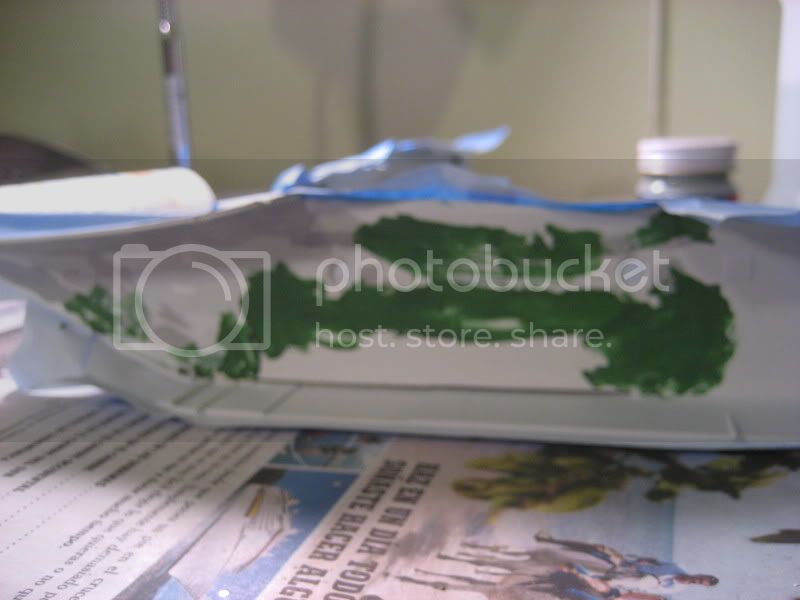
See the hole? hahahahaha

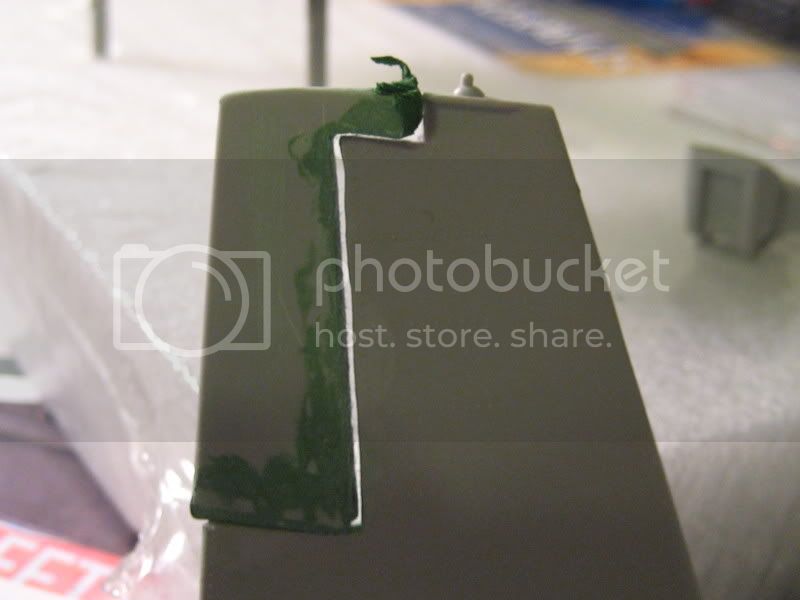
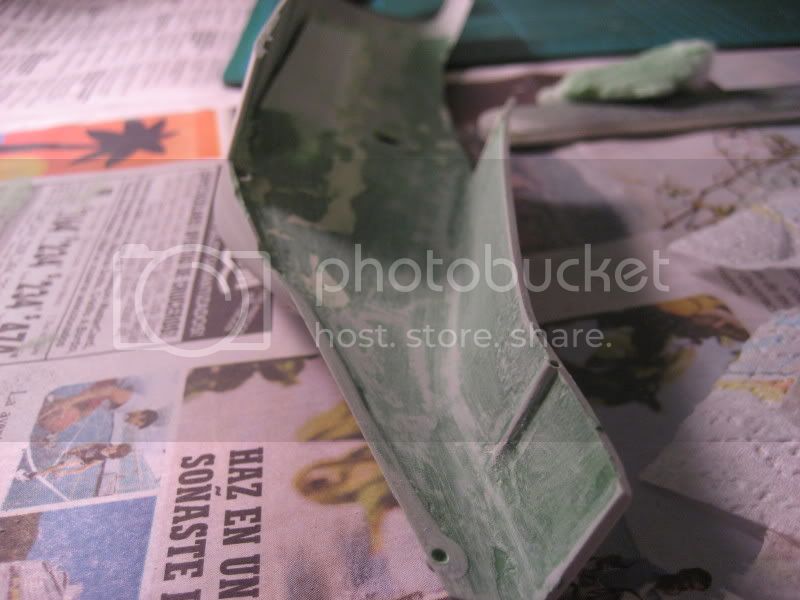
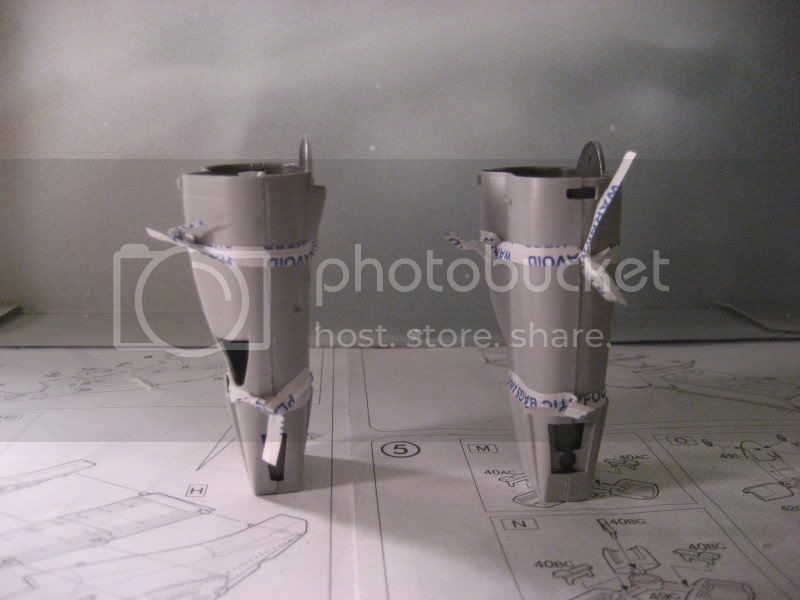
I took a drill bit, dont know what size and will not be able to pick it out again if asked (sorry).
 The holes were made haphazardly, and the wiring run according to my "what if" V-22 wiring guide.

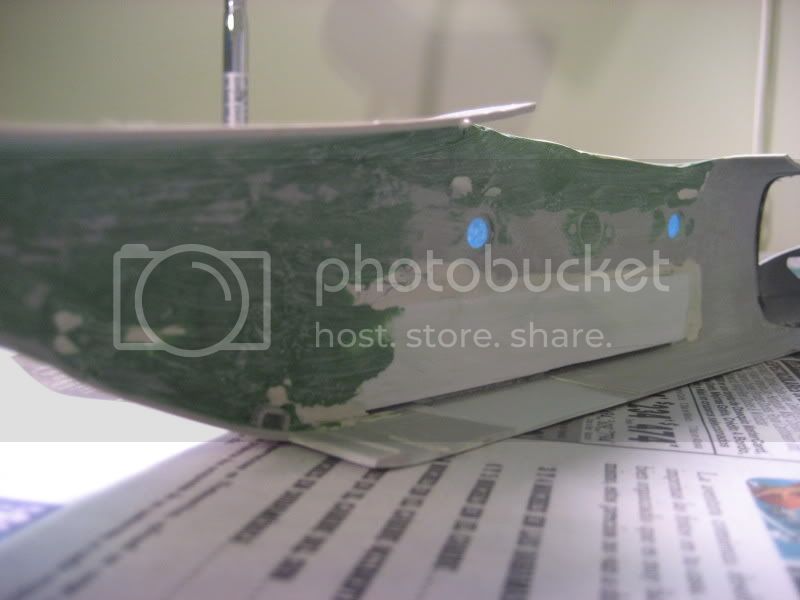
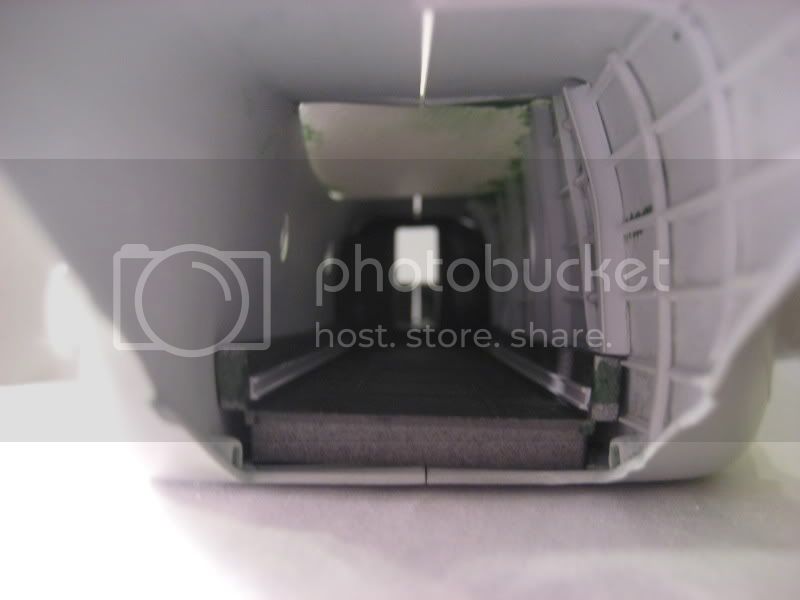
Once again, you wont be able to see much.....just the side view of the wiring extruding from the panel. And, remember, only IF visible through my concerning hole.

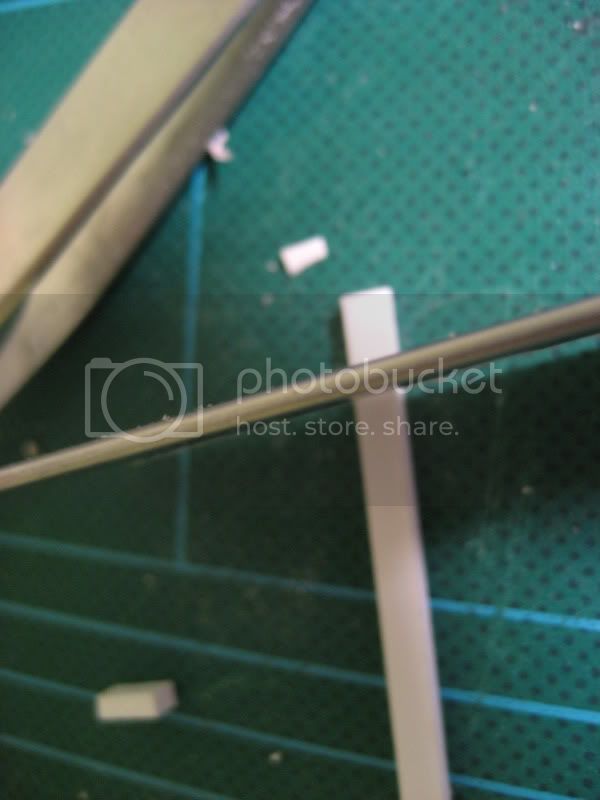
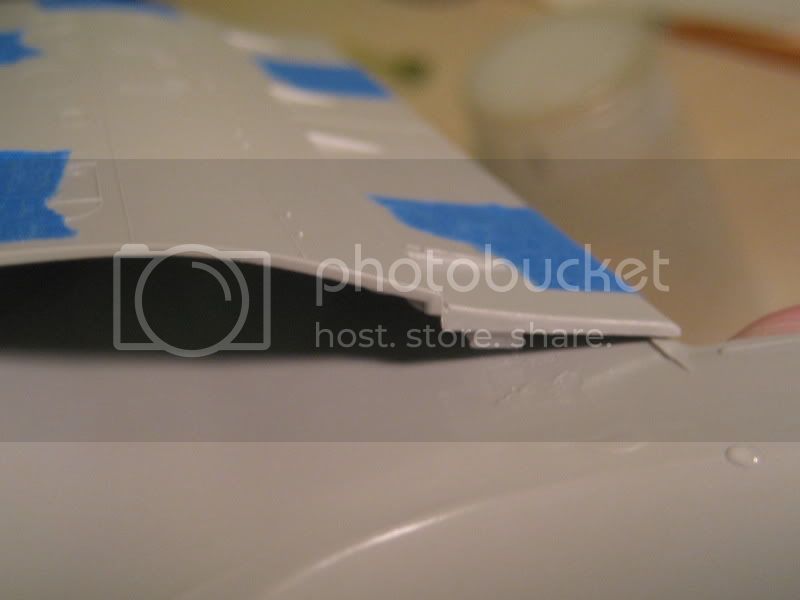
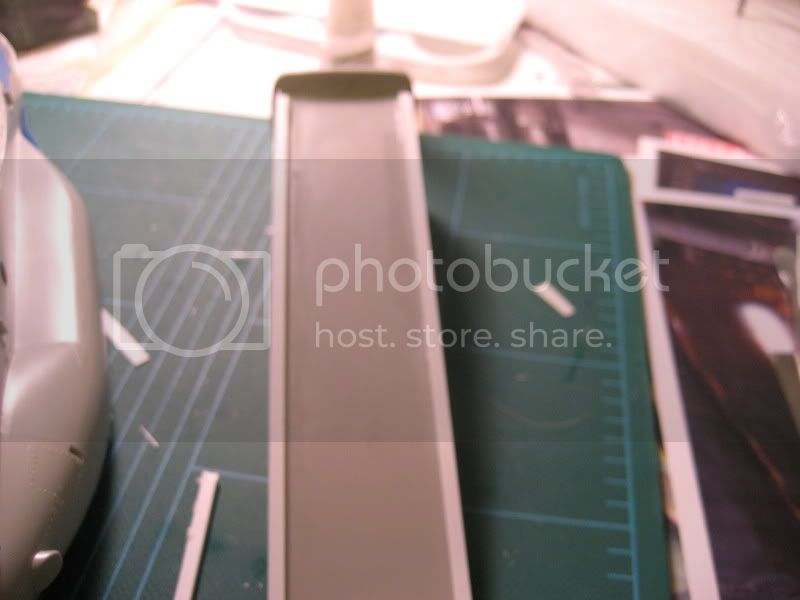
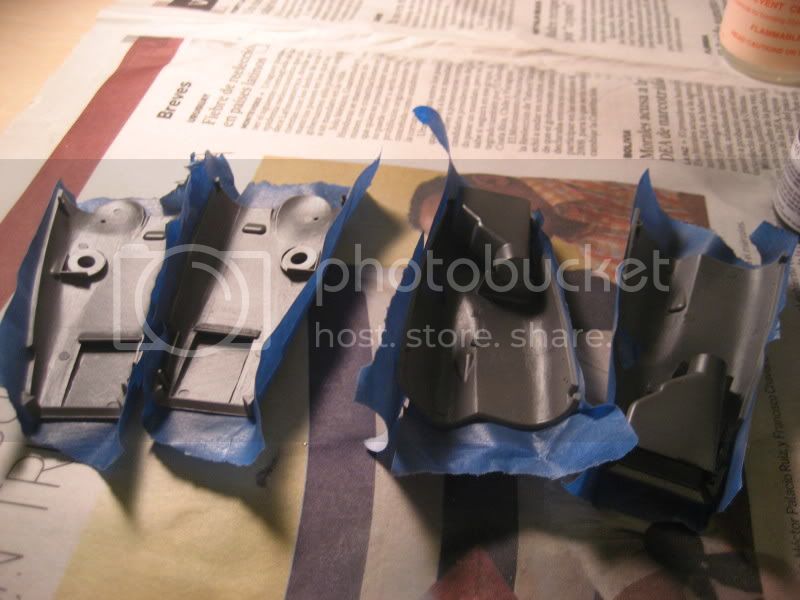
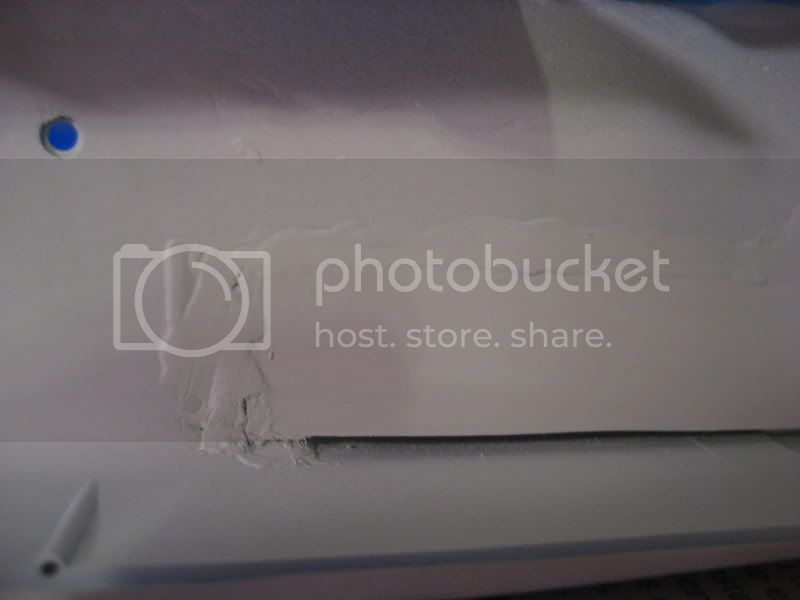
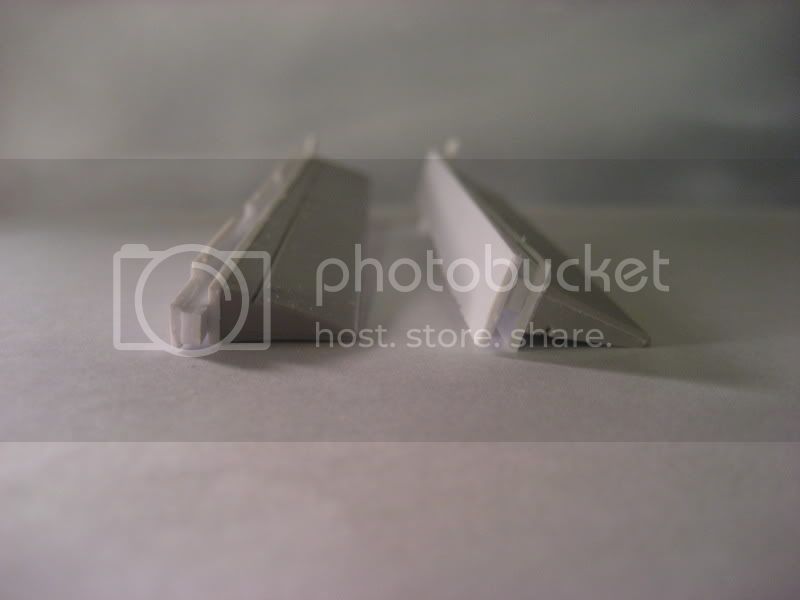
I had to cut out the horrific looking pedal nubs. This was filled and some modification will be done after a day or so.
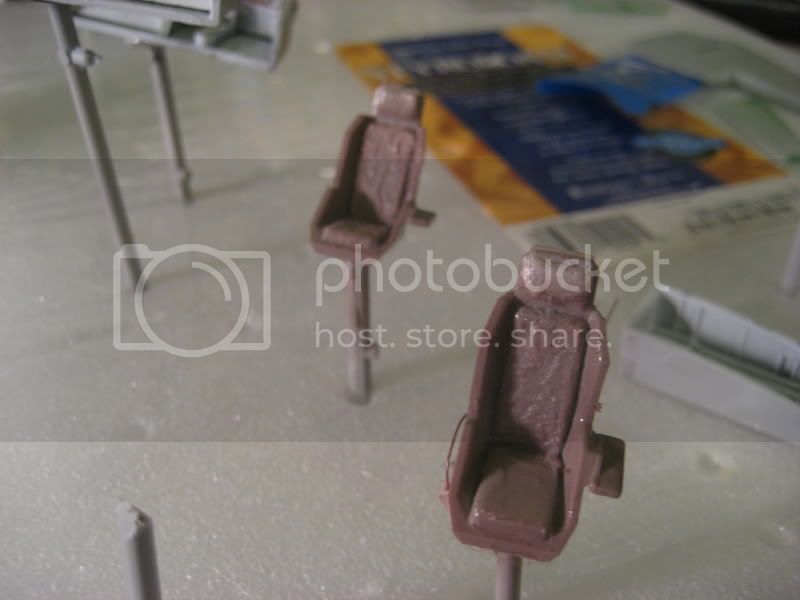
Needing to wait for the drying, I moved onto the seats. I could've left these alone but, then again, the seat belts were staring at me, smurking. Soooooo,
 ..... and away with them....

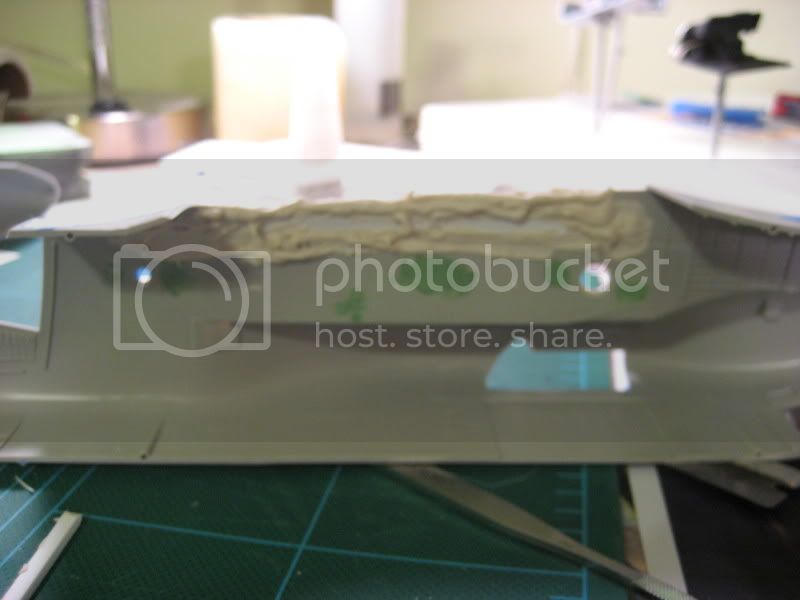
And then I added some texture in the form of tissue paper via white glue application. I have used this method on an A-10 (the one needing heavy sanding) and it works great. You dont get that simple looking seat. It should dry hard so the bumps will go away. If not, some fine slicing with the Xacto and some crazy glue will smooth things out. I wanted to start on a few more things but its kinda late and I have to get up early for work.
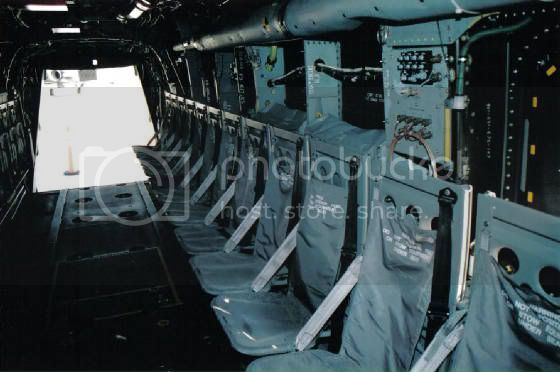
All questions and comments are welcomed. I do have a plea for reference pics. It seems the internet, via google search, aircraft resource, and prime portal, are very scarce on pictures. I had to scrap together pieces here and there for the cockpit. Not even a clear shot of the pilot seats.
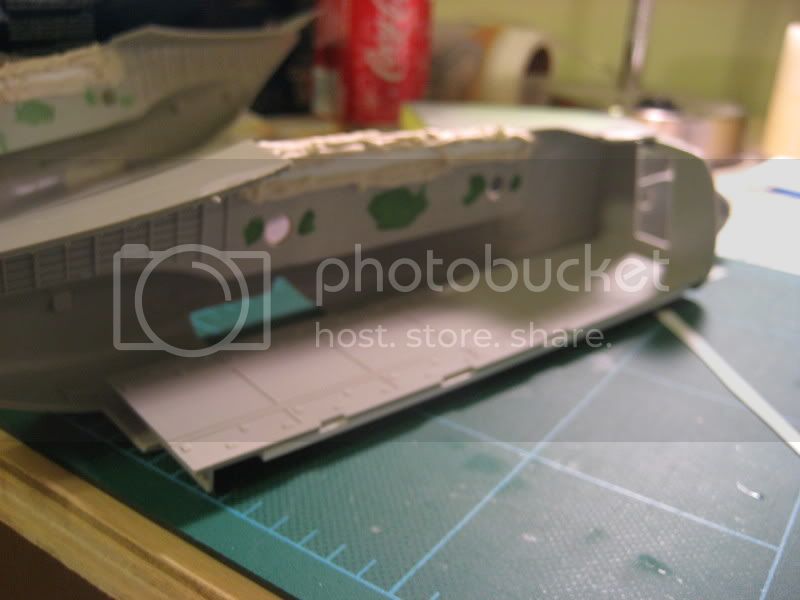
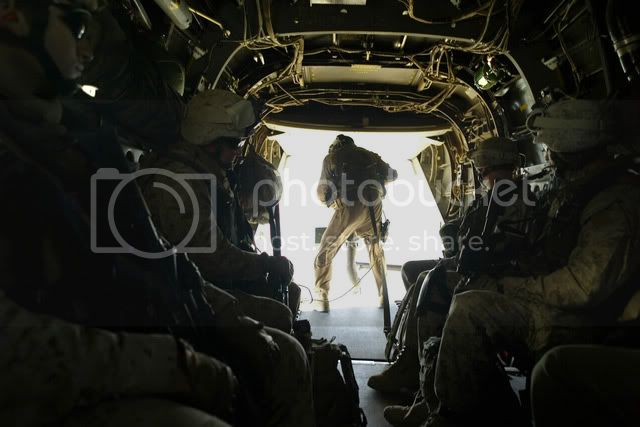
And the other major question is, what to do with the interior. Should I leave the loading ramp open? or closed? if opened, the seats are molded closed and it will be a nasty chore getting to scratch every one out. Just wondering what your thoughts are. And, if you know of any aftermarket kits as well.
Cheers,
Mike