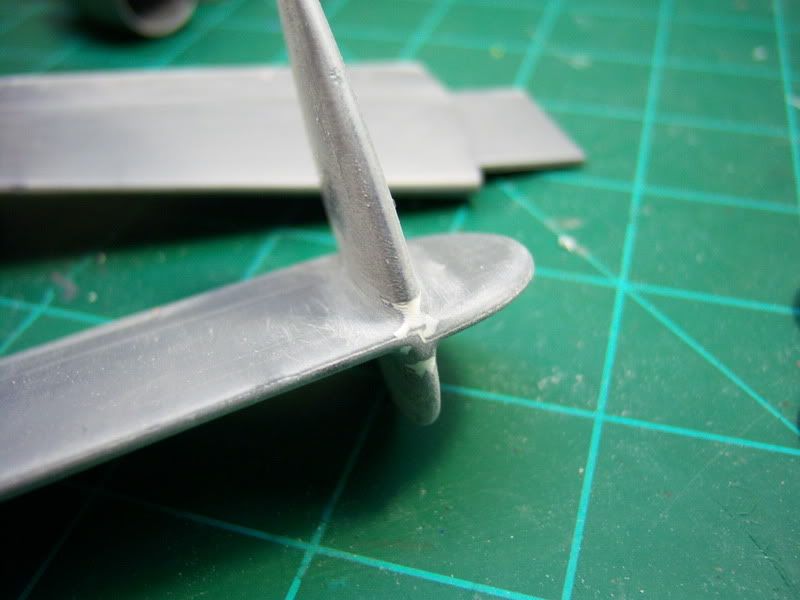
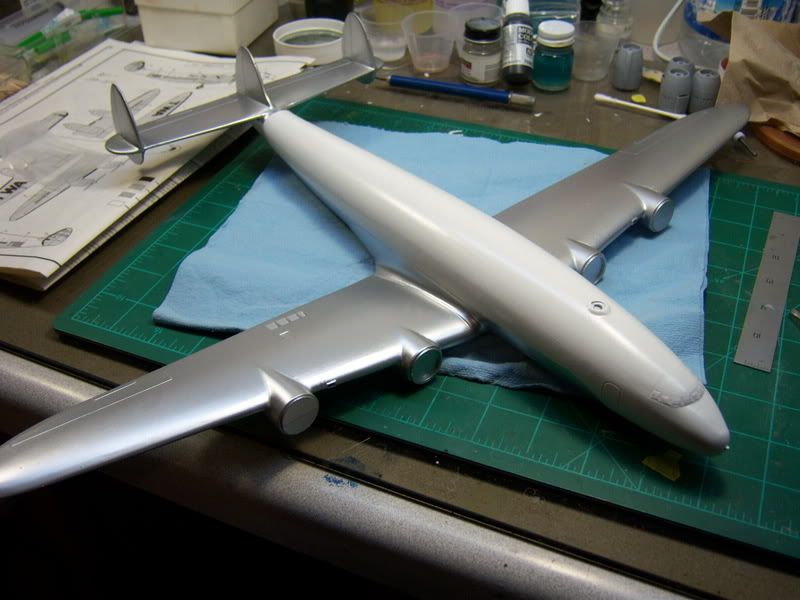
Alrighty then, contiuing on with the Connie build. This morning I got the horizontal stabs cleaned up and discovered some more gaps and or seams to deal with. Applied some Mr. Disolved Putty and then went to work.
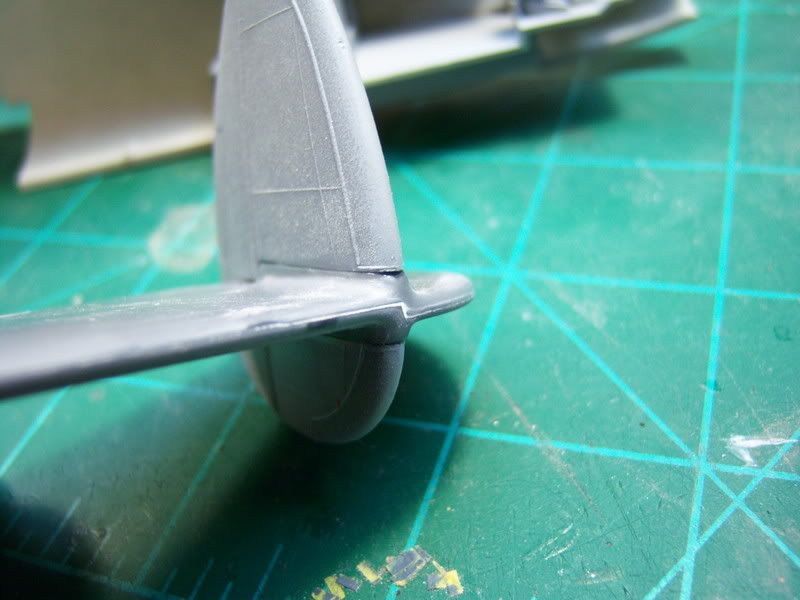
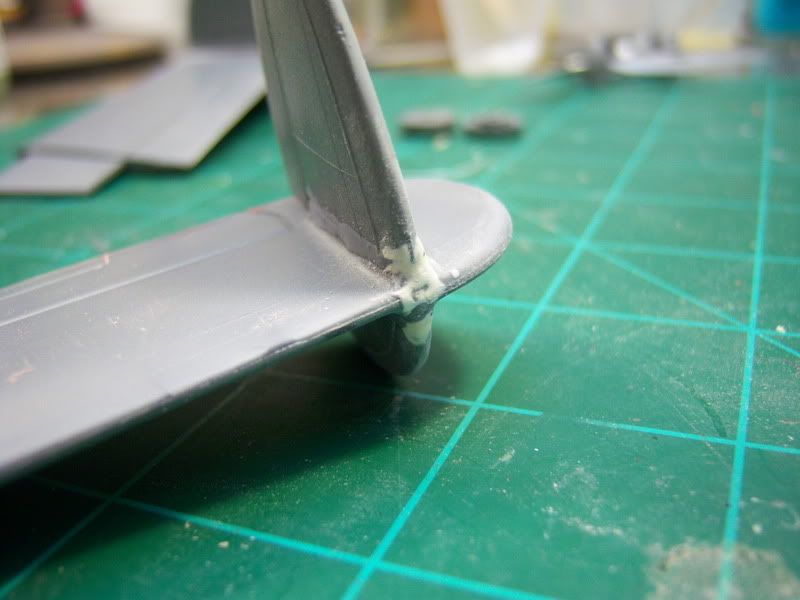
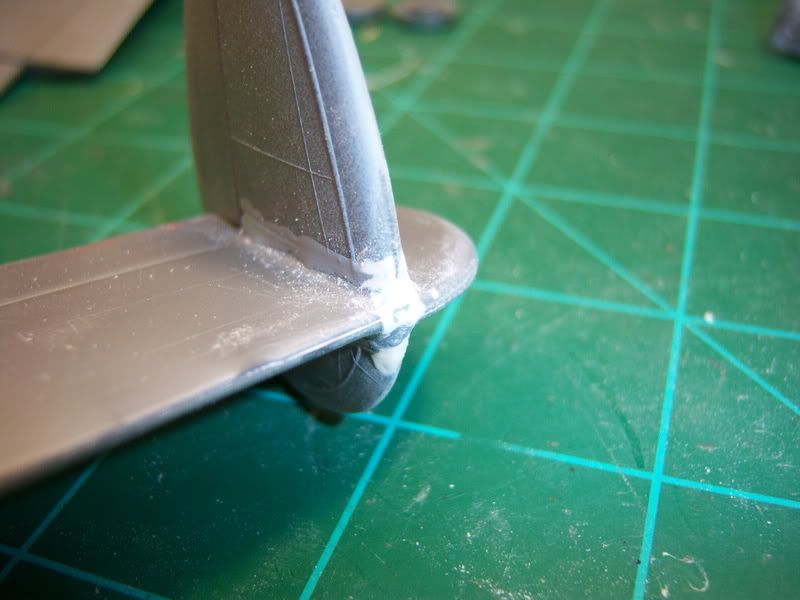
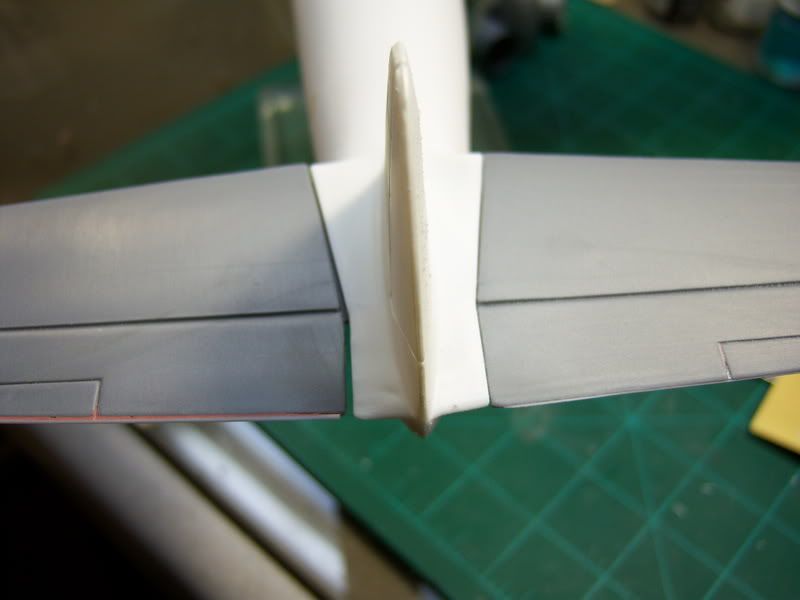
Luckily my boss cut us loose early and I was able to get in a little more time with the ole girl tonight after dinner. I clean up the putty from this morning and it looks pretty darn good at this point. I added the vertical stabs and found I will need to add some putty and or Mr. Surfacer here as well. Not bad, but it needs to be a smoother joint.
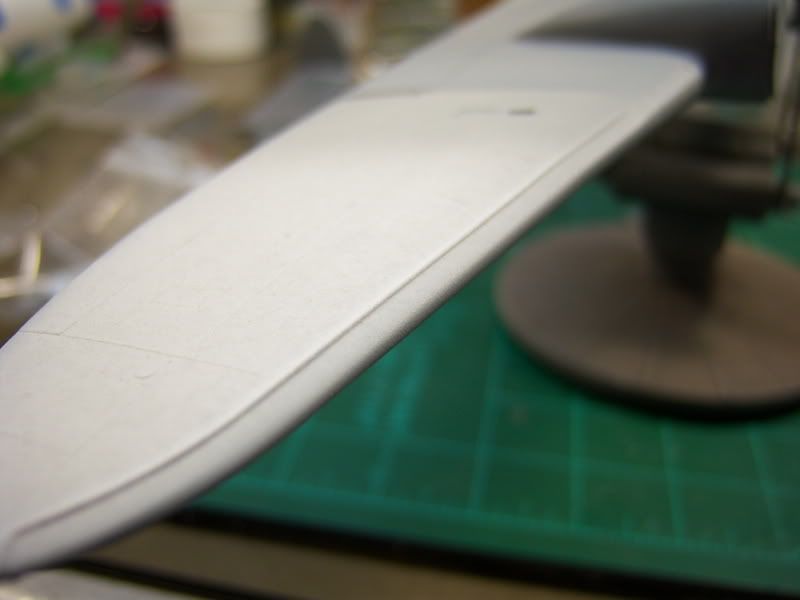
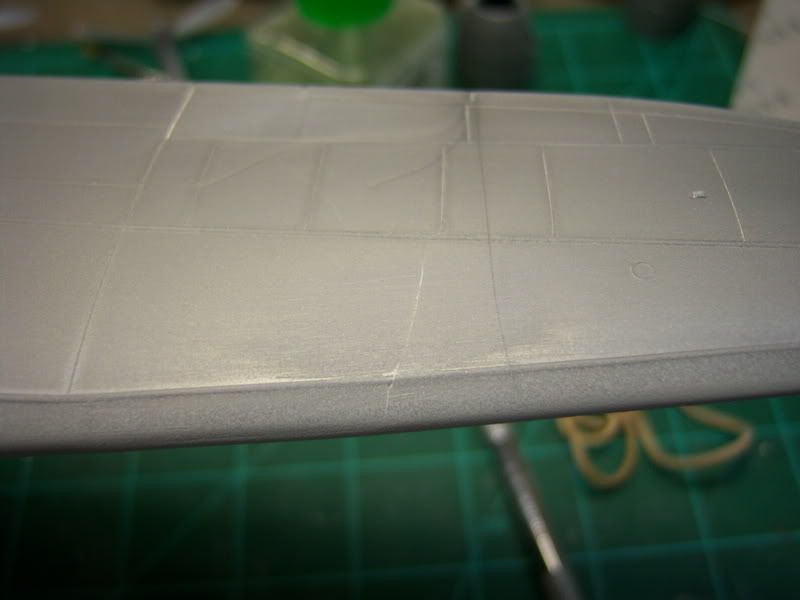
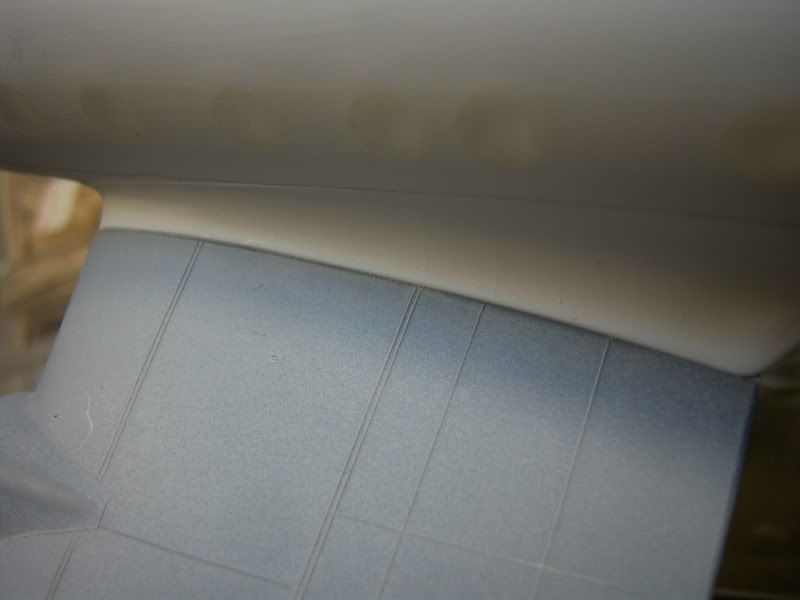
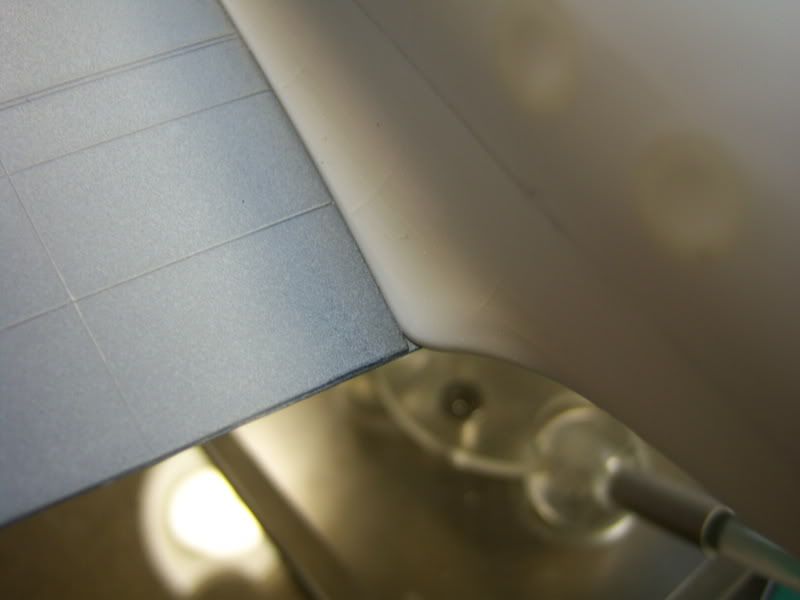
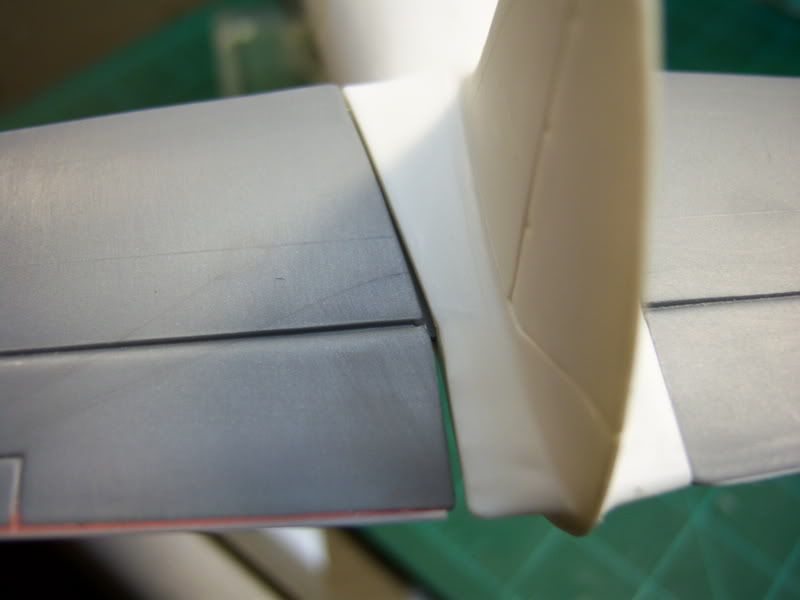
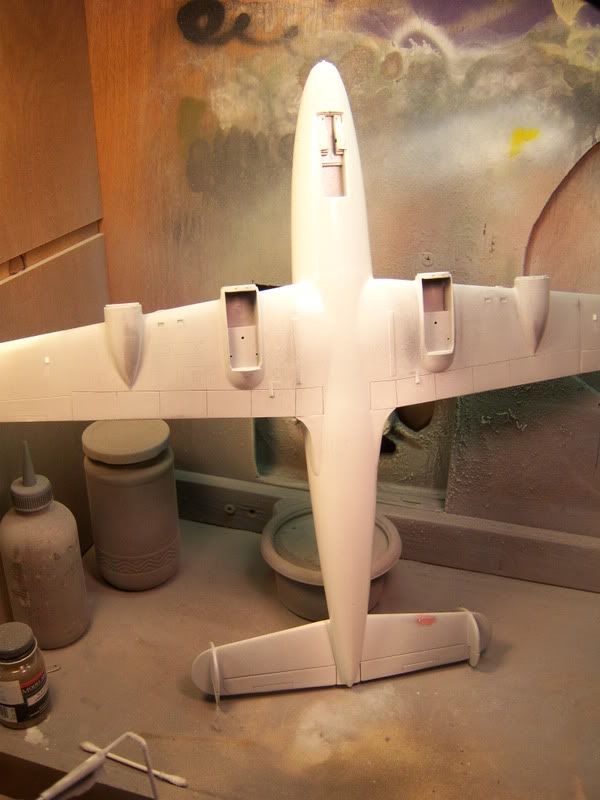
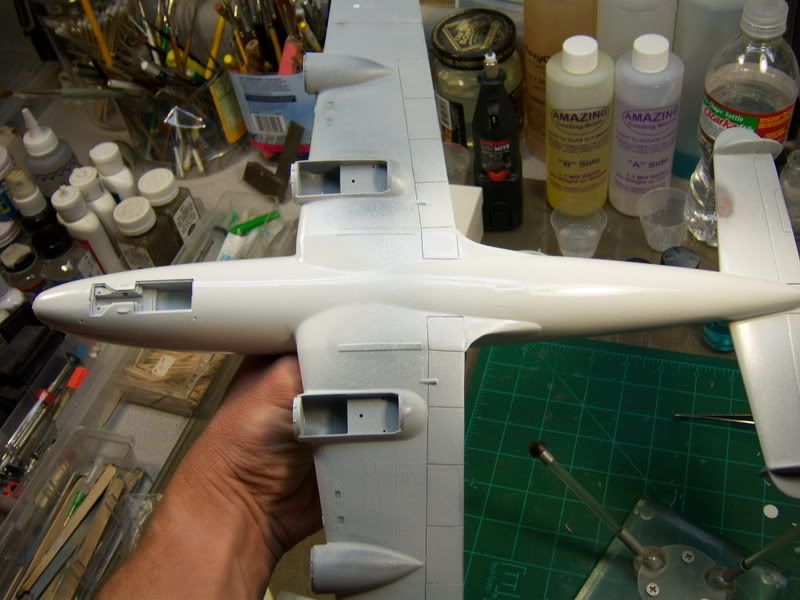
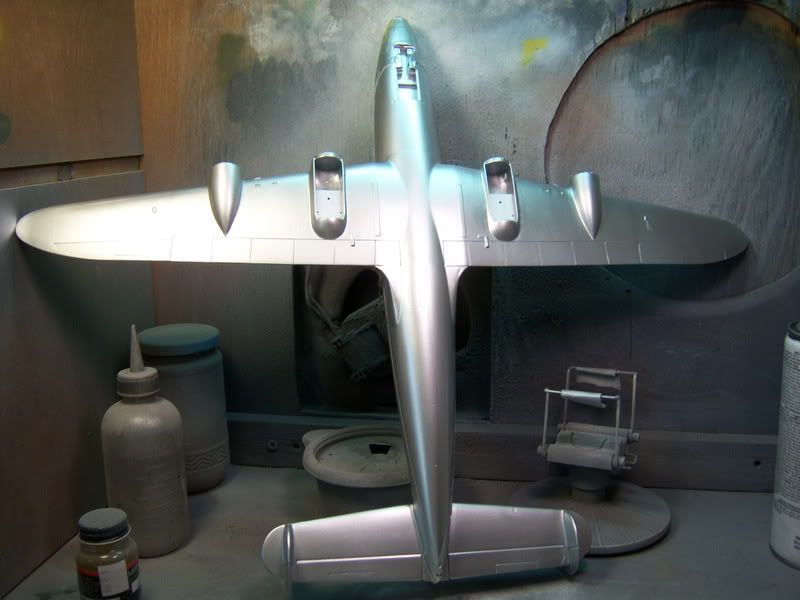
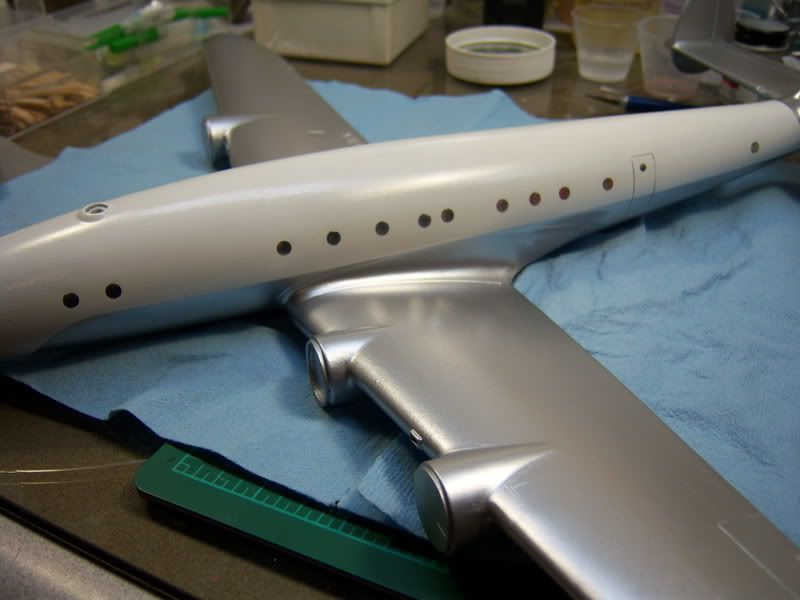
Also did a little work on the wing. Namely dressing all the leading edge seams, and where the outter panel pieces join. Why there is a break here baffles me. It would have been so much easier to mold this as one piece like they did the upper wing. Beats me why its this way.

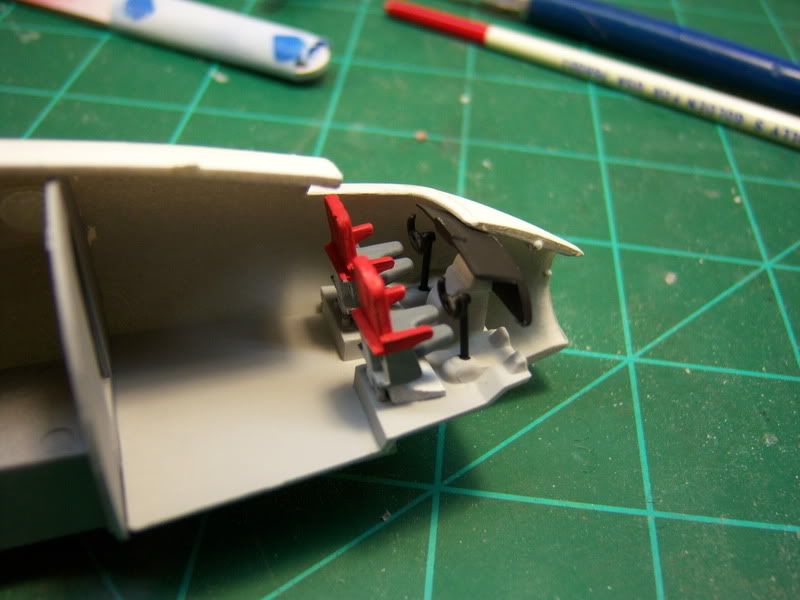
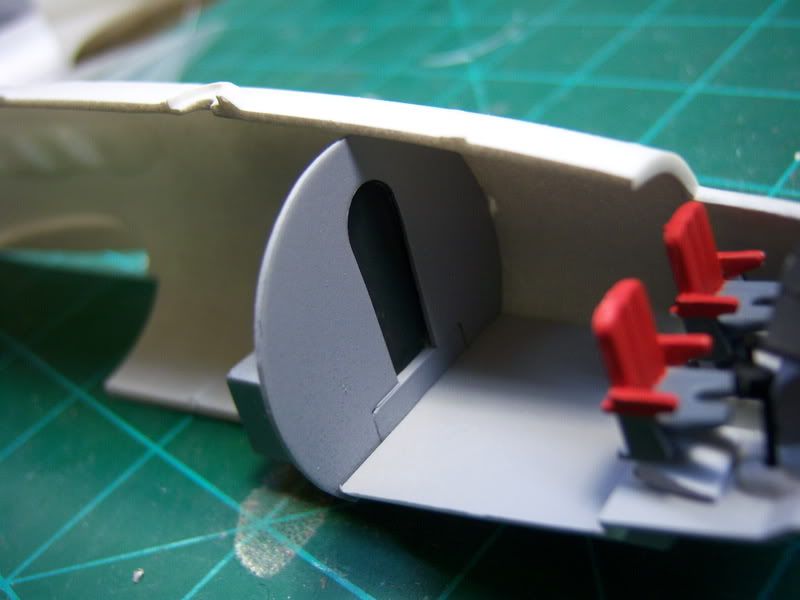
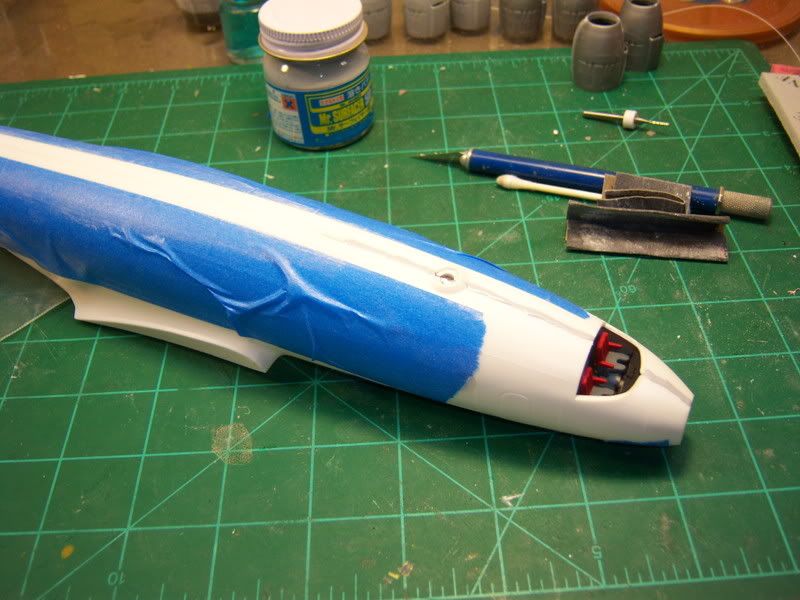
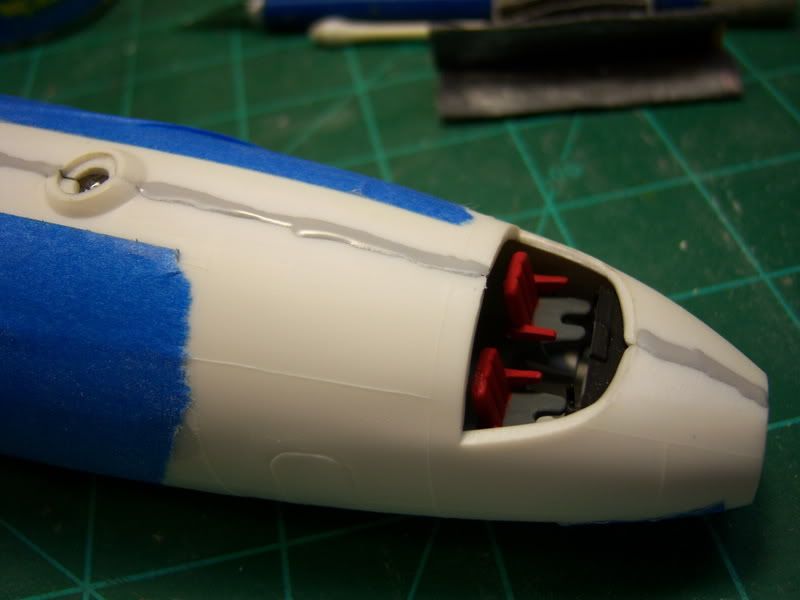
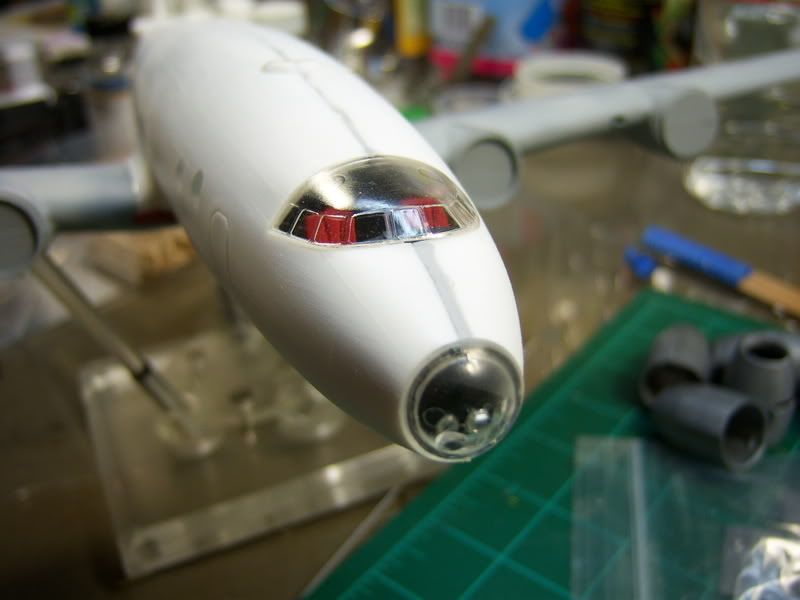
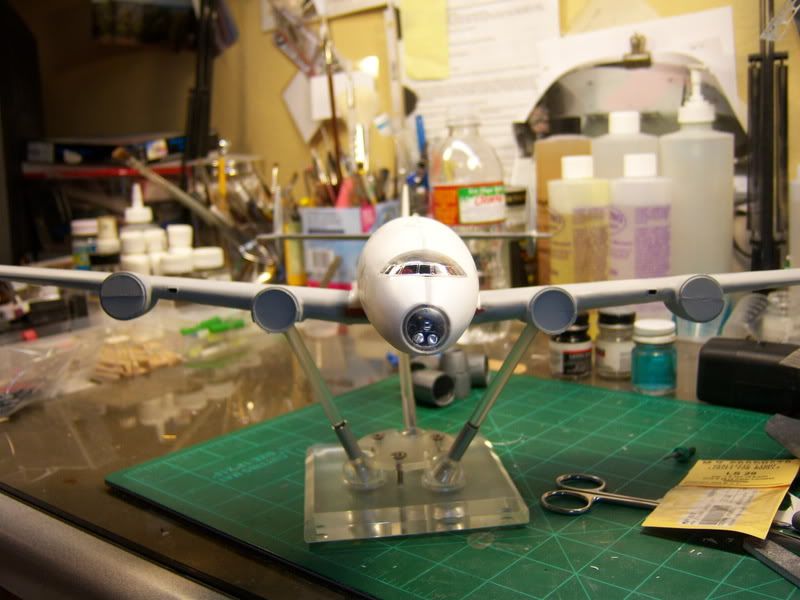
I got the cockpit primed, painted and installed. Nothing fancy as not much will be visible once the fuselage is sealed up. I added a piece of sheet plastic painted black behind the opening into the fuselage to block off that view which would be visible thru the front glass.
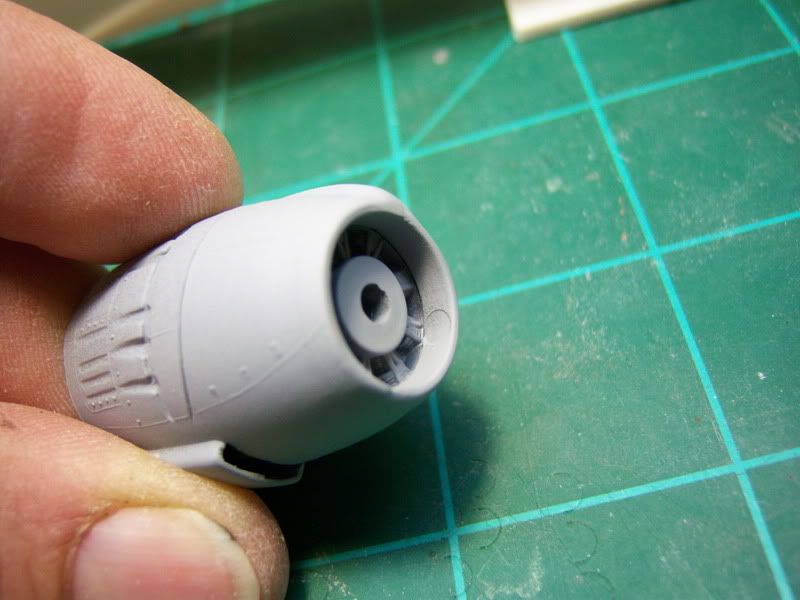
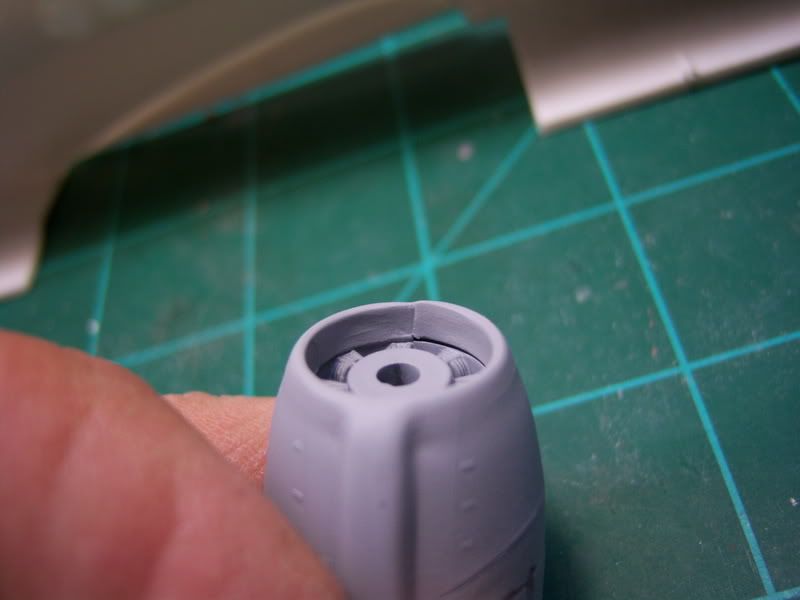
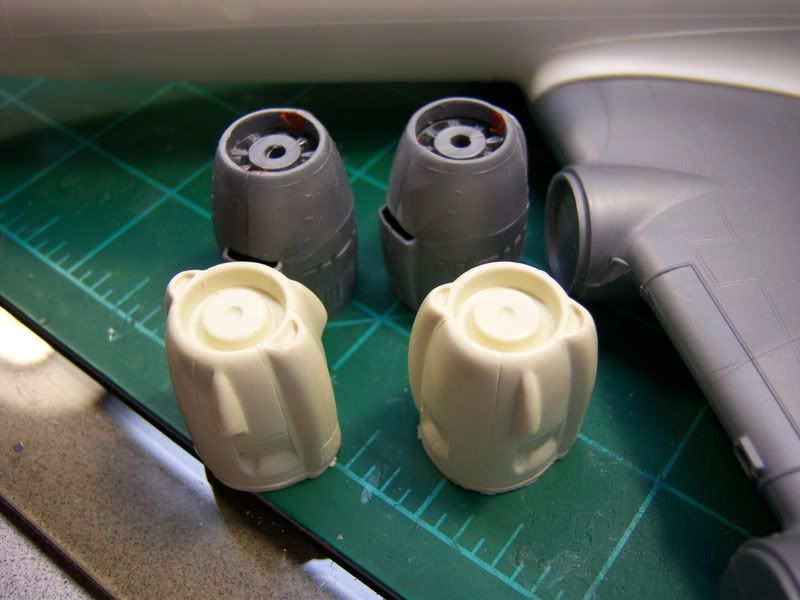
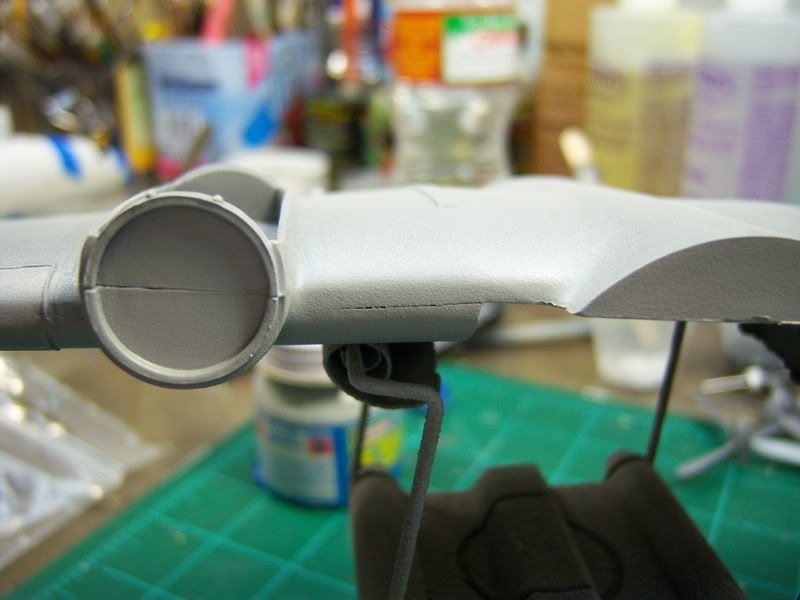
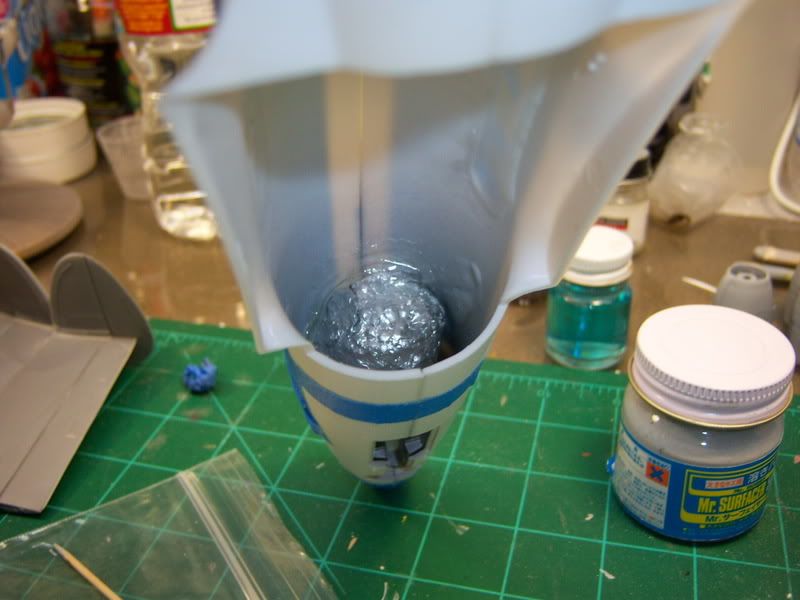
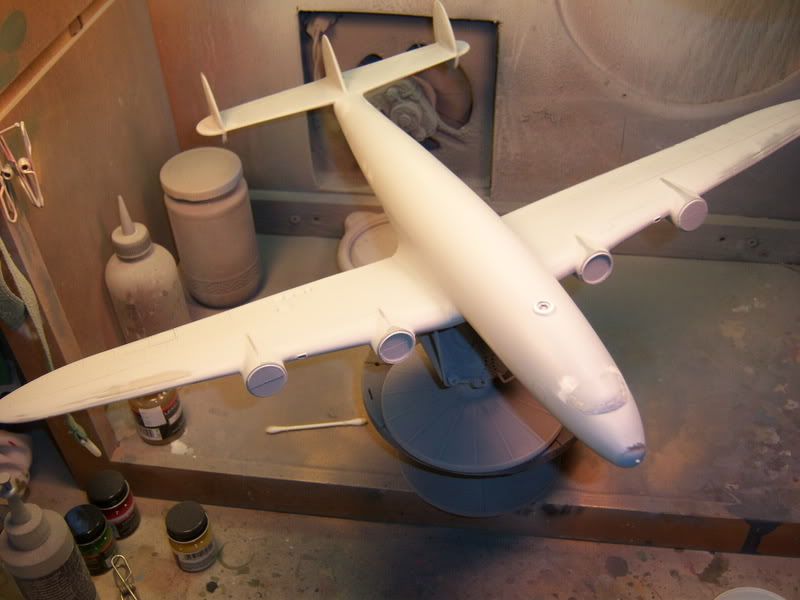
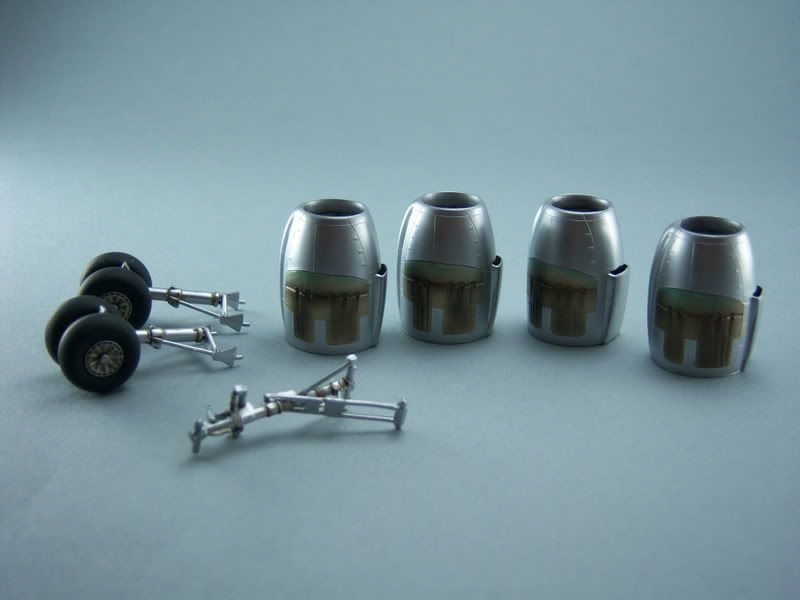
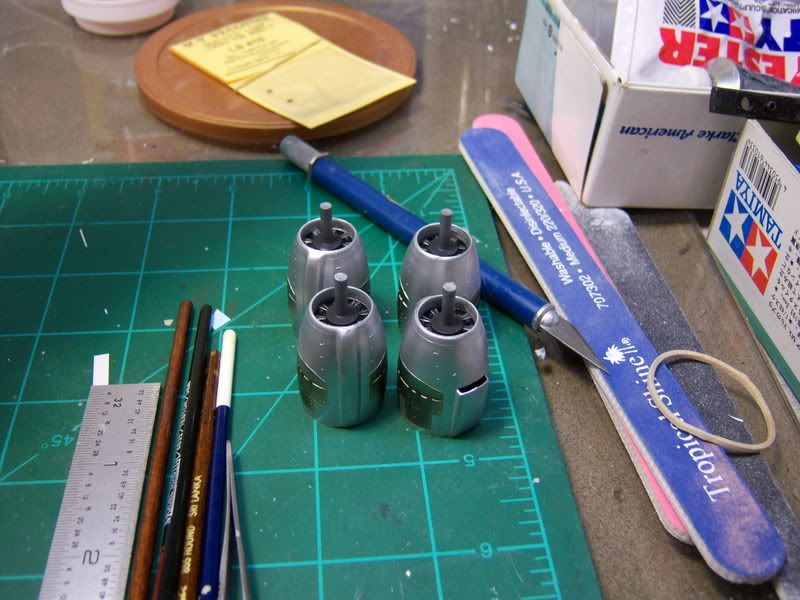
I did some looking at the engines and saw that I had missed some rather nasty seams and ejection marks on the inside of the nacelles. I tried to dress these, but it was a wasted effort.
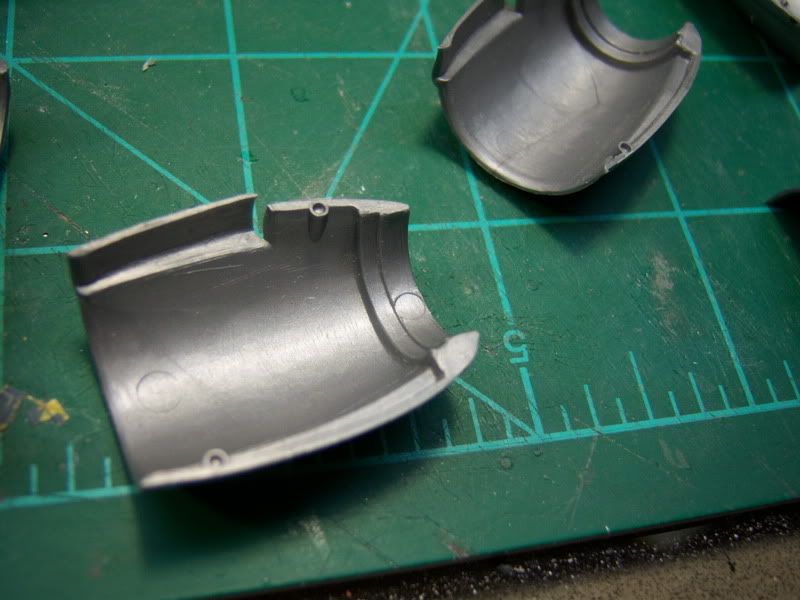
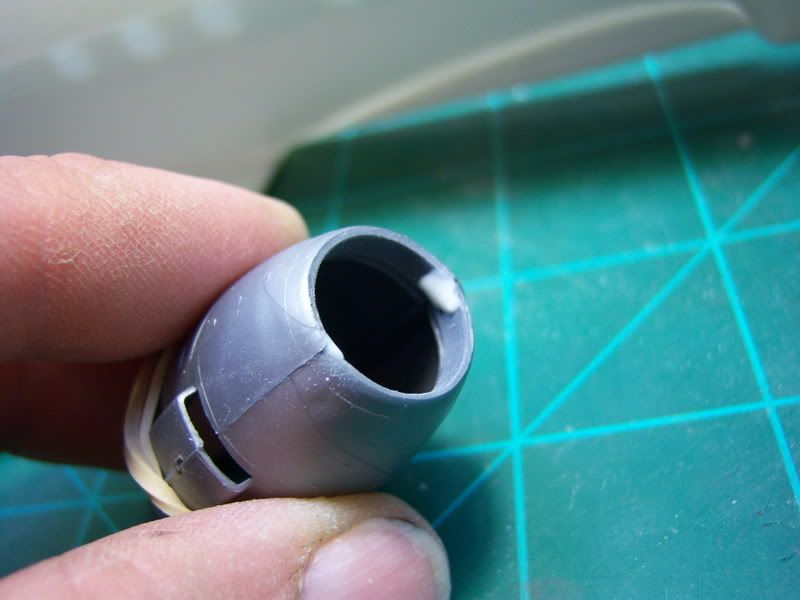
Luckily I have several of these kits on the shelves, one of which is a parts kit, so I opted to just re-do the engines. I can add the engine faces once the nacelles are closed up. I cleaned out the ejection marks, and glued the nacelle halves up, then added some more disolved putty to the seams. Once dried it will be an easy matter to run some sand paper over this area to smooth things out, then polish it out.
So far so good. Just a minor set back with the engines, but this only took about 15 minutes to correct so I'm not off my time line too much. Should be able to get the fuselage closed up in another day, maybe sooner. Thanks for looking, stay tuned! "Q";)


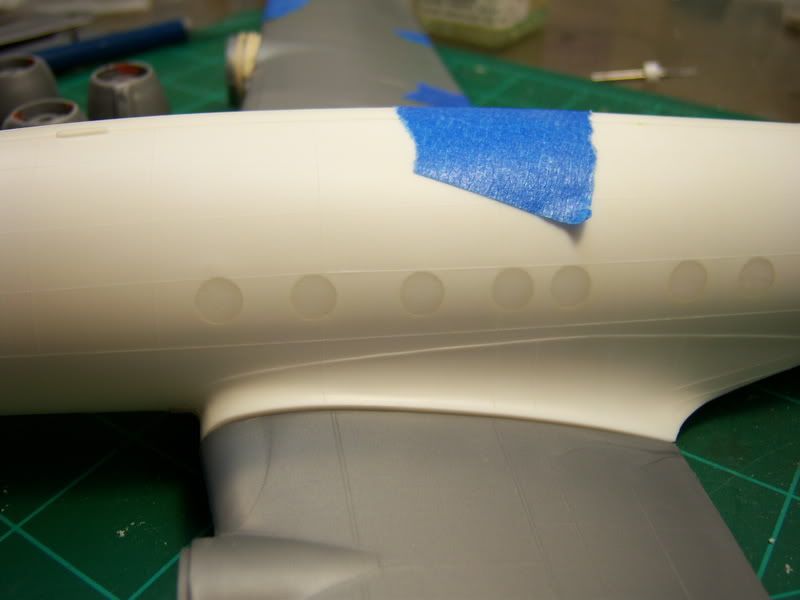


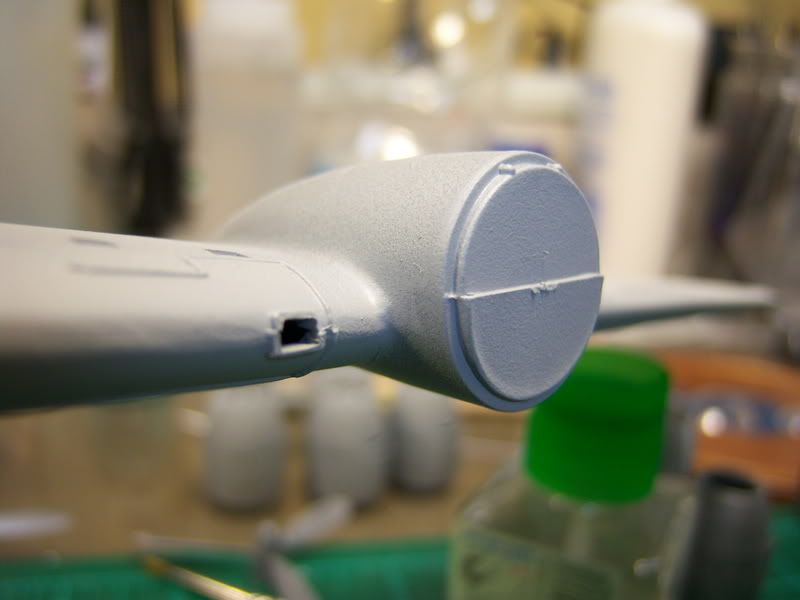

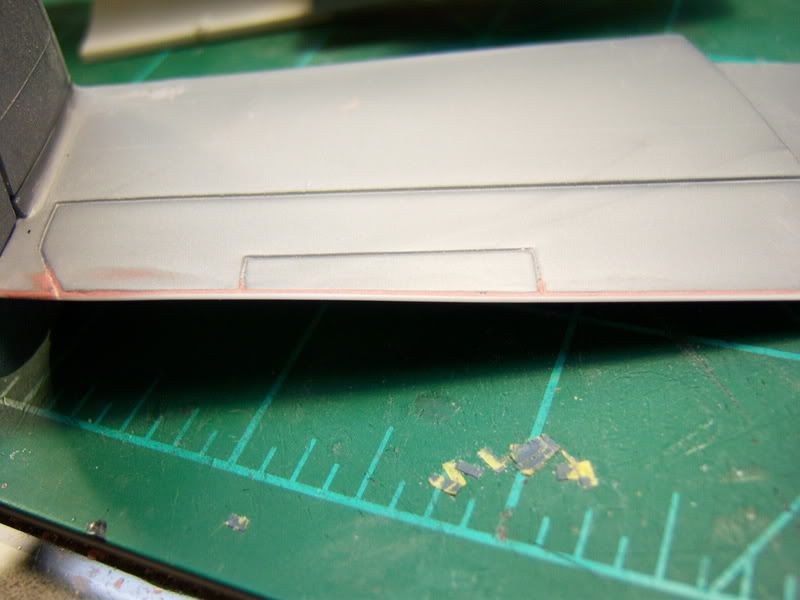
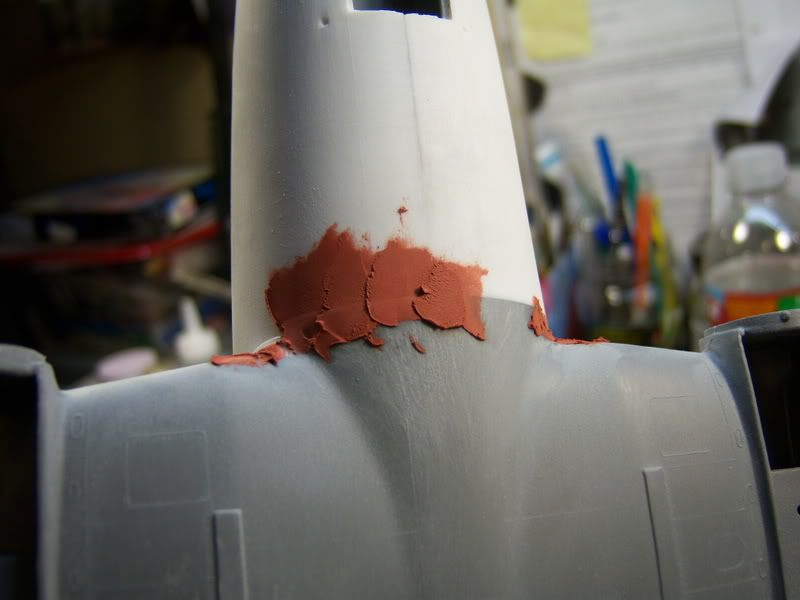
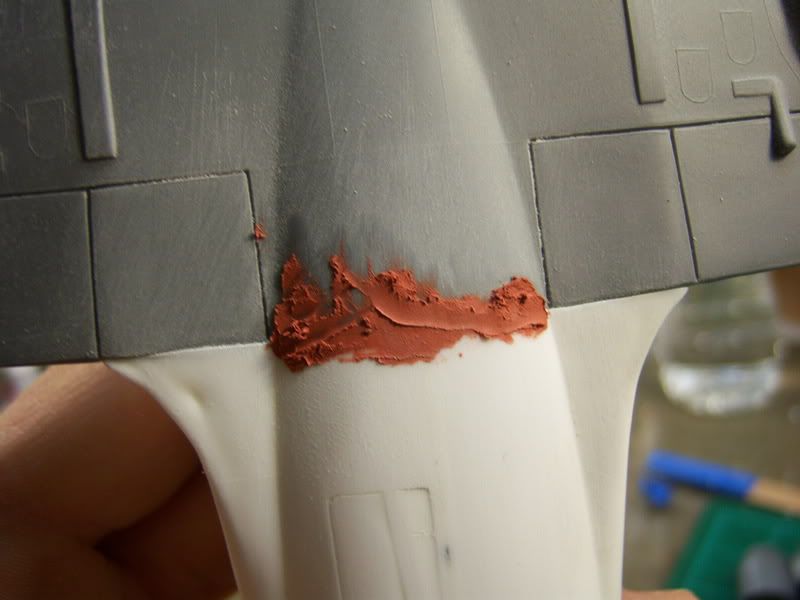
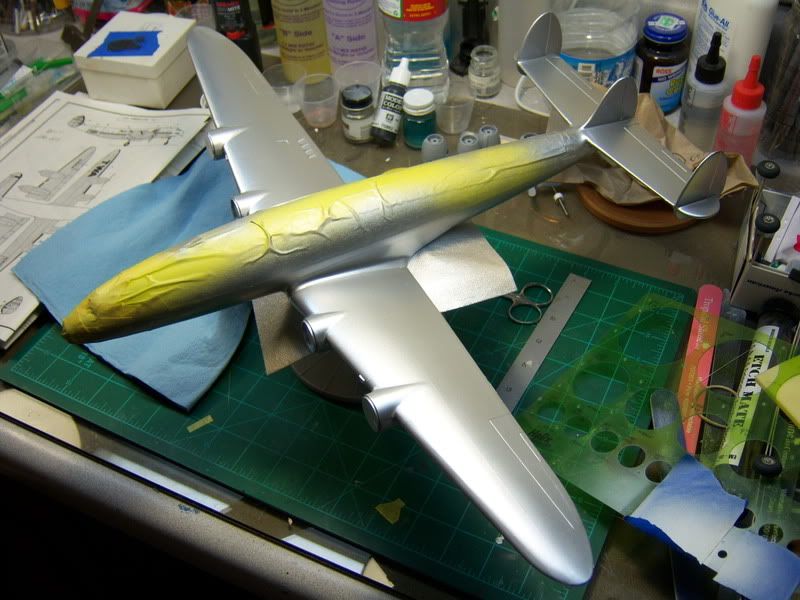
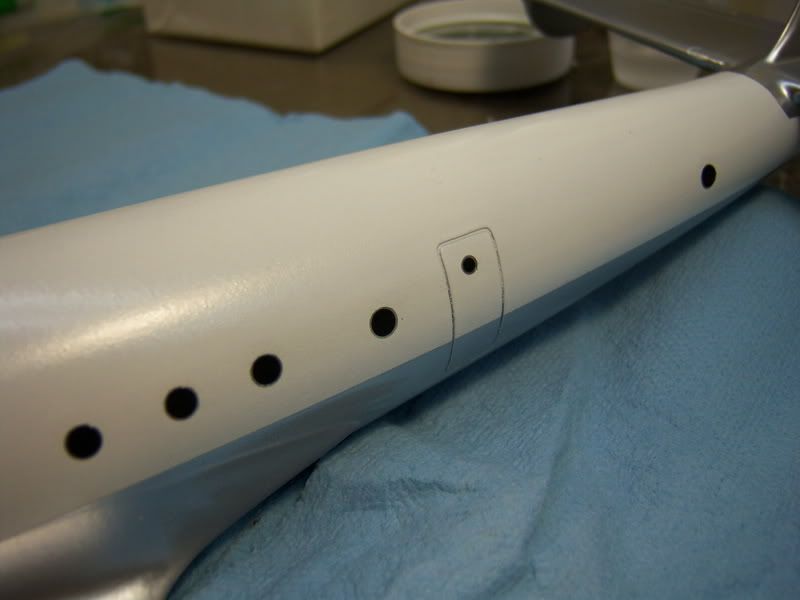
 The fuselage was short shot on one small area that I will deal with with a small amount of putty of a piece of scrap plastic.
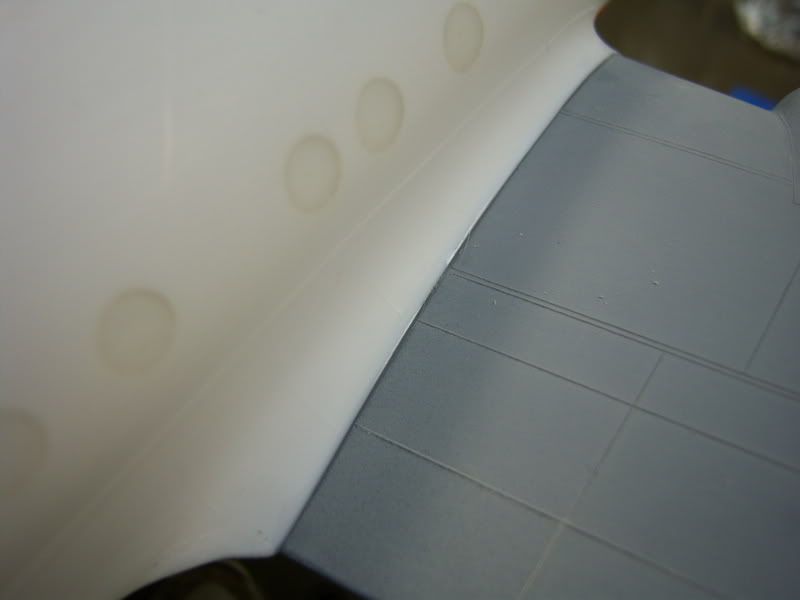


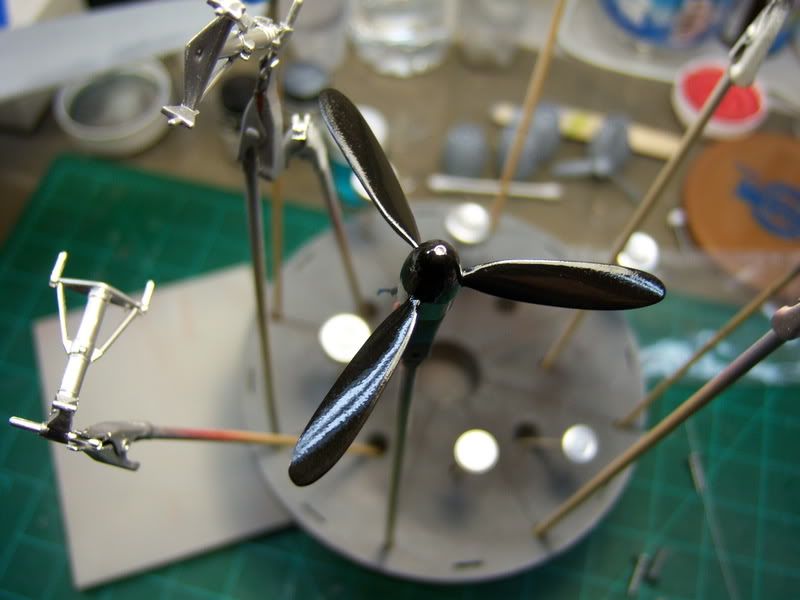
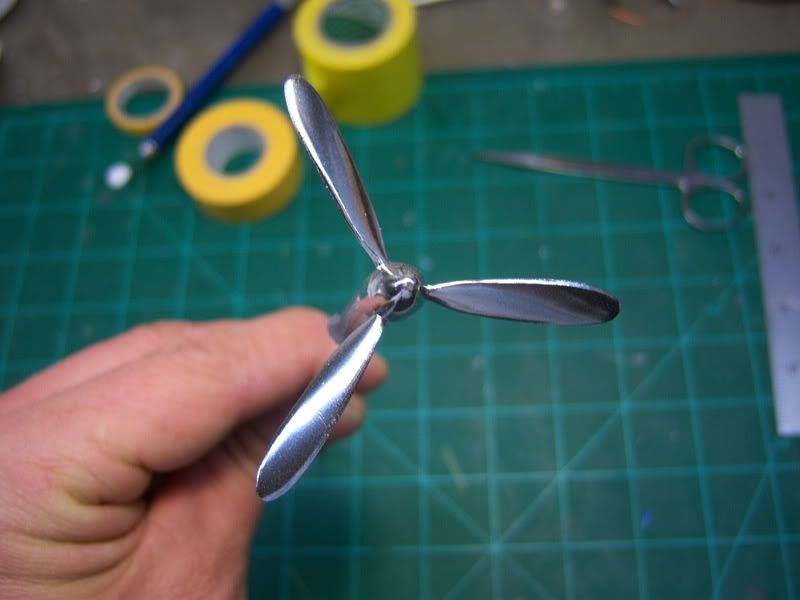
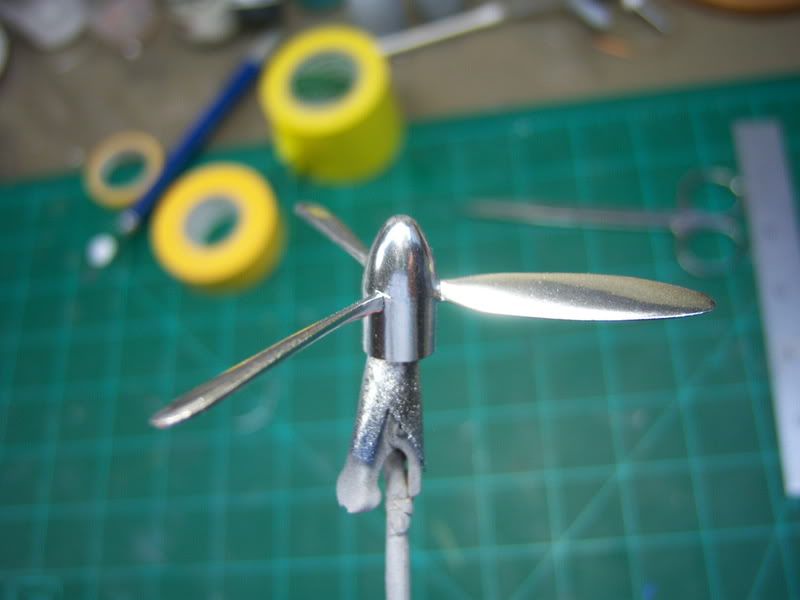
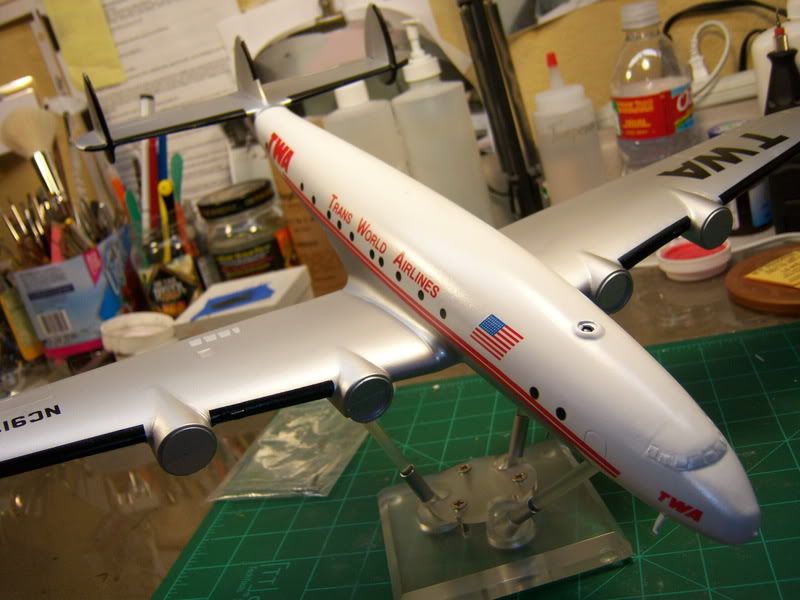
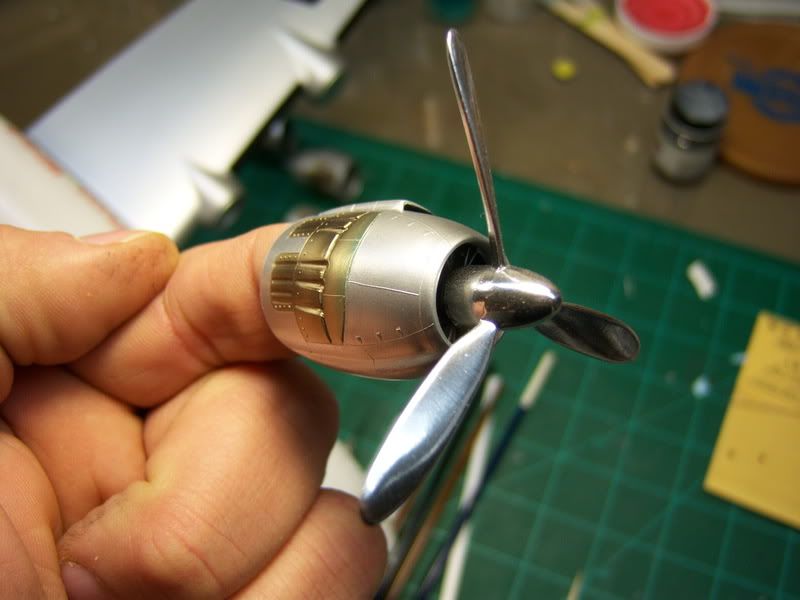
 The props came out excellent. Not a scratch to be found on any of them. Really happy with this part. Once all the decals are dry, I will shoot another gloss coat over her to seal them and so I can add the remaining TWA decals. She should be finished soo. Thanks for looking, comments welcome. "Q"
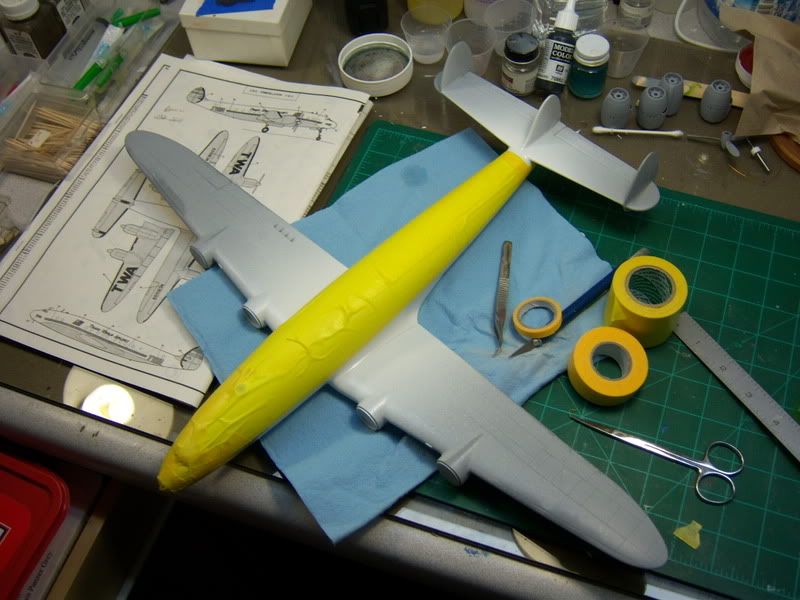
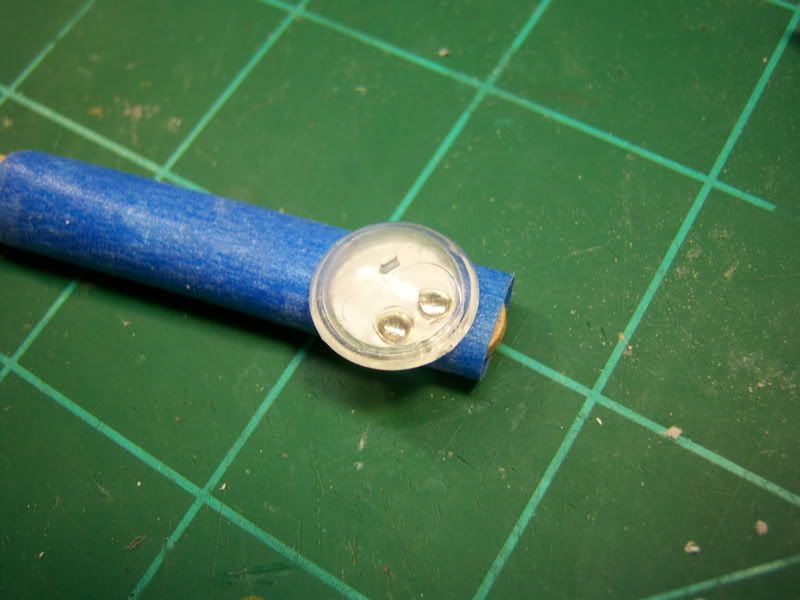
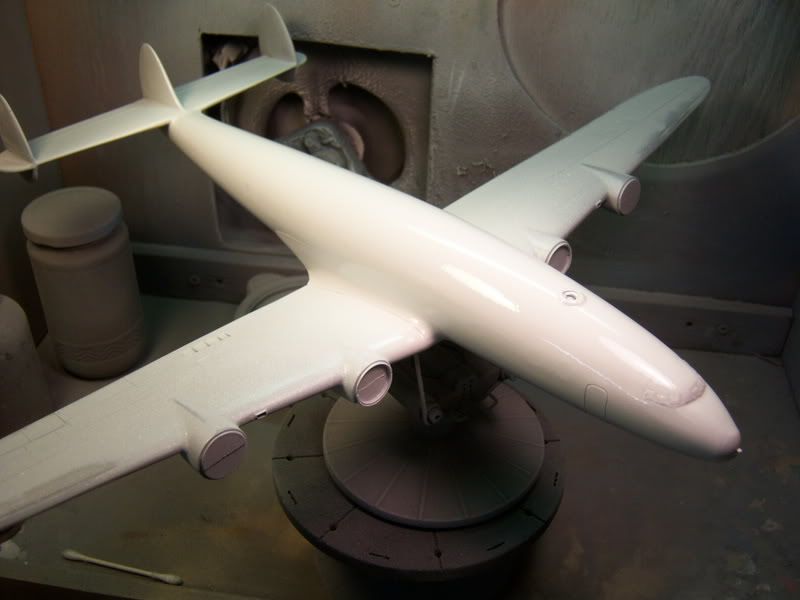
 Thanks for the kind words Taylor. Much appreciated. I'm having some difficulty as of late. Seems she wants to sit on her tail.
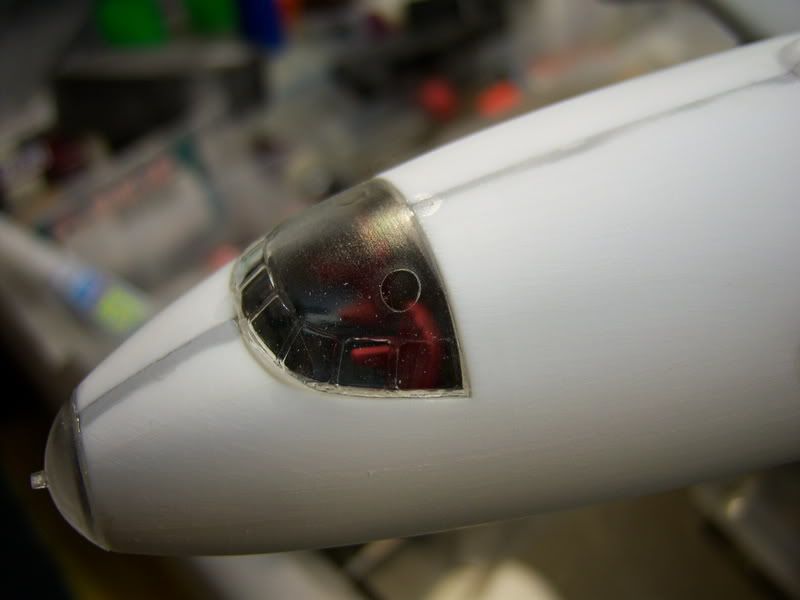
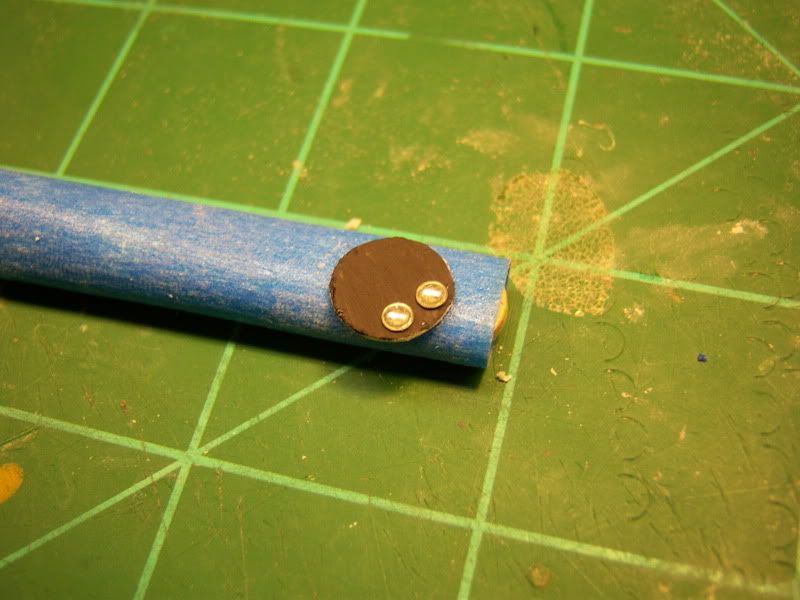
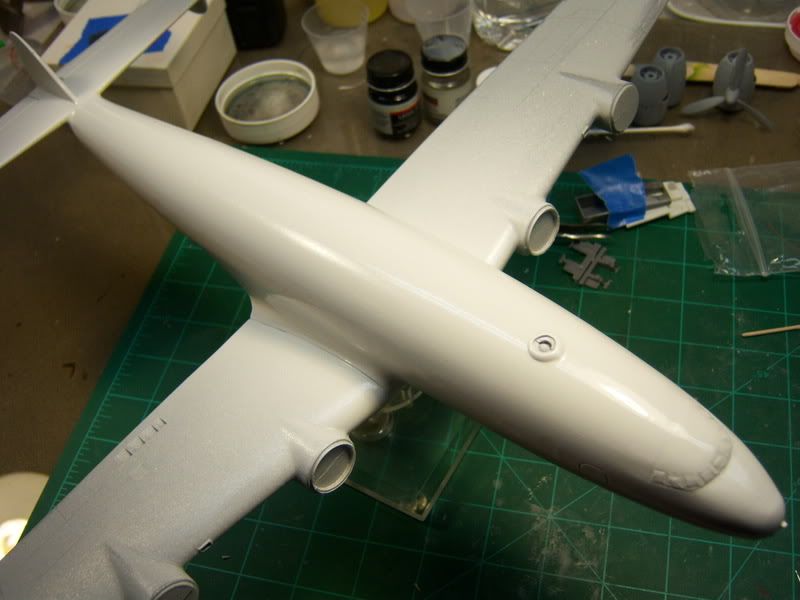
  I had to drill a hole in the bottom of the nose just forward of the nose gear and add a bunch of split shot until she cooperated. I cut a round piece of .010 to cover the hole, and will use it as a not-so-correct-but-its-hiding-the-hole-antenna-base.


